DELTA BREEZ AMR1200 Manuel utilisateur
1
READ AND SAVE THESE INSTRUCTIONS
Address: 46101 Fremont Boulevard, Fremont, CA 94538
US Toll Free Number:
1-888-979-9889 - Technical Support
1-877-685-4384 - Customer Sales Support
www.deltabreez.com
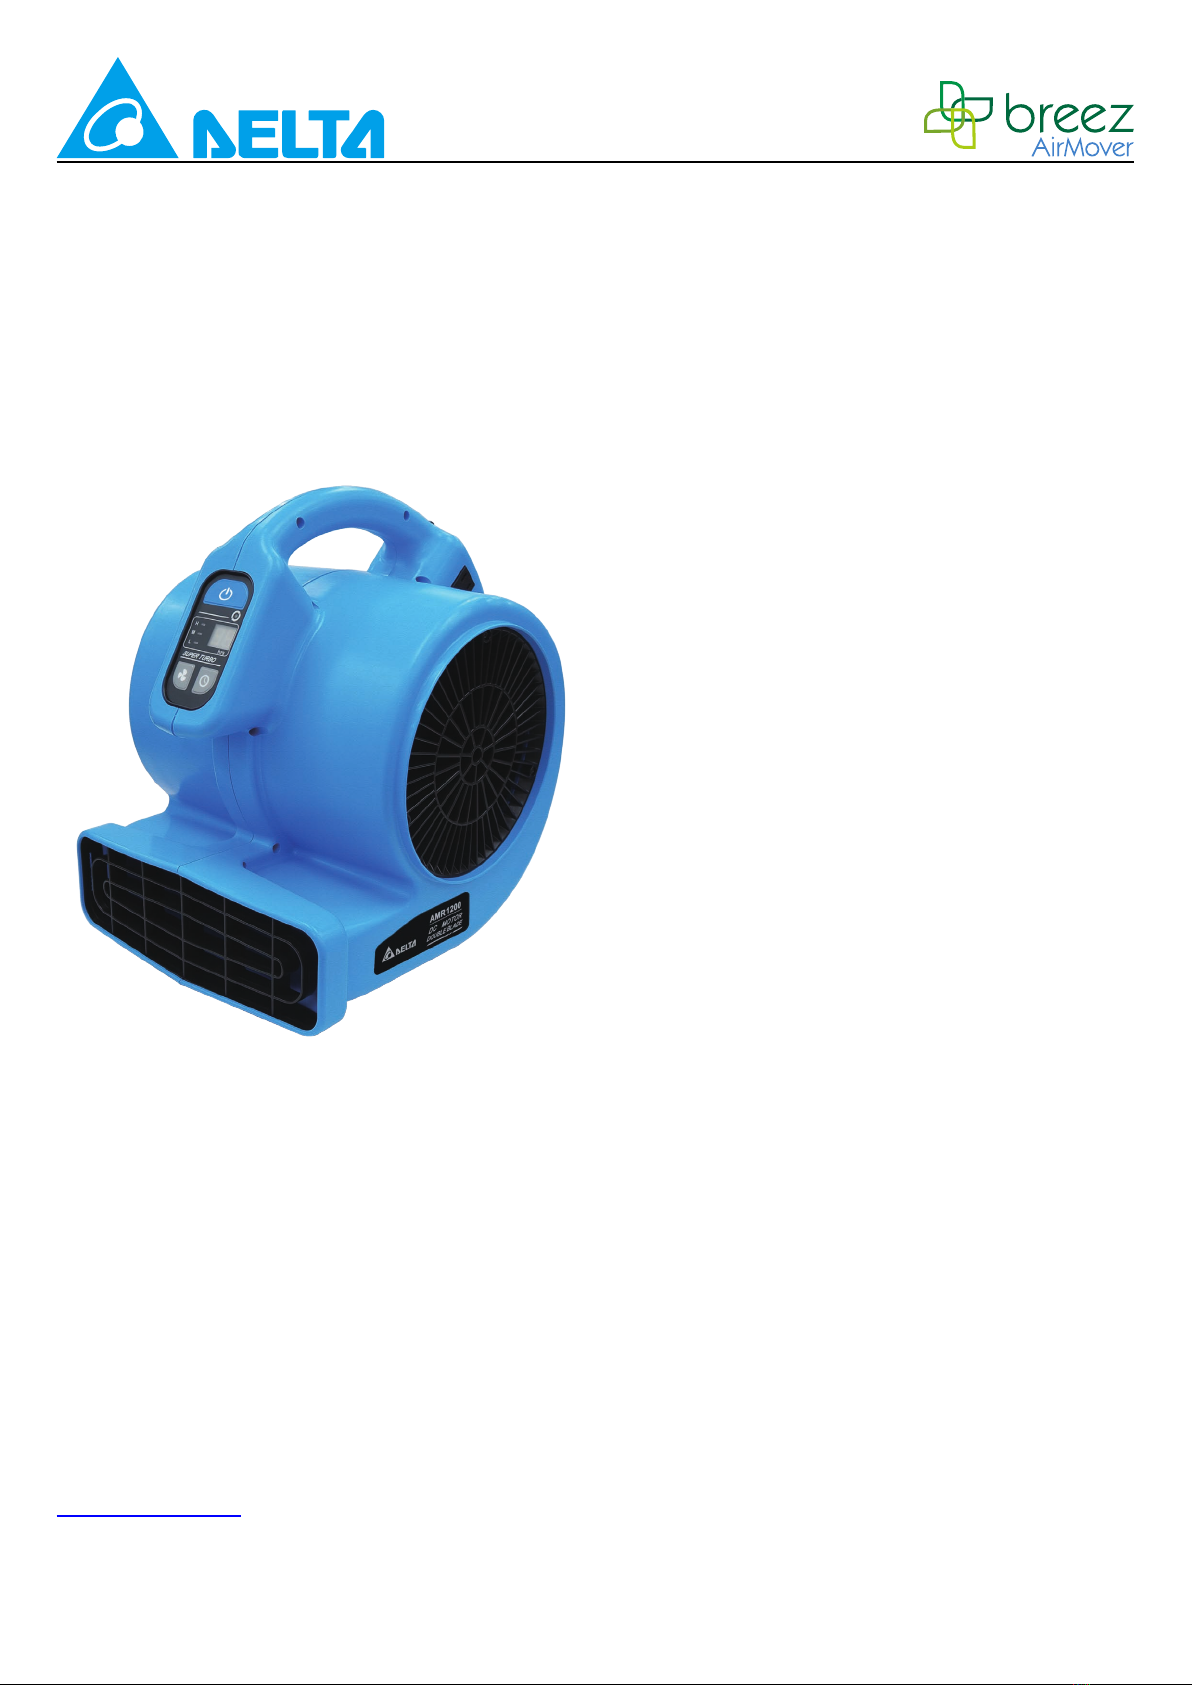
Air Mover
Model AMR1200
TABLE OF CONTENTS
GENERAL SAFETY INFORMATION
..............
..
.....
2
GROUNDING INSTRUCTIONS...................
..
........3
OPERATION
..........................................................
3-4
CLEANING AND MAINTENANCE...........
.
.............5
STORAGE
.................................................................
5
TROUBLESHOOTING
............................
..
.............
.
.
5
SPECIFICATIONS.
....................................
..
............
6
WARRANTY
.................................................
..
...........
6

2
GENERAL SAFETY INFORMATION
READ AND SAVE THESE INSTRUCTIONS
GENERAL SAFETY INFORMATION
1. Make sure local electrical service supply
voltage is AC120V, 60Hz.
2. Protect the power cord from sharp edges,
oil, grease, hot surface, chemicals or other
objects.
3. Do not kink the power cord.
4. Do not operate this appliance when
ammable material or vapors are present
because electrical devices produce arcs or
sparks, that can cause a re or explosion.
5. Do not operate unattended.
WARNING
(
AVERTISSEMENT
)
TO REDUCE THE RISK OF FIRE, ELECTRIC
SHOCK AND INJURY:
1. Do not leave appliance when plugged in.
2. Unplug from outlet when not in use before
servicing.
3. Connect to a properly grounded outlet only.
4. Do not operate the appliance in standing
water.
5. Do not plug in or unplug the appliance with
wet hands.
6. Do not expose to water or rain.(N'exposez
pas l'appareil à l'eau ou à la pluie.)
7. Do not use around toxic, carcinogenic,
or other hazardous materials.(N'utilisez
pas l'appareil à proximité de matiéres
toxiques, cancérigénes ou autres matiéres
dangereuses.)
8. Do not allow to be used as a toy.
9. Close attention is necessary when used by
or near children.
10. Do not operate the appliance with damaged
cord or plug.(N'utilisez pas l'appareil
aéraulique si le cordon d'alimentation ou la
che est endommagée.)
11. Do not pull or carry by cord, use cord as
handle, close door on cord or pull cord
around sharp edges or corners.
12. Do not run appliance over cord and keep
cord away from heated surface.
13. Do not unplug by pulling on cord. To unplug,
grasp the plug not the cord.
14. Do not use with any opening blocked
(N'utilisez pas l'appareil si un orice est
bouché); keep free of dust, lint, hair and
anything that may reduce air ow.
15. Keep hair, loose clothing, ngers and all
parts of body away from operating and
moving parts.
16. Turn o all controls before unplugging.
17. Do not store or use near ammable or
combustible liquids such as gasoline, toxic,
carcinogenic, combustible or hazardous
material such as asbestos, arsenic, barium,
beryllium, lead, pesticides or other health
endangering materials.
18. Operation of this appliance can result in
foreign objects being blown into eyes,
which can result in eye damage. Always
wear safety goggles when operating this
appliance.
19. Use only with an outlet provided with a GFCI
device.
20. Do not use an extension cord with this
appliance.(NE PAS utiliser de rallonge
électrique avec ce ventilateur.)
21. Do not direct air ow at face or body.
22. Do not use the appliance with any solid-state
speed control device.
23. Do not move or carry the appliance while the
appliance is operating.
3
GROUNDING INSTRUCTIONS OPERATION
This appliance must be grounded.(L'APPAREIL
doit étre mis à la terre.) If it should malfunction or
break down, grounding provides a path of least
resistance for electric current to reduce the risk
of electric shock. This appliance is equipped with
cord that has an equipment-grounding conductor
and grounding plug. The plug must be plugged
into an appropriate outlet that is properly installed
and grounded in accordance with all local codes
and ordinances.
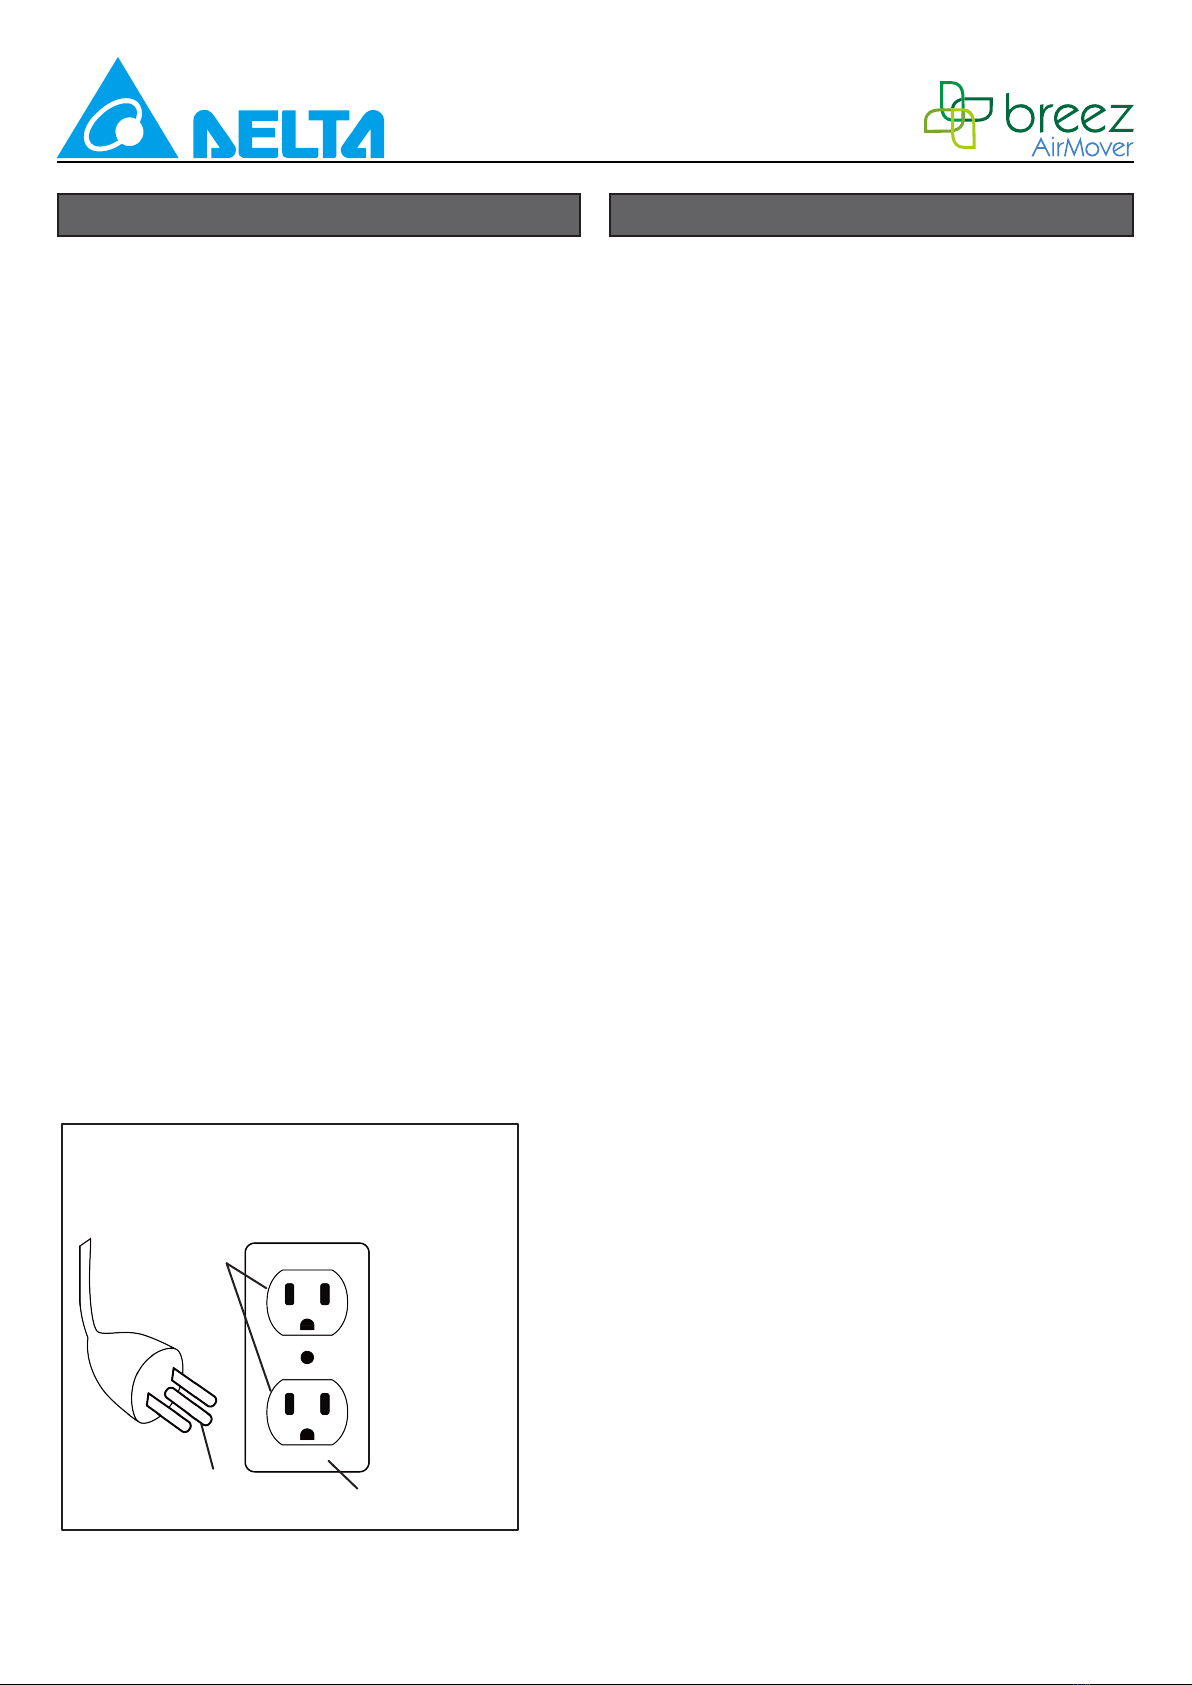
This appliance is for use on a nominal 120Volt
circuit and has a ground plug (see illustration,
below). Make sure that the appliance is
connected to an outlet having the same
conguration as the plug. No adaptor should be
used with this appliance.
WARNING
Improper connection of the equipment-grounding
conductor can result in a risk of electric shock.
Check with a qualied electrician or service
person if you are in doubt as to whether the
outlet is properly grounded. Do not modify the
plug provided with the appliance – if it will not
t the outlet, have a proper outlet installed by a
qualied electrician.
Delta Air Movers are intended to move air and to
dry small areas where the large air mover is not
applicable such as crawl spaces, inside cabinets,
under counters, inside ceilings, basements, etc.
Follow these instructions to operate your unit:
1. Delta Air Movers are shipped ready-to use.
Unpack air mover from carton.
2. To use your unit, place the unit in the area
most suitable for your application. Several
factors need to be considered; the unit must
be placed close enough to an AC outlet to
be plugged in, there must be a minimum
clearance of two feet from either side of the
unit to allow for proper air ow, and the unit
should not be placed where it can become a
tripping or safety hazard.
3. Place unit in the proper operating position
for your application. Refer to the Operating
Positions section in this manual.
4. To use multiple air movers, refer to the
Using Multiple Air Movers instructions in this
section.
5. Plug unit into the wall.
6. Turn unit on and select air speed by turning
the switch.
7. Use the Timer to set the preferred time from
0.5hr to 8hrs.
8. When your drying job is completed, turn the
unit o and follow the directions for Storage
in this manual.
9. To reduce the risk of injury, do not allow
children to play with or around an air mover
at any time.
GROUNDING METHODS
GROUNDED
OUTLET
GROUNDING PIN GROUNDED OUTLET BOX

4
Using Multiple Air Movers
1. Your unit comes with receptacles for the
use with multiple units. To use this feature,
position the rst air mover following the
instructions listed above in this section. This
unit may be turned on while connecting
multiple units.
2. Plug the second unit into one of the
receptacles on the rst units. Place the
second unit in the operation position and the
area most suitable for your application. The
second unit may be turned on at this time.
3. A third unit may be plugged into the
remaining receptacles on the rst unit or
plugged into one of the receptacles in the
second unit. The third unit maybe turned on
at this time.
4. If desired, follow the same steps to add more
units (Allow 7 additional AMR1200 units to
run on one circuit at the same time).
5. The receptacles on the unit are equipped
with circuit protector that will shut o power
to the unit should the receptacles become
overloaded. If this happens, move the switch
to the o position on the unit and any units
connected to it. Press the reset button
located above the receptacles; then turn the
unit on and any units connected to it.
NOTE: It is not recommended to use the
receptacles on the unit for appliances other
than another air mover of the same rating. To
determine ampere rating of your unit, refer to the
nameplate located on the unit.
Operation Positions
The air mover may be set in one of three
operating positions. Pick the position best suited
for your application.
1. Use the down position for applications such
as; drying wet oors, shampooed carpets,
etc. To use this position simply place unit on
its base.
2. Use the angle position for applications such
as, drying plaster on walls or drying wet
furniture. To use this position, tilt unit
backwards so it rests on the support.
3. Use the up position for application such
as; drying paint on the ceiling. To use this
position, lay the unit on the back side with
the front grille pointing towards the ceiling.
Digital Operation
The digital function display introduce as below :
Down position Angle position Up position
Power ON/OFF button
Timer / Counter adjustment button
Speed adjustment button
Timer / Counter LED display
Three Speeds LED display
Continuous operation
LED indicator light
Speed setting
L M H
Timer / Counter setting
0.5
hrs
Continuous run LED
Indicator & 0~99 hrs
1.0
hrs
2.0
hrs
4.0
hrs
8.0
hrs
Counter display Timer display
5
Problem Possible cause Solution
Air mover not running
No power input Plug in the air mover; check
circuit breaker
Switch not turned on Turn on switch
Timer not turned on Turn on Timer
Intake or exhaust blocked Turn unit o and allow to cool.
then remove blockage.
Air mover vibrates Accumulation of dirt on fan blades Clean air mover fan blades
WARNING
To reduce the risk of injury from the air mover
accidentally starting, unplug power cord
before cleaning.
1. The outside of the unit may be cleaned with
a damp cloth to remove any dust or residue.
2. Never clean the unit with water directly.
3. When not in use, unplug and store the air
mover in a dry indoor place out of reach of
children.
The air mover should be stored indoors.
1. Before storing your air mover, it should be
cleaned. For cleaning instructions, refer to
the Cleaning section in this manual.
2. Wrap the power cord around the carry handle
on the top of the unit to keep it untangled.
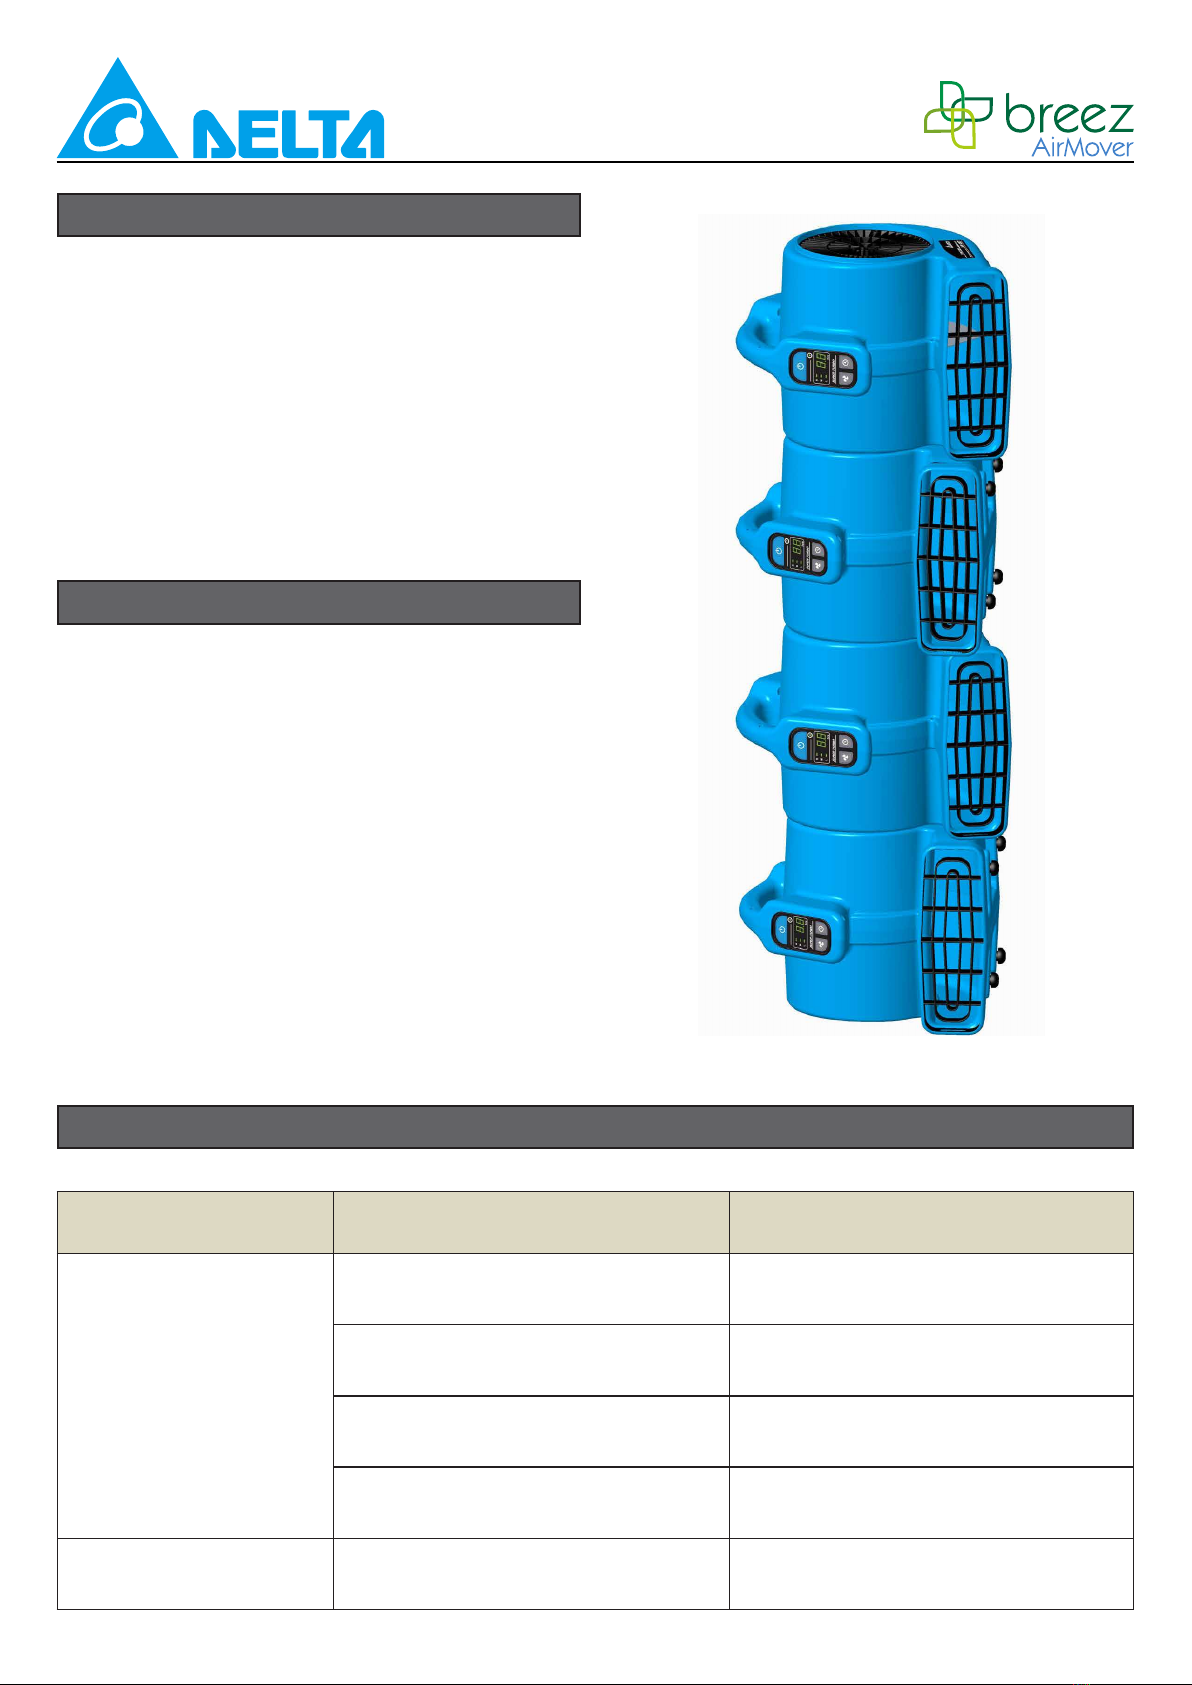
3. If you have more than one unit to store they
may be stored by stacking them. Stack the
units by placing them on their sides making
sure the indented side is facing down. Do
not stack the units more than 4 high. Never
operate the unit while it is on its side or
stacked.
For any problem not listed below, call your local distributor or contact our Service Department.
CLEANING AND MAINTENANCE
TROUBLESHOOTING
STORAGE
6
SPECIFICATION
WARRANTY
Voltage / Frequency 120 Vac / 60 Hz
Power (MAX.) / Amp (MAX.) 97 W / 1.4 A
Rated airow (MAX.) 1200 CFM
Speeds(RPM) 966 / 804 / 642
Circuit breaker 15 A
Built-in power outlet,Daisy chain 2 receptacles, up to 8 units
Timer 0.5, 1, 2, 4, 8 Hours
Counter Continuous running status shows 0~99 Hours
Operation positions 3 angles (0o, 45o, 90o)
Unit weight / dimension 12.4 lbs / 15 3/16” x 13” x 16 11/16”
Power cord 10 Ft. / 14 AWG
Overheating protection Thermally protected
Safety certicates cETLus
DELTA ELECTRONICS THREE YEAR LIMITED WARRANTY
Delta Electronics Inc. (“Delta Electronics”) warrants to the original consumer purchaser in the
USA and Canada that the fan products will be free from defects in material or workmanship. This
warranty is limited to three (3) years from the original date of purchase.
Limitations and Exclusions
1. During the warranty period, a replacement for any defective product will be supplied free of
charge for installation by the consumer. The warranty provided herein does not cover charges for
labor or other costs incurred in the troubleshooting, repair, removal, and installation service.
2. All returns of defective parts or products must include the product model number, and must be
made through an authorized Delta Electronics distributor. Authorized returns must be shipped
prepaid. Repaired or replacement products will be shipped by Delta Electronics F.O.B. shipping
point.
3. Delta Electronics shall not be liable for any indirect, incidental, consequential, punitive, or special
damages arising out of or in connection with products use or performance, regardless of the form
of action whether in contract, tort (including negligence), strict product liability or otherwise.
4. The warranty does not cover if user does not comply with manufacturer’s installation manual.
5. To qualify for warranty service, you must notify Delta Electronics at the address or telephone
number below.
6. Delta Electronics shall have no liability to the original owner-user with respect to any defect
caused by abuse, misuse, neglect, improper transportation or storage, improper testing, improper
installation, improper operation, improper use, improper maintenance, improper repair, improper
alteration, improper modication, tampering or accident of products or parts thereof, or unusual
deterioration or degradation of products or parts thereof due to a physical environment beyond
the requirements of products’ specications.
Table des matières
Autres manuels DELTA BREEZ Ventilateur

DELTA BREEZ
DELTA BREEZ SIG80 Manuel utilisateur

DELTA BREEZ
DELTA BREEZ 80RLED-ADJ Manuel utilisateur

DELTA BREEZ
DELTA BREEZ 80RLED-ADJ-BN Manuel utilisateur

DELTA BREEZ
DELTA BREEZ 80LED-REC Manuel utilisateur

DELTA BREEZ
DELTA BREEZ VCA605LED-HEBK Manuel utilisateur

DELTA BREEZ
DELTA BREEZ SIG80-110ELED Manuel utilisateur

DELTA BREEZ
DELTA BREEZ ITG50LED Manuel utilisateur

DELTA BREEZ
DELTA BREEZ RAD80L Manuel utilisateur

DELTA BREEZ
DELTA BREEZ PRO Series Manuel utilisateur


