7. Connect the device(s)
9. Start testing!
With the appropriate number of lasers/reflectors set-up to run your drill. Orient
the laser at the reflector and wait 5 seconds for the laser to calibrate to the
environment. If the light on the back of the laser is GREEN then the gate is setup.
When the gate is tripped (something blocking the laser) the light will be RED.
Note that the LED indicator light may be green before pointed at the reflector,
this is because it is not yet calibrated.
Laser and reflector should be set-up roughly 6 feet apart (your wingspan).
The phone/tablet should be stationed between the lasers if performing a multi-
laser event or within 10 feet of the laser when a single laser event. Not doing so
may impact receiving results to the phone/tablet.
Laser Module Details
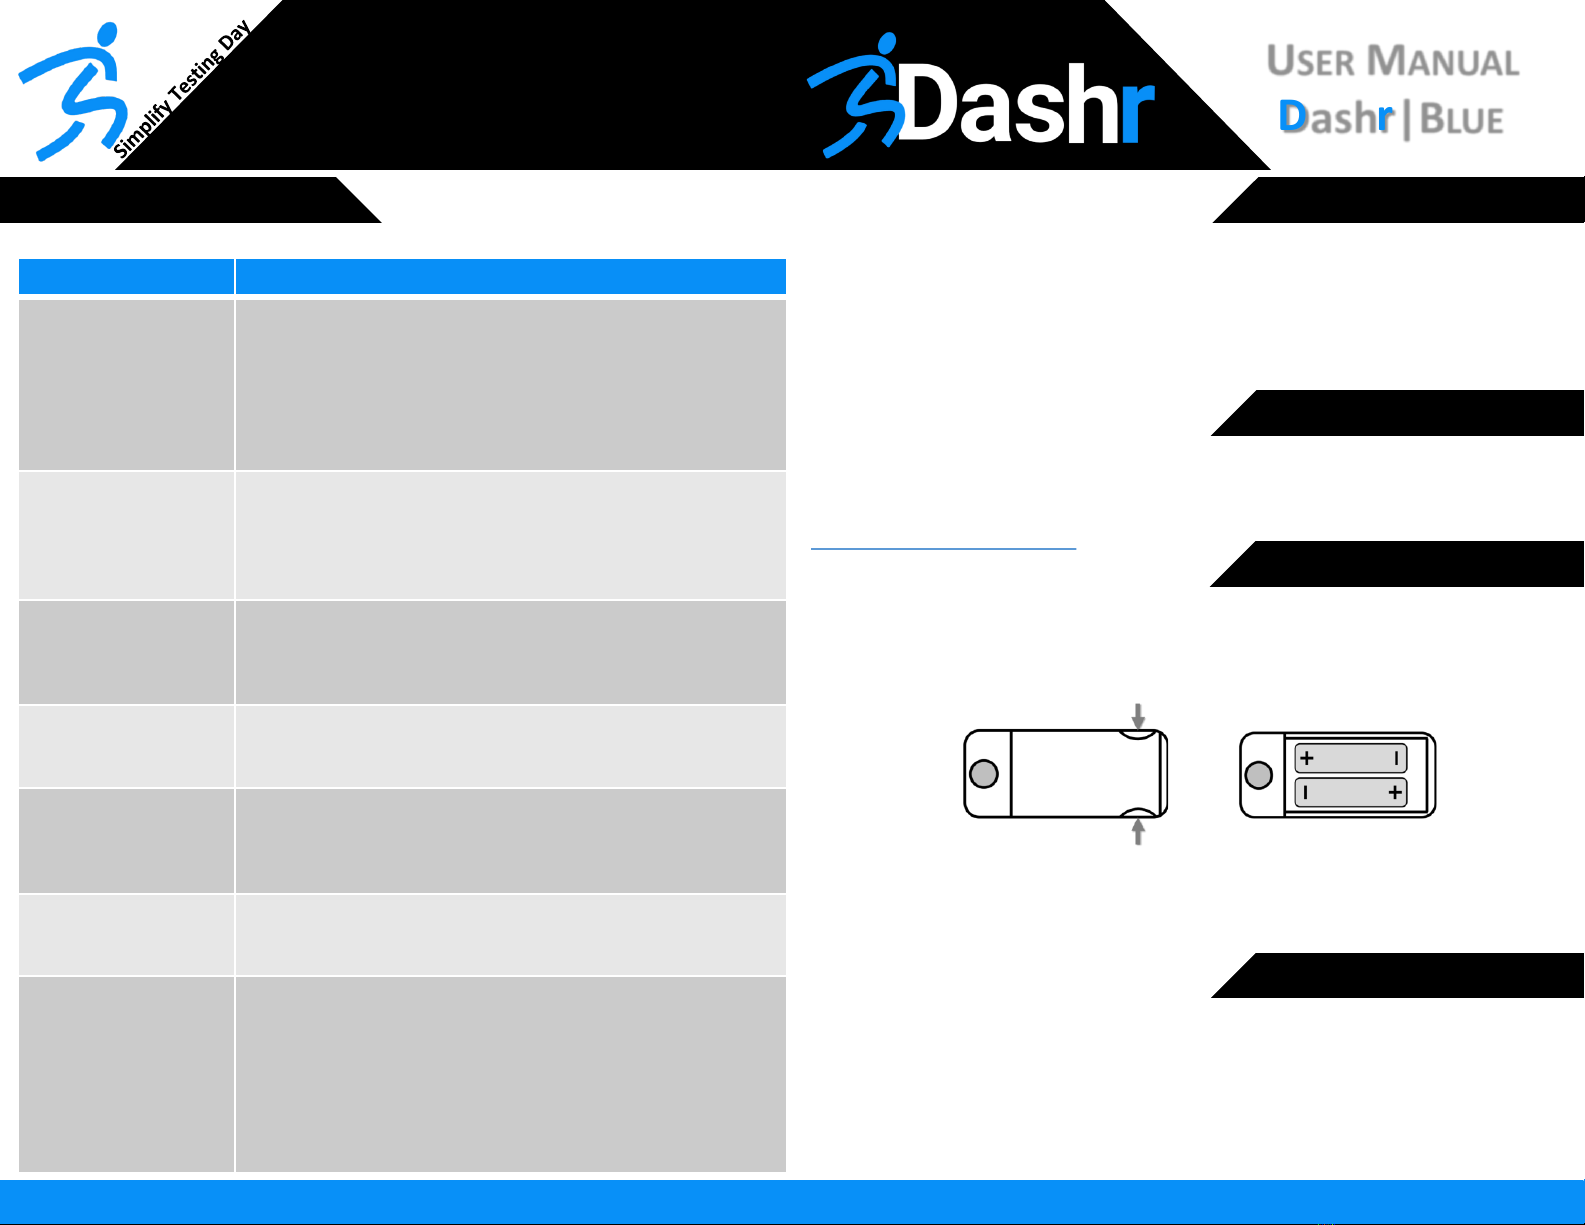
1. Laser diode
2. On/Off switch
3. LED indicator light. GREEN indicates that the
laser gate is not tripped, RED indicates that
the laser gate is tripped.
4. Threaded interface
5. Battery cover
FCC ID: R20170224, IC: 2015DJ2435
Contains FCC ID: SH6MDBT40
Compliant with
(1) USA, FCC Part 15.209
(2) Canada, RSS-Gen, Issue 4
(3) Japan: VCCI, V-3
(4) AS/NZS CISPR 32:2015
Class 3R lasers range from 1-5 mW and are considered low risk for eye injury. Additionally, our
lasers a de-focused - preventing minor vibrations from tripping the system (~2.25in diameter at 10
ft). This adds to the safety component of the system.
Changes or modifications not expressly approved by the party responsible for compliance could
void the user's authority to operate the equipment
This device complies with Industry Canada’s license-exempt RSSs. Operation is subject to the
following two conditions: (1) this device may not cause interference, and (2) this device must
accept any interference, including interference that may cause undesired operation of the device.
Cet appareil est conforme aux flux RSS exempts de licence d'Industrie Canada. Le fonctionnement
est soumis aux deux conditions suivantes: (1) cet appareil ne doit pas causer d'interférence, et (2)
cet appareil doit accepter toute interférence, y compris les interférences susceptibles de
Provoquer un fonctionnement indésirable de l'appareil.”
More instructions and videos can be
found on our website at
www.dashrsystems.com.
Visit us online to learn more ways to
make testing easier and more efficient.
6. Align laser and reflector tripods
5. Select a drill in the app 8. Perform trial run to verify setup
Once logged in, the main page of the app provides several options to select your
desired drill. Once selected, each drill will present more information. You will
select Blue, as you are using the Dashr|Blue series of lasers, to begin configuring
devices for your drill. If you have any questions throughout the process, help and
tips have been built into the app at each stage in addition to further support on the
website. www.dashrsystems.com/bluedrills
Within the drill, turn on the device (laser, jump, display, etc.) and select it from the
drop-down list. Then press the “Connect” button. If it does not connect the first
time, repeat.
LASER MODULE/REFLECTOR: Use the threaded interface to attach to a mini or
regular sized tripod. Optional ball-joints can be used with the laser on mini tripods
to help with aiming. The laser must reflect back to establish the gate. Remove film
from reflector if present.
When operating outdoors, orient the laser towards the sun so that the
athlete passes between the sun and the laser when running the drill.
Angling the laser downwards and the reflector up as shown will reduce
sunlight interference.
DO NOT place the phone/tablet on the ground while operating the system.
This can block the Bluetooth antenna and result in reduced performance.