Cowfish Technologies VanConnect Manuel utilisateur


PREFACE AND COPYRIGHT
Cowsh Technologies Pty Ltd reserves the right to revise this publication
and to make changes in the content hereof without obligation to notify any
person or organization of such revisions or changes.
Manual Revision V1.1
Cowsh Technologies and the Cowsh logo are trademarks or registered
trademarks of Cowsh Technologies Pty Ltd in Australia. VanConnect and
the VanConnect logo are trademarks or registered trademarks of Cowsh
Technologies Pty Ltd in Australia. All other company or product names
mentioned herein are trademarks or registered trademarks of their respective
companies.
Copyright © 2021 Cowsh Technologies Pty Ltd.
All rights reserved. This publication may not be reproduced, in whole or in
part, without prior expressed written permission from Cowsh Technologies
Pty Ltd.
Page 2

Page 2
Table of Contents
PREFACE AND COPYRIGHT 2
PACKAGE CONTENTS 4
INTRODUCTION 5
HARDWARE OVERVIEW 5
INSTALLATION 6
CONNECTING TO THE WIRELESS NETWORK 9
ROUTER CONFIGURATION 10
HOW TO USE AND CONNECT TO VANCONNECT MEDIA STORAGE 17
TROUBLESHOOTING 30
TECHNICAL SPECIFICATIONS 33
PRODUCT WARRANTY 35
Page 3

PACKAGE CONTENTS
Page 4
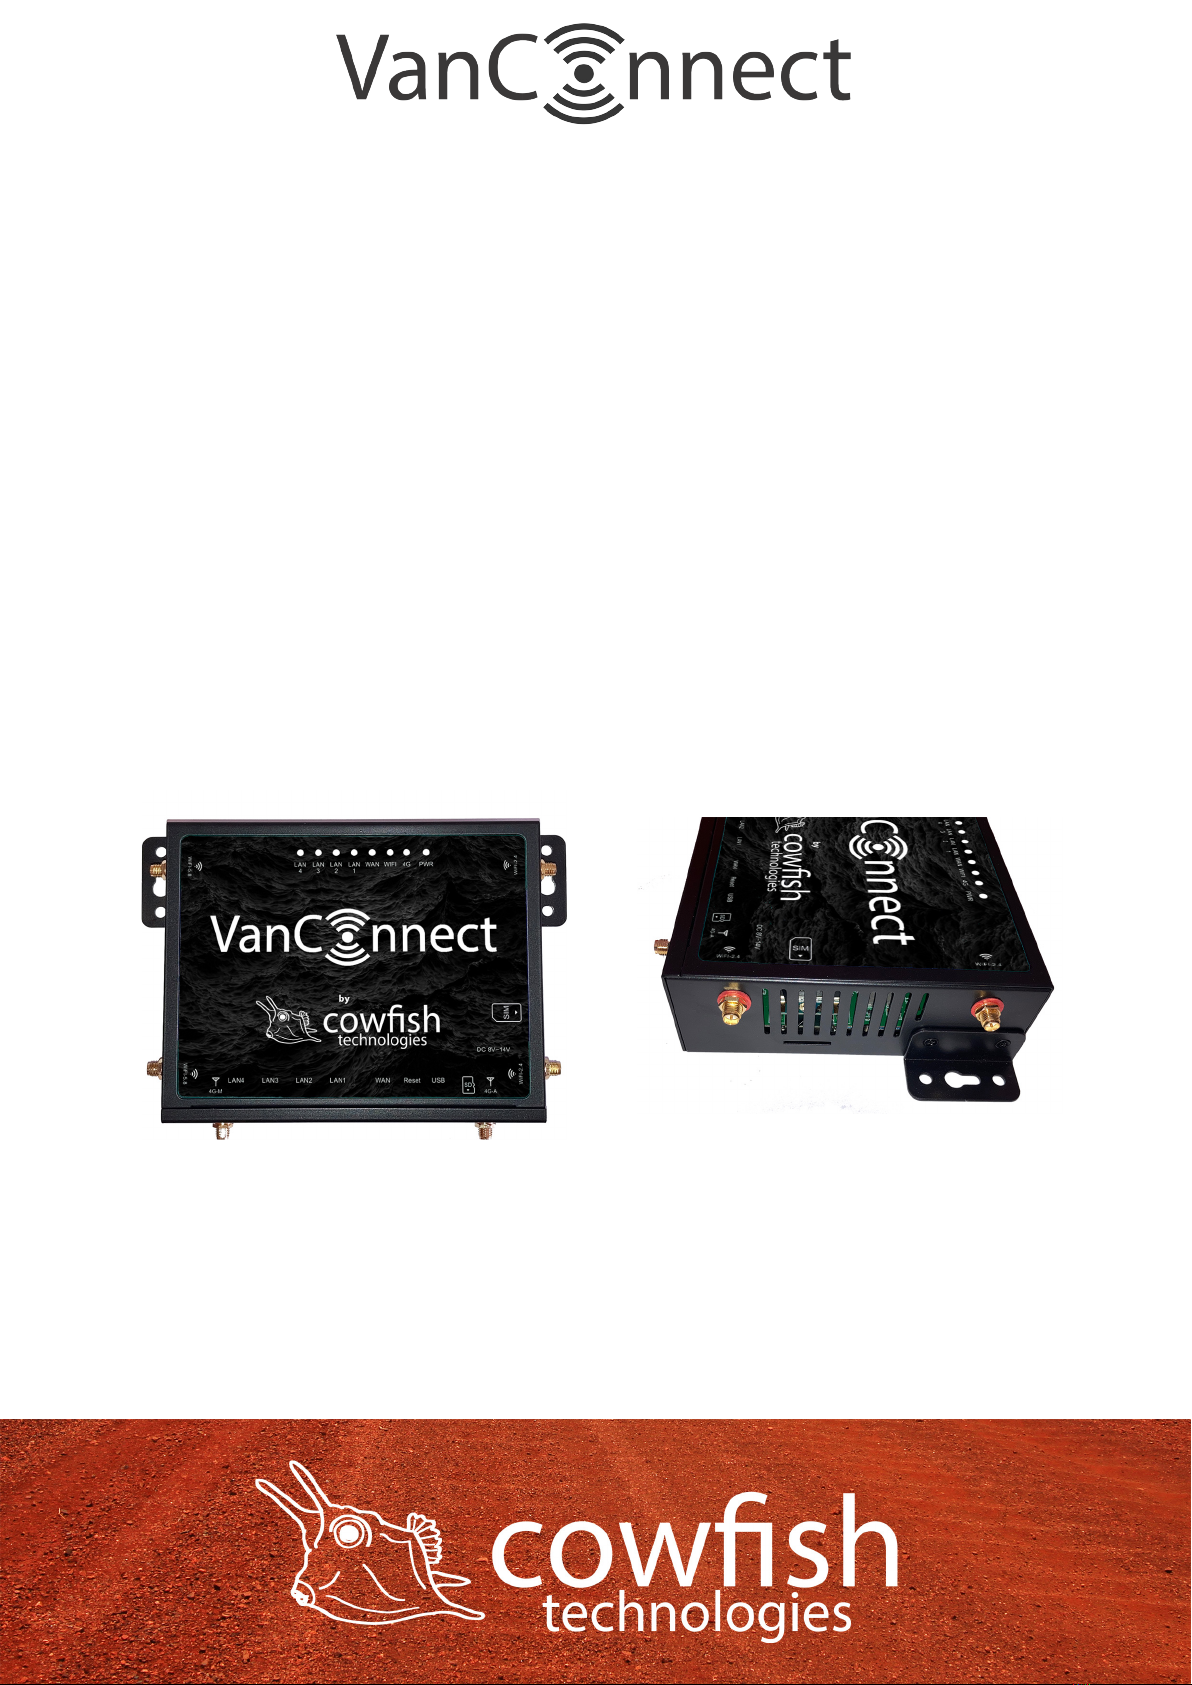
VanConnect unit Mounting Brackets
(x2)
Power Cable
Internal 3G/4G Antennas
(x2)
External Antenna Bracket
(optional)
Telstra Starter KitInternal WiFi Antennas
(x4)
External Antenna
(optional)
Ethernet cable

Page 4
INTRODUCTION
The VanConnect 4G LTE Router allows users to access worldwide mobile
broadband networks. Once connected, users can connect to the internet,
transfer data and stream media. Simply insert your 3G/4G SIM card, and share
your 3G/4G Internet connection through a WiFi5 (802.11ac) wireless network
or using any of the four 10/100 Ethernet ports.
The VanConnect 4G LTE Router can be installed quickly and easily almost
anywhere.
Page 5
INSTALLATION
There are two installation methods available:
1. No external antenna.
2. With the external antenna tted to the outside of the caravan or
motorhome. We recommend having this installed by your caravan
manufacturer or a registered caravan repair centre.
This section will guide you through the router installation process. Ensure
that your VanConnect 4G LTE Router is disconnected and powered off before
performing the steps below.
Install the router on a wall or on a shelf near a 12V power point. Placement
of the router is very important. Ensure that the internal antennas can be
positioned in a vertical position (pointing up or down). Use the included
mounting brackets to secure the router to the wall or shelf.
Page 6

Page 6
Verify that your SIM card has been activated by your carrier. If you are using
the included Telstra pre-paid SIM card, following the following steps:
1. Have your driver’s license handy.
2. Use the Service Number located on the rear bottom space of the Telstra
Satchel.
3. Open your browser and go to www.telstra.com/activate
4. Follow the Telstra prompts for activation.
For providers other than Telstra please look on their packaging for
instructions to activate.
To install your SIM card, insert it into the SIM slot with the gold contacts
facing down. The VanConnect accepts a standard SIM card size. If your SIM
card is a micro or nano SIM, please use the included adapter. There is no need
to use the adapter if your SIM card is a standard SIM. When installing the SIM
card, push the SIM card gently until it locks into place.
Caution: Always unplug/power down the router before installing or removing
the SIM card. Never insert or remove the SIM card while the router is in use.
Attach the included internal antennas to the connectors on the the sides
of the router, screwing them in clockwise. Ensure that 3G/4G antennas are
connected to the “3G/4G” points and that the WiFi antennas are connected
to the “WiFi-2.4 INT”, “WiFi-2.4 EXT”, “WiFi-5.8 INT” and “WiFi-5.8 EXT”
points. The 3G/4G antennas have a male connector that connects to the
female “3G/4G” recepticles on the VanConnect. The “WiFi-5.8“ WiFi antennas
have male connectors that connect to the female “WiFi-5.8” recepticles on
the VanConnect. The “WiFi-2.4“ WiFi antennas have female connectors that
connect to the male “WiFi-2.4” recepticles on the VanConnect.
Note: An incorrect installation of an antenna can result in damage to the
antenna and the VanConnect unit.
After connecting the antennas, arrange them so that they point upward or
downward. A vertical position is required for optimal signal.
Page 7

If using the optional external antenna, connect the two external antenna
“3G/4G/5G” cables to the “3G/4G” points on the VanConnect. Connect the
“2.4G WiFi” external antenna cable to the “WiFi-2.4 EXT” point and the
“5G WiFi” antenna cable to the “WiFi-5.8 EXT” point. Connect the internal
WiFi antennas to the “WiFi-2.4 INT” and “WiFi-5.8 INT” points. Arrange the
internal antennas so that they point upward or downward. A vertical position
is required for optimal signal.
Connect the power adapter to the DC power socket on the side panel of your
VanConnect. Plug the other end of the power adapter into a 12V wall outlet.
Make sure the power button is in the “On” position.
1. The Power LED will light up to indicate that power is being supplied to the
router and the router is turned on.
2. The LEDs on the front panel will ash on and off as the router performs
initialization and Internet connection processes.
3. After a few moments the following LEDs will turn on: Power (green), 4G
(green) and WiFi (green followed by orange).
Page 8

CONNECTING TO THE WIRELESS NETWORK
Connect via WiFi using the SSID (WiFi name) and password printed on the
bottom of the VanConnect, or through Ethernet via one of the LAN ports on
the back of your router.
The default SSID of the device is “WIFI-XXXXXX” (XXXXXX are the last 6 digits
of the MAC address, printed on the bottom of the device and the bottom of
the packaging box). The wireless network is not encrypted by default. Details
for this are in the ‘set the wireless password’ section.
To nd and connect to the WiFi network:
1. Make sure that the VanConnect router is powered on and the WiFi status
lights are on.
2. Check to make sure that WiFi is enabled on your computer or mobile
device and search for WiFi networks.
a. Windows computer: Click the Internet Access icon, which is usually
found on the bottom right side of your screen.
b. Mac computer: Go to the WiFi menu and select Network.
c. Mobile devices: Go to the Settings menu and tap the WiFi icon.
3. Select the WiFi name for your VanConnect.
4. Enter the WiFi password. This is only required after you set up a password.
Page 9

ROUTER CONFIGURATION
To access the conguration utility, open a web browser such as Internet
Explorer, Microsoft Edge or Google Chrome and enter the address of the
router (http://192.168.1.1 by default).
You will be presented with a login screen. The default login username is
“root”, and the default login password is “admin”.
Note: If you get a “Page cannot be displayed” error, please refer to the
Troubleshooting section for assistance.
Once you have successfully logged in, you will see the VanConnect home
page. On this page you can view information about your Internet connection,
the wireless/LAN status, your 3G/4G signal strength and system information.
Page 10
Table des matières
Manuels Routeur réseau populaires d'autres marques


NETGEAR
NETGEAR FS526T - Switch Manuel utilisateur

Korenix
Korenix JetNet 5710G Series Manuel utilisateur

Automated Logic
Automated Logic ZN551 Manuel du propriétaire

Cisco
Cisco ASR 1000 Series Manuel de l'opérateur

EnGenius
EnGenius ESR-9710 Manuel utilisateur

Cisco
Cisco 805 Series Instructions d'utilisation et de sécurité