CLIMASET Retro Series Manuel utilisateur
INSTRUCTION MANUAL
®
CLIMASET
Retro™ Series
®
CLIMASET
Interactive Controllers

Interactive controllers
®
CLIMASET
®
Climaset is under continuous development. Both the described products and document contents
may be changed or withdrawn without any previous notice. The scope of the warranty and
responsibility of Climaset applies to the device only. Under no circumstances shall Climaset be
responsible for any special, incidental, consequential, or indirect damages, howsoever caused.

Contents
®
Enjoying your Climaset safely .................................................................. 4
®
Introducing your Climaset ...................................................................... 6
Discovering your thermostat ..................................................................... 6
Adjusting the desired temperature .......................................................... 6
Selecting the fan speed ........................................................................... 8
Switching the air conditioner off ............................................................... 8
Changeover between heating and cooling ................................................. 8
Summary of steps to adjust your thermostat ............................................ 9
Installing the device easily ....................................................................... 10
Appendix A. Miniature circuit breaker (MCB) selection guide ..................... 13
Appendix B. Thermostat selection guide and wiring diagrams ..................... 14
Appendix C. Troubleshooting .................................................................... 23
Appendix D. Technical specifications ......................................................... 24
4
®
Enjoying your Climaset safely
®
The instructions below have been prepared to help you enjoy using your Climaset
safely for many years. Please read it thoroughly before starting to use the device.
ں Each air conditioning device should be protected by its own miniature circuit
breaker (MCB).
ں Each thermostat is intended to control a single air conditioning unit. We do not
recommend control of multiple units with a single thermostat.
ں If you ever encounter device malfunction, switch the respective MCB off and
contact customer service.
ں Should you notice that your air conditioner is not protected by an MCB, ask your
electrician to add one for you. You may find proper recommended MCB specifications
in Appendix A.
ں The MCB rating should be selected according to the required current for the normal
operation of your air conditioner. Using a higher rating, protection is not assured.
®
ں Your Climaset also protects itself as well as your air conditioner with a fuse. In case
of a burnt fuse, please check for malfunction of your air conditioner and thermostat,
incorrect wiring, or short circuit. It may also indicate that the thermostat can not
supply the necessary current for the air conditioner. You may need to add a relay
®
Enjoying your Climaset safely

5
between the thermostat and the air conditioner. Refer to Appendix B.
ں Always replace the fuse with one of the same type. Fuses have several
specifications other than their current rating. Check Appendix D for the proper type
of fuse. Contact your local customer service if an extra fuse is necessary.
ں Never bridge the fuse with wire or replace it with one of a higher rating.
ں Before screwing the wires to the device terminals, use the wire ferrules supplied
with the device. This will avoid the possibility of a short circuit. We recommend using
AWG 16 (1.5 mm) cables.
ں Never use detergent to clean the thermostat surface. It may leave undesirable
marks on the surface of the thermostat. Always use a soft, moist tissue to clean the
device.
ں The device is not designed to work in places with condensing humidity.
ں Strong electromagnetic fields, such as powerful radio transmissions, may cause
device malfunction.
ں Never try to fix the device yourself. Replacement of the parts may affect the safe
®
usage of the device. Always contact your local Climaset service center for repair.
®
Enjoying your Climaset Safely

6
®
Introducing your Climaset
® TM
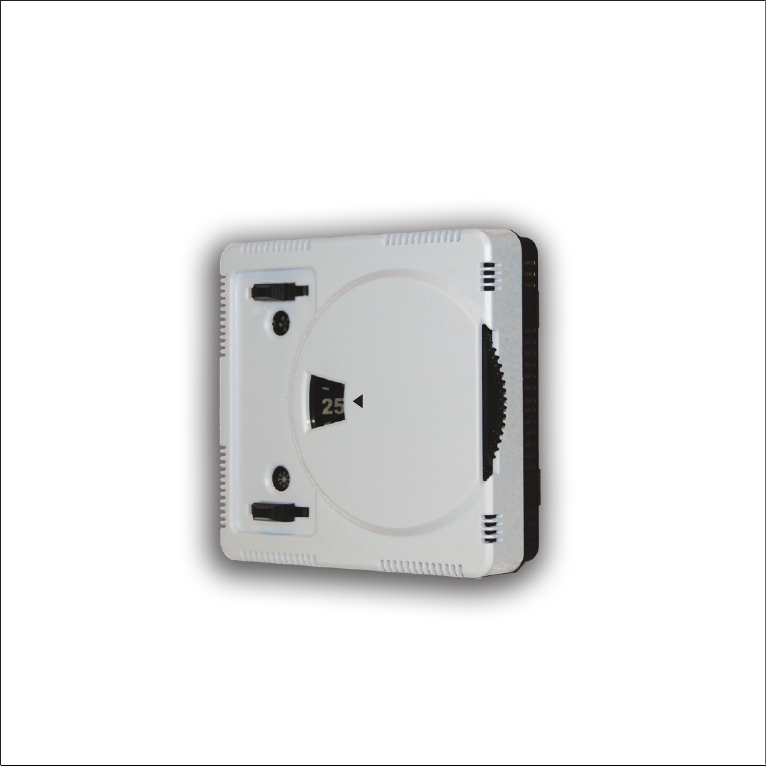
The Climaset Retro series has been designed for those who still favor easy-to-use
wheel-adjustable thermostats. While it still has the largest desired temperature
indicator, it is also the most compact for a wall-mount thermostat. The desired
temperature is illuminated with an optional change-sensitive white backlight to
enhance reading through the night. The white backlight dims a moment after a
change. The sliding indicator mechanisms for heat/cool and fan speed adds vitality
and dynamism to the device. Its black and white design makes it attractive for
modern decor.
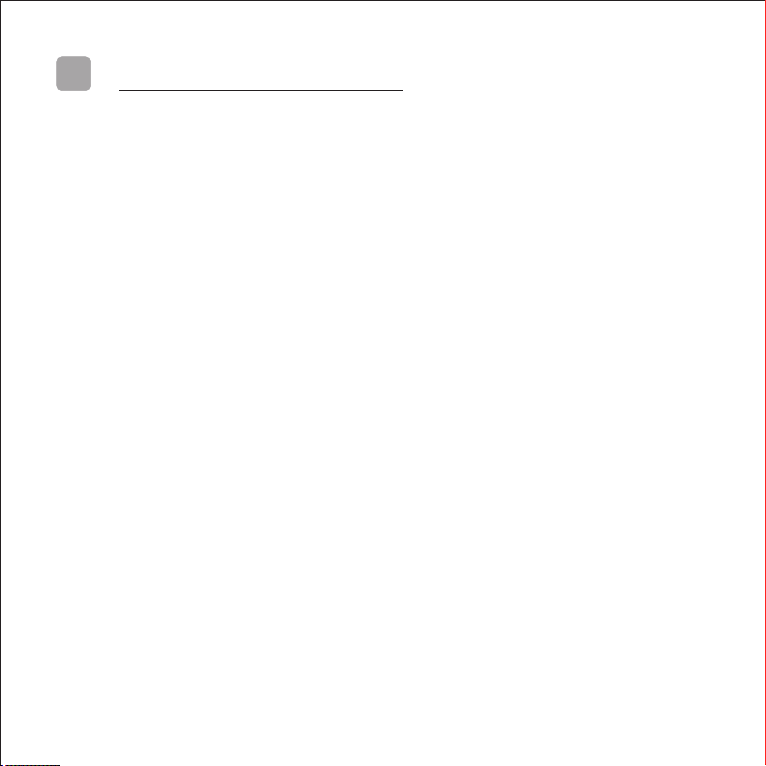
Discovering your thermostat
®
Your Climaset has three indicators, one for the desired temperature (Œ), one for
operation mode (ژ), and the other for fan speed (‘).
There is a dial (چ) for adjustment of the desired temperature. Also, there are two
slide switches to select the operation mode (گ) and fan speed (ڈ).
Adjusting the desired temperature
Turn the dial (چ) clockwise to increase or counterclockwise to decrease the desired
temperature.
? Some models have been equipped with an optional white backlight. If yours is one
of these, turning the dial will illuminate the light behind the digits. It enhances
reading during the night. The light will dim after a moment if there is no further
change.
®
Introducing your Climaset
7
®
CLIMASET
Interactive Controllers
25
? The ideal room temperature depends on ambient and personal habits. In normal
circumstances, 25°C is suitable for most people and environments.
? Please note that setting a lower temperature does not speed up cooling and
setting a higher temperature does not speed up heating. If you need to hasten
temperature increase or decrease, set the fan speed to maximum.
Adjusting the desired set temperature
8
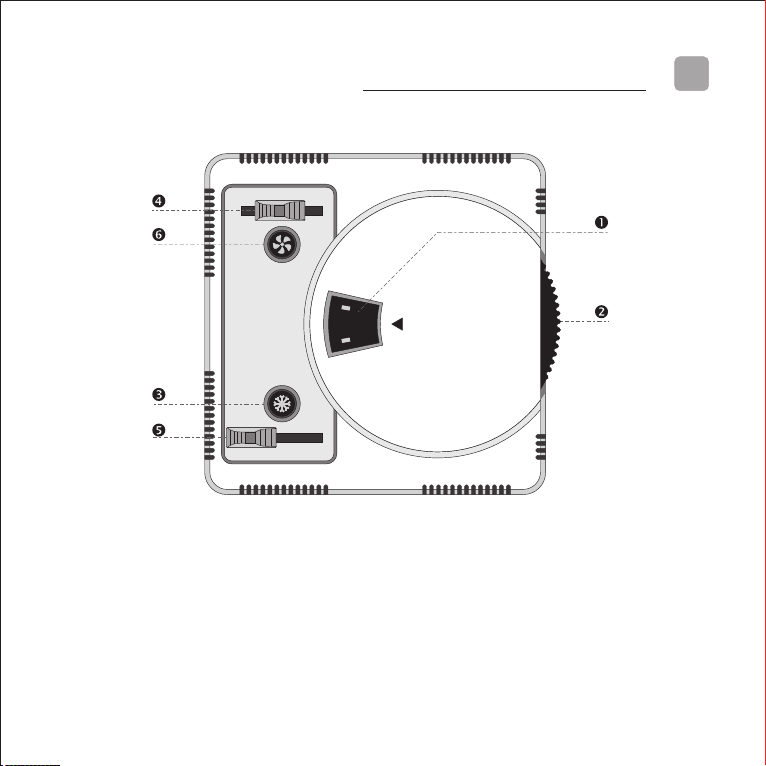
Selecting the fan speed
The slide switch at the top left corner of the device selects the fan speed. Slide it right
to increase or left to decrease the fan speed. The device supports three fan speeds.
The indicator below the switch (‘) shows the operational fan speed based on your
selection. The figure below shows the respective sign for each fan speed.
? If the fan speed is not in accordance with your selection, then the wiring must be
faulty. Turn the circuit breaker off. Detach the thermostat from the wall. Recheck and
redo the wiring (Refer to Appendix B for wiring and installation information).
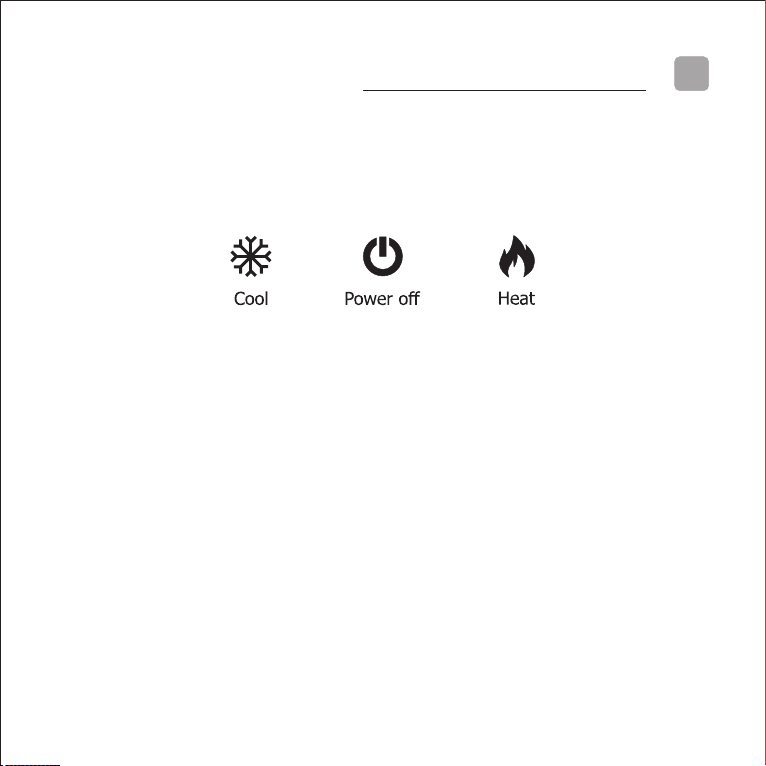
Switching the air conditioner off
Switch the air conditioner off if you do not intend to use it for a specific period. Slide
the switch at the bottom left corner of thermostat (گ) to the middle position. The
indicator above the switch shows the power off sign as shown in the figure on the
next page.
Changeover between heating and cooling
Slide the operation switch (گ) at the bottom left corner of the device to the right
Selecting the fan speed
9
Changeover between heating and cooling
position for heating. The indicator above the switch shows the flame sign as shown in
the figure below. To select the cooling mode, slide it to the left position. The indicator
above the switch shows a snowflake sign as shown in the figure below.
? After installation, if the device does not operate, turn the dial in a different
direction or slide the operation switch to heat or cool. The device should start to
function immediately.
? If the room temperature is below 18°C and you choose cooling or above 30°C and
you choose heating, the air conditioner will not turn on even by turning the dial.
Reverse the position of the heat/cool operation selection mode switch (گ) if you
want to check the operation of the fan.
Summary of steps to adjust your thermostat
پ Turn the dial to adjust your desirable set point. 25°C is suitable for most people
and environments.
‚ Slide the operation mode selection switch at the bottom left corner of the device
(گ) to select heating or cooling.
ƒ Slide the fan speed selector switch to choose the most convenient fan speed.
®
Enjoy using your Climaset .
10 Installing the device easily
Installing the device easily
The instructions below have been prepared to assist you in the installation of the
device. Please read the instructions thoroughly and carefully before installing.
Following all the steps as described guarantees your safety and the functionality and
endurance of the thermostat and air conditioner.
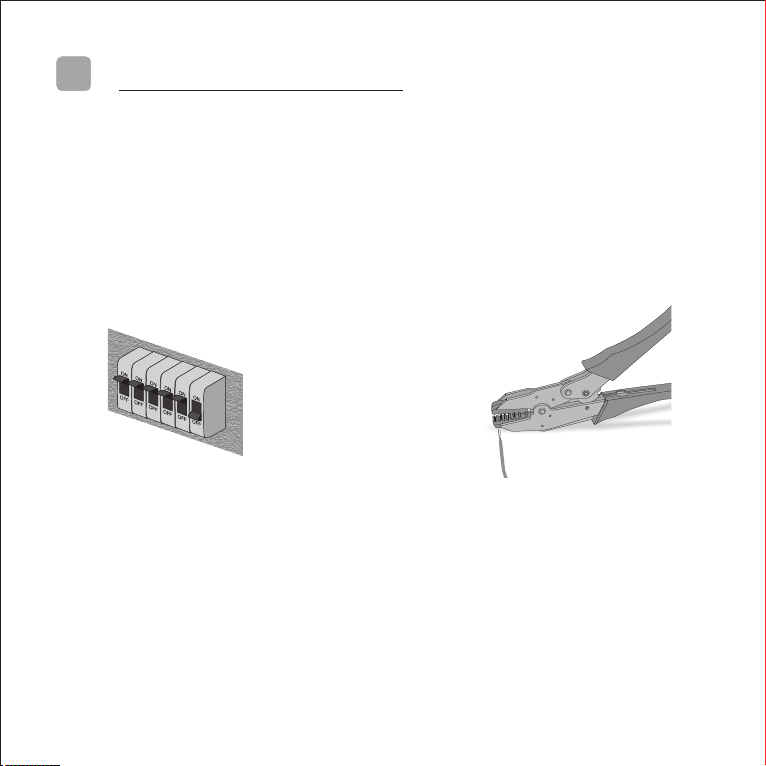
پ Turn off the respective circuit
breaker. Do not try to install the
device while the circuit breaker is on.
It may not only put your safety at risk
but also the sparks produced while
securing the wires may shorten the
life of some components within the
device.
‚ Use a crimping tool to secure the
wire ferrules supplied with the device
on the wires to prepare them to be
screwed into the terminals. The
recommended wire size is AWG16
(1.5 mm diameter), but wires up to
AWG12 (2.5 mm diameter) may also
be used in the thermostat terminals.
Table des matières
Autres manuels CLIMASET Thermostat


Manuels Thermostat populaires d'autres marques

EWELLY
EWELLY EW-181 Manuel utilisateur

Prolon
Prolon T1100 Instructions d'installation

Computherm
Computherm Q20 Manuel utilisateur

Heatmiser
Heatmiser neoStat Manuel utilisateur

Aube Technologies
Aube Technologies TH111GFCI-NP 240 VCA Manuel utilisateur

Mars
Mars HEAT CONTROLLER IR Wireless Thermostat Manuel utilisateur


