
Clean Logix EPX-TM Manuel utilisateur

USER
MANUAL
MODEL NUMBER:
Tote Mixer Delivery System
English (Original Instrucons)
Updated: 07/18/2018
EPX-TM
USER MANUAL: Tote Mixer Delivery System (EPX-TM)
READ ALL INSTRUCTIONS BEFORE OPERATING EQUIPMENT
Page 2 of 25 Last Update: 07/18/2018
General
Specicaons
Requirements
Installaon Instrucons
Conguraon
User Management
Scale Calibraon
Chemical Conguraon
Pump Priming
Creang Recipes
Operaon
Dispensing a Recipe
Reporng
Advanced Funcons
Alarms
Troubleshoong
Maintenance
Appendices
Parts Callout
Electrical Schemac
03
03
04
06
07
08
09
10
12
14
16
17
18
19
20
25
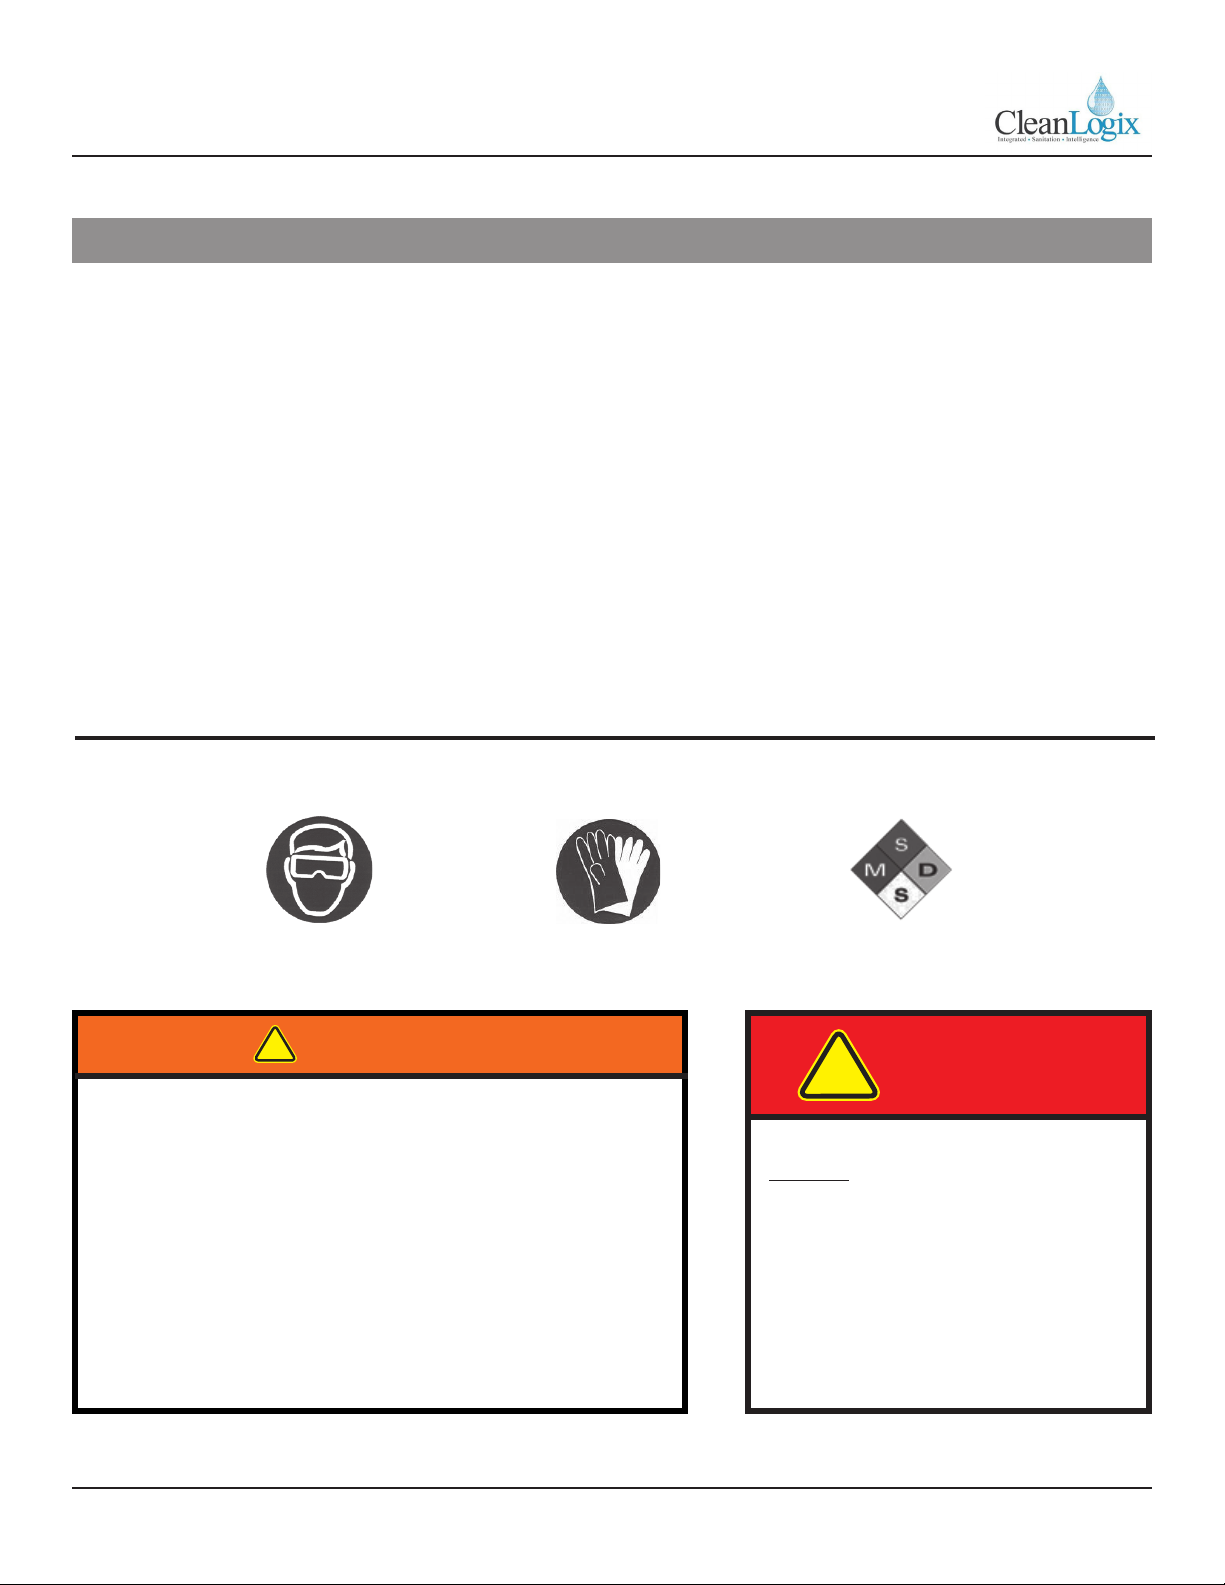
!
WARNING:
1. Avoid contact of chemicals with skin and eyes. If contact
occurs, see MSDS sheet for further rst aid measures.
2. Always wear appropriate PPE
3. Follow safety instrucons of chemical manufacturer
(MSDS).
4. Always follow plant and OSHA guidelines about the use
of equipment.
5. Disconnect power and shut o compressed air and
water supply before servicing equipment.
DO NOT plumb incompable
chemistries on the same system.
If incompable chemistries are to
be used, a second system must be
installed.
DANGER:
!
Table of Contents

USER MANUAL: Tote Mixer Delivery System (EPX-TM)
READ ALL INSTRUCTIONS BEFORE OPERATING EQUIPMENT
Page 3 of 25 Last Update: 07/18/2018
General
Installaon
OperaonAppendix Maintenance ConguraonTroubleshoong
Dimensions:
• Width: 48” (1,219.2 mm)
• Depth: 19” (724 mm)
• Height: 71” (1,803 mm)
• Weight: 287 lb. (130 kg)
*not including oor scale
• Floor Scale: 48" x 48" (1,219.2 x 1,219.2 mm)
Compressed Air Supply:
• 10CFM @ 80psi minimum (controls)
• 25 CFM @ 80psi minimum (1 in. pump)
• 100 psi maximum supply pressure
• 3/8” push-to-connect ng
RECOMMENDED REGULATOR SETTING 80 PSI.
Water Supply:*
• Cold Potable Water
• 7GPM @ 35 PSI minimum
• 100 psi maximum supply pressure
• ¾” hose barb ng
RECOMMENDED REGULATOR SETTING 50 PSI.
Electrical Connecon:
• 110 VAC, 5A, Single Phase, 60 Hz
• GFCI Outlet
• Surge suppression recommended
• NEMA 5-15 plug and 8 . cord supplied with unit
Weigh Scale Resoluon: 5000 lb. capacity (2,268 kg)
Accuracy, typical, tested with water at 70 degrees F,
100kg load cell, with calibrated overshoot:
• Flojet G56/P56 ¼” AODD pump @ 70 psi: +/- 4 oz
or 2% of dispense volume, whichever is greater
• Graco Husky 515 ½” AODD pump @ 70 psi: +/- 8
oz or 2% of dispense volume, whichever is greater
Materials of Construcon:
• Check valves: Glass lled polypropylene body,
Hastelloy spring, Viton seals
• Control Valves: Polypropylene body, EPDM seals
• Pump: Polypropylene body, Teon diaphragm,
Teon seals
• Fings: Glass lled Polypropylene
• Manifolds: Polypropylene
• Fluid Hoses: Reinforced PVC
• Tubing: LDPE
• Frame: HDPE
• Fasteners: 316SS / 18-8SS
• Enclosures: 316SS
• Floor Scale: Mild Steel
Specicaons Requirements
NOTE: Dispense volume accuracy for pumps
other than listed above must be determined
via tesng and is the responsibility of the end
user or system integrator.
NOTE: A backow preventer must be installed
in the water supply to this unit, per local
codes.

USER MANUAL: Tote Mixer Delivery System (EPX-TM)
READ ALL INSTRUCTIONS BEFORE OPERATING EQUIPMENT
Page 4 of 25 Last Update: 07/18/2018
Installaon Instrucons

USER MANUAL: Tote Mixer Delivery System (EPX-TM)
READ ALL INSTRUCTIONS BEFORE OPERATING EQUIPMENT
Page 5 of 25 Last Update: 07/18/2018
General
Installaon
OperaonAppendix Maintenance ConguraonTroubleshoong
Install Tower:
Set unit in desired locaon. Ensure the structure is
level in all direcons and is not twisng or exing. If
possible, it is recommended to aach the tower to a
wall or large shelving rack.
Connect Compressed Air:
Using 3/8" LDPE tubing or similar, connect
compressed air supply to the unit via the push-
to-connect ng as shown in [Figure 5.2] to the
Solenoid system's regulator. Connect a separate,
dedicated tube for the 1 in. Pump.
Connect Electrical Supply:
The unit is supplied with an 8' power cord and a
NEMA 5-15P grounded plug end. Connect the unit to
a GFCI protected outlet. A surge suppression device is
recommended.
Plumb Pumps:
Remove the shield to access the included pumps
[Figure 5.2].
Using 3/4" hosing or similar, connect the supply lines
for the pump to their included hose bards and secure
in place with hose clamps. [Figure 5.3].
Figure 5.1: Compressed Air Connecon
Figure 5.2: Removing shield
Installaon Instrucons (connued)
NOTE: Install the tower in a locaon where
the chances of being dripped on or sprayed by
chemicals or water is minimized. Do not install
in a locaon that will exceed 100 degrees F for
extended periods of me.
NOTE: If the system has not yet been
congured, it does not maer which pump is
plumbed to which chemical. (see page 8 for
Chemical Conguraon).
Figure 5.3: Pump hose barbs

USER MANUAL: Tote Mixer Delivery System (EPX-TM)
READ ALL INSTRUCTIONS BEFORE OPERATING EQUIPMENT
Page 6 of 25 Last Update: 07/18/2018
1. Using the HMI, login to the System using the on-
screen keyboard
2. Navigate to the MAIN MENU
3. Select USER ACCOUNTS [Figure 10.2]
4. Enter informaon as necessary for the following
procedures [Figure 6.3]:
Add User:
1. Enter USERNAME.
2. Assign to GROUP.
3. Set PASSWORD.
4. Select SAVE USER to add the user to the
system.
Change Password:
1. Enter USERNAME.
2. Enter CURRENT Password.
3. Enter NEW Password and CONFIRM.
4. Select SAVE PASSWORD to update.
Delete User:
1. Select USERNAME to be deleted from drop
down menu.
2. Select DELETE USER to conrm selecon and
delete the user from the system.
User Management
Figure 6.3: User Accounts Screen
Figure 6.2: Main menu, admin level
Figure 6.1: Login Screen Pop-Up
NOTE: Please contact your distributor for
administrave login credenals.

USER MANUAL: Tote Mixer Delivery System (EPX-TM)
READ ALL INSTRUCTIONS BEFORE OPERATING EQUIPMENT
Page 7 of 25 Last Update: 07/18/2018
General
Installaon
OperaonAppendix Maintenance ConguraonTroubleshoong
1. On the HMI, log in as an administrator.
2. Click the Home icon and navigate to TANK A >
TANK A SCALE CALIBRATION [Figure 7.1].
3. Click ENABLE CALIBRATION
4. Ensure nothing is on the scale. Do not touch the
scale while calibrang!
5. Click the SET ZERO buon.
6. Place a calibrated weight of a known value onto
the oor scale. Use cauon to make sure the
weight does not shi or fall [Figure 7.2].
7. Enter the exact value of the weight into the
ENTER TEST WEIGHT box, then click SET SPAN.
8. Verify that the scale is reading the correct values
by liing the weight o of the scale and placing
it back onto the scale while watching the LIVE
WEIGHT readout.
Figure 7.1: Tank A Menu
Scale Calibraon
NOTE: Clean Logix recommends the use of a
calibrated weight between 50 - 80 lbs (22 -
37 kg). Lighter weights can cause inaccurate
dispenses!
Figure 7.2: Scale Calibraon Screen
NOTE: Other opons will remain grayed out
unl ENABLE CALIBRATION is selected.

USER MANUAL: Tote Mixer Delivery System (EPX-TM)
READ ALL INSTRUCTIONS BEFORE OPERATING EQUIPMENT
Page 8 of 25 Last Update: 07/18/2018
1. On the HMI, log in as an administrator.
2. Click the Home icon and navigate to the TANK A >
CHEMICAL CONFIGURATION [Figure 8.1].
3. Click on a list item and enter a CHEMICAL NAME
and a SPECIFIC GRAVITY for each output that is
connected to a pump. [Figure 8.2]
If only pounds per gallon is known (PPG),
specic gravity can be calculated using this
formula:
Specic Gravity = PPG/8.3
Chemical Conguraon
NOTE: PREACT WT. can be le at zero for now.
It will be calibrated later in the "Calibrate
Pump Overshoot" step of this manual.
Figure 8.2: Chemical Conguraon Screen
Figure 8.1: Tank A Menu

USER MANUAL: Tote Mixer Delivery System (EPX-TM)
READ ALL INSTRUCTIONS BEFORE OPERATING EQUIPMENT
Page 9 of 25 Last Update: 07/18/2018
General
Installaon
OperaonAppendix Maintenance ConguraonTroubleshoong
1. Ensure air pressure is being supplied to the unit
and all of the Installaon Steps are completed.
2. On the HMI, log in as an administrator.
3. Click the Home icon and navigate to TANK A >
MANUAL > CHEMICAL PUMPS [Figure 9.1].
4. Make sure the ll wand's ball valve is open and
the wand is contained to catch the ow from the
pump.
5. Click MANUAL next to the chemical pump which
you would like to prime. The pump will run.
6. Once chemical begins to ow out the ll wand,
click AUTO to turn the pump o.
7. To prevent mixing of chemistry the manifold,
hose, and ll wand can be manually ushed with
water. To ush the system, select MANUAL for
TANK A WATER FILL VALVE.
8. Repeat above steps for addional chemicals, if
applicable.
Pump Priming
!
WARNING:
Pressing the MANUAL key on this screen will
cause the output to turn on and the pump to
run! Wear PPE and be ready to contain the
ow of chemical in an appropriate vessel!
Figure 9.3: Manual Chemical Pumps Screen
Figure 9.1: Manual Sub-Menu
Figure 9.2: Fill Wand ball valve (shown open)

USER MANUAL: Tote Mixer Delivery System (EPX-TM)
READ ALL INSTRUCTIONS BEFORE OPERATING EQUIPMENT
Page 10 of 25 Last Update: 07/18/2018
Recipe Structure:
A recipe is a sequence of steps to perform a delivery
procedure. There are 5 types of Steps:
1. NONE - This is a "blank" step, and will be skipped.
2. CHEMICAL - Pumps product from the specied
CHEMICAL. Requires a DISPENSE METHOD to be
chosen. Available DISPENSE METHODs are:
• VOLUME - Requires a value to be entered into
the VOLUME eld. The unit will dispense this
amount based on Calibraon sengs.
• TIME - Requires a value to be entered in the
TIME eld. The unit will dispense into the tank
for this amount of me.
3. WATER FILL - Pumps water from the specied 1
in. Pump. Requires a TIME or VOLUME value to be
specied (see above for Dispense Methods).
4. NULL - Can be used for a me delay. All elds are
ignored except the TIME eld. Specify the amount
of me to delay before the next Step.
5. ACKNOWLEDGE - Requires a user to
acknowledge a popup request on the HMI before
proceeding to the next Step. (All elds are hidden)
Recipes
Table des matières
Autres manuels Clean Logix Équipement de nettoyage

Clean Logix
Clean Logix BLX-400 Manuel utilisateur

Clean Logix
Clean Logix ALX-OMNI-LITE Manuel utilisateur

Clean Logix
Clean Logix ALX-PRO Manuel utilisateur

Clean Logix
Clean Logix BLX-800-GEN2 Manuel utilisateur

Clean Logix
Clean Logix BLX-1000-GEN2 Manuel utilisateur

Clean Logix
Clean Logix BLX-700-GEN2 Manuel utilisateur

Clean Logix
Clean Logix BLX-900S-GEN2 Manuel utilisateur

Clean Logix
Clean Logix BLX-600-GEN2 Manuel utilisateur


