Alfalink EI-839x Manuel utilisateur

1
EI-839x Instruction Manual
Thank you for purchasing the ALFALINK EI-839x. Please read this manual carefully to familiarize yourself
with the ALFALINK EI-839x’s features, and to ensure years of reliable operation.
NOTI E
We assume no responsibility for any damage or loss resulting from the use of this manual.
We strongly recommend that separate, permanent printed records be kept of all data. Under certain
circumstances, such as exposure to an electrostatic discharge, data may be lost or altered, or the unit may become
inoperative until reset. Therefore, we assume no responsibility for data lost or otherwise rendered unusable,
whether as a result of improper use, repair, battery replacement, or use after the specified battery life has expired
from similar causes.
We assume no responsibility, directly or indirectly, for financial losses or claims from third persons resulting
from the use of this product and all of its functions, such as stolen credit card numbers, the loss or alteration of
stored data, etc.
This product was not designed to bend or survive extreme touchure. Do not carry it in your trouser pockets.
When in a bag or briefcase, make sure that it is stationary and well padded and protected.
Do not apply harsh chemicals or water to the display. Do not store the product in environments where
temperature ranges can be extreme.
The information provided in this manual is subject to change without notice.
SAFETY TIPS
The ALFALINK EI-839x should be protected from rain and moisture. Treat the ALFALINK EI-839x as you
would other electronic devices.
Do not drop your ALFALINK EI-839x or subject it to strong impacts.
Protect your ALFALINK EI-839x from extreme temperatures.
BATTERY INSTALLATION
Before you start using the ALFALINK EI-839x, you must install the two included R2032 Lithium batteries
which were included with the ALFALINK EI-839x. heck the back of ALFALINK EI-839x. You will see the
battery compartment door. Remove the battery compartment door. Install the batteries with the + sign on the
battery facing you. After you have installed the batteries, put the battery compartment door back on the unit.
IMPORTANT INFORMATION - USING YOUR EI-839x FOR THE FIRST TIME
YOU MUST RESET YOUR ALFALINK EI-839x BEFORE USING IT FOR THE FIRST TIME!
You must reset your ALFALINK EI-839x before using it for the first time. After installing the batteries, you
should see a message in the screen that says “Full Reset” and “Refresh”. YOU MUST SELE T “Full Reset” TO
FULLY RESET THE UNIT.
If you do not see the “Reset ?” screen, insert a pointed object, such as a pencil point or the open end of a
paperclip into the RESET hole located on the back of the unit. Press lightly until the ALFALINK EI-839x
displays “Full Reset” and “Refresh”. Select “Full Reset” to reset the ALFALINK EI-839x.
Note: Battery voltages are constantly monitored; a low battery warning message will show when the power level
gets too low. Replace the batteries when this message is displayed. You can change the battery without losing
2
any information. Do not try to operate the ALFALINK EI-839x with a low battery; data can be corrupted or
lost.
Main Menu
You may activate the functions on the EI-839x by pressing the appropriate key on the keyboard. A more
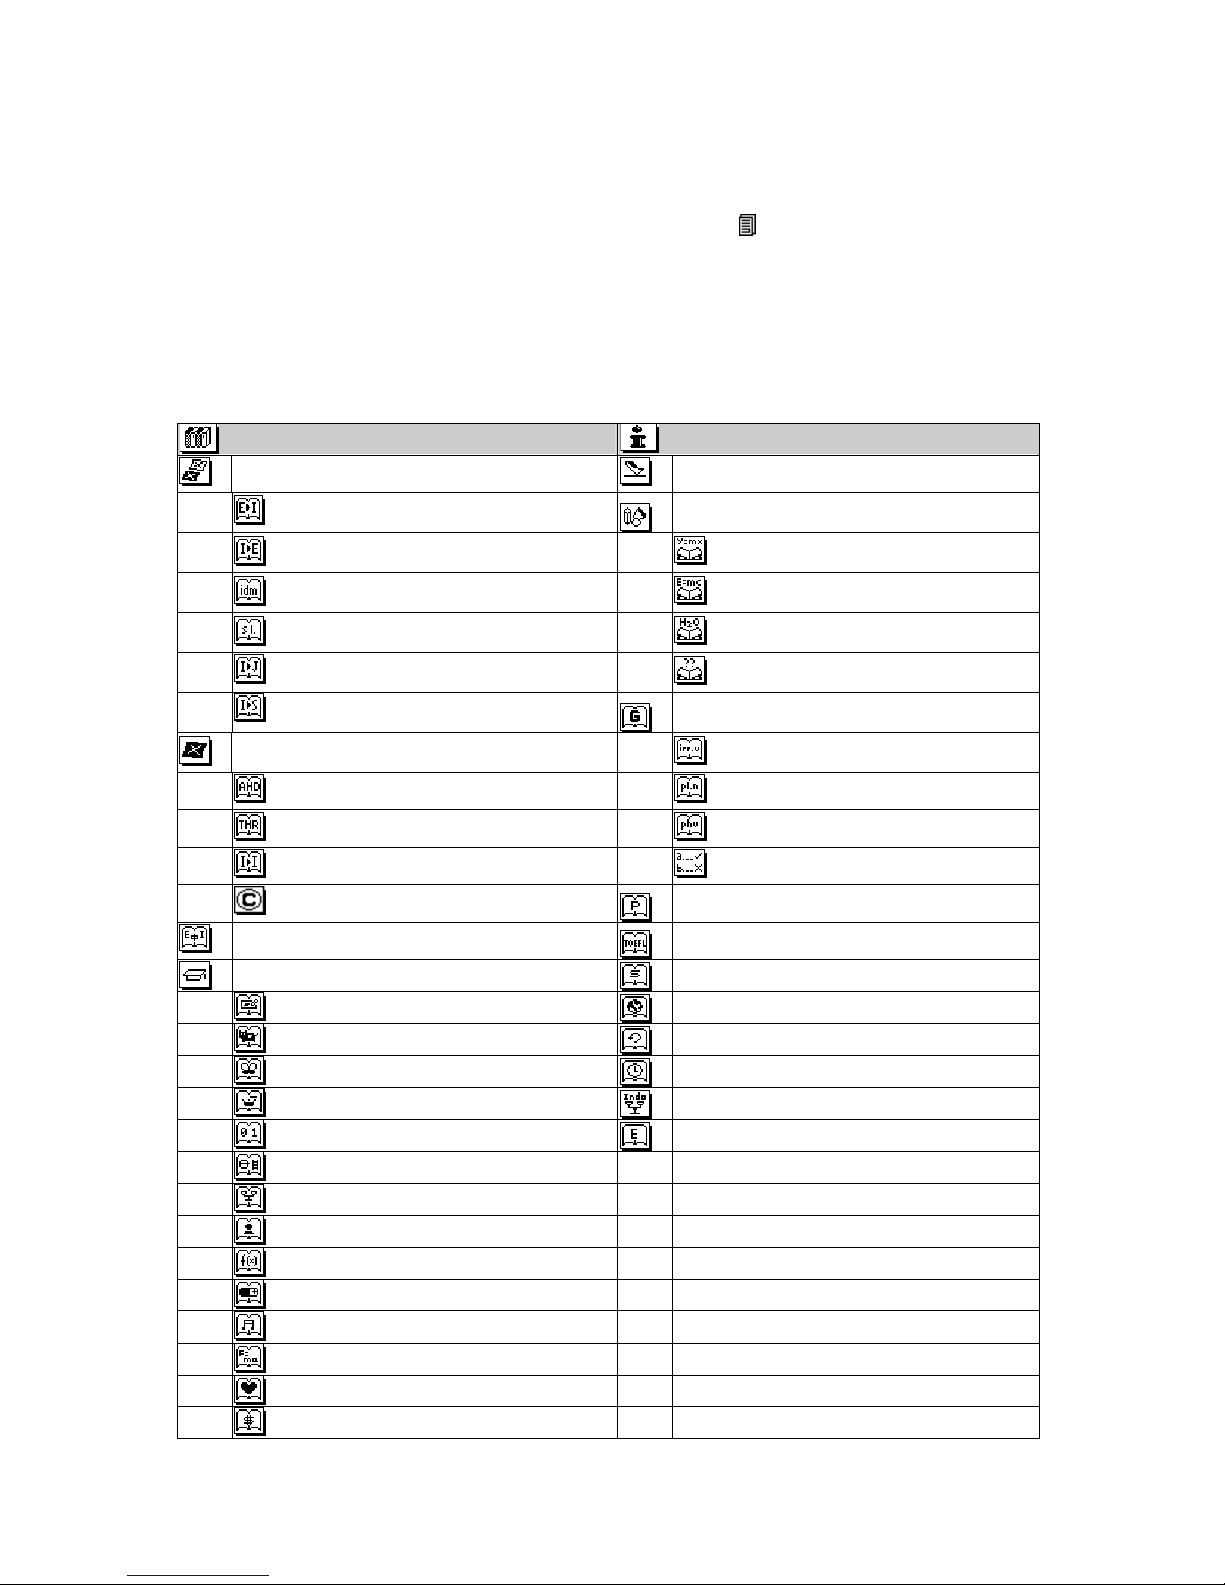
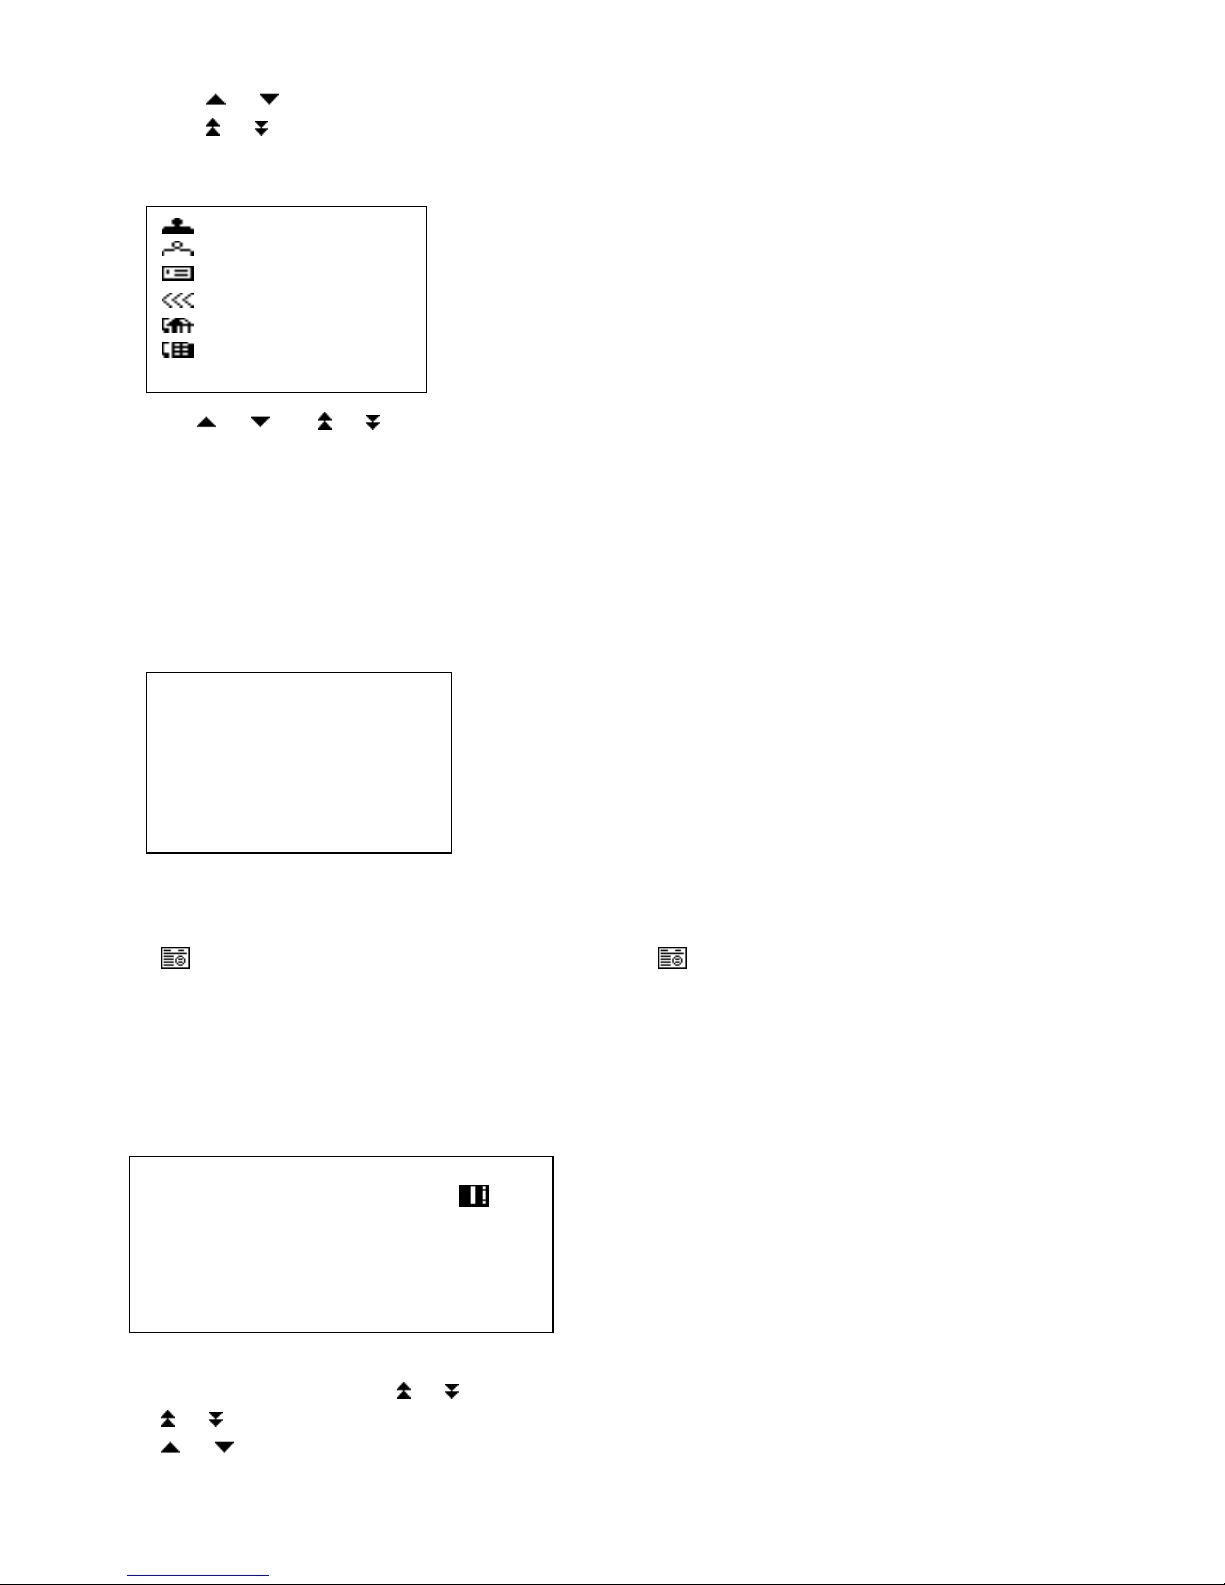
complete listing of the functions can be accessed by pressing the [ ] key. Those functions are as follows:
ontact book, Scheduler, Todo, Note Pad, Finance Manager, Anniversary, alendar, lock, Alarm, ount Down
Timer, Stop Watch, Dictionary, Airport odes, Formulae, English Grammar, Multi-languages Phrases, TOEFL
vocabulary, Speller, Geographical Information, History of Indonesia, Timeline of Indonesia History, UUD 45
Indonesian Law, Ebook, Scientific alculator, Metric onversion, urrency onversion, Mortgage alculator,
Future Value alculator, Games, Defragmentation (Memory Optimization), Memory Usage, Password, and
System Preferences. All the above functions are grouped into seven sub-menus, which are:
Dictionar
ies
Center
Reference
Center
Billin ual Dictionaries Airport Codes
E ► I ( Drs. Peter Salim, M.A.) Formulae
I ► E ( Drs. Peter Salim, M.A.)
Mathematics
Idiom Dictionary Physics
Slang Dictionary hemistry
Indonesian-Javanese Dictionary Formulae Search
Indonesian-Sundanese Dictionary Grammar
Monlin ual Dictionaries Irregular Verbs
E►E American Heritage Dictionary Plural Nouns
E►E Roget’s Thesaurus Phrasal Verbs
Indo–Indo Dictionary Grammar Test
opyright message Multi-Lan ua es Phrases
Tri-lin ual Dictionary TOEFL
Professional Dictionaries Spell
Accounting / Business Dictionary
Geo raphical Information
Agriculture Dictionary
History of Indonesia
Biology Dictionary
Timeline of Indo History
hemistry Dictionary
UUD 45 Indonesian Law
omputer Dictionary
Ebook
Engineering Dictionary
Law Dictionary
Management Dictionary
Mathematics Dictionary
Medical Dictionary
Music Dictionary
Physics Dictionary
Psychology Dictionary
Trading Dictionary
3
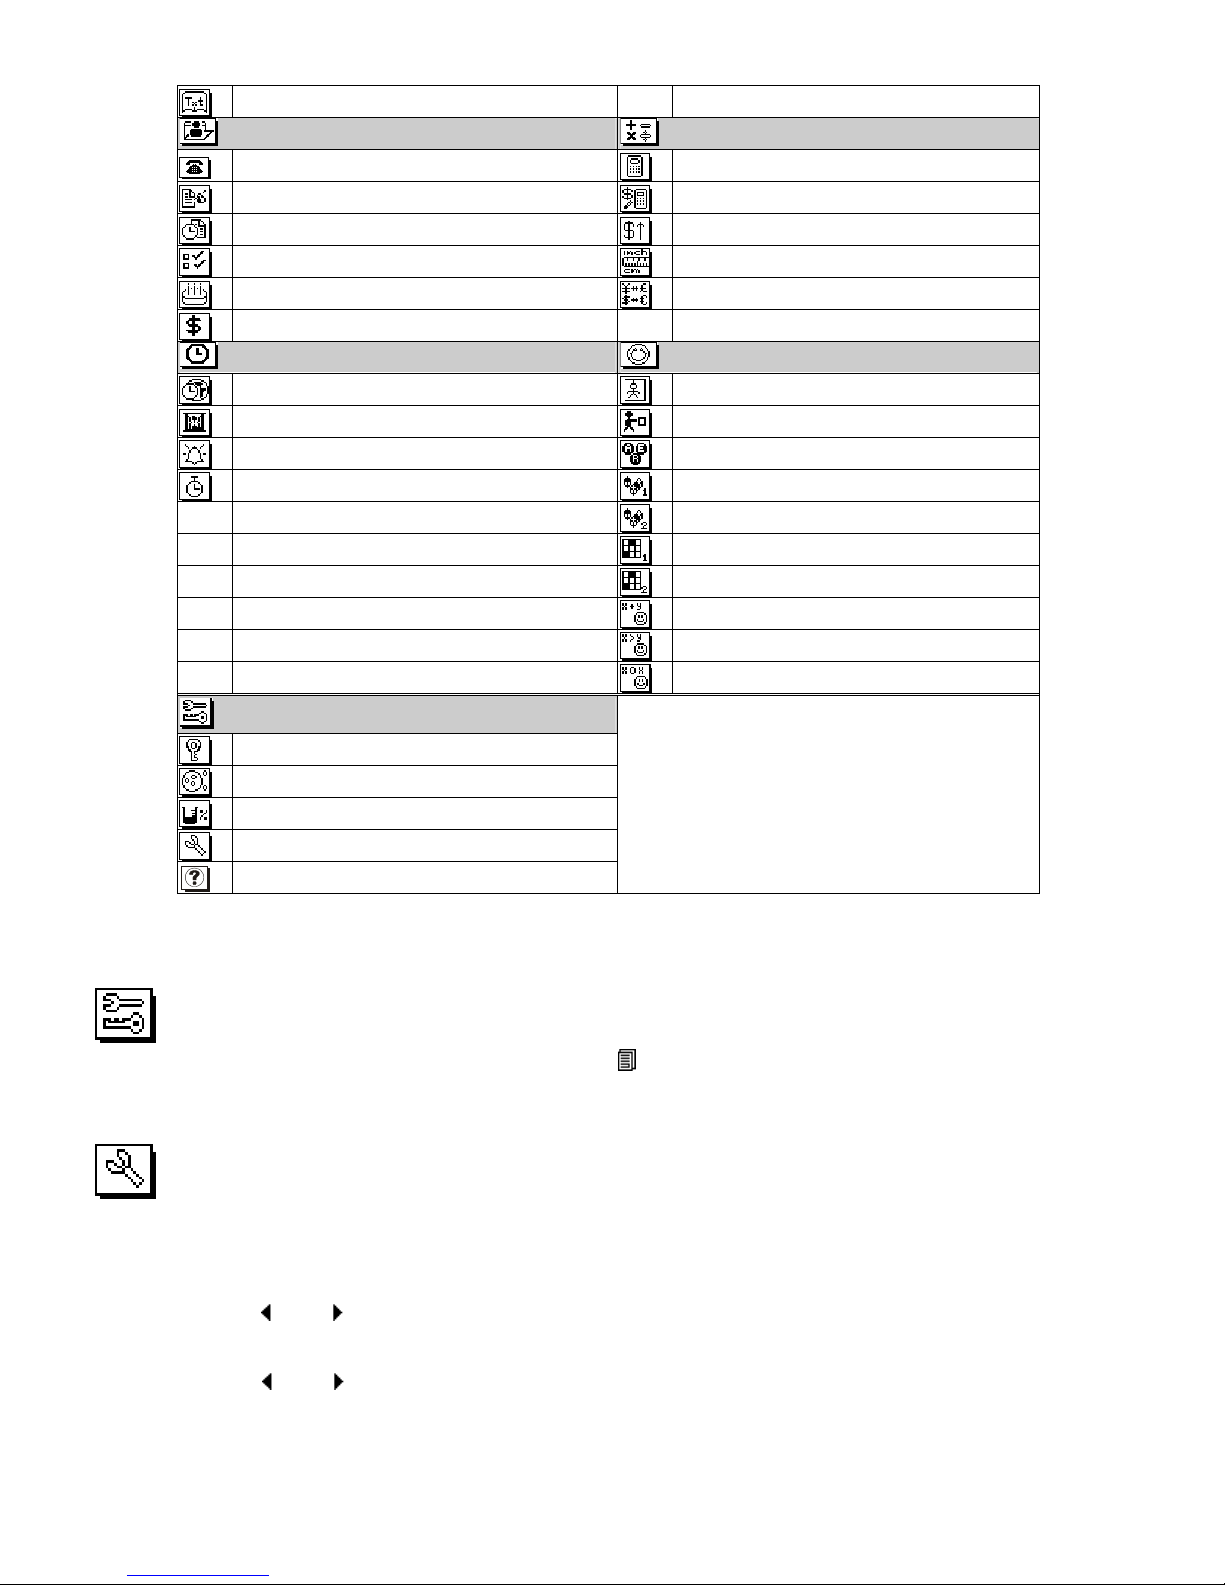
Text Menu
Personal In
fo Mana er
Multi
–
F
unction Calculator
ontact Book Scientific alculator
Note Pad Mortgage alculator
Scheduler Future Value alculator
To Do Metric onversion
Anniversary urrency onversion
Finance Record
T
imer Center
Game Center
Local/World Time Hangman Game
Timer Warehouse
Alarm Word Scramble
Stop Watch Match Words Game 1
Match Words Game 2
List Words Game 1
List Words Game 2
Arithmetic fun
Logic drill
Memory drill
System Control Center
Password
Defragmentation
Memory
System
ustomer Service Info
Under main menu or sub-menu, press cursor keys to select the desired function and press [OK] to go into the
function.
System Control Center
In order to go to system control center, you can press the [ ] key and select the system control center icon.
Under this control center, you can adjust the factory setting of the unit, set up a password for security purpose, do
the defragmentation and keep track on the usage of the memory.
SYSTEM
Before you start to use the unit you may want to adjust the factory settings. To do this, go to the system control
center and select the system icon. There are six settings under this item. They are language, key tone, L D
contrast control, date format, hour format and auto shut off time
Language - press [ ] and [ ] key to select the prompt language. The two options are ENGLISH and
INDONESIA.
Key Tone - press [ ] and [ ] key to toggle the key tone on or off.
4
L D contrast - press [ ] and [ ] key to increase or decrease the L D contrast to a suitable value for easy screen
viewing.
Date format - press [ ] and [ ] key to select either M/D/Y or D/M/Y format.
Time format - press [ ] and [ ] key to select either 24-hour or 12-hour (am/pm) format.
Auto Shut-off – press [ ] and [ ] key to select from 1,2,3,4 or 5 minutes.
PASSWORD
Under the system control center, select the password icon to enter the password screen.
Assigning a Password
The EI-839x will prompt you to enter a new password.
Use the keyboard to enter the password.
The characters will be shown as * during entry.
Press [OK] key and the EI-839x will prompt you to confirm the new password by reentering it.
After entering password again, press [OK] key. Password is now assigned.
Entering the password is now required every time the EI-839x is turned on.
Deleting a Password
If a password is set and the user wants to delete it, go to the system control center and select the password icon.
The EI-839x will prompt you to enter your existing password.
Use the keyboard to enter the password and press [OK] key.
If correct password is entered, the screen message “Enter a new password” appear, press [OK] key to confirm
deletion.
Changing a Password
Go to the system control center and select the password icon.
The EI-839x will prompt you to enter your existing password.
Use the keyboard to enter the password and press [OK] key.
The EI-839x will prompt you to enter a new password.
You can assign a new password to the EI-839x. For security purposes, the entire unit can be locked from normal
view or use unless the proper password is entered. Keep a record of your password!
IF YOU FORGET YOUR PASSWORD THERE IS NO WAY TO ACCESS ANY HIDDEN RECORDS.
THERE IS NO "BACK DOOR" INTO THE SYSTEM. YOU MUST RESET THE EI-839x AND
CLEAR ALL MEMORY.
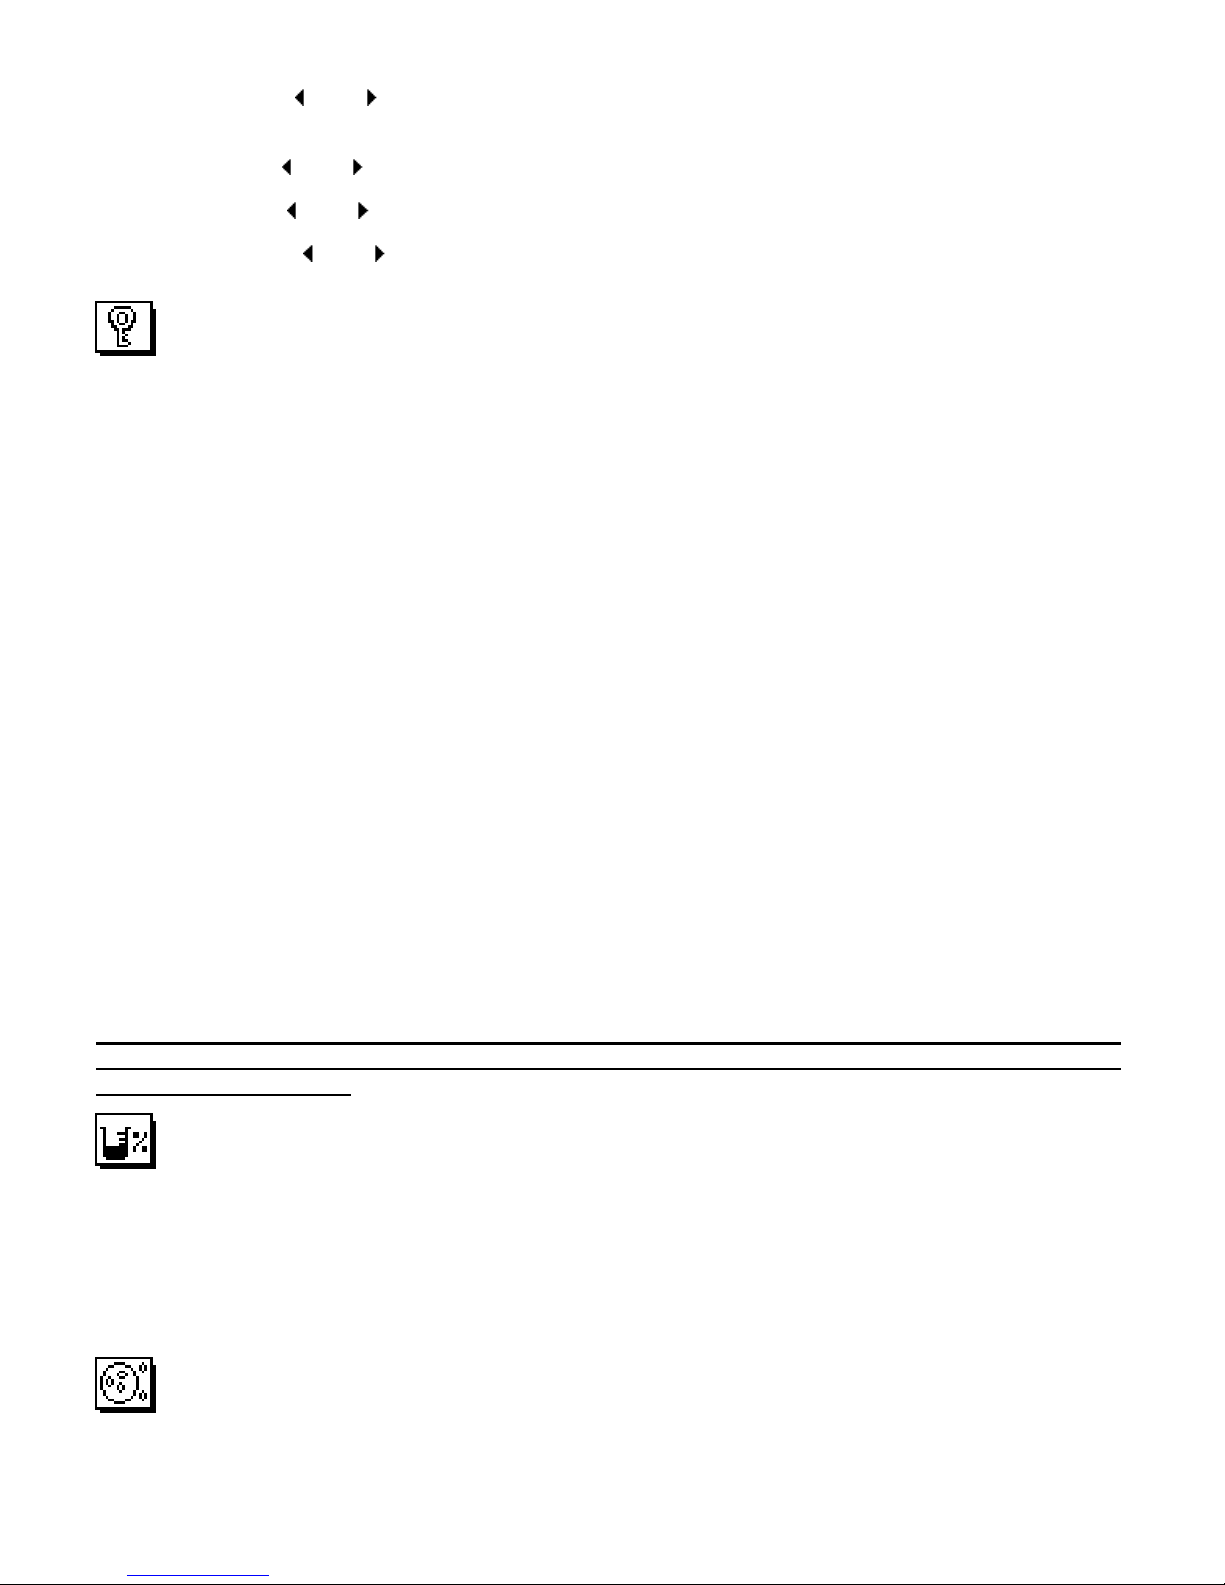
MEMORY
There are two options under this item. The first one is the “memory used” and the second one is the “memory
initialize”.
The “memory used” function allows you to keep track of the memory space. Memory is shown as percentage
used.
The “memory initialize” function allows you to clear all the records in all applications.
DEFRAGMENTATION ( MEMORY OPTIMIZATION )
Perform this optimization regularly to optimize the usage and speed of the memory.
5
The process might take a few minutes. Once the procedure is started, do not turn the unit OFF. The unit will not
accept any input while the memory optimization is processing.
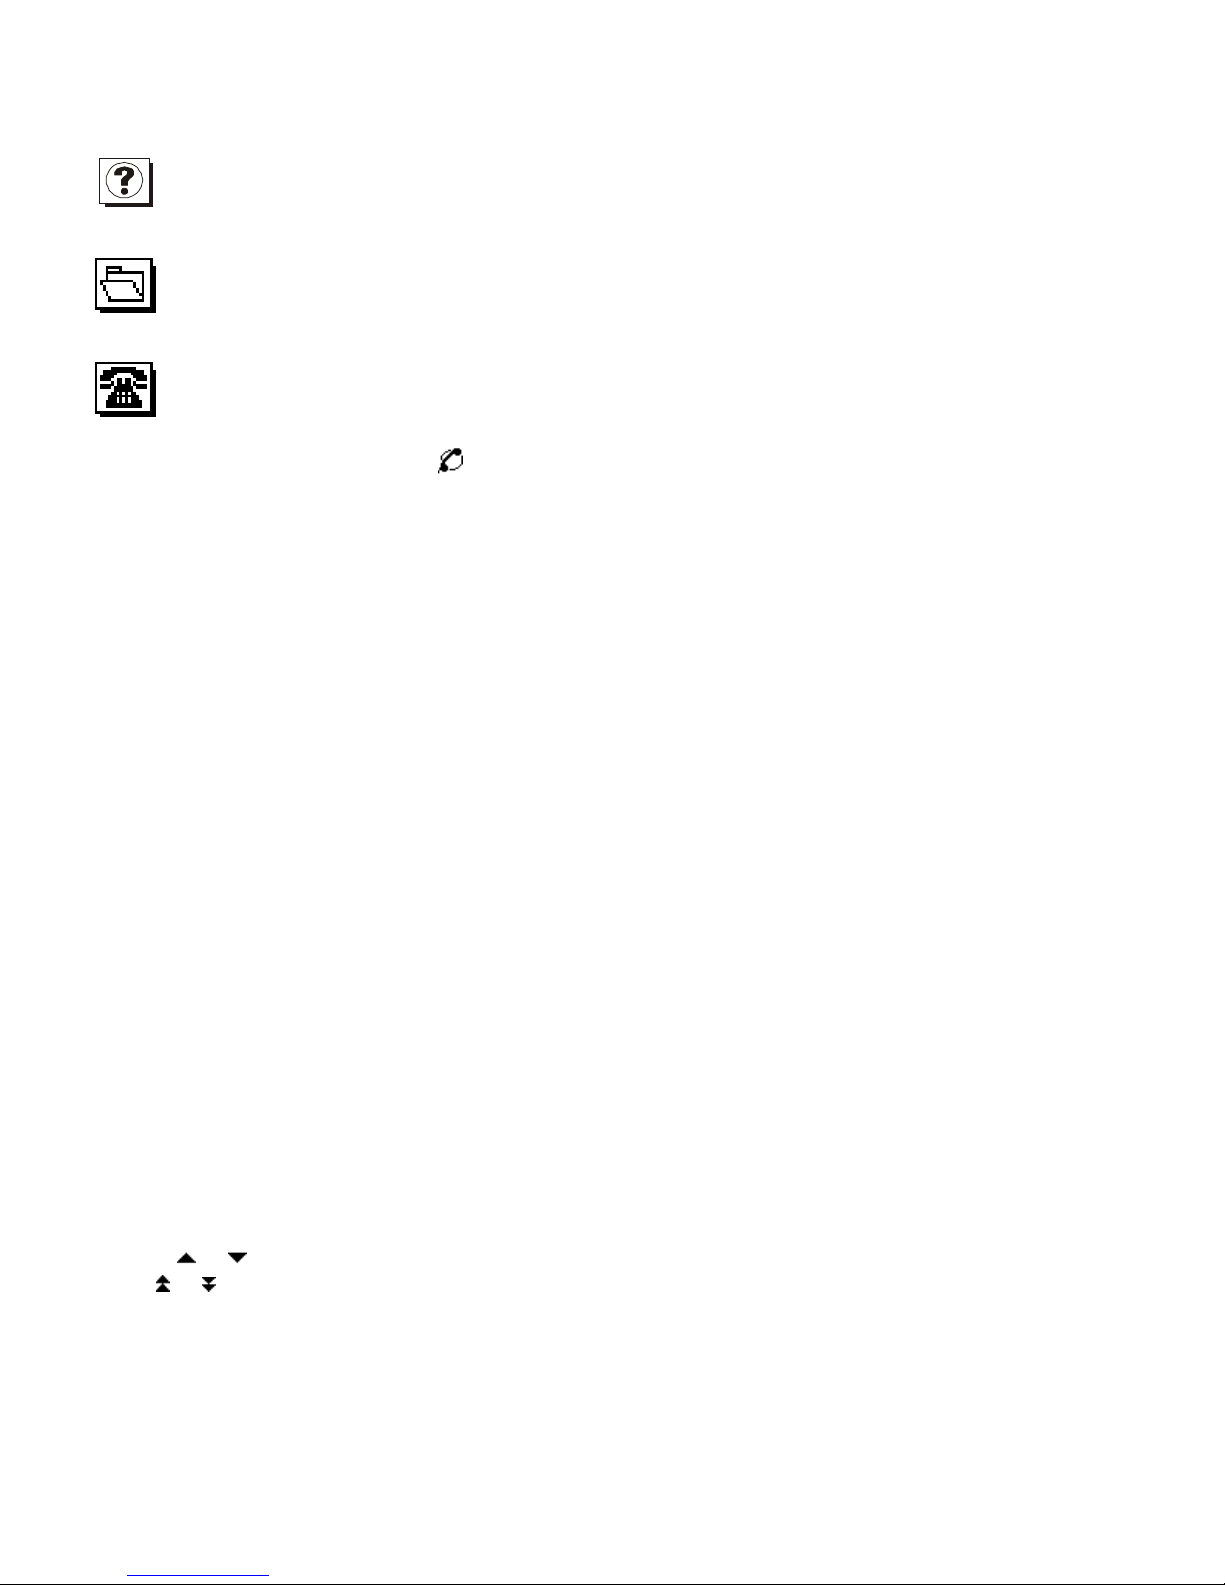
Customer Service Information
Select this icon in the system control center to get the information of the customer service.
Personal Info Manager
There are six applications including contact book, note pad, scheduler, todo, anniversary and finance manager.
Contact Book
This application allows you to keep names, addresses, phone numbers, email address and other information
about your contacts. You can press [ ] key to go into it directly or select this application under the menu of
Personal Info Manager.
Each record consists of the following fields. Please note that you do not have to store information in all of the
fields. Simply press [OK] key at any time to save the record with the information you have entered.
Last name
First name
ompany
Title
TEL (H)
TEL (W)
Fax
Mobile
Pager
Email
Address
ity
State
Zip
Note
Phone list view shows the list of names, sorted alphabetically according to each name “Last Name, First Name”
stored in the record’s name field. To view the phone list sorted by ompany name, press [SPA E] key.
CREATING, EDITING AND DELETING CONTACT BOO RECORDS
Add a new record
Press [NEW] key to add a new record.
The cursor is ready for you to start entering characters in the last name field.
As soon as data is entered into a field, the field name disappears leaving the field icon at the beginning of the
line.
Use the [ ] / [ ] key to move the cursor to a different line.
Press [ ] / [ ] key on the upper right side of the unit to see more fields.
Press [SHIFT] key and then press [@] key to select special symbol.
Press [OK] key to save the information and return to the List mode.
Findin contact book record
There are several ways to find a contact book record. They are as follows:
• Press the alphabet keys on the keyboard to quickly move to the beginning of that group of letters.
6
• Press [ ] / [ ] key to scroll through a long list of contacts.
• Press [ ] / [ ] key to scroll through the list page by page.
Viewin contact book record
Switch from contact book list view to an individual record view by pressing [OK].
Press the [ ] / [ ] or [ ] / [ ] key to see more fields.
To go back to the list view, press [ES ] key.
Editin records
To edit a specific record, press [SHIFT] key and then press [NEW] key to start editing.
Enter new information.
Press [OK] key to save the information.
Deletin records
To delete a record, press [DEL] key and a delete screen will appear.
Press [OK] key to remove the record.
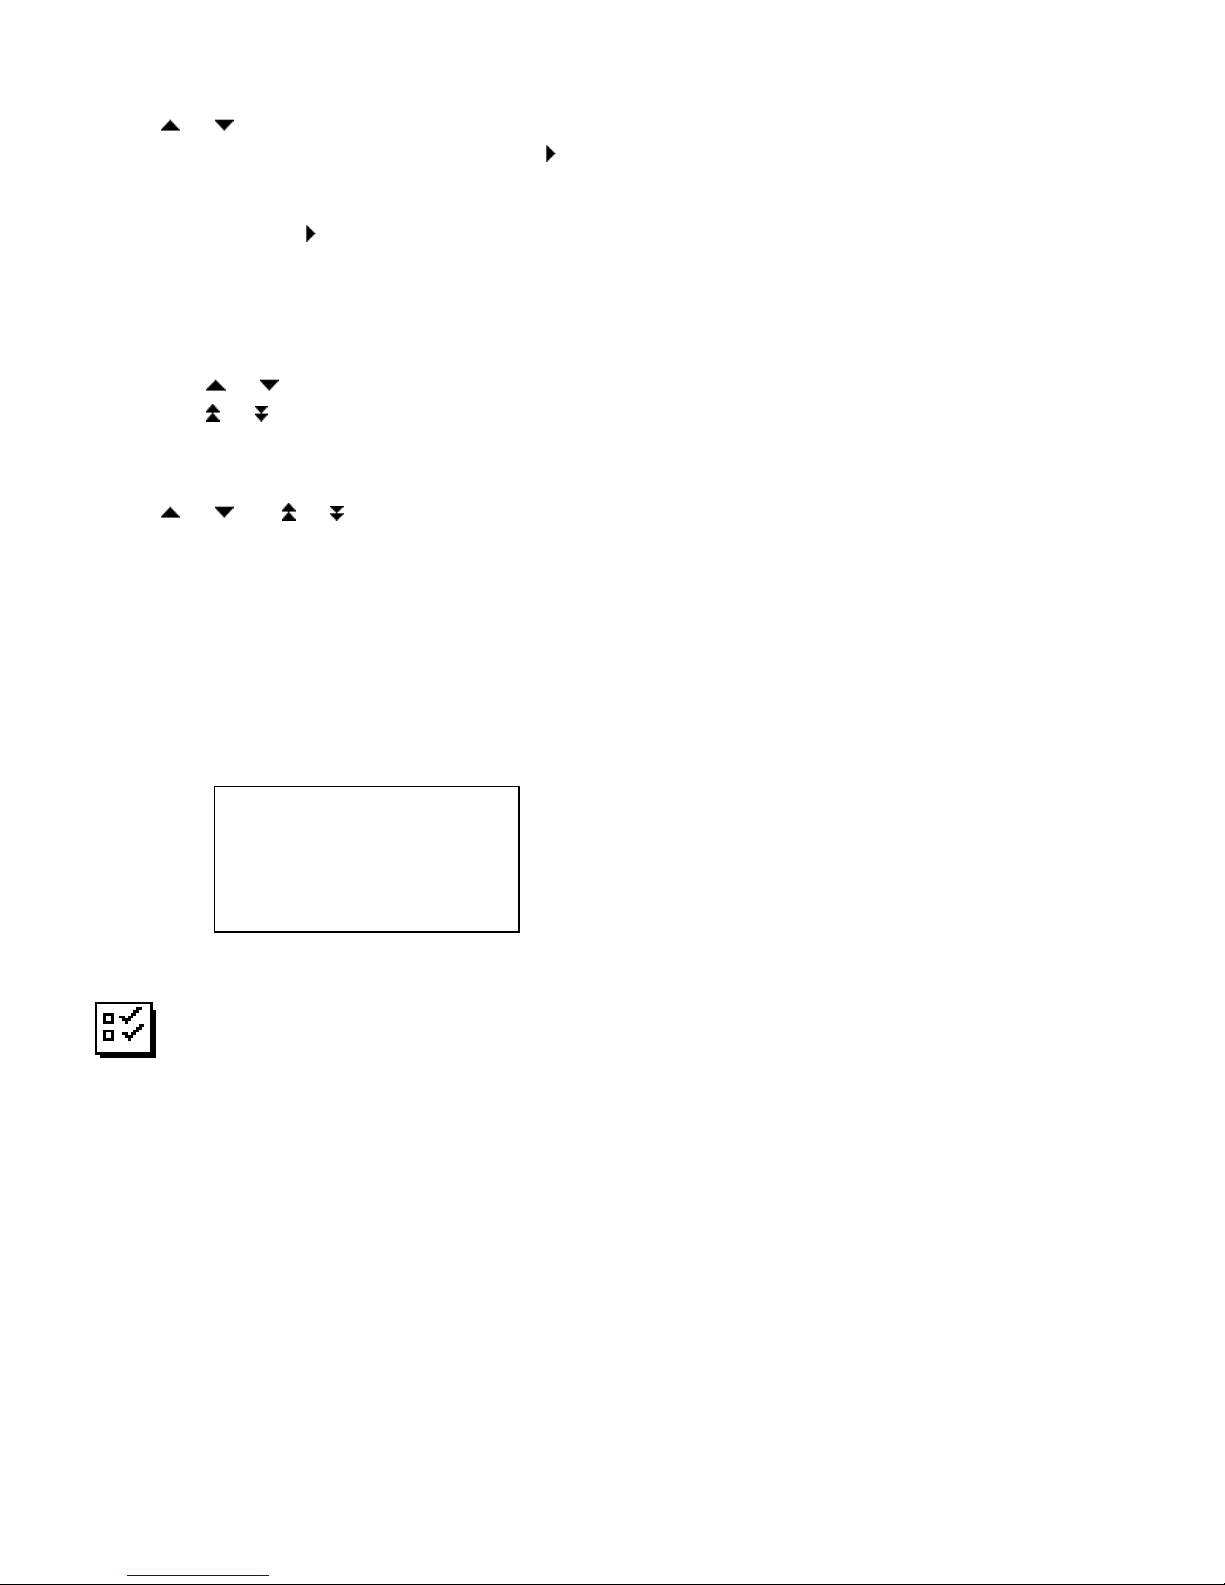
Calendar
Press [ ] key to enter the monthly planner mode. Press [ ] key again to toggle between the monthly,
weekly and daily planner.
The monthly planner function is used to view one month of scheduler, anniversary and todo activities.
DOTS next to a specific date indicate the type of events for that date.
A dot on the upper indicates anniversary event.
A dot in the middle indicates todo event.
A dot on the lower indicates scheduler event.
Findin the desired date in the calendar
Press [SHIFT] and then press [ ] / [ ] key to scroll one year at a time.
Press [ ] / [ ] key to scroll one month at a time.
Press [ ] / [ ] key to scroll one week at a time.
◄2012► S M T W T F S
◄ Jun►
2
3 4 5 6 7 8
9
10 11 12 13 14 15 16
17 18 19 20 21 22 23
24 25 26 27 28 29 30
31
Smith
Bob
Brilliant
Sr. Product Mgr.
732-627-9977
732-627-9978
Sure to delete the record?
OK = Delete
Esc = Do not Delete

7
Tap [ ] / [ ] key to scroll one day at a time.
The weekly planner function is used to view one week of scheduler, anniversary and todo activities.
Tap [ ] / [ ] key to scroll through the twenty-four hours time bar.
Tap [ ] / [ ] key to scroll one week at a time.
Tap [ ] / [ ] key to scroll one day at a time.
The daily planner function is used to view one day’s records listed in the following order:
anniversary
todo
scheduler
Creating, editing and deleting calendar records
Add a new record
Press the [NEW] key to add a new record.
Three options are provided. Select the option you wish to use and press [OK] key.
Add appointment
Add todo Task
Add anniversary
Follow the procedures used in adding a new scheduler record.
Findin calendar records
Press [SHIFT] and then press [ ] / [ ] key to scroll one year at a time.
Go to the specific date you are looking for and press [OK] key to see all events on that day.
• Touch the [ ] / [ ] key to scroll through the entries for that date.
• Touch the [ ] / [ ] key to scroll each page of the list at a time.
Viewin Records
Follow the procedures used in viewing scheduler records.
Editin and Deletin Records
Follow the procedure used in editing and deleting scheduler records.
Scheduler
This application allows you to keep track of important appointments. You can select this application under the
menu of Personal Info Manager.
Scheduler list mode
A scheduler record consists of:
Date
Start time
End time
alarm
Note
Scheduler list view shows the list of records, sorted chronologically according to the date and start time stored in
the record. To view the scheduler list sorted by Note, press [SPA E] key.
Creating, editing and deleting scheduler records
Add a new record
Press the [NEW] key to add a new record.
8
The cursor is ready for you to start entering characters in the note field.
Press [ ] / [ ] key to scroll through all fields
At the desired field (except note field), press [ ] key to change the information.
In date field, select a date from a provided calendar and press [OK] key to exit date editing.
In time field, enter the time value and press [OK] key to exit time editing
In alarm field, press [ ] key to toggle the alarm on /off.
Press [OK] key to save the information.
Findin scheduler records
There are several ways to find records in the scheduler application. They are as follows:
• Press the alphabet keys on the keyboard to quickly move to the beginning of that group of letters.
• Press [ ] / [ ] key to scroll through a long list of contacts.
• Press [ ] / [ ] key to scroll each page of the list at a time.
Viewin scheduler records
Switch from a scheduler list view to an individual record view by pressing [OK] key.
Press [ ] / [ ] or [ ] / [ ] key to see more data on the note if it exists.
To go back to the list view, press [ES ] key.
Edit record
To edit a specific record, press [SHIFT] key and then press [NEW] key to start editing.
Enter new information.
Press [OK] key to save the information and return to the view.
Delete record
To delete a record, press [DEL] key and a delete screen will appear.
Press [OK] key to remove the record.
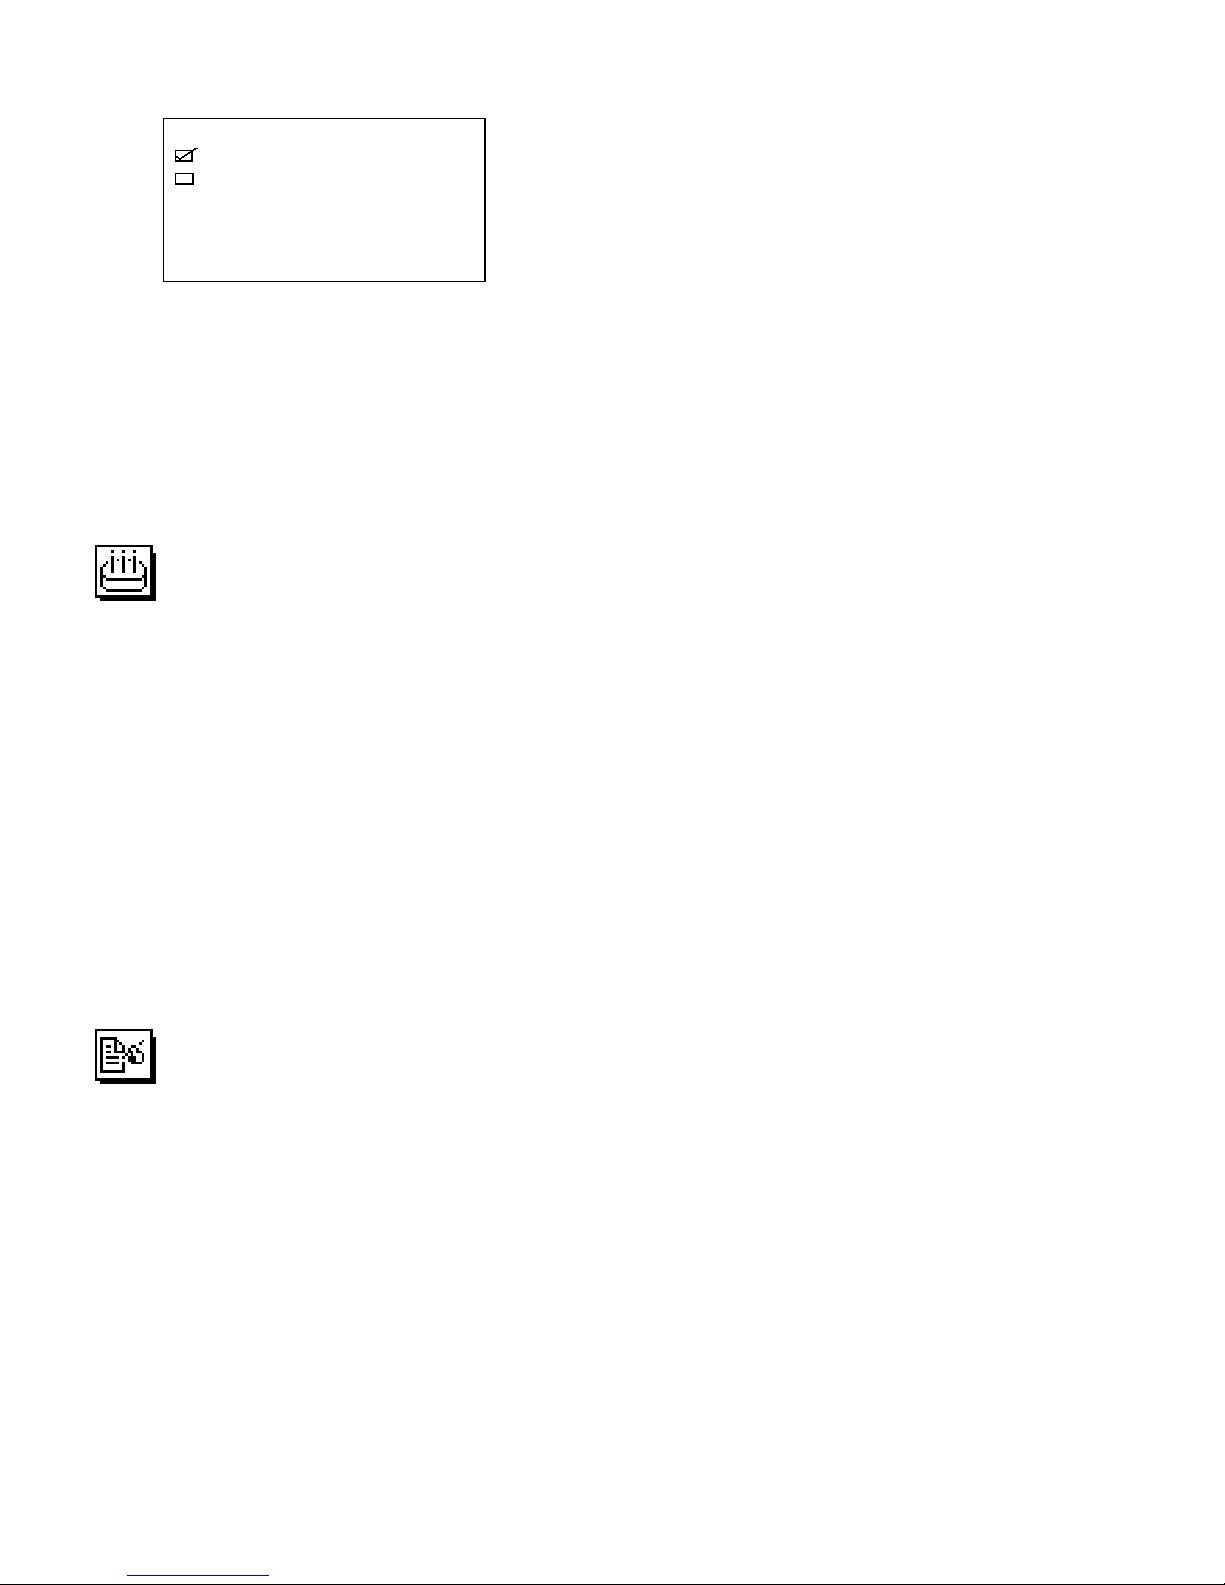
To Do
This application allows you to keep track of important tasks. You can select this application under
the menu of Personal Info Manager.
Todo list mode
A record consists of:
Due Date
Priority ranking from 1 to 5
Status of the task: Done/Pending
The details of the task
The Todo list has four columns. The first column shows the status. The second column shows the due date. The
third column shows the priority ranking and the last column contains note of tasks.
Sure to delete the record?
OK = Delete
Esc = Do not Delete
9
The sorting order of the Todo list can be toggled by pressing [SPA E] key.
The two sorting orders are due date and priority ranking
Findin and Viewin Todo records
Follow the procedures outlined in finding and viewing scheduler records.
There is no alphabetical search in todo.
C
reatin , Editin and Deletin Todo records
Follow the procedures outlined in creating, editing, deleting scheduler records.
Anniversary
This application allows you to keep track of important anniversary events. You can select this application under
the menu of Personal Info Manager.
Anniversary list mode
A record consists of:
Date
Alarm
The details of the anniversary
Anniversary list view shows the list of record, sorted chronologically according to the date (day and month only)
stored in the record. To view the anniversary list sorted by Note, press [SPA E] key.
Findin and Viewin Anniversary records
Follow the procedures outlined in finding and viewing scheduler records.
Creatin , Editin and Deletin Anniversary records
Follow the procedures outlined in creating, editing, deleting scheduler records.
Note Pad – (MEMO)
Note list mode
A note or memo record consists of:
Date (non-editable)
Time (non-editable)
Subject
Note
Note list shows the list of text memos, sorted by entry date. To view Note list sorted alphabetically by the subject
field, press [SPA E] key.
Findin and Viewin Note records
Follow the procedures outlined in finding and viewing scheduler records.
Creatin , Editin and Deletin Note records
Follow the procedure used in creating, editing and deleting scheduler records.
S Date P Todo
16-Dec-2011 3 Meeting
01-Feb-2012 1 Dinner
10
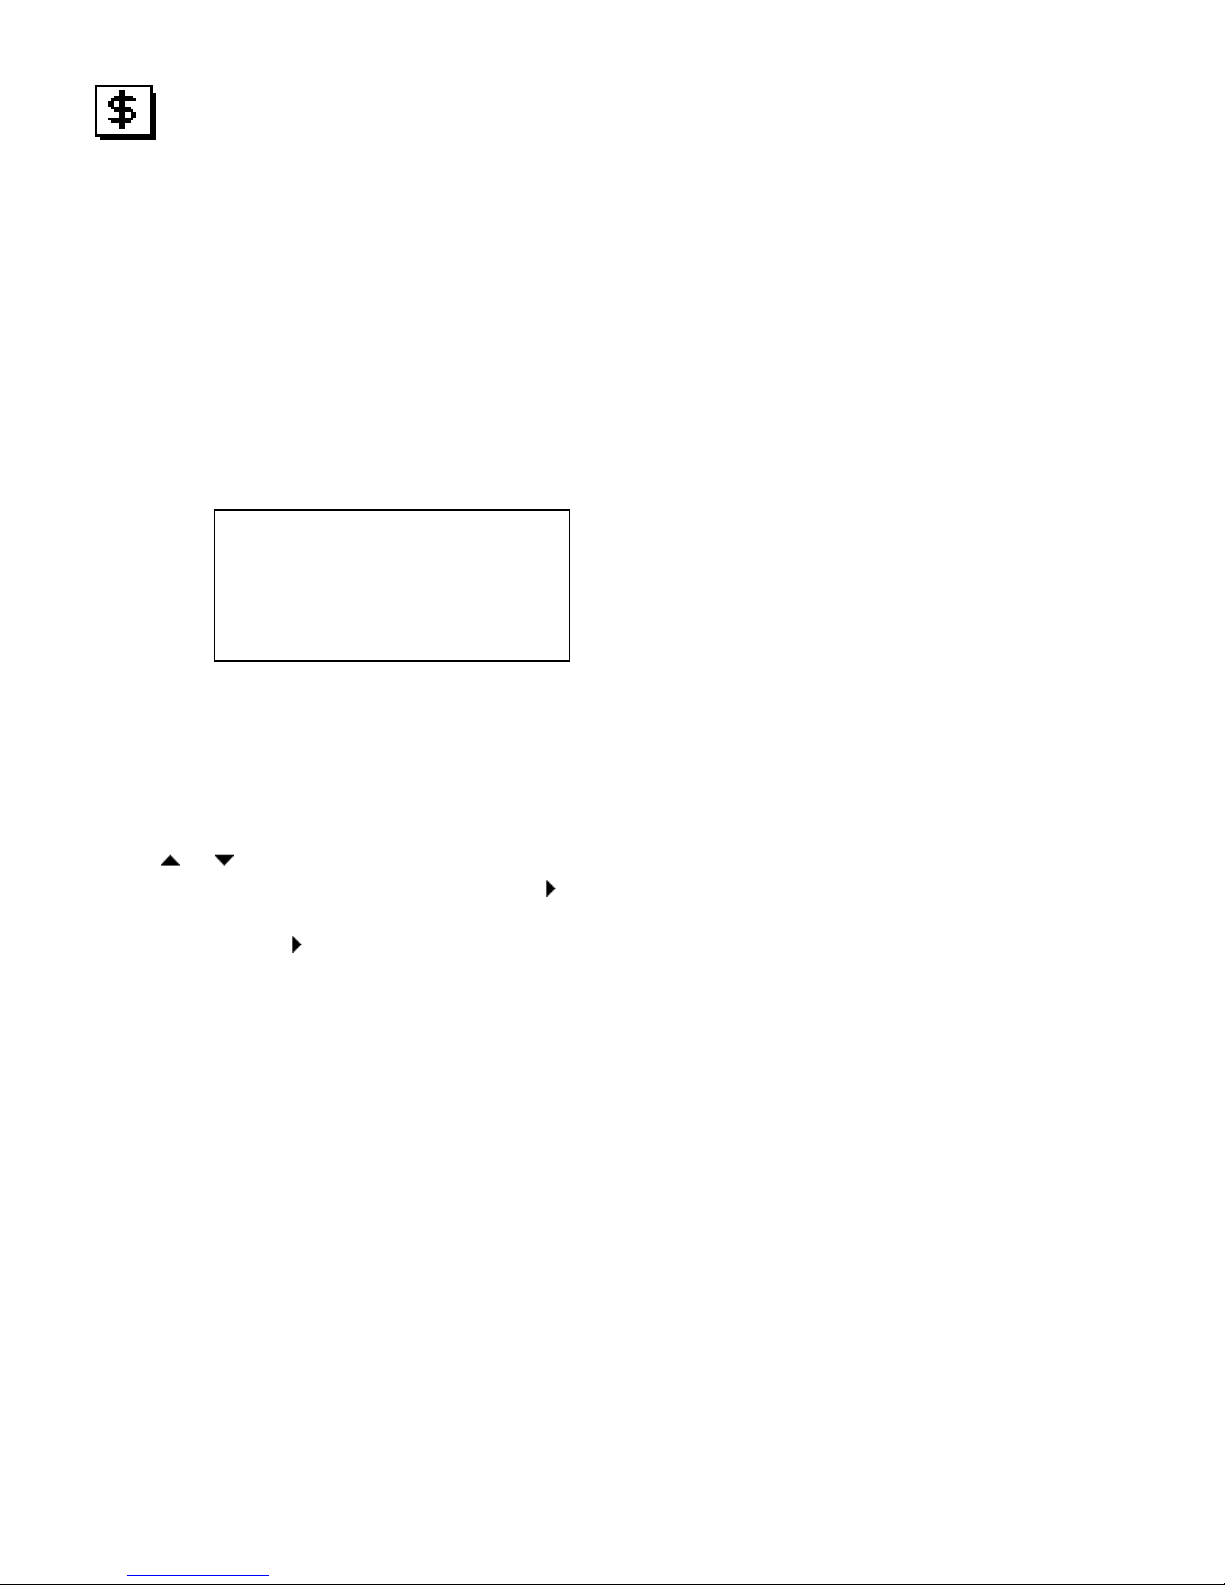
Finance Mana er
This application allows you to keep track of your daily expense. You can select this application under
the menu of Personal Info Manager.
Finance list mode
A finance record consists of:
Date
Type
Payment
Amount
Note
Finance list shows the list of finance records sorted by date.
The Finance list has three columns. The first column shows the date. The second column shows the type. The
third column shows the amount.
Findin and Viewin Finance records
Follow the procedures outlined in finding and viewing scheduler records.
Creatin a new Finance record
Press the [NEW] key to add a new record.
The cursor is ready for you to start entering characters in the note field.
Press [ ] / [ ] key to scroll through all fields
At the desired field (except note field), press [ ] key to change the information.
In date field, select a date from a provided calendar and press [OK] key to exit date editing.
In type field, press [ ] key to pop up a type menu.
The provided choices are as follows:
1. Meals
2. Entertainment
3. Hotel
4. Airfare
5. Train
6. Taxi
7. ar Rental
8. Fuel
9. Phone
10. Sample
11. Souvenir
12. Gift
13. Miscellaneous
Date Type Amount
Jan-02 Meals 200.
Jan-03 Taxi 100.
Table des matières


