VEVOR HPN-120GK2301 Manuel utilisateur

Technical Support and E-Warranty Certificate www.vevor.com/support
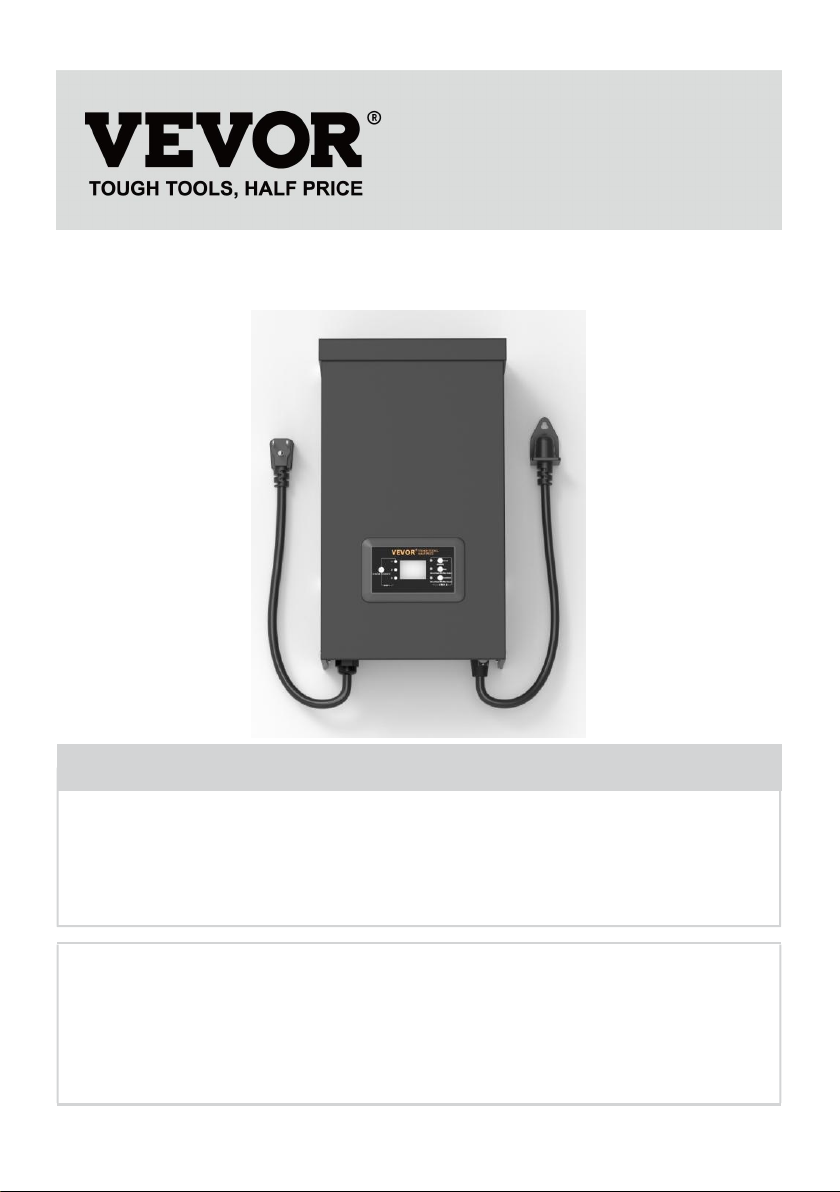
TRANSFORMER
USER MANUAL
We continue to be committed to provide you tools with competitive price.
"Save Half", "Half Price" or any other similar expressions used by us only represents an
estimate of savings you might benefit from buying certain tools with us compared to the major
top brands and doses not necessarily mean to cover all categories of tools offered by us. You
are kindly reminded to verify carefully when you are placing an order with us if you are
actually saving half in comparison with the top major brands.

MODEL: HPN-120GK2301 HPN-200GK2302 HPN-300GK2303
HPN-600GK2306
Have product questions? Need technical support? Please feel free to
contact us:
Technical Support and E-Warranty Certificate
www.vevor.com/support
NEED HELP? CONTACT US!
This is the original instruction, please read all manual instructions
carefully before operating. VEVOR reserves a clear interpretation of our
user manual. The appearance of the product shall be subject to the
product you received. Please forgive us that we won't inform you again if
there are any technology or software updates on our product.
TRANSFORMER

AFETY INFORMATION
IMPORTANT SAFETY INFORMATION TO REDUCE RISK OF FIRE OR
INJURY
Do not install within 10 feet ( 3 m ) of a pool , spa or fountain .
For use with low voltage outdoor landscape lighting systems only .There
are no serviceable parts inside the power supply unit .
DO NOT DISASSEMBLE .
Do not submerge transformer .
Do not connect two or more transformers in parallel.
Do not use it with a dimmer.
Plug the power supply unit directly into a GFCI wet location outlet .
Do not use an extension cord.
WARNING :
Changes or modifications to this unit not expressly approved by the party
responsible for compliance could void the users authority to operate the
equipment .
Note :
This equipment has been tested and found to comply with the limits for a
Class B digital device,pursuant to part 15 of the FCC Rules.These limits
are designed to provide reasonable protection against harmful interference
in a residential installation.This equipment generates,uses and can radiate
radio frequency energy and,if not installed and used in accordance with the
instructions,may cause harmful interference to radio communications.
However there is no guarantee that interference will not occur in a
particular installation.If this equipment does cause harmful interference to
radio or television reception,which can be determined by turning the
equipment off and on the user is encouraged to try to correct the
interference by one or more of the following measures:
Reorient or relocate the receiving antenna. increase the separation
between the equipment and receiver .
Connect the equipment to an outlet on a circuit different from that to which
the receiver is connected.

Consult the dealer or an experienced radio
Pre-installation
WARNING :
Use only CSA or UL approved low-voltage cable . Failure to use at least 16
gauge minimum cable or install it as directed in these instructions may
result in Risk of Fire or Electric Shock . Using large cable will ensure
maximum light output .
TECHNICAL PARAMETER
Model
HPN-120GK2301
HPN-200GK2302
HPN-300GK2303
HPN-600GK2306
Input
120VAC, 60Hz,
1.14A
120VAC, 60Hz,
1.8A
120VAC, 60Hz,
2.68A
120VAC, 60Hz,
5.45A
output
12VAC/10A(MAX)
12VAC/16.7A
(MAX)
12VAC/25A~14VA
C/21.4A (MAX)
12VAC/50A~14VA
C/42.8A (MAX)
Power
120 W
200 W
300 W
600 W
Note: The transformer has three sets of outputs, with each set of
power accounting for one-third of the total power.
For example:The total power is 120W, and each output cannot exceed
40W, The total power is 200W, and each output cannot exceed 66W, The
total power is 300W, and each output cannot exceed 100W.The total power
is 600W, and each output cannot exceed 200W.

TOOLS REQUIRED
HARDWARE INCLUDED
Part
Description
Quantity
A
Transformer
1
B
Photocell
1
C
Mounting Template
1
NOTE: Hardware not shown to actual size.

INSTALLATION
1、Preparing the Cable
Being careful when splitting NOT to expose the copper wire, remove the
landscape wire insulation 1/2 in. from both wires and twist ends.
2、Connecting the Cable to the Transformer
Lay the transformer on a flat, stable surface and insert the stripped end of
one wire under the terminal clamping plate “COM”. Repeat this
procedure for clamping plate “12V” or “14V”.
NOTE: Gently pull on the landscape wire to verify if the connection is
strong.
3、Placing Your Fixtures and Routing the Cable
Lay your fixtures (not included) out where you want to locate them. Be sure
they do not exceed the rating of the transformer. Route the low voltage

cable to the fixtures. If there is extra cable, coil after the last fixture.
WARNING: Risk of Fire
Be sure to leave a minimum of 10 feet (3m) of wire between the power
pack and first fixture.
4、Attaching Your Fixtures
Turn the transformer on. Attach your fixtures to the cable using cable
connectors as shown. Place one connector on each side of the cable, then
press together to lock. Prongs will pierce the cable to make contact and
your fixtures should light up. Turn the transformer on. Attach your fixtures
to the cable using the cable connectors as shown. Press the connector
tight onto the cable until the prongs pierce the cable insulation. The fixture
should light on.

5、Mounting the Transformer
To mount directly to a wall surface use the included screws as shown,
suitable for mounting within 39 in. to 59 in. (1 m to 1.5 m) of the ground.
When installing the screws, the spacing between the .Hang the transformer
(A) onto the screws .

6、Mounting the Photocell
Mount the photocell (B) bracket on a wall or other solid surface . Snap the
sensor into the bracket. Route or coil the excess wire to protect it from lawn
mowers, trimmers, etc.
Avoid pointing the sensor at nighttime light sources such as windows,
porch lights, and street lights.
Ce manuel convient aux modèles suivants
3
Table des matières
Manuels Transformateur populaires d'autres marques


Delta Electronics
Delta Electronics Current Sense Transformers TCE1906H Manuel utilisateur

Hobart
Hobart 6T28-600CL Manuel utilisateur

Shinkawa
Shinkawa LS Series Manuel utilisateur

Huawei
Huawei JUPITER-3000K-H1 Manuel utilisateur

Monacor
Monacor IMG STAGELINE LTR-102 Manuel utilisateur

Lionel
Lionel ZW Manuel utilisateur


