THOMSON R9 Series Manuel utilisateur

User Manual
R9 Series


Introduction 1
Warnings & Safety Precautions 1
Features 2
Safety Information 2
Important Safety Precautions 3
Prepration Stand Installation 4
Functional Overview Fornt & Side Panel 5
Rear Panel 6
Connections 7
Remote Control 8
Basic Operation 11
Menu Operation 12
Media Play 19
PC Setting 20
Instructions for Platform Operation 21
Specification 24
Troubleshooting 25
CONTENTS

INTRODUCTION
Thank you for choosing our product. To be able to make use of all application options, we
recommend that you should read this operation manual carefully and preserve it for quick
access, if required.
Do not touch any parts in the set and do not make changes to any settings not described
in this operating manual.
The LED Screen is a high-tech product which consists of more than 9,00,000 control
elements. Any Non-active red, blue or green spots / lines that might appear on the screen
occasionally, have no efect on the performance of the screen or television and may
disappear over a short period of time.
WARNINGS AND SAFETY PRECAUTIONS
Warning:
– To prevent damage to the TV which may result in a fire or electrical shock hazard, do not
expose the TV set to rain or excessive moisture.
– Do not rub or strike the Active matrix LED with any thing hard as this may scratch, mark or
damage the active matrix LED permanently.
– For safety, do not place vessels or any container which contain fluid including water, on or
near the TV.
– Do not insert any objects in the ventilation slots.
Service:
– Do not remove the back cover of the set as this can expose you to very high voltage and
other hazards. If the set does not operate properly, unplug it and call Thomson LED
TV customer care.
Antenna:
– Connect the antenna cable to the socket marked ANT IN on the back cover. For best
reception an outdoor antenna should be used.
Location:
– Position the set so that no bright light or sunlight falls directly on the screen. Reflections on
the screen may affects the picture quality & viewing of television.
– Soft and indirect lighting is recommended for comfortable viewing.
– Care should be taken not to expose the set to any unnecessary vibration, moisture, dust or
heat.
– Adequate ventilation is essential to prevent set failure.Ensure that the set is placed in a
position to allow a free flow of air. Do not cover ventilation opening on the back cover. Do
not place the set in an enclosure or very close to walls.
– Avoid excessively warm locations to prevent possible damages to the set.
– Place the television on a solid and flat surface, if not wall mounted.
1
FEATURES
SAFETY INFORMATION
2
HD/FHD Resolution–
Extra Slim Design–
200,000:1 Dynamic Contrast Ratio–
HDMI Connectivity–
Full Multimedia Interface–
Seven Picture Modes–
Five Sound Modes–
o o
178 x178 Viewing Angle–
PC Connectivity–
Dynamic Noise Reduction–
CAUTION
RISK OF ELECTRIC SHOCK
DO NOT OPEN
High voltages are used in the operation of
this product. To reduce the risk of electric
shock, do not remove cover of the cabinet,
refer for servicing to qualified service personal.
If the LED TV requries any changes or coarse adjustment, electric shocks
are imminent. Do not attempt to open contact customer support for needed
overhual.
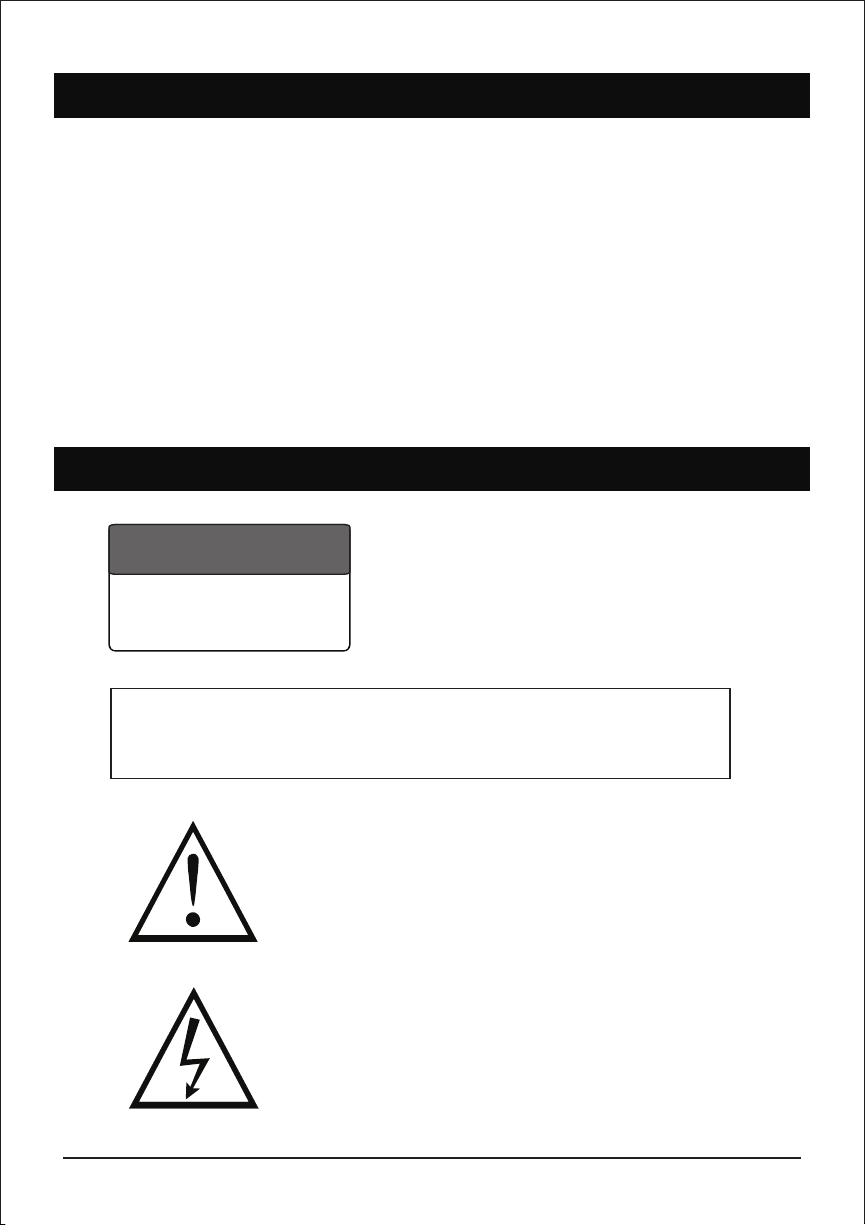
The exclamation point within an equilateral triangle is
intended to alert the user to the presence of important
operating & maintenance (servicing) instruction in the
literature accompanying the appliance.
The lightning flash with arrowhead symbol within an
equilateral triangle is intended to alert the user to the
presence of uninsulated dangerous voltage within the
products enclosure that may be of sufficient magnitude
to constitute a risk of electric shock to persons.
Warning

IMPORTANT SAFETY PRECAUTIONS
3
1 Read & keep this instruction manual.
2 Read all warnings.
3 Clean only with dry cloth.
4 Do not block any ventilation openings. Install in accordance with the manufacturer’s
instrutions.
5 Do not install near any heat source such as radiators, heat registers, stoves or other
apparatus (including amplifiers) that produce heat.
6 Do not defeat the safety purpose of the polarized or grounding-type plug. A polarized plug
has two blades with one wider than the other. A grounding type plug has two blades and a
third grounding prong.
7 The wide blade or third prong are provided for your safety. If the provided plug does not
fit into your outlet, protect the power cord from being walked on or pinched particularly
at plugs, socket outlets and the point where they exit from the apparatus.
8 Only use attachments / accessories specified by the manufacturer.
9 Use only with the bracket or table stand specified by the manufacturer or sold with the
apparatus.
10 Unplug this apparatus during lightning storms or when unused for long period of time.
11 To reduce the risk of fire or electric shock, do not expose this apparatus to rain or moisture.
12 The apparatus should be disconnected from the mains by placing the power / standby
switch in the standby position and unplugging the power cord of the apparatus from the AC
main outlet.
13 The socket outlet should be installed near the equipment & should be easily accessible.
14 This product should never be placed in a built-in installation such as a bookcase or rack
unless proper ventilation is provided or the manufacture’s instructions have been adhered
to.
15 The apparatus should not be exposed to dripping or splashing & objects filled with liquid,
such as vases, should be placed on the apparatus.
16 Do not place any sources of danger on the apparatus (e.g. liquid filled objects, lighted
candles).
17 Wall or ceiling mounting - The appliance should be mounted to a wall or ceiling only as
recommended by the manufacturer.
Servicing should be carried out by qualified service personnel only. To reduce the risk of
electric shock do not perform any servicing other than that contained in the operating
instructions.

PREPARATION
4
Stand Installation
The TV base will be separated with the TV unit. You should install the base before
you use the TV unit.
- Place the TV with its front side facing down on a cushioned flat surface.
- Place the base on the hinge of TV unit, with the base direction shown under
the base. (See the picture)
- Tighten the supplied screws to fix the TV stand securely in place.
(Screws - Provided with TV unit)
WARNING
- The TV stand may not be securely fixed in place after repeated tightening
and loosening of screws.
- During assembling and disassembling the TV stand, please use your hand
to support it. Failing to do so may cause the TV stand to fall and result in
personal injury / damage to the product.
- After installing the TV stand, please ensure that the screws are tightened
firmly. Failure to do so may cause the TV set to tip over or damage it.
(Screw fixes here)

FUNCTIONAL OVERVIEW
5
Front & Side Panel
1 Power Light
On Standby Mode, the light
turns red.
2 Infrared Remote Sensor
Receives the signals from the
remote control.
3 Power
Press to turn TV on or turn to
standby mode.
4 Menu
Press to display the setup menu on
the TV screen.
5 CH-, CH+
Press to select desired channels. or
press to select or adjust a menu item.
6 Vol-, Vol+
Press to adjust Volume level or press
to select & adjust a menu item.
7 Input
Press to select source of viewing & adjust
video input modes TV, AV, HDMI, USB,
YPBPR

FUNCTIONAL OVERVIEW (AS PER MODEL)
6
Rear Panel
VIDEO
AV1 IN
L - AUDIO - R
Y / VIDEO Pb Pr
AV2 IN
*EARPHONE
HDMI x 3
USB3
RJ 45 HDMI 1 HDMI 2 VGA
PC
AUDIO
TV USB 1
USB 2
COAX L-AUDIO-R
IN
- LAN (Local Area Network)
For Internet connection
- USB
Insert USB
- HDMI input Terminal
Connect to equipment with HDMI output
- VGA(PC IN) Input Terminal
Connect to PC.
- PC / HDMI Analog Audio Input Terminal
Connect to equipment using HDMI-DVI
connection or PC with audio output.
- AV 1 & AV 2 In / YPBPR
Connect the video output jack of DVD or VCR & equipment using with the set-top box
- Antenna Input Terminal
Connect to equipment with antenna output or
wall antenna socket.
*This image is for reference only to explain uses of various connections. Actual product specifications may differ from the above.
NOTE :- Earphone (optional) connect the earphone lead with extra speaker satellite units

CONNECTIONS
7
You can connect VCR, DVD player, set-top box, computer, game console or other
equipment to the TV. To view external source images, press to select the input
source.
Source
Connecting an AV Equipment with HDMI Connector
Connecting an AV Equipment with Composite Connector
Connecting an AV Equipment with VGA Connector
- If the external equipment has DVI output, you can connect it to the HDMI terminal using a HDMI-DVI cable.
In case of using the HDMI-DVI cable, connect analog audio signal to RGB/HDMI analog audio input terminal.
- Please refer to the user manual of the external equipment for more information on connection to the TV.
- Please disconnect all power supplies to the equipment & TV before connection.
- Compatibility of the TV set & external equipment is dependent on hardware compatibility of both.
Ce manuel convient aux modèles suivants
2
Table des matières
Autres manuels THOMSON Téléviseur LED


