
TAS 119270CW Manuel utilisateur
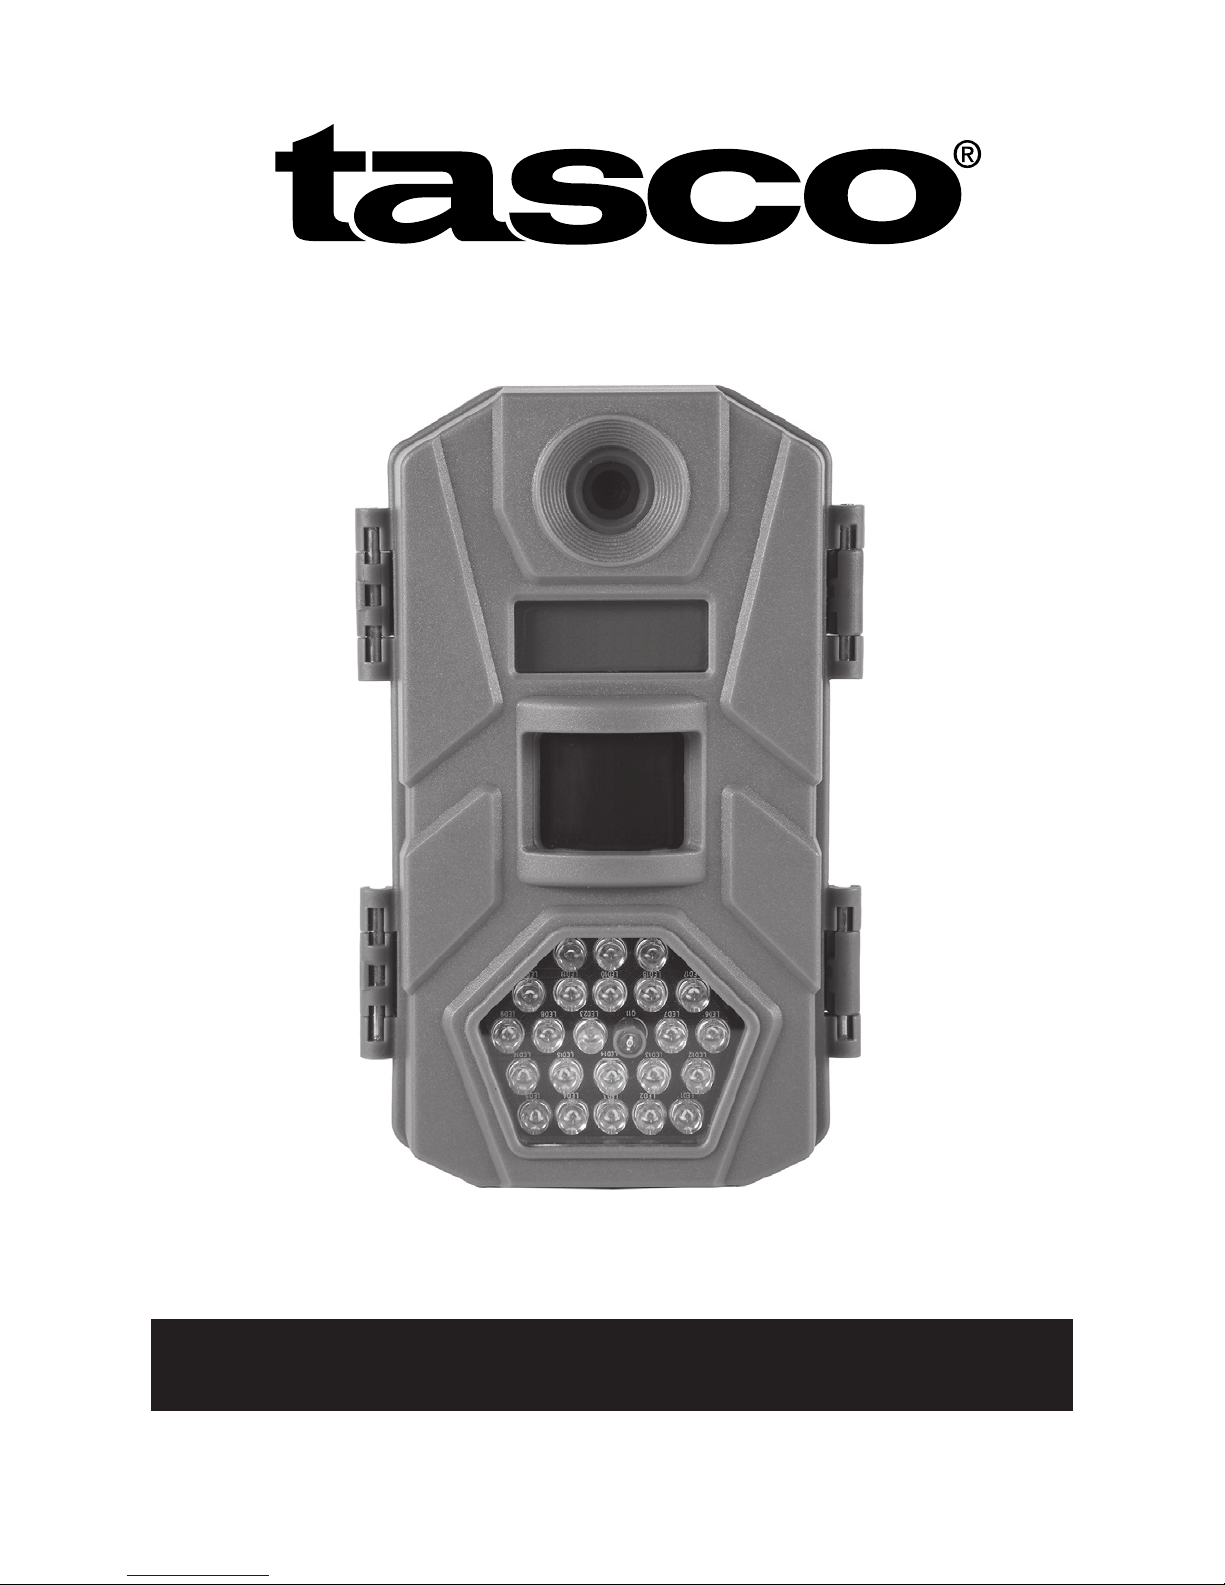
Trail Camera Instruction Manual
02-18
Model #: 119270CW/119271CW
(en FRANÇAIS p. 20)

2
IMPORTANT NOTE
Congratulations on your purchase of one of the best
trail cameras on the market! Please refer to the notes
below and the instructions in this manual to ensure that
you are completely satised with this product.
If your Tasco®Trail Camera does not seem to be
functioning properly or if you are having photo/video
quality issues, please check the Troubleshooting/
FAQ section on pages 13-16.
Problems are often due to something simple that was
overlooked, or require only changing one setting to
solve.
If your problem continues after trying the solutions in
the Troubleshooting/FAQ section, please call Tasco
Customer Service at (800) 423-3537. In Canada, call
(800) 361-5702.
Tasco recommends using 8 Energizer® Lithium AA batteries
in this trail camera to obtain maximum battery life.
Do not mix old and new batteries.
Do not mix battery types-use ALL lithium or ALL alkaline.
Rechargeable batteries are NOT recommended.
Tasco recommends using SanDisk® SD and SDHC Cards (up
to 32GB capacity) in this Tasco trail camera.

3
INTRODUCTION
About the Tasco Trail Camera
Your new Tasco® Trail Camera is a digital scouting camera.
It can be triggered by any movement of live animals in a
location, detected by a highly sensitive Passive Infra-Red
(PIR) motion sensor, and then take high quality photos (6MP
or 8MP resolution, depending on model), or video clips (720p,
10 seconds length).
The Tasco Trail Camera consumes very little power (< 0.5mA) in
a stand-by (surveillance) state. This means it can deliver up to
six months stand-by operation time when the device is powered
by eight AA alkaline batteries, and up to twelve months utilizing
eight lithium AA batteries (30 images per day, 15 w/ash). Once
motion in the monitored area is detected, the digital camera unit
will be triggered at once (typically less than 1 second) and then
automatically take photos or videos (your choice). The Tasco
Trail Camera is equipped with built-in infrared (IR) LEDs that
function as a ash, so that it delivers clear photos or videos (in
black & white) even in the dark, and it can take color photos
or videos under sufcient daylight. The Tasco Trail Camera is
designed for outdoor use and is water resistant.
PARTS and CONTROLS
Release the two latches on the right side of the camera and
swing the front cover over to the left to access the controls. A
3-way power/mode switch is used to select the main operating
modes: OFF, AIM, and ON (Fig. 1).
When the power switch is set to the AIM middle position, the
camera is in Setup Mode. The AIM position can also be used
to verify the area the camera will monitor. The LCD Display
will show the camera’s current settings in Setup Mode. The
Up, Down and OK keys are used to set the date and time
(to be imprinted on each photo/video), change the interval or
“detection delay” time between images while an animal remains
in range of the camera’s sensor, select Photo or Video capture
mode, set a camera ID number for your reference, and format
the SD card (erase all les). Once you setup the camera, switch
it to ON for normal operation.

4
AIM/Status
LED
Light
Sensor
Power/
Mode
Switch
(ON/AIM/OFF)
PIR
Sensor
Battery Tray Eject Button
Lens
LCD
Display
IR Flash
LED Array
“Up” Key
“OK” Key
“Down”
Key
Fig. 1
Eject Button
Fig. 2
Card Slot
Fig. 3

5
INSTALLING BATTERIES and SD CARD
Before you begin to use your Tasco Trail Camera, you will rst
need to install a set of batteries and insert an SD card. Although
that may only take you a minute, there are some important
notes about both batteries and SD cards you should be aware
of, so please take the time to read the following directions
and cautions:
Loading Batteries
Press the Battery Tray Eject Button to release the battery
tray and pull it out for loading (Fig. 2). Switch the camera’s
power OFF when loading/unloading batteries. Be sure to insert
each battery so its polarity (+/- direction) matches the polarity
indications at the bottom of the battery tray. The camera is
capable of operating with only 4 batteries installed if necessary,
but a full set of 8 batteries should normally be used to ensure
the longest operating time. Tasco recommends using eight new
lithium AA (Energizer® brand) or alkaline AA batteries. NiMh
Rechargeable batteries can also be used, but they might have
a shorter life span due to their reduced efciency over time and
at low temperature.
Inserting the SD Card
The Tasco Trail Camera uses a standard SD (Secure Digital)
memory card to save your photos (.jpg format) or videos (.avi
format). SD and SDHC (High Capacity) class 4 or higher speed
cards, up to a maximum 32GB are supported.
• Make sure that the write-protect switch on the side of the
card is “off” (NOT in the “Lock” position). With the power
switch in the OFF position, insert the SD card in the slot
on the lower right side of the camera (Fig. 3) until it clicks
in place. If the wrong side of the card is facing up, you
will not be able to insert it without force-there is only one
correct way to insert cards.
• If the SD card is not inserted correctly, or no card is in
the slot, “C A r d” will appear on the LCD Display, and the
camera will not operate (Fig. 4, next page). Other card
status display messages: “F U L L” indicates the card’s
memory is full, with no remaining room to store les (see
below). “E r r” means there is a card reading error (try a
different SD card).

6
• Formatting the SD card before using it for the rst time
is recommended, especially when a card has been used
in other devices. This can be done using the camera’s
“Format” function (pg. 8, “SD Card Format”). Make sure
you have backed up (saved to your computer) any
les you want to keep on a previously used card, as
formatting erases ALL les.
• To take out the SD card, just gently push in the card (do
not try to pull it out without pushing in rst). The card is
released from the slot and ready to be removed when you
hear the click. Be sure the camera’s power is switched
OFF before removing or inserting SD cards.
SETUP MODE
Once batteries are installed and an SD card is inserted, you’re
ready to go into the Setup Mode to get the camera ready to use,
with all options set to your preferences. While this can be done
in the eld (no computer or internet access is needed), most
users will likely want to setup the camera at home, in advance.
There are only a few settings to make, so the process is quick
and easy. To start setting up your Tasco Trail Camera:
1. To enter Setup Mode, move the Power Switch to the
middle (AIM) position (Fig. 1). The display will come on
and show the initial Setup screen (Fig. 5). Note: Don’t
worry if you notice the STATUS LED ashing during the
Setup process-this is normal, as the AIM position of the
switch has a second function that will be covered later in
this manual.
2. Press the OK key to begin. When the display ashes, you
can use the UP and DOWN keys to change the setting of
the currently selected option or item.
3. When you nish changing a setting (or leaving it set “as
is”), press OK to lock in the setting and move on to the
next option/item. If there is a setting that you don’t need or
want to change from the default or current setting, simply
press OK to conrm and skip to the next item/option.
Once you go through the Setup Mode items and change
a few settings, you’ll quickly see how this works.

7
Fig. 4
Fig. 5
Fig. 6
Fig. 7
Fig. 8
Fig. 9
Fig. 10
Fig. 11
SETUP MODE

8
Setting Time and Date (Fig. 6)
After the Initial Setup screen, the next few display screens will
allow you to set the current time and date, so the time/date
stamp imprinted on all your photos and videos will be accurate
when captured by the camera. To change the Time and Date to
be current, starting at the default “12 : 00” screen (see Fig. 6):
1. Press OK and use UP/DOWN to set the hour (24 hr/
military time format). Press OK to conrm.
2. Use UP/DOWN to set the minute. Press OK to conrm.
3. Use UP/DOWN to set the month. Press OK to conrm.
4. Use UP/DOWN to set the date. Press OK to conrm.
5. Use UP/DOWN to set the year. Press OK to conrm and
move on to the next Setup item, Interval Time.
Setting Interval (Detection Delay) Time (Fig. 7)
The Interval or Detection Delay option lets you set the time
between captured images when an animal remains within the
camera’s sensor range after it is rst detected and the camera
is triggered. Use UP/DOWN to select 5 sec (display shows
“00:05”), 15 sec (default value), 30 sec, 1 min (display shows
“01:00”) or 5 min. Press OK after setting.
Setting Capture Mode (1 photo, 3 photos, or video) (Fig. 8)
Use UP/DOWN to select your preferred image capture mode:
Single Photo per trigger (display shows 1 + a still camera icon),
Rapid Sequence of 3 Photos per trigger (display shows a still
camera icon + 3) or Video Clips that are 10 seconds long at
720p resolution (display shows a movie camera icon). Press
OK after setting.
Setting Camera ID# (if using multiple cameras) (Fig. 9)
Use UP/DOWN to select a reference ID# (from “01” to “99”) for
this camera, which will be imprinted on all photos/videos along
with the time & date. If you are only using a single camera to
monitor an area, simply leave it set to the default “Id : 01”. Set a
second camera that will be used in a group of multiple cameras
to “02”, etc. Press OK after setting.
SD Card Format (delete all les) (Fig. 10)
The display will show “FOrN” (see Fig. 11). CAUTION: be sure

9
to backup and save any/all les you want to keep rst, as
formatting will clear the card completely of all les-they will
then be difcult or impossible to recover from the card.
If you are sure you want to format a previously used card, use
UP/DOWN to change the “N” after “FOr_” to “Y” (Yes), then
press OK to conrm and delete all les from the card.
Restore Default Settings (initialize camera setup) (Fig. 11)
The display will show “dEFN” (see Fig. 12). To return the
Interval, Capture Mode, and Camera ID# to their original,
“factory default” settings, use UP/DOWN to change the “N”
after “dEF_” to “Y” (Yes), then press OK to conrm. Note: your
time and date settings and camera ID# will not be changed
from their current settings to the original defaults, and your SD
card will not be formatted. Only the Interval and Capture Mode
settings will be restored to their defaults.
MOUNTING AND AIMING THE CAMERA
Mounting
After setting the camera’s time/date and other options to your
preferences, you’re ready to take it outside and begin capturing
images of animals in the area you want to monitor. When
setting up the Tasco Trail Camera for scouting game or other
outdoor applications, you must be sure to mount it in place
correctly and securely. We recommend mounting the Tasco
Trail Camera on a sturdy tree with a diameter of about 6 inches.
To get the optimal picture quality, the
tree should be about 16-17 ft. away
from the place to be monitored, with
the camera placed at a height of 2.5-
3.5 ft. Also, keep in mind that you will
get the best results at night when the
subject is within the ideal ash range,
no farther than 40 ft. and no closer
than 10 ft. from the camera.
There are two ways to mount the
Tasco Trail Camera: using the
provided adjustable web belt, or the
tripod socket.
Fig. 12

10
Using the adjustable web belt: Push one end of the belt
through the two brackets on the back of the Tasco Trail
Camera (Fig. 12). Thread the end of the strap through the
buckle. Fasten the belt securely around the tree trunk by
pulling the end of the strap rmly so there is no slack left.
Note: it is not possible to use a cable lock (in the upper part of
the bracket) and the web belt at the same time.
Using the tripod socket: The camera is equipped with a
socket at the bottom end to enable mounting on a tripod or
other mounting accessories that use a standard1/4-20 thread.
Sensing Angle and Distance Test
To test whether the Tasco Trail Camera can effectively monitor
the area you choose, this test is recommended to check the
sensing angle and monitoring distance of the Tasco Trail
Camera. To perform the test:
• Switch the camera’s Power Switch to AIM. You can
ignore the Setup display, no need to change any settings
(provided you already set the time/date and other Setup
Mode options in advance).
• Make movements in front of the camera at several
positions within the area where you expect the game or
subjects to be. Try different distances and angles from
the camera.
• If the AIM/Status LED (Fig. 1) blinks, it indicates that
position can be sensed. If it does not blink, that position is
outside of the sensing area.
The results of your testing will help you nd the best placement
when mounting and aiming the Tasco Trail Camera. The vertical
height away from the ground for placing the device should vary
with the animal size appropriately. In general, 3 to 6 feet is
preferred.
You can avoid potential false triggers due to temperature and
motion disturbances in front of the camera by not aiming it at a
heat source or nearby tree branches and brush (especially on
windy days).
Switching ON the Camera
Once you move the Power Switch to ON, the AIM/Status LED
will blink for several seconds. This gives you time to close
and lock the front cover of the Tasco Trail Camera and then
walk away. During this time, the AIM/Status LED will blink
Autres manuels pour 119270CW
1
Ce manuel convient aux modèles suivants
1
Table des matières
Langues :
Autres manuels TAS Caméra de repérage

TAS
TAS 119215 Manuel utilisateur

TAS
TAS 119234 Manuel utilisateur

TAS
TAS 119203C Manuel utilisateur

TAS
TAS 119223C Manuel utilisateur

TAS
TAS 119422 Manuel utilisateur

TAS
TAS 119259CW Manuel utilisateur

TAS
TAS Digital Trail Camera 119213C Manuel utilisateur

TAS
TAS DIGITALTRAIL 119215C Manuel utilisateur

TAS
TAS 119270CW Manuel utilisateur


