
sunjoe 24V-PRN1XP Manuel utilisateur
Form No. SJ-24V-PRN1XP-880E-M
If you have any questions or comments,
please call the Snow Joe®+ Sun Joe®customer service department at:
1-866-SNOWJOE (1-866-766-9563)
Original instructions.
© 2022 Snow Joe, LLC. All rights reserved. SAVE THESE INSTRUCTIONS
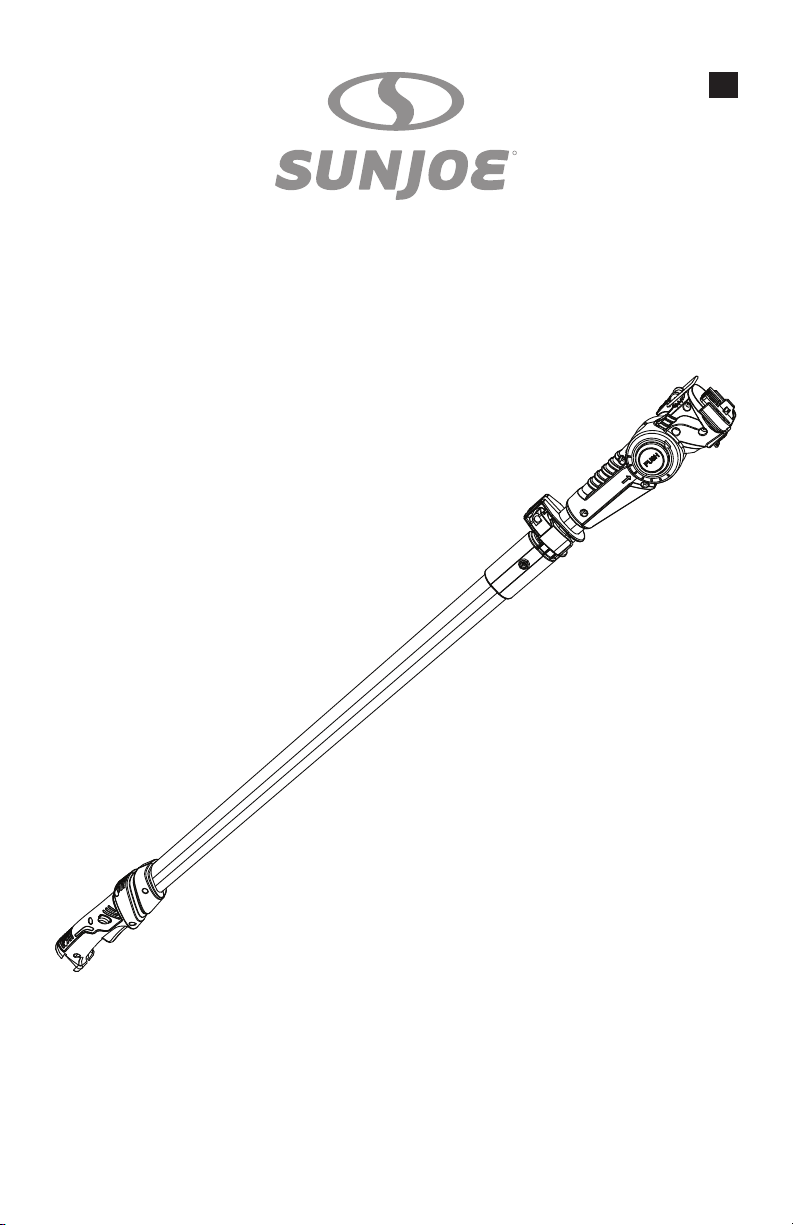
TELESCOPING POLE
FOR USE WITH 24V-
PRN1-
LTE +
24V-
LRPL2
-
LTE
-
SJG + 24V-
HCSWP
-
LTE
Model 24V-PRN1XP
R
EN
1

Know Your Telescoping Pole
Read the owner’s manual and safety instructions carefully before operating your telescoping pole.
Compare the illustration below to the telescoping pole in order to familiarize yourself with the location
of the various controls and adjustments. Save this manual for future reference.
2
1 3 4 5
68
2
9 7
1. Rear handle
2. Safety lock
button
3. Cam-lock
4. Multi-angle
lock button
5. Latch lock
6. Tool socket
7. Telescoping pole
8. Trigger
9. Removable battery
compartment socket
Technical Data
Multi-Angle Head ................................ 7 positions
(-45º | -22.5º | 0º | 22.5º | 45º | 67.5º | 90º)
Overhead Reach ................ Up to 11.83 ft (3.6 m)
Telescopic Pole ...................................... 4 -5.83 ft
(1.22-1.78 m)
Net Weight ....................................... 2 lbs (0.9 kg)

3
Unpacking
Carton Contents
• Telescoping pole
• Manual and registration card
1. Carefully remove the telescoping pole and
check to see that all of the above items are
supplied.
2. Inspect the product carefully to make
sure no breakage or damage occurred
duringshipping.Ifyounddamagedor
missing parts, DO NOT return the unit to
the store. Instead, please call the Snow
Joe®+ Sun Joe®customer service center at
1-866-SNOWJOE (1-866-766-9563).
NOTE: Do not discard the shipping carton
and packaging material until you are ready
to use your new telescoping pole. The
packaging is made of recyclable materials.
Properly dispose of these materials in
accordance with local regulations.
IMPORTANT! The equipment and
packaging material are not toys. Do not
let children play with plastic bags, foils, or
small parts. These items can be swallowed
andposeasuocationrisk!
mWARNING! To reduce the risk of
injury, the user must read and understand this
operator’s manual before using this product.
Failure to follow all warnings and precautions
may result in personal injury or property damage.
Assembly
All assembly instructions for the pole pruner also
apply to the pole chain saw.
1. To assemble the tool in telescoping pole
mode, slide the tool into the telescoping
pole until it clicks into place (Fig. 1).
2. Flip the latch over the hook on the tool,
and press down to secure the connection
(Fig. 2).
Fig. 1
Tool
Telescoping pole
3. Slide the removable battery compartment
into the end of the pole assembly until it
clicks into position (Fig. 3).
4. To disassemble, press the connecting lock
button and slide the removable battery
compartment out of the telescoping pole.
5. Flip the latch up to unlock the tool. Then
press the connecting lock button and
slide the tool out of the telescoping pole
(Fig. 4- 5).
Fig. 2 Latch
Fig. 3
Removable
battery
compartment
Fig. 4
Latch
lock
Fig. 5
Connecting
lock button

4
Operation
All operation instructions for the pole pruner also
apply to the pole chain saw.
mCAUTION! Remove the battery before
adjusting the length or angle of the telescoping
pole.
1. Flip up the cam-lock, and extend the pole
to the desired length. Close the cam-lock to
secure it in place (Fig. 6).
NOTE: The telescoping pole extends up to
5.83 ft (1.78 m).
2. To adjust the angle of the tool in
telescoping pole mode, hold down the
multi-angle lock button and turn the tool to
your desired angle. Release the button and
make sure the tool is locked at that angle
(Fig. 7-8).
Fig. 6
Telescoping pole
Cam-lock
Fig. 7 Multi-angle
lock button
Fig. 8 -45°
-22.5°
0°
22.5°
45°
67.5°
90°
3. Slide the battery into the removable battery
compartment until it clicks into position
(Fig. 9).
4. To use the tool in telescoping pole mode,
balance your weight with both feet on solid
ground, then hold the telescoping pole with
one hand on the rear handle and the other
on the pole. Position the tool at an angle
so as to stand away from falling debris
(Fig. 10).
5. Grip the rear handle of the pole and
squeeze the safety lock button to unlock
the trigger. When you are ready to make a
cut, pull the trigger. Release the trigger to
stop the tool (Fig. 11).
Fig. 9
Battery pack
Removable battery
compartment
Fig. 10

5
Service + Support
If your Sun Joe®24V-PRN1XP telescoping pole
requires service or maintenance, please call the
Snow Joe®+ Sun Joe®customer service center
at 1-866-SNOWJOE (1-866-766-9563).
Model + Serial Numbers
When contacting the company, reordering parts,
or arranging service from an authorized dealer,
you will need to provide the model and serial
numbers, which can be found on the registration
card. Copy these numbers into the space
provided below.
Fig. 11
Safety
lock
button
Trigger
Record the following numbers from the registration card
of your new product:
Model #:
Serial #:
2 4 V - P R N 1 X P

OUR WARRANTY:
Snow Joe warrants new, genuine, powered and non-powered Products to be free from defects in material
or workmanship when used for ordinary household use for a period of two years from the date of purchase
by the original, end-user purchaser when purchased from Snow Joe or from one of Snow Joe’s authorized
sellers with proof of purchase. Because Snow Joe is unable to control the quality of its Products sold by
unauthorized sellers, unless otherwise prohibited by law, this Warranty does not cover Products purchased
from unauthorized sellers. If your Product does not work or there’s an issue with a specic part that is covered
by the terms of this Warranty, Snow Joe will elect to either (1) send you a free replacement part, (2) replace the
Product with a new or comparable product at no charge, or (3) repair the Product. How cool is that!
This Warranty gives you specific legal rights, and you may also have other rights which vary from State
to State.
PRODUCT REGISTRATION:
Snow Joe strongly encourages you to register your Product. You can register online at snowjoe.com/register,
or by printing and mailing in a registration card available online from our website, or calling our Customer
Service Department at 1-866-SNOWJOE (1-866-766-9563), or by e-mailing us at [email protected]. Failure
to register your Product will not diminish your warranty rights. However, registering your Product will allow
Snow Joe to better serve you with any of your customer service needs.
WHO CAN SEEK LIMITED WARRANTY COVERAGE:
This Warranty is extended by Snow Joe to the original purchaser and original owner of the Product.
WHAT IS NOT COVERED?
This Warranty does not apply if the Product has been used commercially or for non-household or rental
applications. This Warranty also does not apply if the Product was purchased from an unauthorized
seller. This Warranty also does not cover cosmetic changes that do not aect performance. Wearing
parts like belts, augers, chains and tines are not covered under this Warranty, and can be purchased at
snowjoe.com or by calling 1-866-SNOWJOE (1-866-766-9563).
R4_01282020
SNOW JOE®+ SUN JOE®CUSTOMER PROMISE
ABOVE ALL ELSE, Snow Joe, LLC (“Snow Joe”) is dedicated to you, our customer. We strive to make your
experience as pleasant as possible. Unfortunately, there are times when a Snow Joe®, Sun Joe®, or Aqua Joe®
product (“Product”) does not work or breaks under normal operating conditions. We think it’s important that
you know what you can expect from us. That’s why we have a Limited Warranty (“Warranty”) for our Products.
EN
6

7


Forma № SJ-24V-PRN1XP-880S-M
Si tiene preguntas o comentarios,
comuníquese con la central de servicio al cliente Snow Joe® + Sun Joe® llamando al:
1-866-SNOWJOE (1-866-766-9563)
Instrucciones originales.
© 2022 Snow Joe, LLC. Derechos reservados. GUARDE ESTAS INSTRUCCIONES
TUBO TELESCÓPICO
PARA USAR CON 24V-
PRN1-
LTE +
24V-
LRPL2
-
LTE
-
SJG + 24V-
HCSWP
-
LTE
Modelo 24V-PRN1XP
R
ES
9

Conozca su tubo telescópico
Lea detenidamente el manual del operador y las instrucciones de seguridad antes de operar su tubo
telescópico. Compare las ilustraciones debajo con el tubo telescópico para familiarizarse con las
ubicaciones de los diversos controles y ajustes. Conserve este manual para futuras referencias.
10
1. Mango posterior
2. Botón de trabado
de seguridad
3. Seguro de leva
4. Botón de trabado
multi-ángulo
5. Pestillo
6. Conector de
herramienta
7. Tubo telescópico
8. Gatillo
9. Conector de
compartimiento
retirable de batería
Datos técnicos
Cabezal multi-ángulo ....................... 7 posiciones
(-45º | -22.5º | 0º | 22.5º | 45º | 67.5º | 90º)
Altura de alcance .......... Hasta 11.83 pies (3.6 m)
Tubo telescópico ........................ De 4 a 5.83 pies
(de 1.22 a 1.78 m)
Peso neto ...........................................2 lb (0.9 kg)
1 3 4 5
68
2
9 7
Table des matières
Langues :
Autres manuels sunjoe Outils


