SUNFLOWER TRIMMER AUTOMATIC-L Dimensions et guide d'installation

www.sunower-trimmer.com 1
AUTOMATIC - L
SUNFLOWER TRIMMER®
TRIMMING IS EASY
USER MANUAL
and
WARRANTY FORM

SUNFLOWER TRIMMER ®
1
USER MANUAL AND WARRANTY FORM
SUNFLOWER TRIMMER®
TRIM LIKE A PROFESSIONAL

www.sunower-trimmer.com 2
The trimmers from company Sunower-trimmer Ltd. are designed and
manufactured according to legal standards of EU focusing on maximum
safety of the user during work with the machine. The user is obligated to
read and understand the safety warning and recommended procedures
specied in this manual.
Safety goggles
Use plastic goggles with non-tinted visor and without UV lter.
There is a risk of cut pieces of the ower can y away and cause injury
to your eyes.
1. POTENTIAL RISKS AND SAFETY WARNING
1.1 PROTECTIVE EQUIPMENT
1. Potential risks and safety warning 2
1.1 Protective equipment 2
1.2 Machine unpacking and installation 3
1.3 Protective cover 6
1.4 Other risks and recommendations 6
2. Machine basic description 8
2.1 General information 8
2.2 Range of use 8
2.3 Electrical connection 8
3. Operating and handling
3.1 Connection to power source 9
3.2 Leveling and start up 9
3.3 Rotor / cutting blade adjustment 11
3.4 Flowers infeeding 12
3.5 Cleaning during work 13
3.6 Upper frame exchange 14
4. Cleaning 17
5. Storage 17
6. Warranty 18
Please read this manual carefully before use of the machine.

SUNFLOWER TRIMMER ®
3
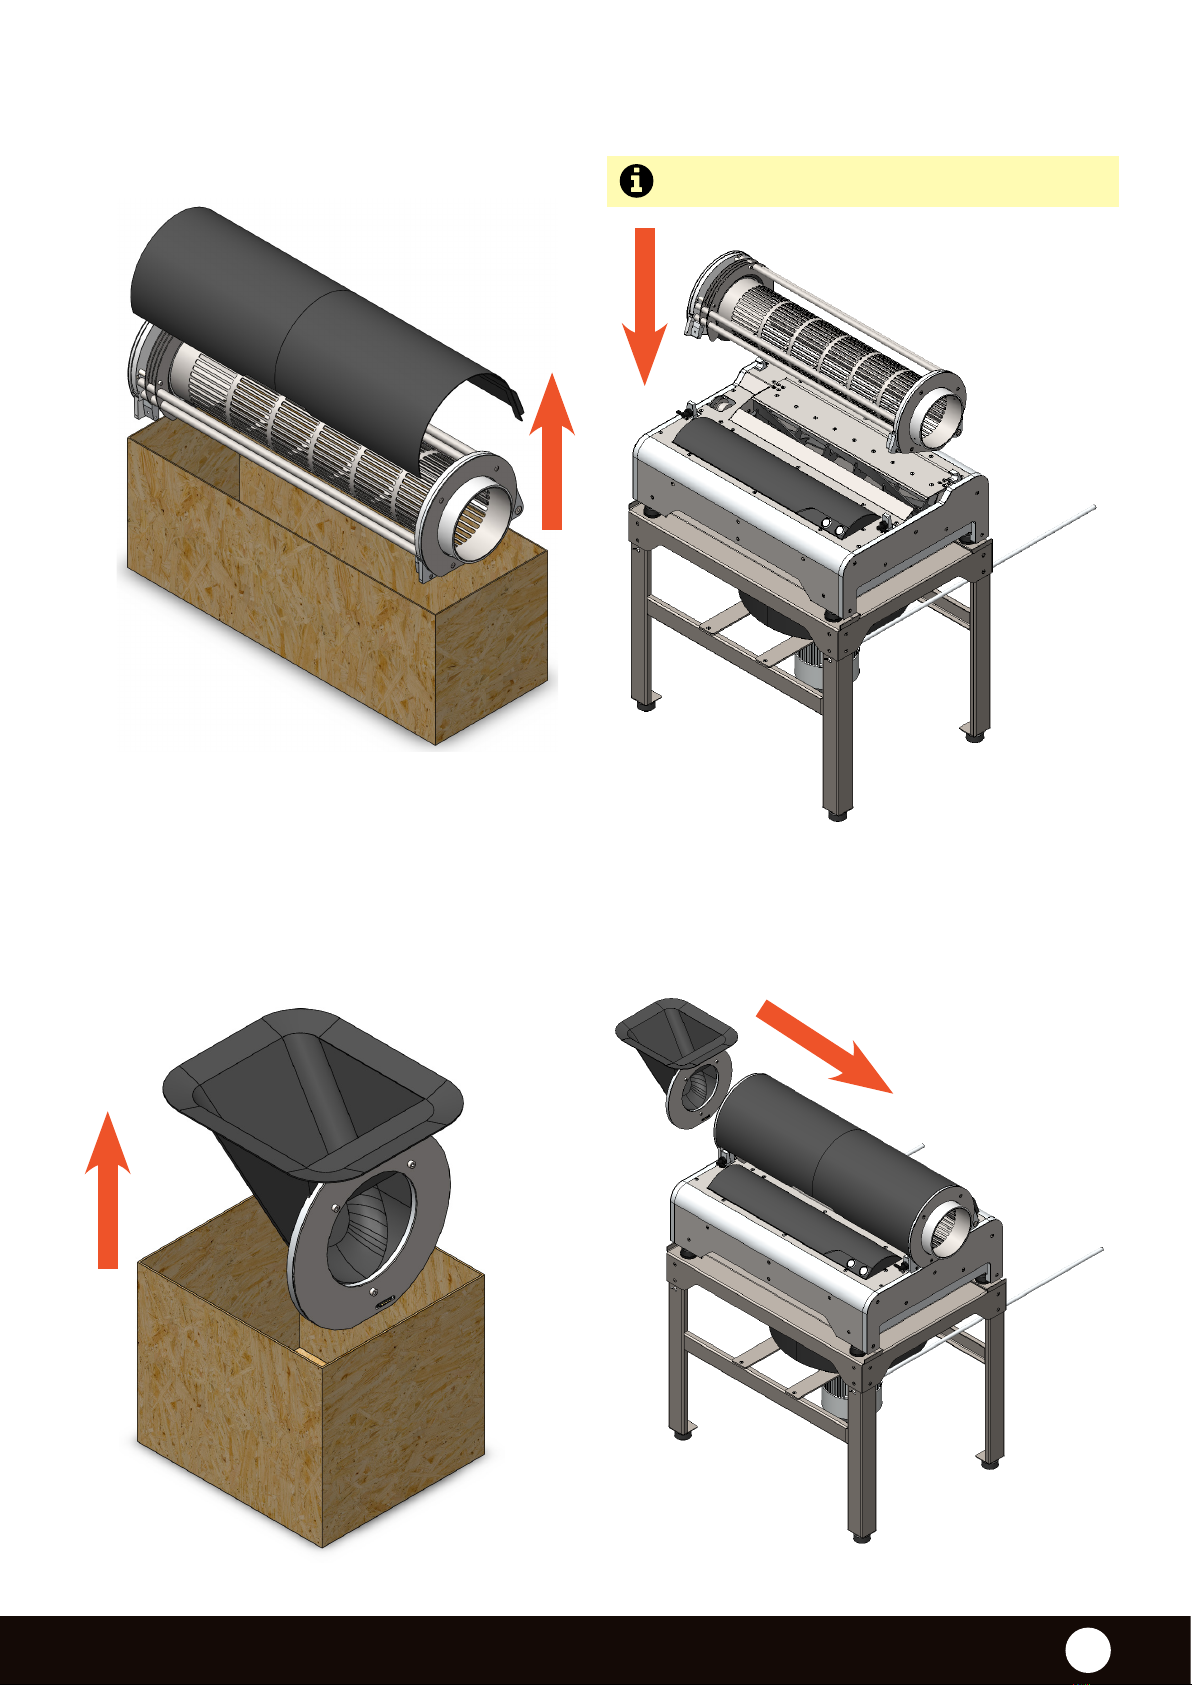
1.2 MACHINE UNPACKING AND INSTALLATION
1. Unpacking the table including ventilator
2. Unpacking the machine
3. Installation of the machine on the table
When unpacking the machine out of the box please follow the instruction below:
www.sunower-trimmer.com 4
4. Unpacking the upper frame
6. Unpacking the chute 7. Mounting the chute
to trimmer body
5. Installation of the upper frame
on the machine
more info in section 3.6.

SUNFLOWER TRIMMER ®
5
8. Ventilator connection
9. Bag installation
Connect the ventilator to the machine using a plastic hose.

www.sunower-trimmer.com 6
1.3 PROTECTIVE COVER
Keep in mind your own safety at all time. Do not use the trimmer in dusty
or wet environment.The electromotor is not water resistant.
• Clean the trimmer machine according to specications under chapter 4. Cleaning.
Following these instruction you can prevent the damage of the machine or harm to
your own health.
• The machine can only be used for purposes specied in this manual, chapter 2.
Machine basic description – point 2.2. Range of use!
• Never repair or exchange any part of the trimmer in case of malfunction.
• Keep clean the machine and it’s storage place.
• The trimmer machine can be used in interior only.
The use in exterior is not recommended. The trimmer is not water resistant!
• Pay attention to avoid damage to electrical cables of the machine.
• Never reposition the machine when plugged to power source!
1.4 OTHER RISKS AND RECOMMENDATIONS
Always use protective cover on the upper frame when operating the machine.
Never touch or open the top cover when the motor and rotor is rotating.
Never open the top cover of the machine when the motor and rotor is rotating.
Never leave the trimmer in reach of children or persons under age of 18
which are not familiar with the user manual.

SUNFLOWER TRIMMER ®
7
2. MACHINE BASIC DESCRIPTION
The AUTOMATIC -L trimmer machine is developed and build for you to
speed up the cutting of leaves from the owers.
The main frame is made of eloxed aluminum proles which are connected together with
special connectors. The case of the trimmer is made of stainless steel and fastened to the
main frame from all sides. The electromotor is placed outside of the machine.
The cutting rotor and adjustable blade is positioned next to the electromotor.
The trimmer stands on four adjustable rubber blocks.
www.sunower-trimmer.com 8
• The ON / OFF switch is positioned on the front of the trimmer.
• The button to the left from ON / OFF switch start up the ventilator.
• You can adjust the distance between the blade and cutting rotor using two handling
wheels. You can read more about cutting mechanism adjustment in chapter 3.3
- Rotor / cutting blade adjustment.
• Electrical connection and electrical parts are closer described in this chapter under
point 2.3 Electrical connection.
The machine is designed for cutting of ower petals from most of aromatic owers. The
petals are cut automatically in the upper frame of the machine. The ower petal goes
through the tube grid placed in the upper frame. the petal is then cut in the cutting sys-
tem of the machine. The owers are turning in the tube and moving uently towards right
to the end of the machine. The cut leaves are sucked up by ventilator and ow into the
waste bag.
2.1 GENERAL INFORMATION
• The machine can be used only for purposes specied by
manufacturer.
• We strongly advise you to read all safety warnings before
use of the trimmer!
• The machine is designed to remove the leaves from the
owers of plants.
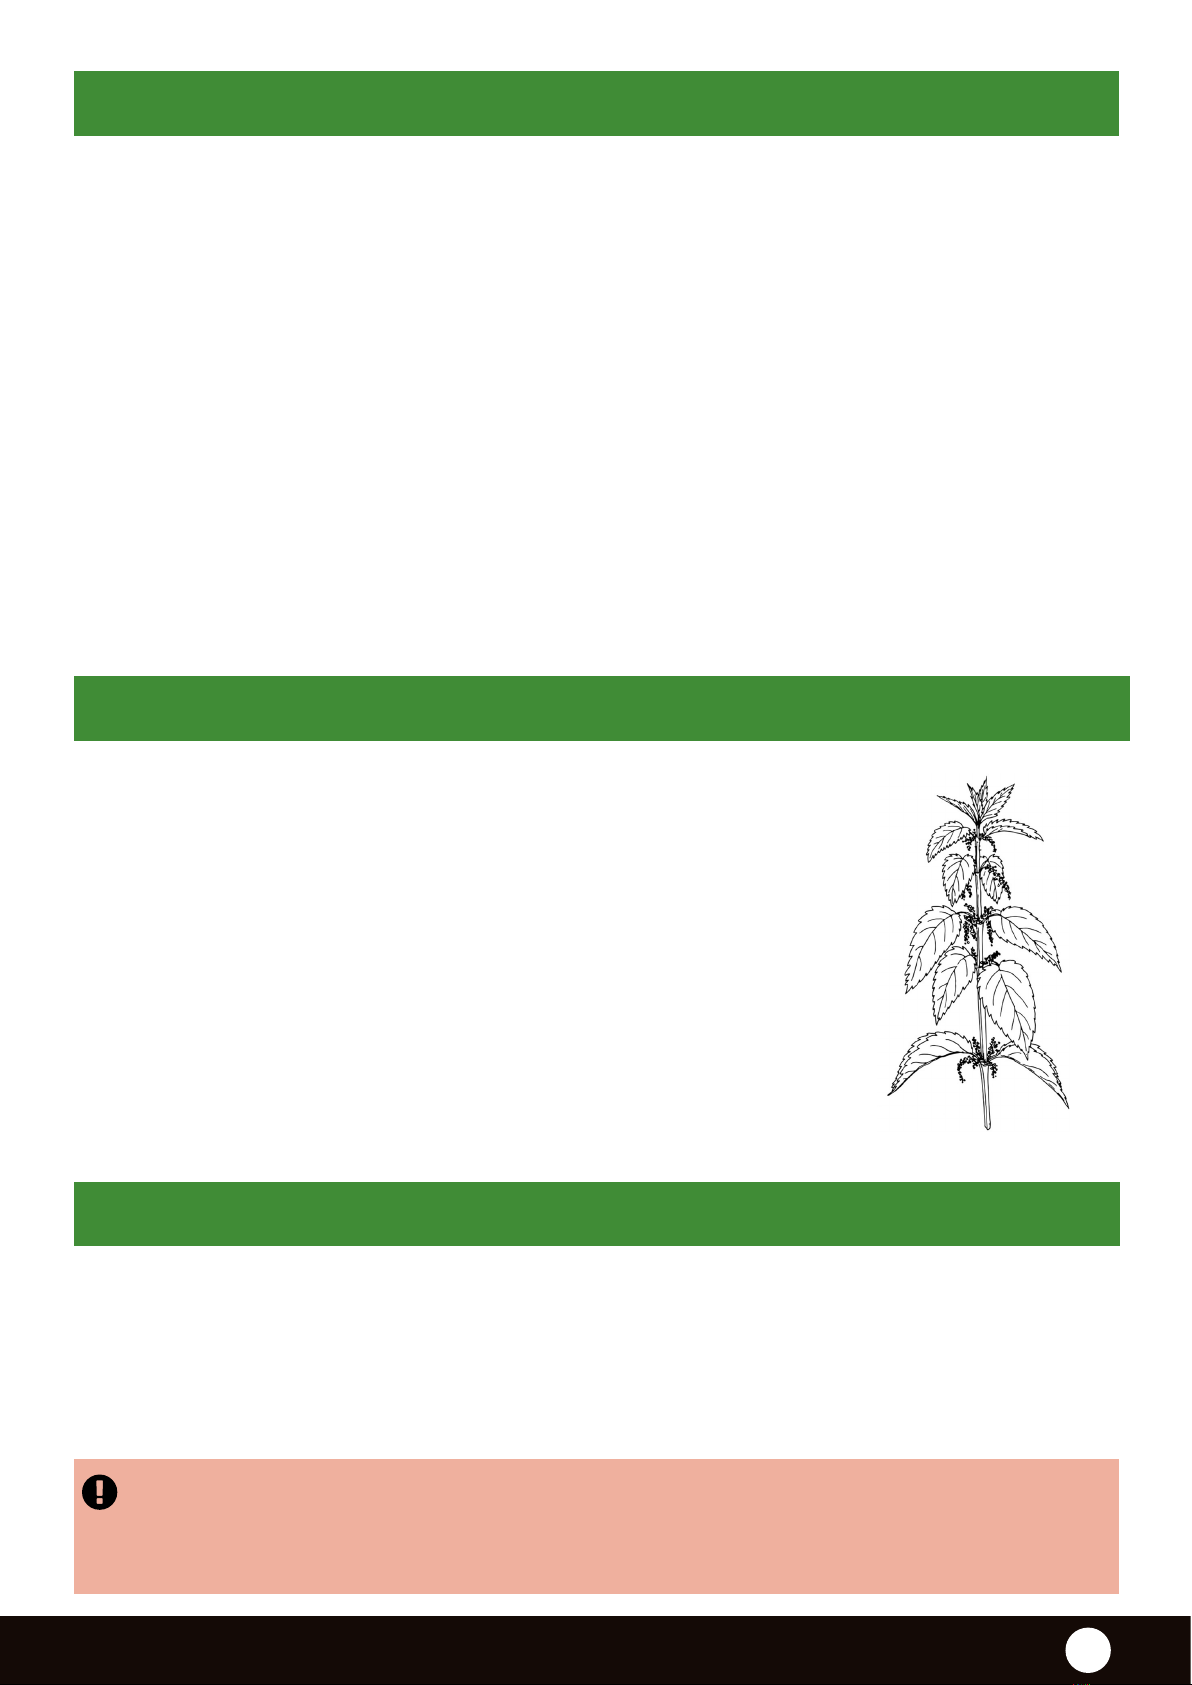
• The machine can only be used on fresh plants with eshy
leaves and stalks which contains no ligneous and solid
parts. This means you can cut the plants whose composition
and solidity is similar to e.g. freshly harvested nettle.
2.2 RANGE OF USE
The trimmer contains electrical parts and connections. Electrical connection means ca-
bles and other parts connecting the electrical devices. The machine contains following
electrical parts: Electromotor 250 W, start up capacitor 20 µF, 2x power switch and 2x euro
connector. The power cable for power source connection is included in the package. The
ventilator output power is 750 W.
2.3 ELECTRICAL CONNECTION
We particularly advise you to pay close attention to your safety during work and
maintenance of your trimmer. You should not get in contact with electrical connec-
tion when using or cleaning the machine. Do not alter or reconnect the electrical
connection!

SUNFLOWER TRIMMER ®
9
Connecting the machine to power source and connecting the ventilator
into the machine
3. OPERATION AND HANDLING
Before you connect the trimmer to power source make sure you executed all safety pre-
cautions stated above.
3.1 CONNECTING TO POWER SOURCE
Euro connector 1
The connector for power input is on the
side of the trimmer. Connect the proper
end of the power cable into the euro-con-
nector. Connect the other end of the cable
into wall socket.
Euro connector 2
serves for ventilator connection
3.2 LEVELING AND START UP
We recommend to set up the machine to be inclined a bit using the ad-
justable legs.
Tilt of the machine Tilt of the table
Make sure once again the top cover is fastened rmly to the upper frame!
Table des matières
Autres manuels SUNFLOWER TRIMMER Tondeuse


