Stryker System 5 Manuel utilisateur


1
IMPORTANT INFORMATION: File in your records
INSTRUCTIONS FOR USE REF 4208
Sagittal Saw
10/05 4208-001-700 Rev-C
US Patents: 5,263,972;
5,747,953; 6,013,991
4100 E. Milham
Kalamazoo, Michigan
(USA) 49001
269-323-7700
1-800-253-3210
www.stryker.com
European Authorized Rep:
RA/QA Manager
Stryker France
ZAC Satolas Green Pusignan
Av. de Satolas Green
69881 MEYZIEU Cedex
France

2
Important Information
WARNING - CAUTION - NOTE
Please read this manual and follow its instructions
carefully. The words WARNING, CAUTION and NOTE
carry special meanings and should be carefully
reviewed.
WARNING: The personal safety of the patient
and user may be involved.
Disregarding this information could
result in injury to the patient and/or
user.
CAUTION: These instructions point out special
service procedures or precautions
that must be followed to avoid
damaging the instrument.
NOTE: This provides special information to
make maintenance easier or
important instructions clearer.
An exclamation point within a
triangle displayed on the product is
intended to alert the user to the
presence of important operating
and maintenance instructions in this
manual.
Intended Use
The Stryker System 5 Battery Powered Heavy Duty Sag-
ittal Saw is an oscillating cutting device used for cutting
away bone and bone related tissue.
Accessories
DESCRIPTION REF
Battery Pack ............................. 4115, 4116, 4126
A list of cutting accessories is available from your
Stryker Instruments sales representative.

3
User/Patient Safety*
WARNINGS:
• Read and understand the information in this manual.
Familiarization with the Stryker System 5 Battery
Powered Instruments prior to use is important.
• Prior to each use, operate system components
and inspect for damage. DO NOT use if damage
is apparent. Take special precaution regarding
electromagnetic compatibility (EMC) when using
medical electrical equipment like the System 5
handpiece. Install and place the handpiece into
service according to the EMC information in this
manual. Portable and mobile RF communications
equipment, such as wireless phones, can affect the
function of the handpiece.
• Use only Stryker approved accessories. Other
accessories may result in increased emissions or
decreased immunity of the system. Contact your
Stryker sales representative for a complete list of
accessories. DO NOT modify any accessory. Failure
to comply may result in patient and/or operating room
staff injury.
• Prior to each use, system components should be
operated and inspected for any loose components
or damage. DO NOT use if these conditions exist.
Loose components could fall off the handpiece into
the wound site causing potential patient injury.
• Clean and sterilize instruments before first and every
use.
• This equipment is not suitable for use in the pres-
ence of flammable anesthetic mixture with air or with
oxygen or nitrous oxide.
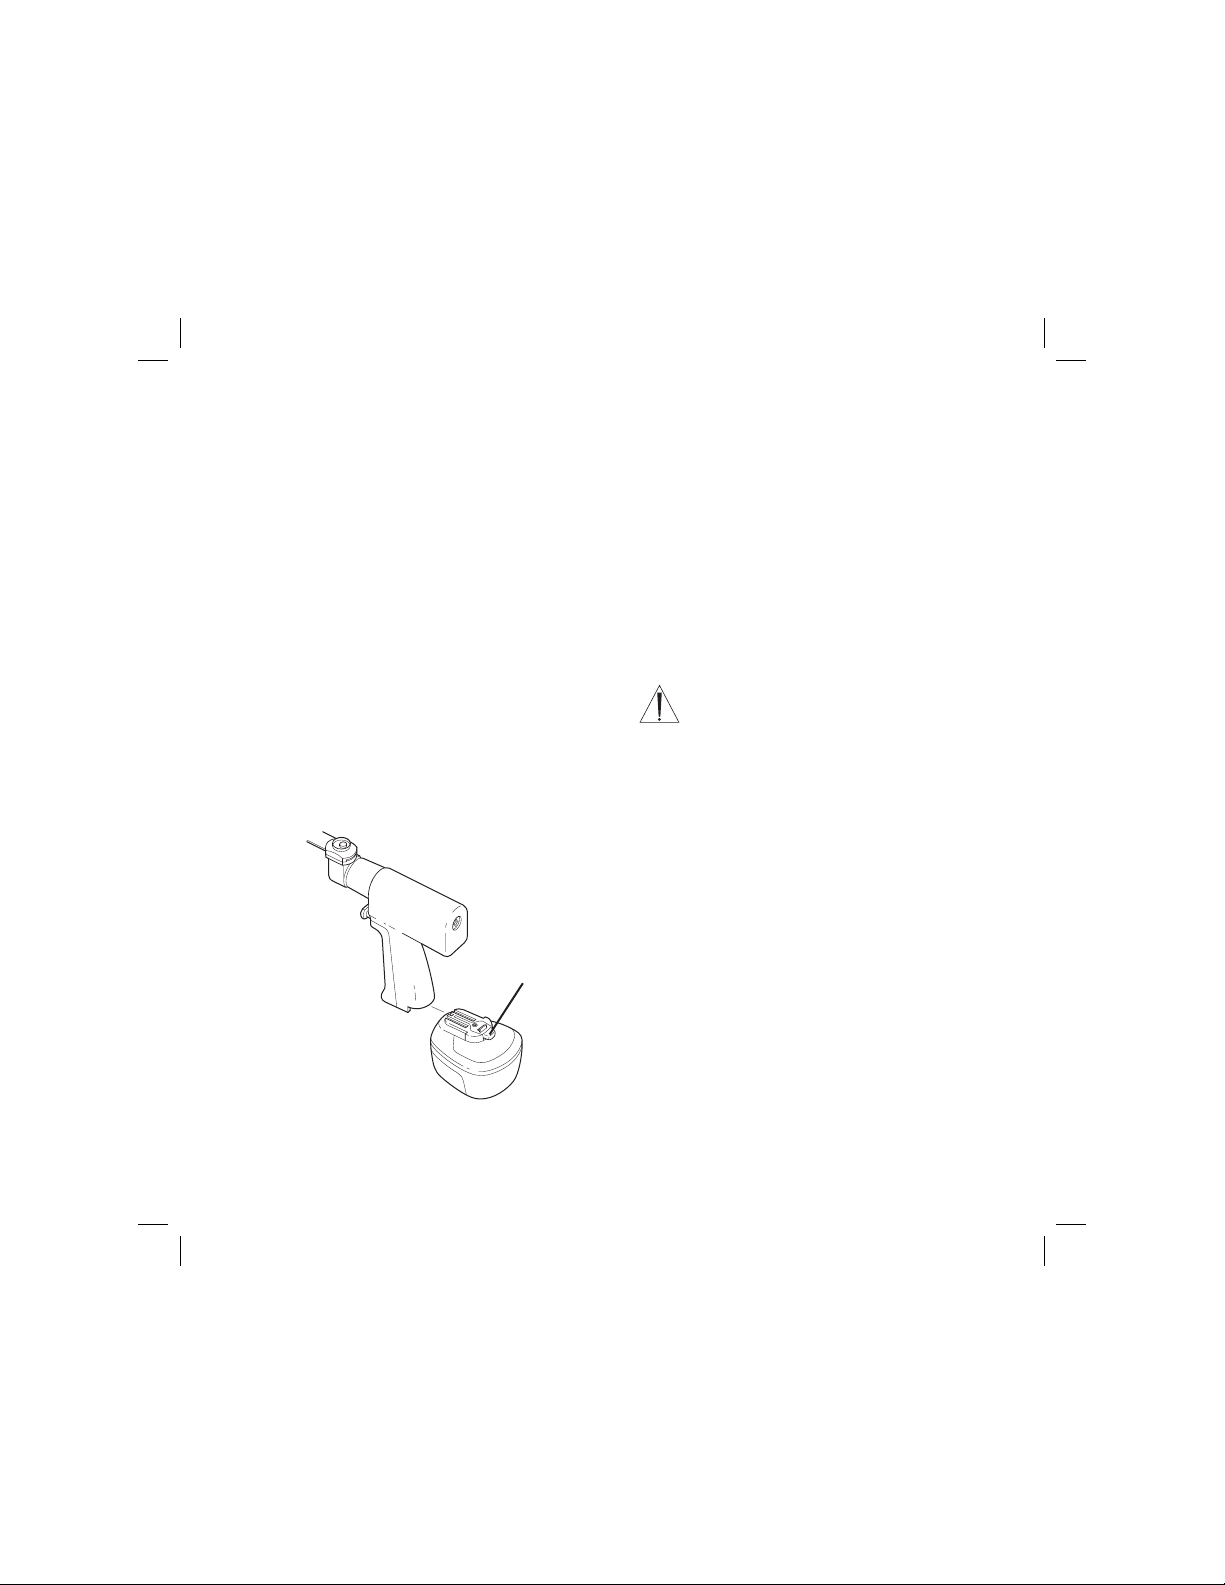
• Avoid unintentional operation of the handpiece. A
handpiece that contains a battery should always be
placed in the SAFE mode while it is either sitting
idle or an accessory is being attached or removed.
Remove the battery pack from the handpiece when
the instrument is not in use.
• DO NOT pry or use excessive force on the blade as
the blade may bend and/or break causing potential
patient injury.
• Use only Stryker approved accessories. Only Stryker
saw blades can be used with the Sagittal Saw. A list
of accessories is available from your Stryker Instru-
ments sales representative.
• DO NOT service handpieces or battery packs. These
products contain no parts that the user can service.
• Reuse of single use blades can cause blade break-
age and possible injury to the patient and/or user.
CAUTIONS:
• DO NOT stall the handpiece to prevent damaging the
electric motor and/or battery pack. If the handpiece
jams, release the trigger immediately. Remove any
obstructions before continuing the procedure.
• DO NOT immerse the handpiece or battery pack. Wa-
ter may enter the casing and damage the electrical
components.
*For further information, contact your Stryker Instruments sales representative or Customer Service at 1-800-
253-3210. Outside the USA, contact your nearest Stryker subsidiary.

4
Features and Functions
•Battery Latch - Depress the latch to release the battery pack from the handpiece.
•Battery Pack - Contains a rechargeable battery that provides power to the handpiece.
•Blade Lock Button - The button allows the insertion and release of the blade.
•Blade Retainer- The retainer holds the blade.
•Sagittal Head - The sagittal head may be indexed in 45° increments and can turn in a complete 360° rotation to
achieve the desired cutting angle.
•Trigger Switch - The trigger is pressure sensitive for variable speed operation. When rotated, the trigger switch
allows the cutting tool to operate in STD (standard), SAFE and FAST mode.
Battery Pack
Sagittal Head
Blade Retainer
Symbol Definitions
Blade Lock Button
Trigger Switch
Battery Latch
The SAFE position locks
the trigger and prevents
inadvertent operation
of the handpiece; the
handpiece cannot be
operated.
The FAST position
allows the handpiece
to operate at high
torque and high speed
when the trigger is
depressed.
The STD (standard)
position allows the
handpiece to operate
at high torque and
standard speed
when the trigger is
depressed.

5
Blade Installation
WARNING:
Always place the trigger switch in the SAFE position
before attaching or removing any accessory to prevent
inadvertent running of the handpiece.
1. Rotate the trigger switch clockwise to the SAFE
position.
2. Depress the blade lock button and insert the blade
until the FULL INSERT line disappears in the blade
retainer indicating the blade is positioned properly
(see figure 1).
3. Release the blade lock button. Gently tug the blade to
ensure it is secure.
Figure 1 Blade Insertion
Instructions
1. Pull the sagittal head forward and away from the
handpiece body; then rotate it to the desired cutting
angle (see figure 2).
NOTE: The sagittal head has eight possible cutting
angle positions (45° increments).
CAUTION:
Before use, the sagittal head must be firmly locked
against the handpiece body to prevent damage to the
instrument. Ensure NO gap exists between the sagittal
head and the handpiece body.
2. Once positioned, gently turn the sagittal head to
ensure that it has snapped into place against the
handpiece body and is locked into position (see
figure 2).
Figure 2 Sagittal Head Positioning
Sagittal Head Positioning
No Gap

6
Instructions (cont’d)
Battery Pack Installation
NOTES:
• The Sagittal Saw is designed to accept REF 4115,
REF 4116, or REF 4126 batteries. These batteries
may be charged in the System 4 or 5 Battery Charger
configured with Charger Module REF 4110-415, REF
4110-416, or REF 4110-426 respectively. The REF
4115 battery may also be charged in the System
2000 Charger with Battery Adaptor (REF 4110-115).
• Refer to the instructions supplied with the battery
charger and/or battery for charging details and
specifications.
1. Slide a fully charged battery pack firmly into the
handpiece until the battery latch snaps, indicating the
pack is secure (see figure 3).
Figure 3 Battery Pack Installation
2. Test the operation of the handpiece by rotating the
trigger switch to either the STD or FAST position and
squeezing the trigger.
3. Set the trigger switch to the SAFE position until you
are ready to use the handpiece.
Saw Operation
NOTE: The handpiece has a variable speed motor that
is controlled by slight pressure variations on the trigger.
CAUTION:
When operating the saw, let the blade do the cutting.
Applying too much pressure will bend the blade and
reduce the cutting quality.
Battery Pack Removal
Depress the battery latch and pull the battery pack out.
Blade Removal
Depress the blade lock button and remove the blade.
Battery Latch

7
PROBLEM
Instrument does not run or oscillates at a
reduced speed making cutting difficult.
Motor runs but blade does not move.
Battery pack becomes unusually hot
during use.
Blade will not fit into the blade retainer or
cannot be secured.
Handpiece has become noisy and vibrates.
Sporadic electrical interference is expe-
rienced.
Troubleshooting Guidelines*
*This product is not field repairable. In case of operating difficulties, all Stryker products must be returned to Stryker Instruments for repair.
For more information, contact your Stryker Instruments sales representative or call Stryker Customer Service at 1-800-253-3210. Outside the
USA, contact your nearest Stryker subsidiary.
CAUSE
Battery pack is discharged.
Battery pack is expended.
Trigger switch is in the SAFE position.
Drivetrain is malfunctioning.
Circuitry is malfunctioning.
Debris is inside the end of the blade
retainer.
Blade is not a Stryker product.
Blade retainer is damaged.
Blade is not a Stryker product.
Drivetrain is malfunctioning.
Electrical noise is present.
ACTION
Recharge the battery in Stryker charger.
Replace the battery pack.
Set the trigger switch to the FAST or STD
position.
Return the handpiece for repair.
Check the battery pack on the Stryker
charger and replace it if indicated. See
Charger Instructions.
Clean with a small brush.
Use a Stryker blade.
Return the handpiece for repair.
Use a Stryker blade.
Return the handpiece for repair.
Turn off all electrical equipment not in use
in the operating room.
Relocate electrical equipment; increase
spatial distance.
Plug operating room equipment into differ-
ent operating room outlets.

8
Periodic Maintenance
INTERVAL ACTIVITY
Prior to each use. Inspect, operate and test the handpiece to ensure that it is
working properly. Ensure there are no loose or missing components. Check all
moving parts for free movement. Be alert for unusual sounds or vibrations and note
the operating speed.
Storage and Handling
To ensure the longevity, performance and safety of this equipment, package in original packaging materials when
storing or transporting.

9
Cleaning Recommendations
WARNINGS:
• Handpieces and batteries must be cleaned and steril-
ized before first and every use.
• DO NOT use solvents, lubricants, or other chemicals
unless otherwise specified.
CAUTION:
DO NOT immerse the handpiece or battery pack.
Battery Packs and Accessories
Refer to the Cleaning Recommendations for the battery
packs, battery pack adaptors and chargers provided
with those products.
Handpiece
1. Remove the battery pack and blade from the
handpiece.
2. Using a stiff bristle brush and mild detergent (hospital
enzymatic cleaner), scrub the debris from the
handpiece. Pay special attention to crevices and
other hard to reach areas such as seams, joints, and
details around the blade retainer and trigger areas.
CAUTION:
DO NOT allow water to run directly into the battery
contact area.
3. Rinse instruments under running water. Hold the
handpiece upright to prevent water from running into
the battery contact area.
4. If water leaks into the handpiece, tip the handpiece
back as shown below to allow drainage from a small
opening in the battery contact area.
5. Visually inspect the handpiece for any remaining de-
bris; if any is present, repeat the cleaning and rinsing
procedure using fresh hospital enzymatic cleaner.
6. Dry the handpiece with a lint-free towel.
7. After cleaning, sterilize as directed. See Sterilization
Recommendations.
Drain Water From Handpiece
Ce manuel convient aux modèles suivants
1
Table des matières


