STEMBoT STEMBoT 2 Manuel utilisateur
User’s Manual
Rev. 1.1.0

STEMBoT 2 User’s Manual
========================================================================
Table of Contents
1.0.0.0 Introduction
1.1.0.0 The Purpose of the STEMBoT 2
1.2.0.0 How to use this manual
2.0.0.0 Hardware Overview
2.1.0.0 STEMBoT 2 Board
2.2.0.0 Battery and Charger
2.2.1.0 Charging the SB2 Battery
2.3.0.0 Remote Controller
2.3.1.0 Pairing the Remote to the SB2
2.4.0.0 Chassis and Motors
3.0.0.0 Reserved
4.0.0.0 Programming
4.1.0.0 General
4.1.1.0 Programming via Serial Communication
4.1.2.0 Programming via Mass Storage
4.2.0.0 Programmable Hardware Components
4.2.1.0 Multicolor LED
4.2.2.0 Switches
4.2.3.0 Buzzer
4.2.3.1 Playing Songs from the Board
4.2.3.2 Creating Songs using RTTTL
4.3.0.0 Liquid Crystal Display (LCD)
4.3.1.0 Colors
4.3.2.0 Text
4.3.3.0 Shapes
4.3.3.1 Drawing Rectangles
4.3.3.2 Drawing Circles
4.3.3.3 Drawing Triangles
4.4.0.0 Radio (Remote Controller)
4.4.1.0 Initialization and Configuration
4.4.2.0 Reading Remote Controller Signals
4.5.0.0 Motors
4.5.1.0 Initialization and Configuration
4.5.2.0 Speed and Acceleration
4.5.3.0 Distance and Time
4.6.0.0 UEXT Headers
4.6.1.0 General Purpose Use
4.6.2.0 Serial Communication
4.6.2.1 Reserved
4.6.2.2 Reserved
========================================================================
Revision 1.1.0 : January 2021

STEMBoT 2 User’s Manual
========================================================================
4.6.2.3 Inter-Integrated Circuit (I2C)
4.6.3.0 Plug and Play Modules
4.6.3.1 LED Module
4.6.3.2 Seven Segment Display Module
4.6.3.3 Reserved
4.6.3.4 Reserved
4.6.3.5 Reserved
4.6.3.6 Reserved
4.6.3.7 SHT21 Temperature/Humidity Sensor
4.6.3.8 MPU6050 Motion Processing Unit
4.7.0.0 Servos
4.7.1.0 Servo Calibration
4.7.2.0 Angles and Timing
5.0.0.0 Mobile Commander
6.0.0.0 Troubleshooting
7.0.0.0 Module/Class/Function Quick Reference
========================================================================
Revision 1.1.0 : January 2021

STEMBoT 2 User’s Manual
========================================================================
1.0.0.0 Introduction
MicroPython is an implementation of the Python programming language optimized for
embedded systems. MicroPython is written in C and includes a Python compiler and parser to
allow users to program in Python on low-level hardware.
The STEMBoT2 (SB2) uses version 1.10 of MicroPython loaded onto an STM32 32-bit
microcontroller unit (MCU), and is intended for education and embedded systems development.
Its features include an integrated LCD, speaker, several programmable push buttons, and
headers for motors, servos, and serial communication. The three ports for serial communication
use the UEXT (universal extension) layout and were included to be used with interchangeable
peripherals.
1.1.0.0 The Purpose of the STEMBoT 2
The STEMBoT 2 is the ultimate platform for learning how to program using the Python
programming language. With the proliferation of technology in our everyday lives, it’s as
important as ever to develop an understanding of programming and computer science topics.
Python is one of the most popular programming languages in fields such as data science,
financial services, and artificial intelligence, but it’s also one of the easiest and most forgiving
languages for new programmers to learn. The STEMBoT 2 takes this ease-of-use one step
further by providing an engaging and interactive programming experience.
1.2.0.0 How to use this manual
This manual should be read start to finish by those new to programming Python. The
purpose of this manual is not to teach Python, but to show how the STEMBoT 2 board works.
For those already familiar with programming in Python, this manual contains high-level function
descriptions at the end.
========================================================================
Revision 1.1.0 : January 2021

STEMBoT 2 User’s Manual
========================================================================
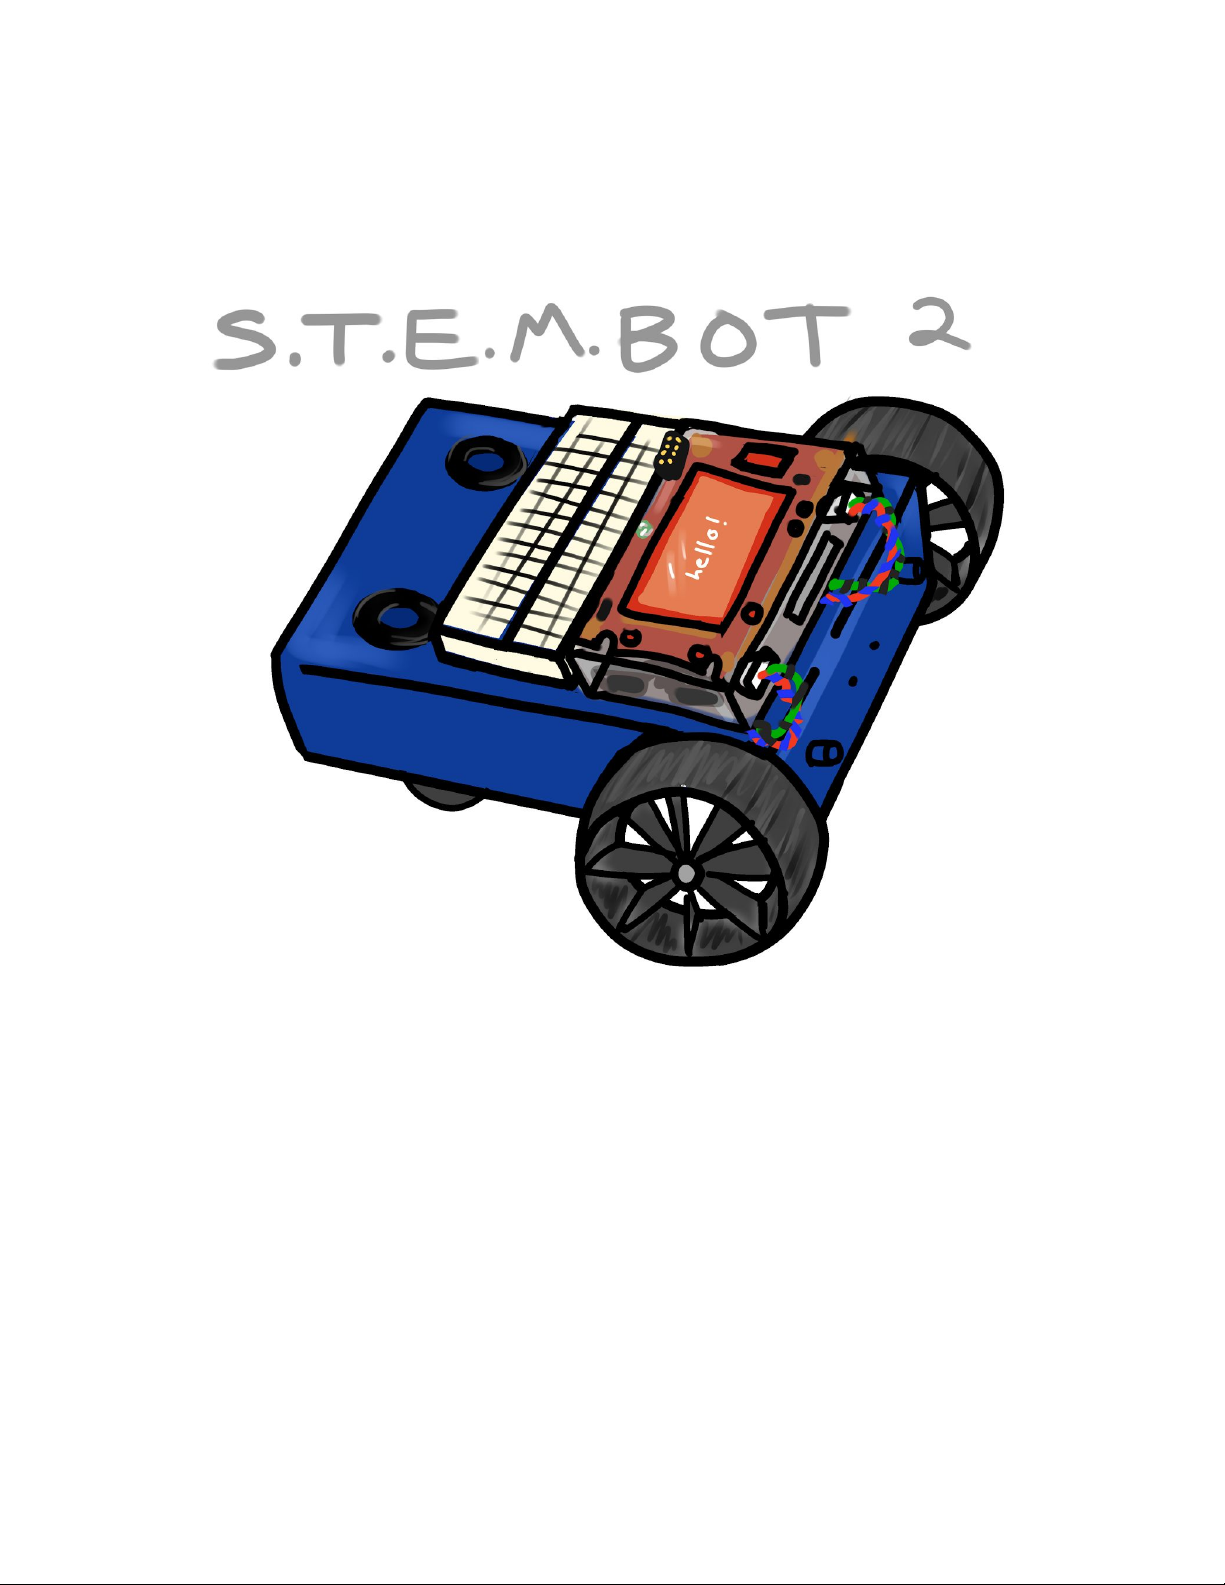
2.0.0.0 Hardware Overview
The STEMBoT 2 package comes with all of the parts necessary to construct the robot as
well as a remote control and starter set of UEXT modules. The remote control and UEXT
modules come pre-assembled and assembly instructions for the robot are outlined in the
following section (3.0.0.0).
The package contains the following items:
- One STEMBoT 2 Board
- One Aluminum Chassis
- One Laser-cut Acrylic Enclosure
- Two 2-Phase Stepper Motors
- Two Rubberized Wheels
- Two Omnidirectional Wheels
- One Remote Control
- One LED Plug and Play Module
- One OPT3001 Plug and Play Module
- One SHT21/30 Temperature Sensor Plug and Play Module
- One Seven Segment Display Plug and Play Module
The standard configuration for the SB2 is the way the robot is assembled and delivered
to users. The PCB is inside the acrylic enclosure, which is mounted to the front of the aluminum
chassis. The stepper motors are mounted underneath the enclosure, and plugged into the motor
headers closest to each motor. The battery is affixed to the chassis via velcro tape and a plastic
cable hook attached with a screw and nylock nut. The omnidirectional wheels are attached to
the rear of the chassis, facing inwards, and at the bottom of the screw slot.
2.1.0.0 STEMBoT 2 Board
The heart of the STEMBoT 2 system in the main printed circuit board (PCB). This board
contains 5 programmable switches, a full-color LCD, 4 servo ports, a tri-color LED, two motor
headers, three UEXT headers for plug and plug functionality, and a piezoelectric buzzer.
There’s also a barrel jack for wall charging, a power indicating LED, a reset button, and a
USB-B connector for programming.
2.2.0.0 Battery and Charger
The SB2 comes with a 6-cell, 7.2V, 3800mAh Nickel-Metal Hydride (NiMH) battery , as
well as a 12V AC/DC adapter. The battery is connected to the board through an XT-60 adapter.
========================================================================
Revision 1.1.0 : January 2021

STEMBoT 2 User’s Manual
========================================================================
2.2.1.0 Charging the SB2 Battery
Without the charger connector, the SB2 will notify the user of a low battery condition if
the green LED adjacent to the charging connector starts to blink. To charge the SB2 battery,
make sure both the battery and charger are plugged in. Charging will begin automatically,
whether the board is turned on or not. One full charge cycle takes a maximum of 4 hours, and a
completed cycle is indicated by a solid green light on the LED.
2.3.0.0 Remote Controller
The STEMBoT 2 comes with a remote controller for wirelessly operating the robot. The
controller is a standard XBox controller design with custom internal hardware.
2.3.1.0 Pairing the Remote Controller
To pair the remote, navigate to “Tools” on your STEMBoT 2 and then click the B button
to enter into the pairing mode. Next press the sync button on the remote, near to Left-button
bumper. After it says “Successfully paired” you can then drive your bot by selecting the remote
control application.
2.3.2.0 Calibrating the Remote Controller
After successfully pairing, if either of your STEMBoT’s motors are moving on their own,
you can recalibrate your remote by holding the middle green button. Once the red LED flashing
sequence begins, move your joysticks in circular patterns until the LED flashing sequence
finishes.
========================================================================
Revision 1.1.0 : January 2021

STEMBoT 2 User’s Manual
========================================================================
4.0.0.0 Programming - Introduction
Programming of the STEMBoT 2 is done through the USB port of the board and the
provided cable. With the USB plugged in, the user can view and edit Python files on the board,
and program the board through a serial communication program.
4.1.0.0 How to Program the SB2
After starting the SB2, the main menu will appear on the LCD. In this menu, there is an
option to Exit to Python REPL. With the USB cable plugged in, this option will automatically
mount a drive to your computer called PYBFLASH. The /apps folder in this drive contains the
example apps found on the board’s main menu, and can be used to store user generated
programs. Exiting to Python REPL will also allow the user to access the board’s functions
through a serial communication program.
Caution: Editing the default boot.py file can make the STEMBoT 2 inoperable.
Warning: The PYBFLASH drive on your computer must be unmounted before
the USB cable is removed. Failure to do so could corrupt data in transit, making the
STEMBoT 2 inoperable.
4.1.1.0 Programming via Serial Communication
After selecting the Exit to Python REPL option in the main menu, the SB2 can be
accessed through a serial communication program. This allows programming in Python on a
line-by-line basis. Connect to the SB2 using your serial communication program of choice.
Note: A popular program for this purpose is PuTTY, a free and open-source terminal
emulator. This program will be used throughout this document, and can be downloaded
at https://www.chiark.greenend.org.uk/~sgtatham/putty/latest.html
Type the following three lines, pressing enter after each one. If you are successfully
connected, this will turn on the blue LED just above the SB2 display.
import pyb
LED=pyb.LED(3)
LED.on()
Note: For information on selecting the correct port and properly configuring PuTTY for
use with the SB2, see User Guide: Setting Up Serial Communication for the STEMBoT
2, posted on the STEMBoT Inc website. Click here for the Putty Setup Guide.
========================================================================
Revision 1.1.0 : January 2021

STEMBoT 2 User’s Manual
========================================================================
Note: Most functions of the SB2 can be accessed via serial communication, but the
radio cannot, due to conflicts with the serial communication bus.
4.1.2.0 Programming via Mass Storage
Python programs can be added to the SB2 by dragging and dropping files into the /apps
folder located on the PYBFLASH drive. Restarting the STEMBot 2 will allow the user to start
using their new programs right away, assuming there are no compilation or runtime errors. On
your computer, create a new file using the text editor of your choice. In this file, type the
following code:
import pyb #imports LED functions like with the above example
import uasyncio #necessary for all programs placed in mass storage
async def main(): #necessary header for all programs in mass storage
pyb.LED(1).off() #turn off red LED
pyb.LED(2).off() #turn off green LED
pyb.LED(3).on() #turn on blue LED
Program 1: Turning on the Blue LED
Save the file as “new_led.py” to the /apps folder of the PYBFLASH drive. Restart the
SB2 by pressing the blue reset button. On the main menu, the new program titled “new led”
should appear. Running this program will turn on the blue LED just above the SB2 display.
Note: Due to the nature of the boot.py file, main function headers should start with the
keyword async, for example, async def main():
Caution: When changing data on the SB2 via this method, the red LED will turn on. The
SB2 should remain plugged into the computer until this red LED turns off. Unplugging
the SB2 before the LED turns off could interrupt the data transfer and result in
unintended operation.
4.2.0.0 Programmable Hardware Components
The STEMBoT 2 board itself comes with several programmable components, including
switches, a multicolor LED, and a buzzer. These components are common among electronics
and serve a variety of purposes. For example on the SB2, the switches are used to navigate the
main menu and the LED is used as a status indicator, telling the user when programs are being
uploaded or when an error has occurred. What follows is a description of these components and
examples on how to access them through Python programming.
========================================================================
Revision 1.1.0 : January 2021

STEMBoT 2 User’s Manual
========================================================================
There are three modules used for accessing low-level functions of the SB2: pyb,
switch and buzzer. The pyb module is used for the multicolor LED, as demonstrated in
previous examples. The switch module can be used for accessing the buttons and other
general-purpose input/output pins (GPIOs). The buzzer module is used for accessing the on
board buzzer to produce songs and other sounds.
Note: The pyb module was developed primarily for a different board which also uses
MicroPython, while sb contains similar functions generalized for any board. When
possible, sb should be used over pyb.
4.2.1.0 Multicolor LED
The LED is accessible via the LED() function of the pyb module, and it is
programmable for 3 different colors.
# This program will turn off the main LED, then cycle through
# its red, green and blue components, blinking each of them
# twice in an infinite loop.
import pyb #grants access to the LED class
import uasyncio #grants access to asynchronous delays (very useful!)
async def main(): #standard header for programs in the /apps folder
x=1
while x<4: #turn off LEDs 1 through 3 (all of them)
pyb.LED(x).off #turn off the x LED
x+=1 #increment x
while(True): #infinite loop
x = 1
while x<4: #cycle through RGB
led=pyb.LED(x)
led.on() #turn on LED
await uasyncio.sleep_ms(1000) #one second delay
led.off() #turn off LED
await uasyncio.sleep_ms(1000) #one second delay
led.on()
await uasyncio.sleep_ms(1000)
led.off()
await uasyncio.sleep_ms(1000)
x+=1
Program 2: Blinking the LEDs with Delays
Note: The LED is also used for several status indications: it will blink red and green if an
error has occurred and will stay solid red while data is being transferred to the SB2.
========================================================================
Revision 1.1.0 : January 2021

STEMBoT 2 User’s Manual
========================================================================
The three available colors, red, green, and blue, are numbered 1, 2, and 3, respectively,
when using the LED() function.
4.2.2.0 Switches
As detailed in the Hardware Overview (section 2.1.0.0 of this guide) the SB2 has five
programmable switches. These buttons can be used by importing the machine Python module.
The switches by default are configured as inputs with their pull-up resistors enabled, as the
following code demonstrates.
pinS8=machine.Pin('E5',machine.Pin.IN,machine.Pin.PULL_UP)
pinS7=machine.Pin('B6',machine.Pin.IN,machine.Pin.PULL_UP)
pinS6=machine.Pin('B5',machine.Pin.IN,machine.Pin.PULL_UP)
pinS5=machine.Pin('B2',machine.Pin.IN,machine.Pin.PULL_UP)
pinS4=machine.Pin('F11',machine.Pin.IN,machine.Pin.PULL_UP)
The pins above are named for their label on the PCB. Their values can be read with the
value() method of the Switch() class in the switch module.
Caution: The Pin() function of the machine module can also be used to access other
pins on the SB2’s main microcontroller. Changing the function or value of certain pins
may render critical functions of the SB2 inoperable.
As an example of how the switches work, open a serial connection to the SB2. Type in
the following lines, pressing enter after each one.
from switch import Switch
button=Switch(“up”)
button.value()
Program 3: Getting the State of the Up Button
After entering the last line, False should appear on the serial terminal. This indicates that
the button is not being pressed. Now, hold down the upper left button and send the
button.value() line again. The 0 that appears on the serial terminal indicates the button is
being pressed. Sampling this value is how the buttons are used to scroll through the main
menu, but they can also be used for custom programs.
Note: In the serial terminal, the last line of code can be quickly accessed by pressing the
up button on your keyboard.
========================================================================
Revision 1.1.0 : January 2021
Ce manuel convient aux modèles suivants
1
Table des matières
Manuels Robotique populaires d'autres marques

STEMCenter USA
STEMCenter USA Pi-Bot v2.00 Manuel utilisateur

SunFounder
SunFounder PiDog Manuel utilisateur

Universal Robots
Universal Robots UR5 Manuel utilisateur

Universal Robots
Universal Robots E Series Manuel utilisateur

YASKAWA
YASKAWA MOTOMAN-MPL80 II Manuel utilisateur

EFORT
EFORT ECR5 Manuel d'instructions


