Thank you for puchasing a
Stellarvue
C
Telescope
. Back in the mid
1960’s my father bought me a 60mm refractor to encourage my interest in sci-
ence. That telescope almost ended my interest in astronomy altogether! With
its wobbly mount, inferior eyepieces and optics, I struggled for several nights,
then retired the telescope to the closet. There are millions of cheap depart-
ment store telescopes sitting in closets. This should not be the case with your
telescope. You are now the owner of a quality telescope that is easy to use.
Please look over this manual to learn how easy it is use your new
Stellarvue.
WARNING!
LOOkING A HE SUN CAN CAUSE SERIOUS EYE INjURY AND bLIND-
NESS. NEVER POIN A ELESCOPE OR bINOCULARS A OR NEAR HE
SUN. VIEWING HE SUN WI HOU A PROPER SOLAR FIL ER MAY
RESUL IN bLINDNESS, AS WELL AS DAMAGE O HE INS RUMEN .
NEVER ALLOW CHILDREN O USE bINOCULARS OR ELESCOPES
DURING HE DAYLIGH HOURS, UNLESS HEY ARE SUPERVISED bY
AN ADUL WHO UNDERS ANDS HE DANGER OF POIN ING ANY OP I-
CAL INS RUMEN IN HE GENERAL DIREC ION OF HE SUN.
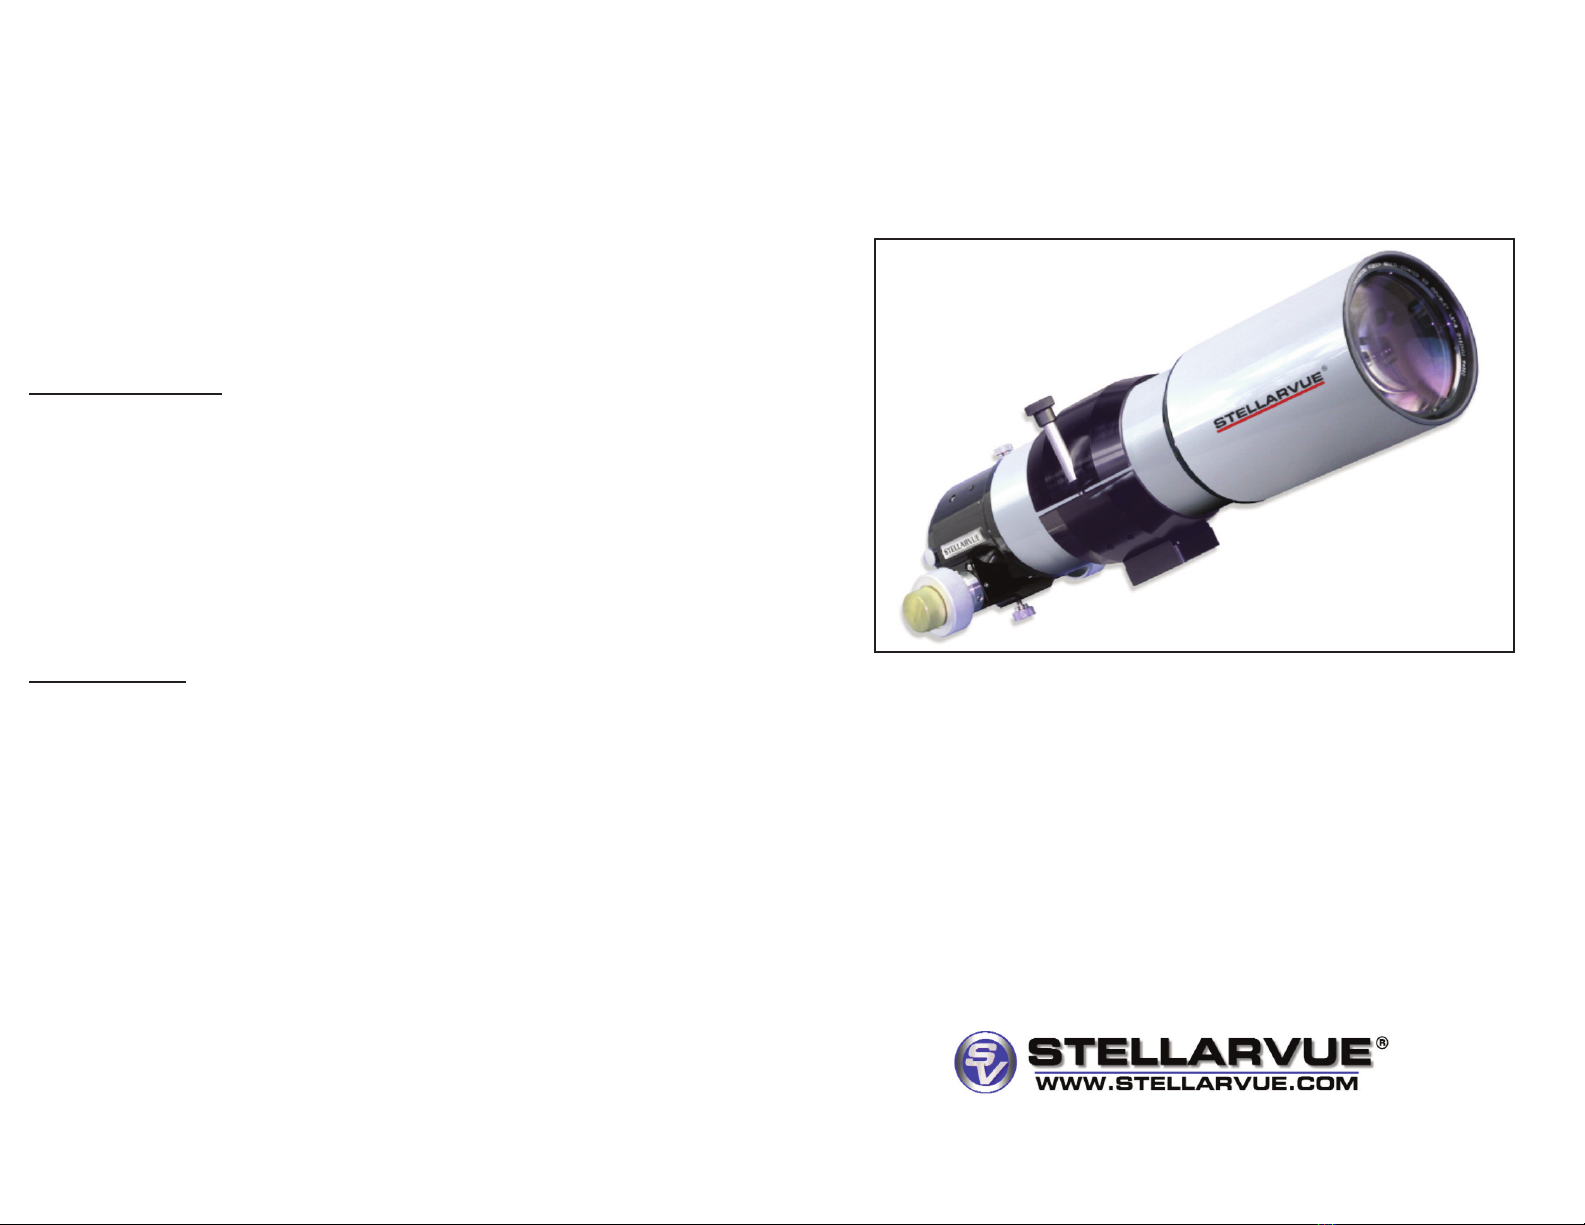
S
STELLARVUE
TELLARVUE C
ASTRONOMICAL TELESCOPES
ASTRONOMICAL TELESCOPES
IN RODUC ION
Stellarvue telescopes are individually made. Stellarvue refractors use a full
multi-coating to increase light transmission and contrast. This telescope uses
lenses that are accurately hand figured but may show some cosmetic marks
caused by test plates. However, any cosmetic marks you may see will not
affect visual or photographic performance and should not be a cause for con-
cern. The telescope is internally baffled and treated with an ultra flat black
interior. This along with the full multi-coatings results in exceptional contrast
and clarity.
Assembling your telescope is easy. Once it is assembled and adjusted, you
are ready to observe. The telescope may be easily moved, but make sure all
parts are secure and the eyepiece tray is empty before you do. When trans-
porting the telescope, we recommend storing the tube assembly in a padded
case to protect the finish. Occasional lubrication of the mount is all that is
needed to maintain this telescope. Avoid keeping it outside continuously as
metal parts may rust and corrode. When working in the field, it is a good idea
to cover the telescope when not in use, to prevent dust from settling on the
optical and mechanical parts.
1.
CARE AND MAIN ENANCE
Refractors are maintenance free. They do not require alignment like reflectors
and compound telescopes, and they are generally smaller and more compact.
This makes a refractor an ideal grab and go telescope.
eep the telescope covered when not in use with the lens caps in place. Cover
the lens to reduce the dust and debris that can fall onto the lens. When observ-
ing, extend the dewshield all the way out to minimize the amount of dew that
forms on the lens. If the lens gets wet, bring it indoors and let it air dry before
replacing the lens cap. Cleaning should be done very infrequently. A small
amount of dust or small spots on a lens will not affect performance. If dust accu-
mulates on the lens, blow it off with a bulb syringe. If the lens needs cleaning,
make sure you blow all the dust off the lens before cleaning it. Dust particles
can be hard and scratch glass. So every bit of dust should be removed before
you use a lens cloth. Once the lens is clear of any particles, use our lens clean-
er cloth and liquid to clean the lens, followed by a dry wipe. Never apply cleaner
directly onto the lens but into the cloth so cleaner does not migrate around the
lens to the inside. The tube exterior can be cleaned with a lint free cloth and a
commercial cleaner like “Fantastic.”
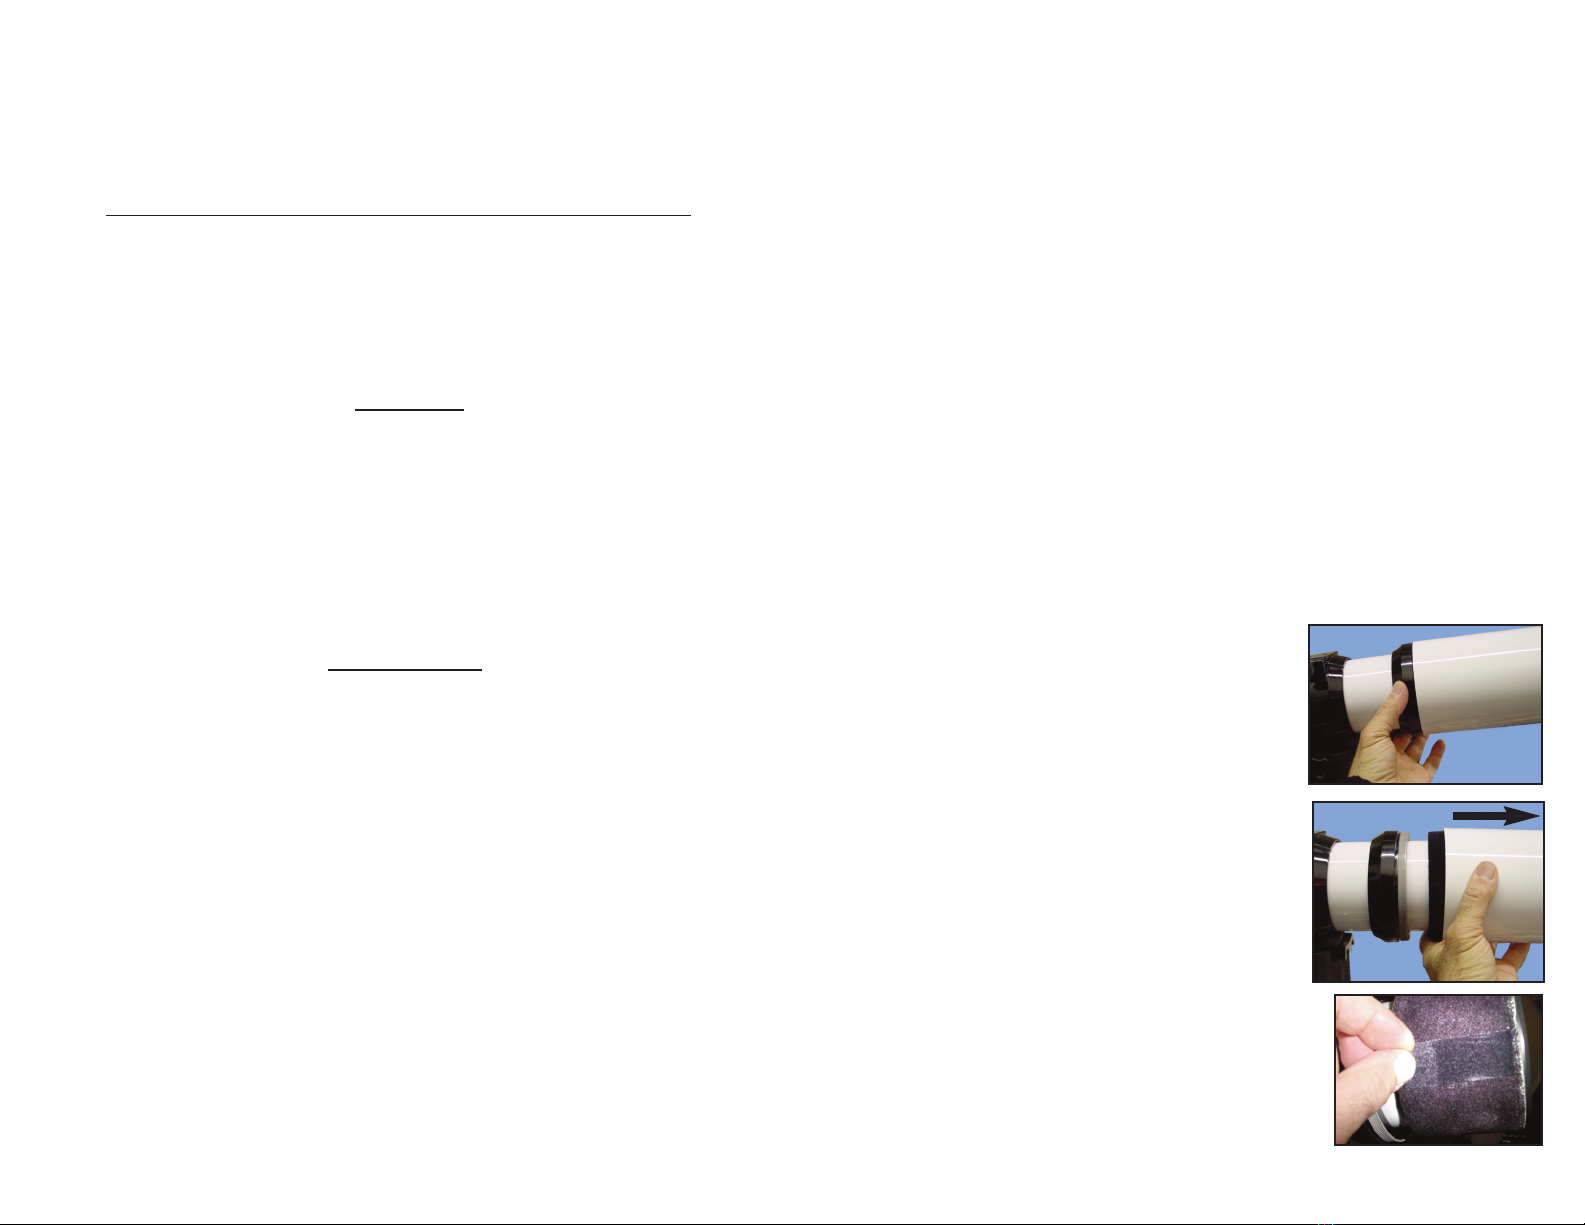
Your telescope comes with a retracting dewshield. Velvet is used to provide a
solid, smooth motion. Under some climates, the velvet may compress slightly
and the dewshield may slip down when the telescope is pointed upward. In this
case, you need to add more velvet. We provide strips
of adhesive velvet for this purpose.
1. Remove the dust cover and unscrew the tapered
ring from the dewshield. Turn the ring and not the
dewshield.
2. Slide off the dewshield rotating it clockwise as you
pull it off.
3. Add two or three strips of the adhesive velvet over
the existing velvet making sure the edges are
adhered well to the surface.
4. Replace the dewshield making sure the velvet is
fitted under the edge so it does not pull up. Rotate
the shield clockwise as you carefully install it. Thread it
to the tapered ring.
Never touch the lens cell retainer located on the
front of the lens cell.
6.
1.
2.
3.