Note: 1. The camera and the wireless NVR have been paired at the factory.
2. Pair is only required for debugging and adding new cameras.
7
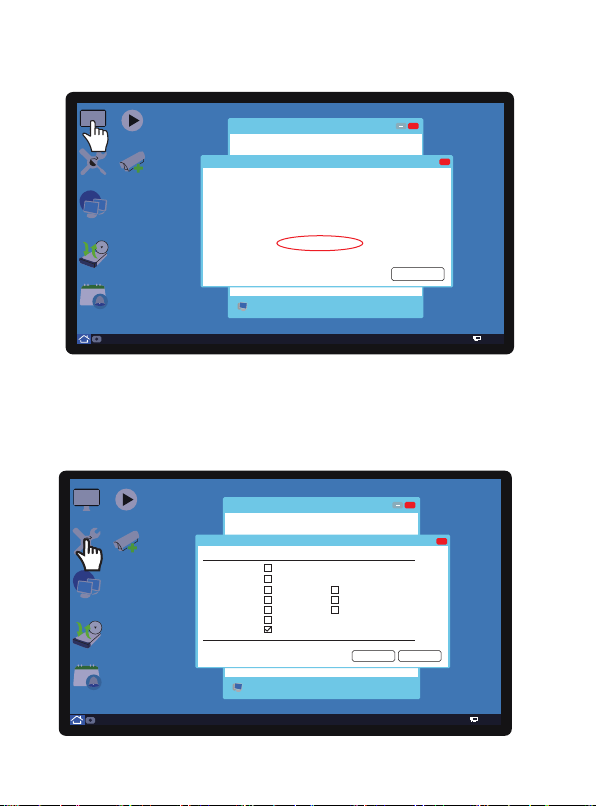
6. Add the Camera
Reset Reset
REC
RTSP
IP
WIFI
admin
CameraRecord Mode
Record ConfigPlay BackNetworkEncodeAlarmChannel TypeGUI DisplayBackupGeneralEevice Info
HDD ManageOutput AdjustRestoreUpgradeAutoMaintainImport/ExportLOGBPSCommon ConfigurationNet ServiceVersionControl PanelCloudLogout
Enter Desktop
When the camera is powered on for 20 seconds, the camera emits "di", "di" and "di" prompts.
Click the menu in the lower left corner of the display -> Click on -> Click on Icon distribution
network -> Align the QR code with a distance of 20-60cm, no beeping" After the prompt tone of
"di" and "di", it means that the network configuration is successful.
Note: 30 seconds after the camera is powered on, there is no prompt sound of "di", "di" or "di". Long press the
Reset button for 5 seconds, let go after hearing the prompt and wait for the camera to restart.
3
Reset
Aim the camera lens at the QR code and keep a distance of 20-60cm.
After the camera recognizes the QR code, the camera no longer emits
the beeping "di", "di" and "di", indicating that the network configuration
is successful, Wait a few seconds to see the video.
X
Wifi hotspot
ESSID host-d8:e6:e2
Wireless Channels Auto
Region MKK
Note:The use of wireless channels must comply with local laws and regulations
OK Cancel
REC
admin
CameraRecord Mode
Record ConfigPlay BackNetworkEncodeAlarmChannel TypeGUI DisplayBackupGeneralEevice Info
HDD ManageOutput AdjustRestoreUpgradeAutoMaintainImport/ExportLOGBPSCommon ConfigurationVersionControl PanelCloudLogout
Enter Desktop
PPPoe
DDNS
UPnP
G
2
1
Net Service