Sola-Check Manual version 1.1
Last printed 20/05/2004 14:30
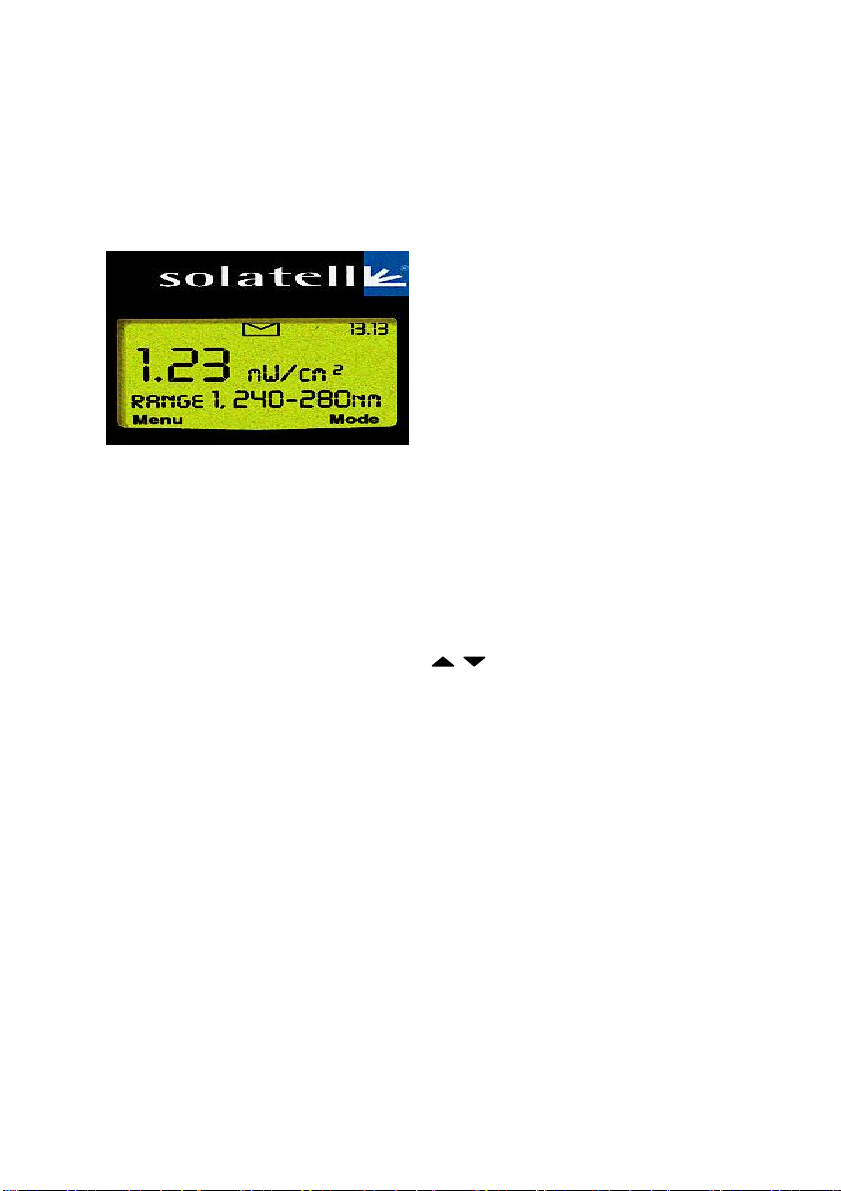
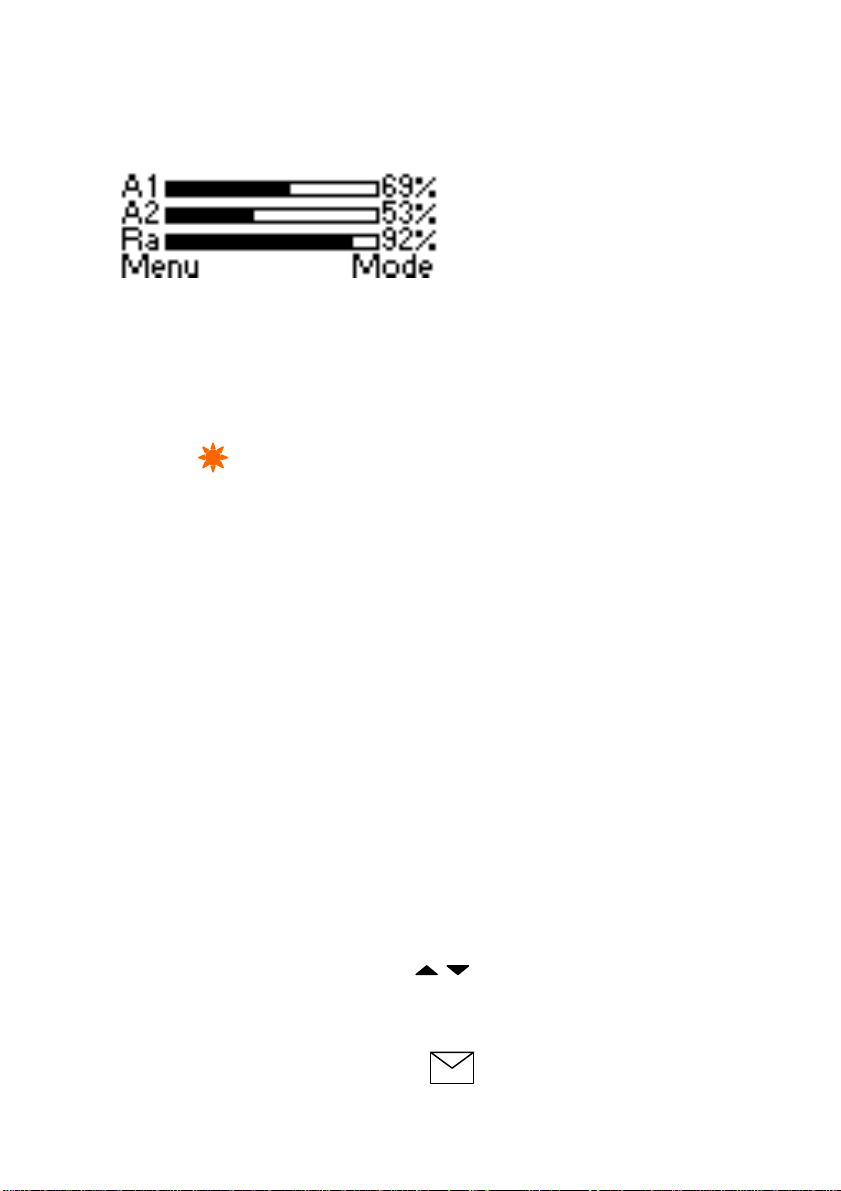
1.6 Gauge Mode
Figure 2 Gauge Mode
If your instrument is in the Radiometer Mode, press F2 to change modes.
The Gauge Mode shows how the current UV lamp data compares with the
stored or reference lamp data for Area 1, Area 2 and the Ratio.
1.7 Making a UV Measurement
To take your first sample, position instrument in appropriate place and press
and hold key for 2 seconds, then release. The Sola–Check will now
Auto-Range (work out the exposure time required) and take a sample.
For subsequent readings of the same lamp or same type of lamp at the
same or similar distance, you will only need to press the sample key briefly
as the instrument has now learnt the exposure time required.
Note. Positioning of the Sola Check is critical. Probes should be locked in
place with a probe locator. If no probe is being used, the Sola-Check should
be positioned on a flat surface and clamped in place.
1.8 Warning LED Lights
There are three coloured warning lights on the front of the instrument. These
change colour depending on how the current lamp data compares with the
stored reference lamp.
?? A green LED indicates that all the areas and ratios for the current data
are above the alarm level.
?? An amber LED indicates that either an area or the ratio for the current
data is below the amber alarm level but above the red alarm level.
?? A red LED indicates that either an area or the ratio for the current data is
below both the amber and the red alarm levels.
2Menu Control
The menus allow the user to configure the Sola-Check exactly as required.
To enter the menu system press F1 (when it says ‘menu’ above it). To
navigate the menu system, press the keys to highlight an item, then
press F1 to select the item; press F2 to exit the current menu.
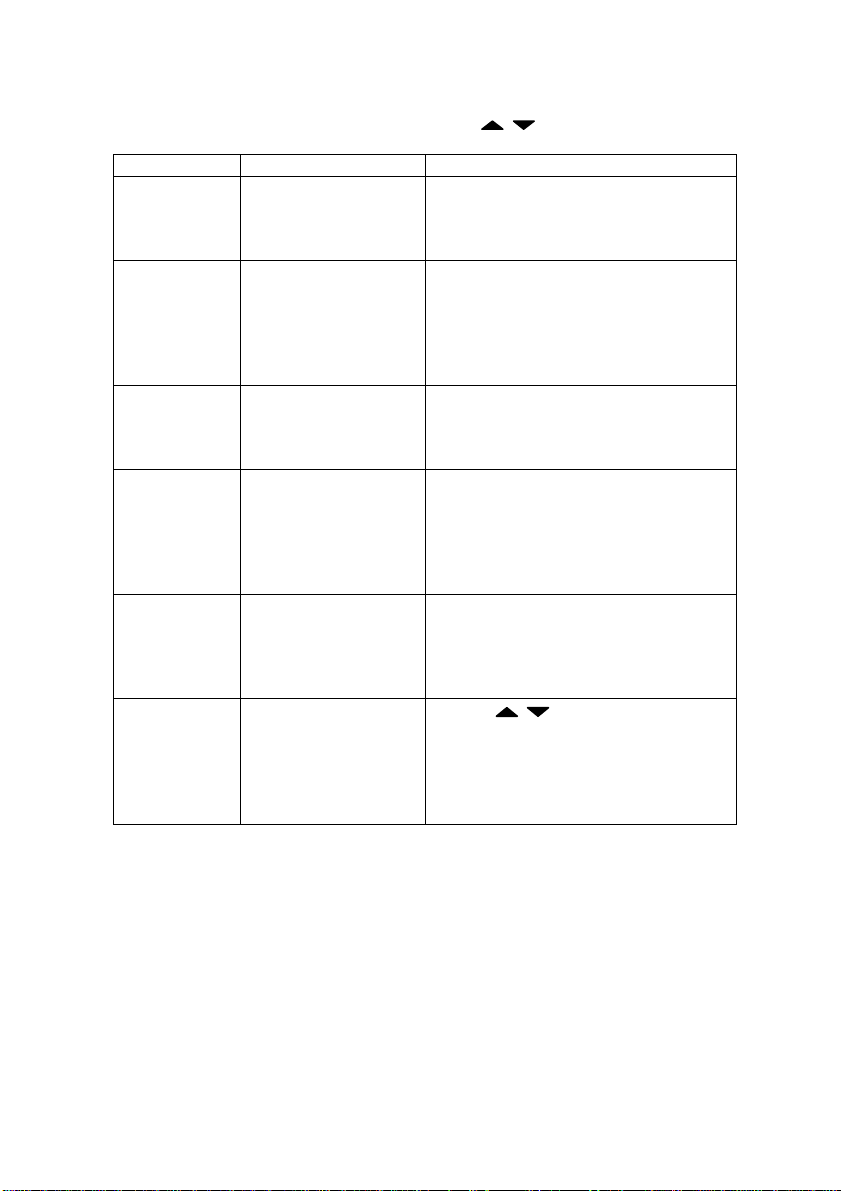
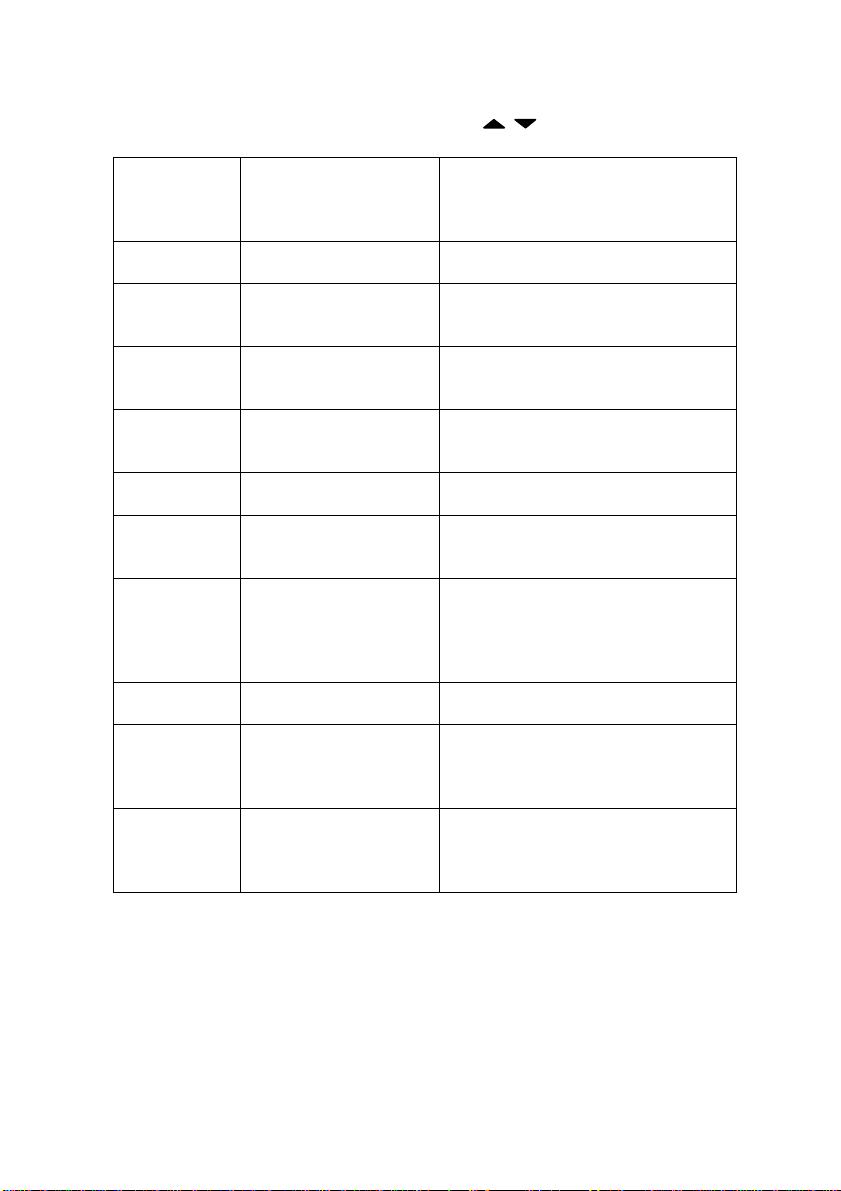
The menu allows you to view or change the following (italics show range,
bold shows default):-
For help whilst in menu control press
Artisan Technology Group - Quality Instrumentation ... Guaranteed | (888) 88-SOURCE | www.artisantg.com