12
• Wipe the surface of the bulb with a clean lint-free cloth.
• Close the heater as described previously.
Change the heating element
• Ensure that the heater has had 20 minutes to cool down.
• Do not touch the heater element with bare hands:
finger rints must be removed with a clean lint-free cloth
and methylated s irits. Failure to do so will cause
remature failure of the heater element.
• Open the heater as described previously.
• At each end of the tube are heatsink clips. Open these by gently
moving the tab in a downwards direction.
• Remove the heating element from its holder by pushing one end
further into its holder and pulling the end that is free towards
you.
• Fit the new element by placing one end into its contact and
pushing against the spring until the other end can enter the
contact.
• It is recommended that the glass moulding “pip” on the centre of
the tube faces the reflector.
• Check that the element is correctly seated and that no finger
marks have been left.
• Refit the heatsink clips by moving the tab in the opposite
direction to the removal until the clip is heard to click in place.
• Failure to refit these cli s will severely reduce the tube
life.
• Lightly polish the reflector to remove and finger marks.
• Close the heater as described on the previous page.
Change the glass
• Ensure that the heater has had 20 minutes to cool down
• Open the heater as described previously.
• Remove the screws which hold the glazing clips at each end of
the glass. Carefully remove the glass.
5
WARNING: THIS A LIANCE MUST BE EARTHED
IM ORTANT: Fitting a different plug:
The wires in the mains lead are coloured in accordance with the
following code:
Green and Yellow Earth
Blue Neutral
Brown Live
If you fit your own plug the colours of these wires may not correspond
with the identifying marks on the plug terminals. This is what you
have to do:
1. Connect the Green and Yellow (Earth) wire to the terminal in the
plug marked “E” or with the symbol or coloured Green or
Green and Yellow.
2. Connect the Blue (Neutral) wire to the terminal in the plug
marked “N” or coloured Black or Blue.
3. Connect the Brown (Live) wire to the terminal in the plug
marked “L” or coloured Red or Brown.
In the event of replacing the fuse in the plug supplied, a 13A ASTA
approved fuse to BS1362 must be fitted.
With alternative plugs a 15A fuse must be fitted either in the plug,
adaptor or the main fuse box.
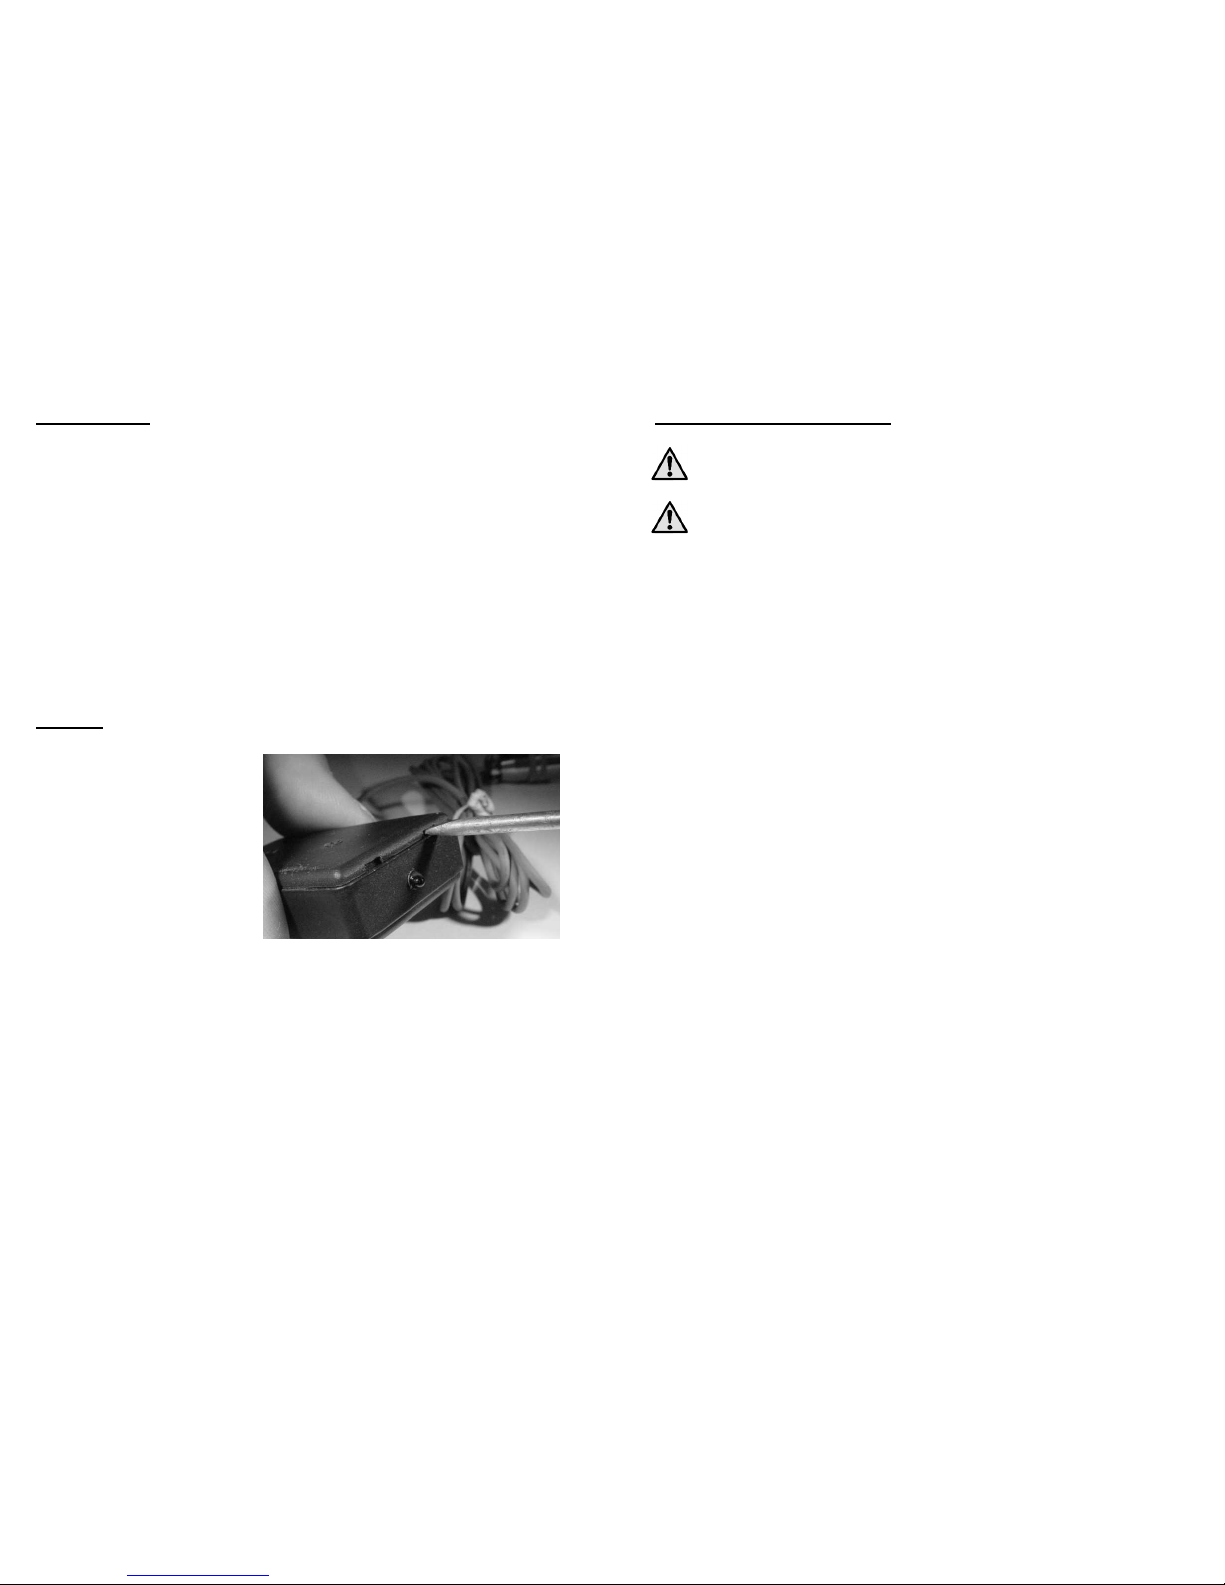
Assembling the Heater
1. The heater is shipped with the IR
disconnected. To fit the IR, first place the
heater on its top so that the mains control
box is upper most and the heater glass
window is towards you.
2. The IR has a small connector on the lead that comes out of the
top. Connect this to the lead that comes out of the hole in the
mains control box so that the colours line up (ie Red to Red etc)
3. ush the excess wire into the mains control box and with the IR
window facing you, push the IR into the hole on the mains
wiring box until it is felt to “click into place”