smartmotion HyperSonic Manuel utilisateur

User Manual
Sonic user manual.indd 1 9/4/2017 3:50:41 PM

Contents
1. Service Record
2. Assembly instructions
3. Safe Riding Recommendations
4. Maintenance & Adjustment
5. Main Specifications
6. Do’s and Don’ts
7. Display Panel
8. Display Panel Controls
9. Battery instructions
10. Warranty
11. Service Checklist
12. Service Record
User Manual
1. SmartMotion electric bicycle
2. Battery charger
3. 2X Pedals
4. 2X keys for battery lock
5. Front wheel quick release axle
Congratulations for purchasing a SmartMotion electric
bicycle!
Please read this guide fully BEFORE using your electric
bike.
In the HyperSonic box you will find the following items:
Sonic user manual.indd 2 9/4/2017 3:50:43 PM

1. Service Record
Check for damage
Adjust and Tension
Lubricate
Frame & Fork
Rims
Cables & connections
Spokes*
Gears
Seat
Reflectors & Lights
Handlebars, Stem, Grips
Brakes
Cranks & Bottom Bracket
Wheel Axles
All Fasteners
Chain
Derailleur
Seatpost
Model:
Serial Numbers:
Dealer:
Purchase Date:
6 Weeks/200km
Date:
Shop:
Mechanic:
6 Months
Date:
Shop:
Mechanic:
12 Months
Date:
Shop:
Mechanic:
24 Months
Date:
Shop:
Mechanic:
Sonic user manual.indd 3 9/4/2017 3:50:43 PM

To Prepare
We recommend that you familiarise yourself
with the bike parts before assembling. Gather all
required tools. Be sure to work in a clean, dry space
with plenty of room. You might wish to lay down a
tarpaulin or old blanket to protect the bike during
assembly. You may find it helpful to stand the bike
frame on a block or sturdy box under the battery
housing to work with it in an upright position.
Please watch the balance when installing wheels.
1. Unpack
a. Carefully lift the electric bike out from the carton
(two people recommended for this task). Cut the
nylon zip ties with suitable scissors and remove the
foam protection from the bike.
b. Remove the front wheel and from the bike and
put them aside. Carefully stand the bike upright,
resting on its forks when installing wheels.
Your electric bike is shipped 85% assembled. Follow
these steps to get it ready and safe for you to ride.
Do not activate the brakes until the bike is
fully assembled. Squeezing brake levers
while calipers have no disc rotor between
them can damage the brakes.
2. Assembly Instructions
Sonic user manual.indd 4 9/4/2017 3:50:45 PM

2. Handlebar and Stem
Loosen the handle bar angle the four handlebar
clamp bolts and rotate the handlebar to make sure
the brake lever, shift lever and switch positions
are at the correct angle. Finally fasten the angle
adjusting bolt to 5-8N.M.
2. Assembly Instructions
Sonic user manual.indd 5 9/4/2017 3:50:48 PM

3. Seat
Release the seat post clamp lever and set the
seat post height to the position which is suitable
for you to comfortably reach the ground when
you are sitting on the bike, then refasten the
seat post clamp. The maximum height should be
within the max height markings on the seatpost.
4. Pedals
Attach the pedals to the cranks, paying attention to
the markings on the axle. The pedal with markings
is the left pedal. Note: the pedals have opposing
threads – screw in the left pedal counterclockwise
and screw in the right pedal clockwise. Install
L pedal counterclockwise and the right pedal
clockwise.
2. Assembly Instructions
Sonic user manual.indd 6 9/4/2017 3:50:52 PM

5. Front wheel
Carefully lift the bike front forks off the ground
and lower the forks onto the wheel axle, being
careful the disc rotor fits correctly into the disc
calipers (this job is best with 2 people). Slide the
axle through from the left side. Tighten the non-
rotor side nut finger tight and try to close the quick
release lever. Loosen or tighten the nut until it takes
the correct amount of force to close the lever. It
should be hard to close, but not so hard you cannot
fully close it. It must fully close (as in picture)
otherwise the wheel may come loose, causing
serious injury. Note: if you are not well trained in
cycle assembly, this procedure must be checked by
a cycle technician.
2. Assembly Instructions
Sonic user manual.indd 7 9/4/2017 3:50:56 PM

1. Please observe traffic regulations, and don’t lend your
bicycle to anyone who is unfamiliar with it. The bicycle can
legally only be used on the road by a person aged 14 years or
over.
2. If you are in a country where wearing a cycle helmet is not
compulsory, we still strongly advise you to always wear one.
If you are unfamiliar with cycling, we also advise you to attend
a cycle proficiency course prior to using it, or gain advice from
your local SmartMotion dealer. Your eUrban is not a toy and
should be considered a serious mode of transport.
3. As with all bicycles it is important that you stay within safe
limits. If you feel you are traveling too quickly for the road
conditions you probably are, so slow down! High speed will
increase forces in the case of an accident and increase the
possibility of injury.
4. Test your brakes prior to using the bike every time you use
it and remember the bike will not stop as quickly in wet or icy
conditions as it would on a dry road.
5. Check the tyres, rims, pedals, stem, cables, chain, etc for
general condition regularly.
6. A rider is very difficult for motorists and pedestrians to see
at dusk, at night, or at other times of poor visibility. If you must
ride under these conditions, check and be sure you comply
with all local laws about night riding; follow the rules of the
road. Take the following additional precautions: make sure that
your bicycle is equipped with correctly positioned and securely
mounted reflectors, wear light-colored, reflective clothing
and or accessories (any reflective device or light source that
moves will help you get the attention of approaching motorists,
pedestrians and other traffic). Make sure your clothing or
anything else you are carrying on your bicycle doesn’t obstruct
a reflector or light. Ride slowly when conditions demand you to
do so.
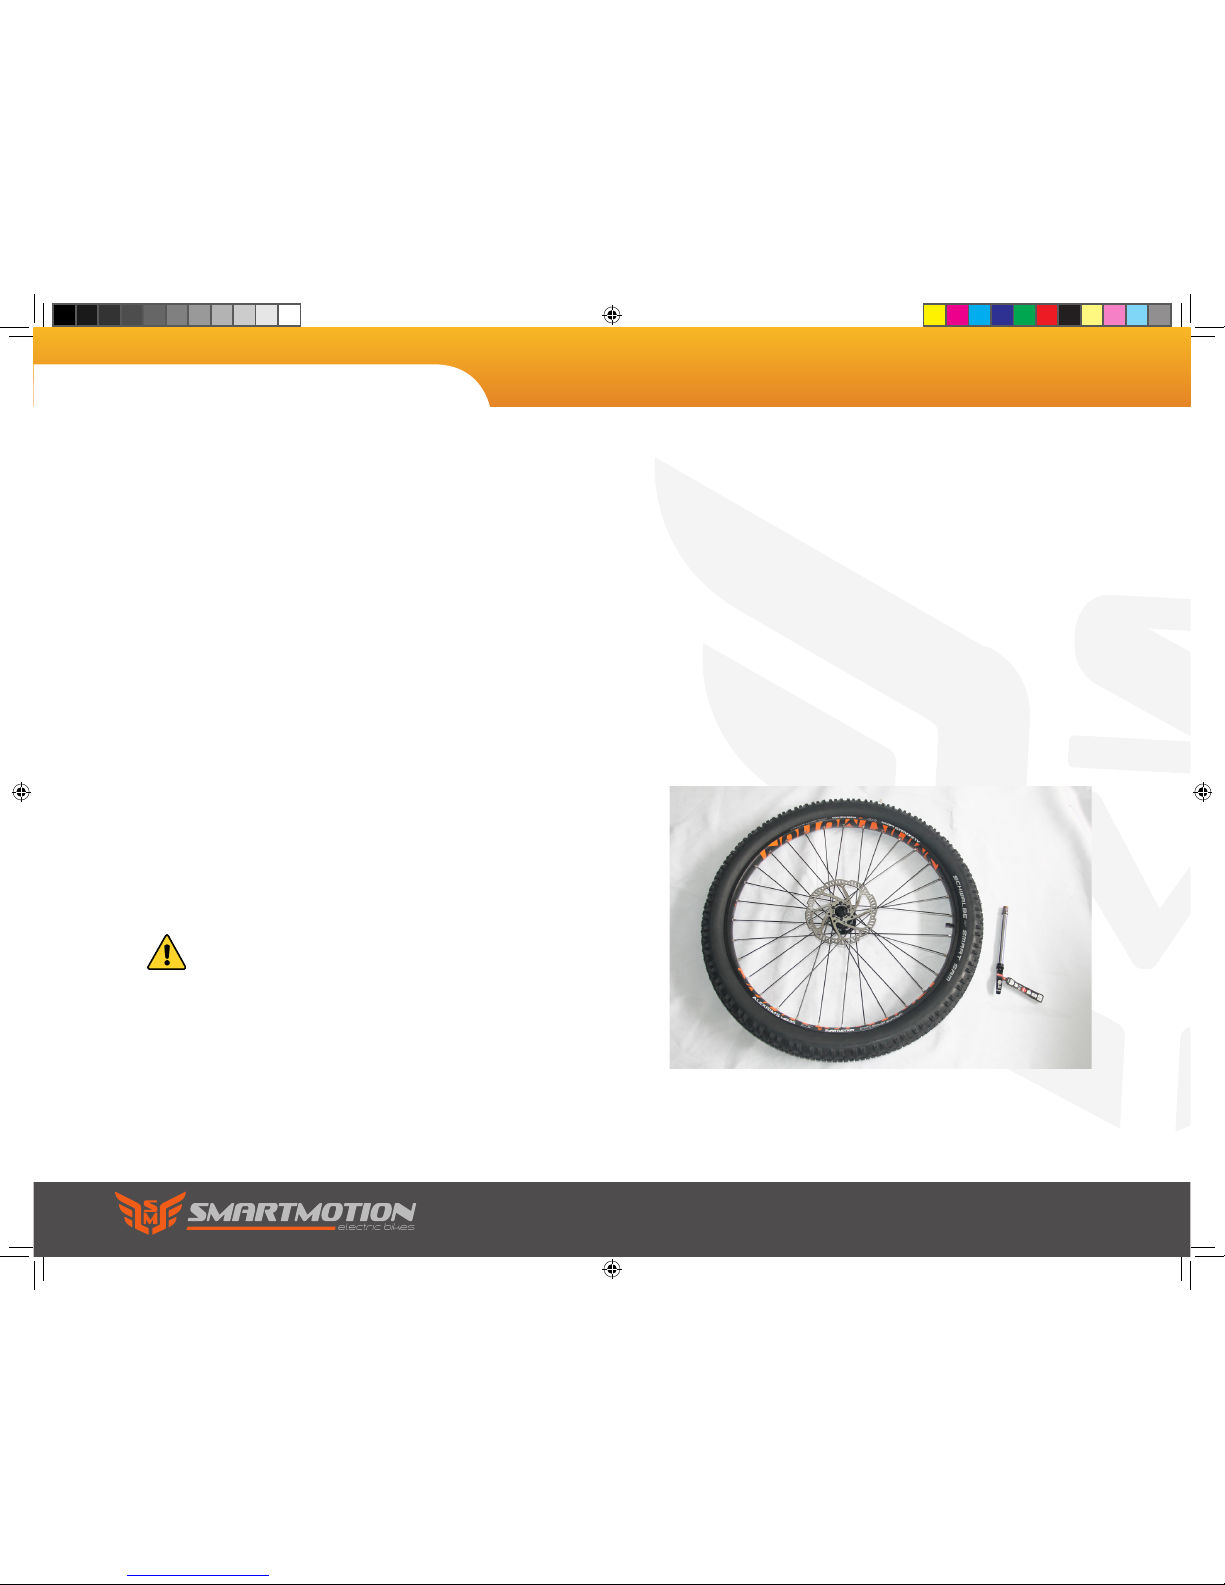
7. Check the front and rear rim’s safety line. Replace wheel
when any part of the Rim Wear Groove is not visible. It is
dangerous not to do so.
8. If a rear child seat is fitted, before putting your child in, read
the full safety instructions of the seat manual to check seat is
installed correctly and child is fastened properly.
9. You must not leave the bike unattended or use the kickstand
to stand the bike without your support when a child is in the
rear seat as the bike could tip over and cause serious injury.
10. Make sure the rear suspension underside of your seat is out
of reach of your child to avoid finger injury.
11. Your bicycle must be returned to your servicing dealer
or bicycle/motorcycle mechanic after one month or 200km
of riding (which ever comes first) to re-tension the spokes.
Then every six months or 1000km (which ever comes first)
for a general service and thorough inspection. Failure to do
this can void your warranty due to unnecessary wear.
3. Safe Riding Recommendations
Sonic user manual.indd 8 9/4/2017 3:50:56 PM

3. Safe Riding Recommendations
Pre-ride Checklist
Please make sure the brake lever sequence is
correct for your country before riding. In UK, NZ
and Australia the left brake lever is for rear brake
and the right brake is for the front brake. In all
other countries it is the other way: left for front,
right for rear.
Check the tyres for any visible damage.
Check tyre pressures are 40-60psi, and adjust if
necessary.
Check for any loose nuts, bolts, or fixings.
Check brake functions, cable tension, pad
clearance, etc.
Check all electronic functions are ok (functions
detailed later in this manual).
Check the reflectors are in place and the lights are
working (detailed later in manual).
Torque Settings
Check bolts are tightened according to the following
recommendations before you set off for the first time.
a. Seat pillar clamp nut/bolt 5N.M-8N.M
b. Brake cable anchor bolt 5N.M
c. Brake centre bolt 11N.M
d. Seat angle clamp bolt 24N.M
e. Crank axle nuts R:42N.M
L: 46N.M
f. Gear shifter nuts 4N.M
g. Rear carrier nuts 8N.M
h. Mudguard bracket nuts 8N.M
i. Handle bar clamp nut 17-20N.M
j. Quill stem bolt 19N.M
k. Seat tube clamp nut 4-7N.M
l. Rear wheel axle nuts 40-45N.M
m. Quick release front axle. Measured torque
not typically used. Common industry practice is
resistance at lever half way through swing from
open to fully closed.
For all other nuts, the torque depends on the nut
diameter: M4 2.5-4.0N.M
M5 4.0-6.0N.M
M6 6.0-7.5N.M
Note: make sure axle nuts are always done up tight
on both wheels as connections to the motor and the
dropouts can be damaged due to the axle spinning.
Sonic user manual.indd 9 9/4/2017 3:50:56 PM

4. Maintenance & Adjustment
1. Gear Adjustment
Adjust the rear derailleur cable tension to align
guide pulley with the centre of the cogs (setting this
in gear 3 or 4 is easiest). Low adjustment: In 1st
gear check and if necessary, turn the L adjustment
screw so that the guide pulley moves to a position
directly in line with the largest (1st gear) sprocket.
High adjustment: turn the crank arm while gear
shifting the derailleur to move the derailleur to the
top gear position, and then check and if necessary,
turn the H adjustment screw to adjust so that the
guide pulley is in line with the outer line of the
smallest sprocket when looking from the rear.
Turn the crank arm to set the derailleur to the low
position.
H adjustment screw
L adjustment screw
Sonic user manual.indd 10 9/4/2017 3:50:56 PM
Autres manuels pour HyperSonic
1
Table des matières
Autres manuels smartmotion Vélo

smartmotion
smartmotion e20 Manuel utilisateur

smartmotion
smartmotion pacer Manuel utilisateur

smartmotion
smartmotion x-city neo Manuel utilisateur

smartmotion
smartmotion PACER GT Manuel utilisateur

smartmotion
smartmotion HyperSonic Manuel utilisateur

smartmotion
smartmotion Vista Manuel utilisateur

smartmotion
smartmotion eUrbans Manuel utilisateur


