Smart Cam A12VT Manuel utilisateur

Speakers Tracking Camera
Quick Start Guide
User Manual V1.0
SmartCam A12VT


SAFETY NOTES -IMPORTANT
The following important notes must be followed carefully to run the camera and
respective accessories in total safety. The camera and relative accessories are called
video system in this section.
Before installing the camera, please read this manual carefully. Please follow installation
instructions indicated in this manual during installation. Please keep this manual for future use.
The installation should be performed by qualified service personnel or system
installers in accordance with all local rules.
Before powering on the camera, please check the power voltage carefully. Make sure that you
are using the correct power source.
Please put the power cable, video cable and control cable in safe place.
Do not operate the camera beyond the specified temperature and humidity. Working
temperature range of the camera is between 0℃ and +40℃. The ambient humidity range is less
than 90﹪.
During transporting, avoid violent shake or force to the camera.
To prevent electric shock, do not remove screws or housing of the camera. There are no
self-serviceable parts inside. Refer to qualified service personnel for servicing.
Video cable and RS232 cable should be kept far away from other cables. Shielded and
independent wiring is necessary for video and control cables.
Never aim the lens of the camera at the sun or other extremely bright objects. Otherwise, it may
cause damage.
When cleaning the camera, please use soft cloth. If the camera is very dirty, wipe it off gently
with a soft cloth moistened with a weak solution of water and a neutral kitchen detergent. Wring
all liquid from the cloth before wiping the camera, then wipe off all remaining dirt with a soft, dry
cloth. Use lens cleaning paper to clean the lens.

Do not move the camera head manually. In doing so would result in malfunction of the camera.
Do not hold the camera head when carrying the video camera.
This camera is for indoor use only. It is not designed for outdoor use.
Make sure the camera is not directly exposed to rain and water.
Make sure the camera is far away from area where radiation, X-rays, strong electric waves, or
magnetism is generated.
Warnings
1.If you need to extend the power cable, please extend the power cable from the part on
above below picture (220V/110V), do not extend from part 1 on above picture (DC12V),
otherwise it will cause unexpected damage to the device.
2. To prevent infringement of the rights of others, please confirm that it is installed and used
within the scope permitted by local law!

CONTENTS
ABOUT THE PRODUCT -----------------------------------------------------------------1
QUICK GUIDE ----------------------------------------------------------------------------------------1
FEATURES ------------------------------------------------------------------------------2
CHARACTERISTICS & FUNCTIONS ---------------------------------------------------------------------2
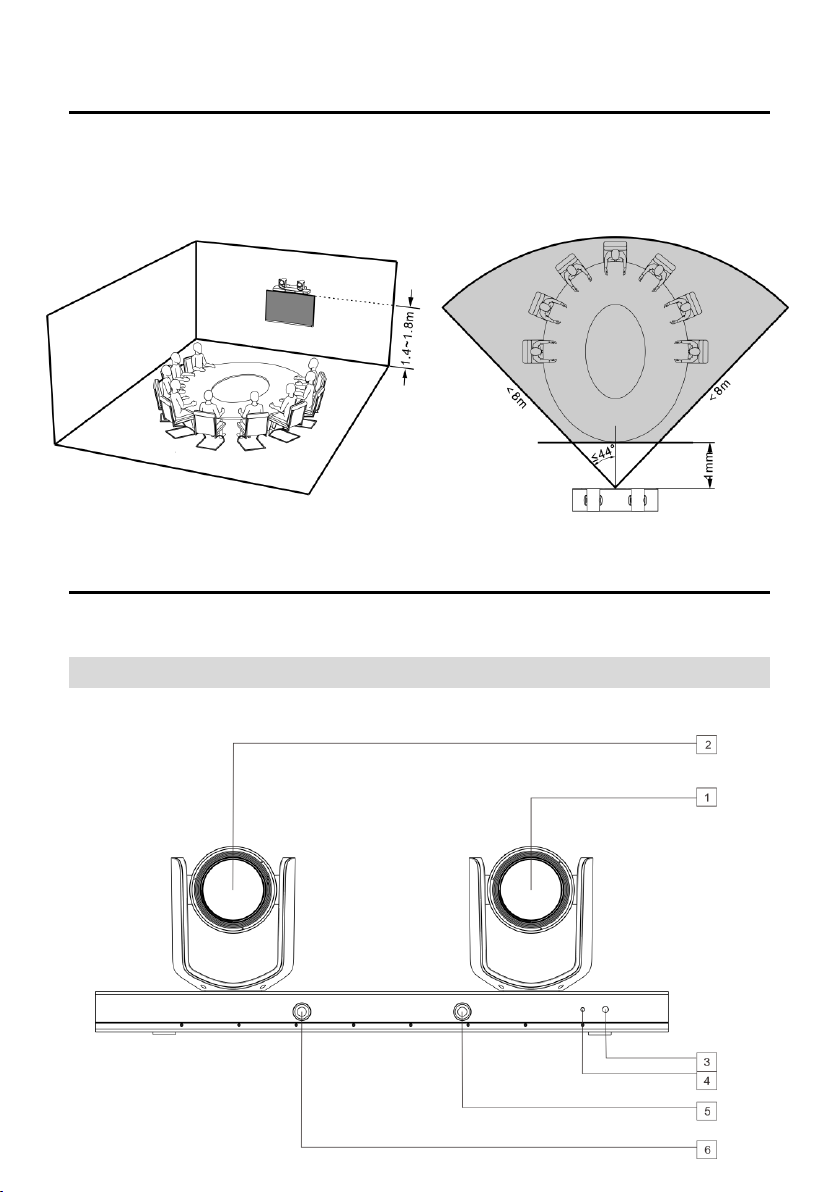
APPLICATION SCENARIOS -----------------------------------------------------------------------------3
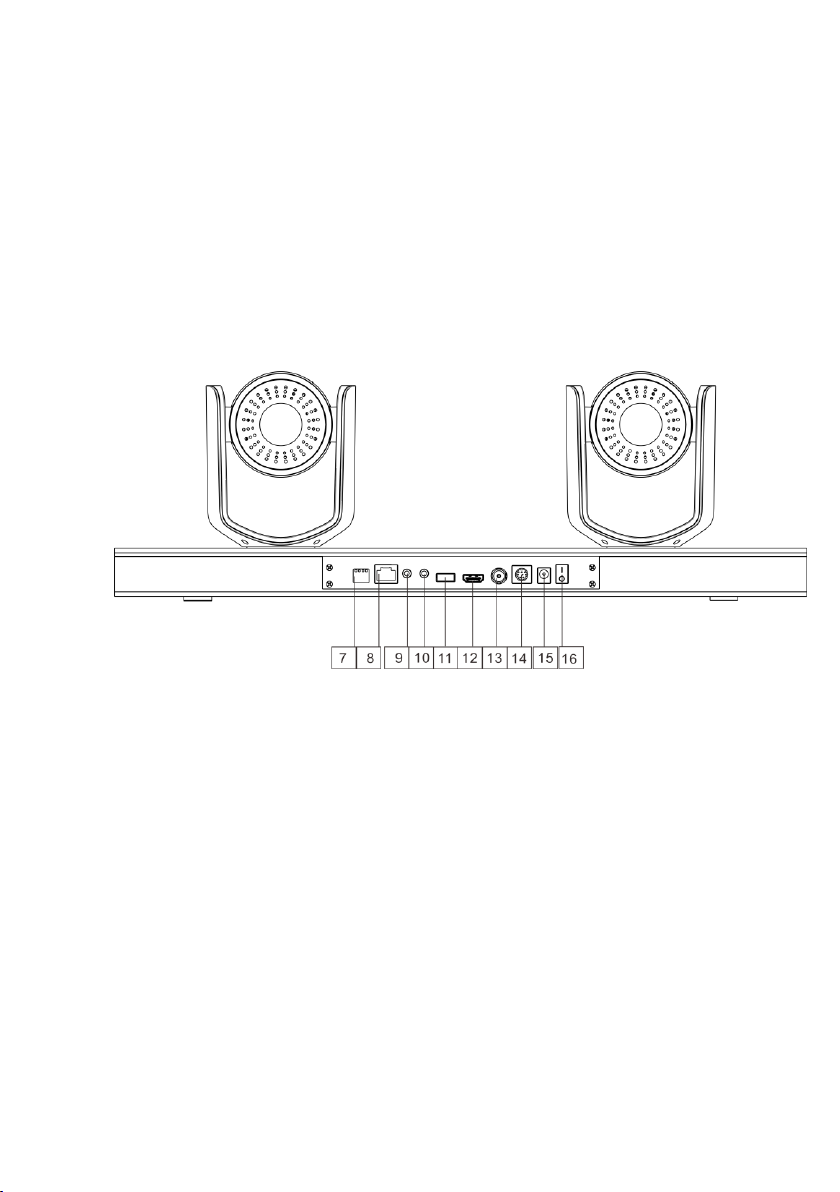
MAIN PARTS & INTERFACES --------------------------------------------------------------------------3
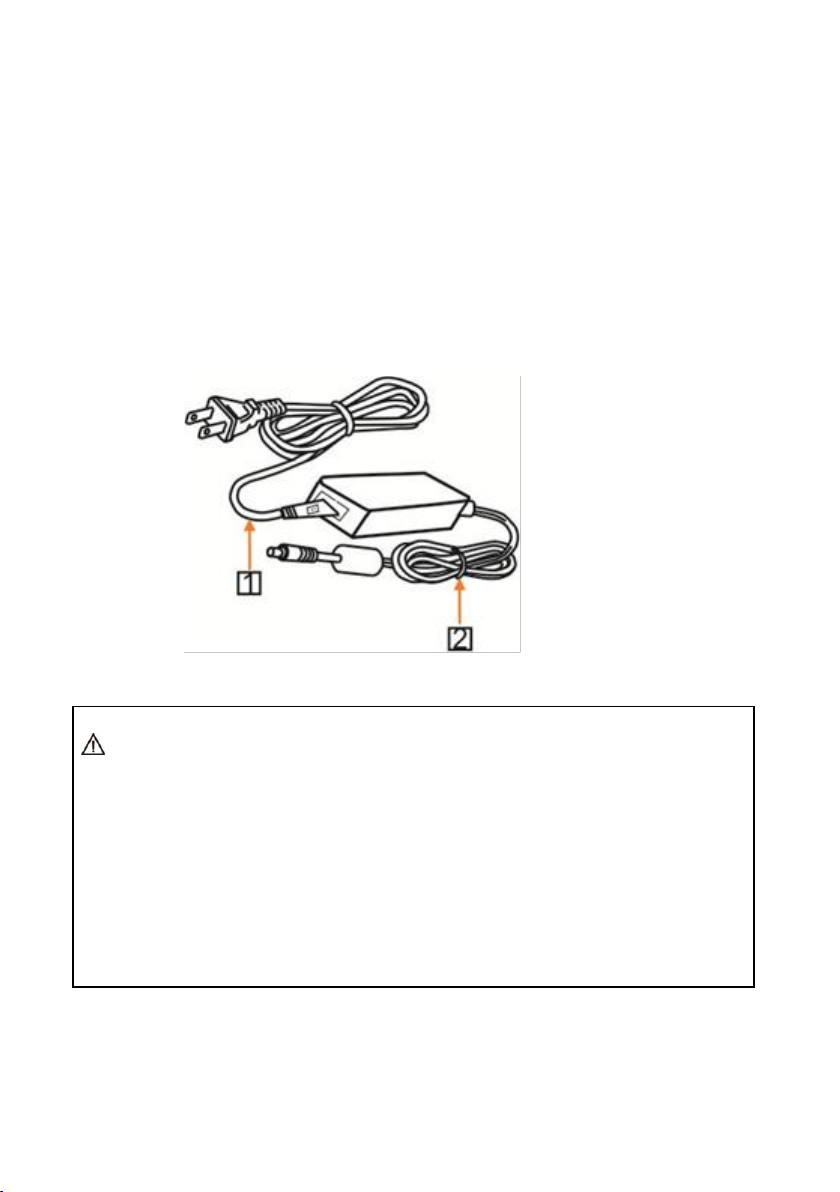
LIST OF PARTS & ACCESSORIES -----------------------------------------------------------------------5
INSTALLATION -----------------------------------------------------------------------5
DESKTOP MOUNT INSTALLATION ---------------------------------------------------------------------5
WALL MOUNT INSTALLATION -------------------------------------------------------------------------6
DIP SWITCHES SETTINGS -----------------------------------------------------------------------------7
REMOTE CONTROLLER --------------------------------------------------------------------------------7
SETTING --------------------------------------------------------------------------------9
SOFTWARE CONNECTION -----------------------------------------------------------------------------9
PARAMETERS SETTING -----------------------------------------------------------10
SETTING PROCESS------------------------------------------------------------------------------------10
PARAMETER SETTING --------------------------------------------------------------------------------10
CMS APPLICATION SOFTWARE GUIDE ---------------------------------------14
NETWORK CONNECTION -----------------------------------------------------------------------------14
CLIENT SOFTWARE INSTRUCTION -------------------------------------------------------------------17
MENU SETTINGS --------------------------------------------------------------------29
MENU CONFIGURATION ------------------------------------------------------------------------------29
MENU EXPLANATION --------------------------------------------------------------------------------32
VIDEO ------------------------------------------------------------------------------------------------33
EXPOSURE ------------------------------------------------------------------------------- ------------33
COLOR ------------------------------------------------------------------------------------------------34
PAN/TILT/ZOOM --------------------------------------------------------------------------------------34
SYSTEM -----------------------------------------------------------------------------------------------35
STATUS -----------------------------------------------------------------------------------------------35
RESTORE DEFAULTS ---------------------------------------------------------------------------------35
LIST OF SPECIAL PRESET COMMANDS --------------------------------------------------------------36
ANNEX 1 TECHNICAL SPECIFICATIONS ---------------------------------------37

1
ABOUT THE PRODUCT
Quick Guide
The camera can be accessed and
controlled via the following ways:
Client software iSmartCMS: tracking setting,
camera search and control, network setting.
VLC: watch the camera four streams;
IE: camera image preview, camera control,
network setting;
SDK: provide secondary development kits
for the connecting and controlling of
camera;
Onvif: version 2.1 supported
Name: admin
Initial password: 123456
Network pass-through: recommended
connection mode with recording or
streaming device.
CMS
Refer to detailed instructions in page 14 of this
user manual.
Rtsp
1 Make sure PC and the camera are in the
same LAN.
2 Three channel stream url: rtsp://IP/chx, x=1,
2, 3. 1 & 3 stream tracking camera image, 2
stream full view camera image.
3 IP address is acquirable through
CMS, default rtsp port is 554.
IE
1 Make sure PC and the camera are in the same
LAN.
2 Input IP address+ port number 88 (port
numbers fixed to 88) in the IE address bar:
http://IP:88, such as
http://192.168.18.229:88
3 Install plug-in;
4 Name: admin Initial password: Null;
5 Support Windows 7 or above operation
system, whereas Windows XP is not
supported.
SDK
Disk comes with camera includes:
SDK_Demo: SDK development sequence;
SDK_Doc: instruction of SDK connection;
SDK_Lib: SDK Library. SDK only provides
image acquiring, PTZ controlling and etc,
tracking configuration is not included.
Network Pass-Through
On the tracking parameters setting page,
the IP address, port and connection protocol
(TCP/UDP) of the recording or streaming

2
device can be configured. After connected,
the camera can be controlled by the standard
VISCA protocol. Recording or streaming
device can achieve audio & video of the
camera through rtsp or rtmp.
FEATURES
The speakers tracking camera helps to
achieve intelligent meeting experience,
implemented with both audio positioning
and intelligent video analysis technologies. It
can automatically switch between tracking
view and full-view view to frame the
speaker(s). It frees of camera operation during
a meeting and enables meeting attendees to
focus more on discussion.
Characteristics & Functions
1/2.8”Exmor CMOS,2MP;
12x optical zoom, up to 72.5° Fov;
Simultaneously output 3G-SDI,HDMI,
Ethernet, Up to 1080p60 resolution;
Support H.264/H.265 video compression;
Implemented with both audio positioning,
body detection and recognition technologies.
It can precisely frame the speakers;
Automatically switch between close-up image
for speaker(s) and wide-angle image for all
attendees;
Built-in image switch rules according to actual
meeting scenes.

3
Application Scenarios
Main Parts & Interfaces
Camera
Front View

4
1 Camera 1 (Default Address 1) 2
Camera 2 (Default Address 2) 3
IR Indicator
4 Power Indicator
5 Full View Camera 1
6 Full View Camera 2
Rear View
7 DIP Switch
8 Ethernet
9 Ref Audio
10 Line In
11 USB (Reserved) 12
HDMI
13 HD-SDI
14 RS-232
15 Power(DC12V) 16
On/Off
Table des matières
Autres manuels Smart Cam Caméra IP


