E_MH_Mounting_instructions_Skylux_Climax_Panorama 01/03/2022
6/68
3 GUIDELINES
Safety during construction
Please read this manual carefully.
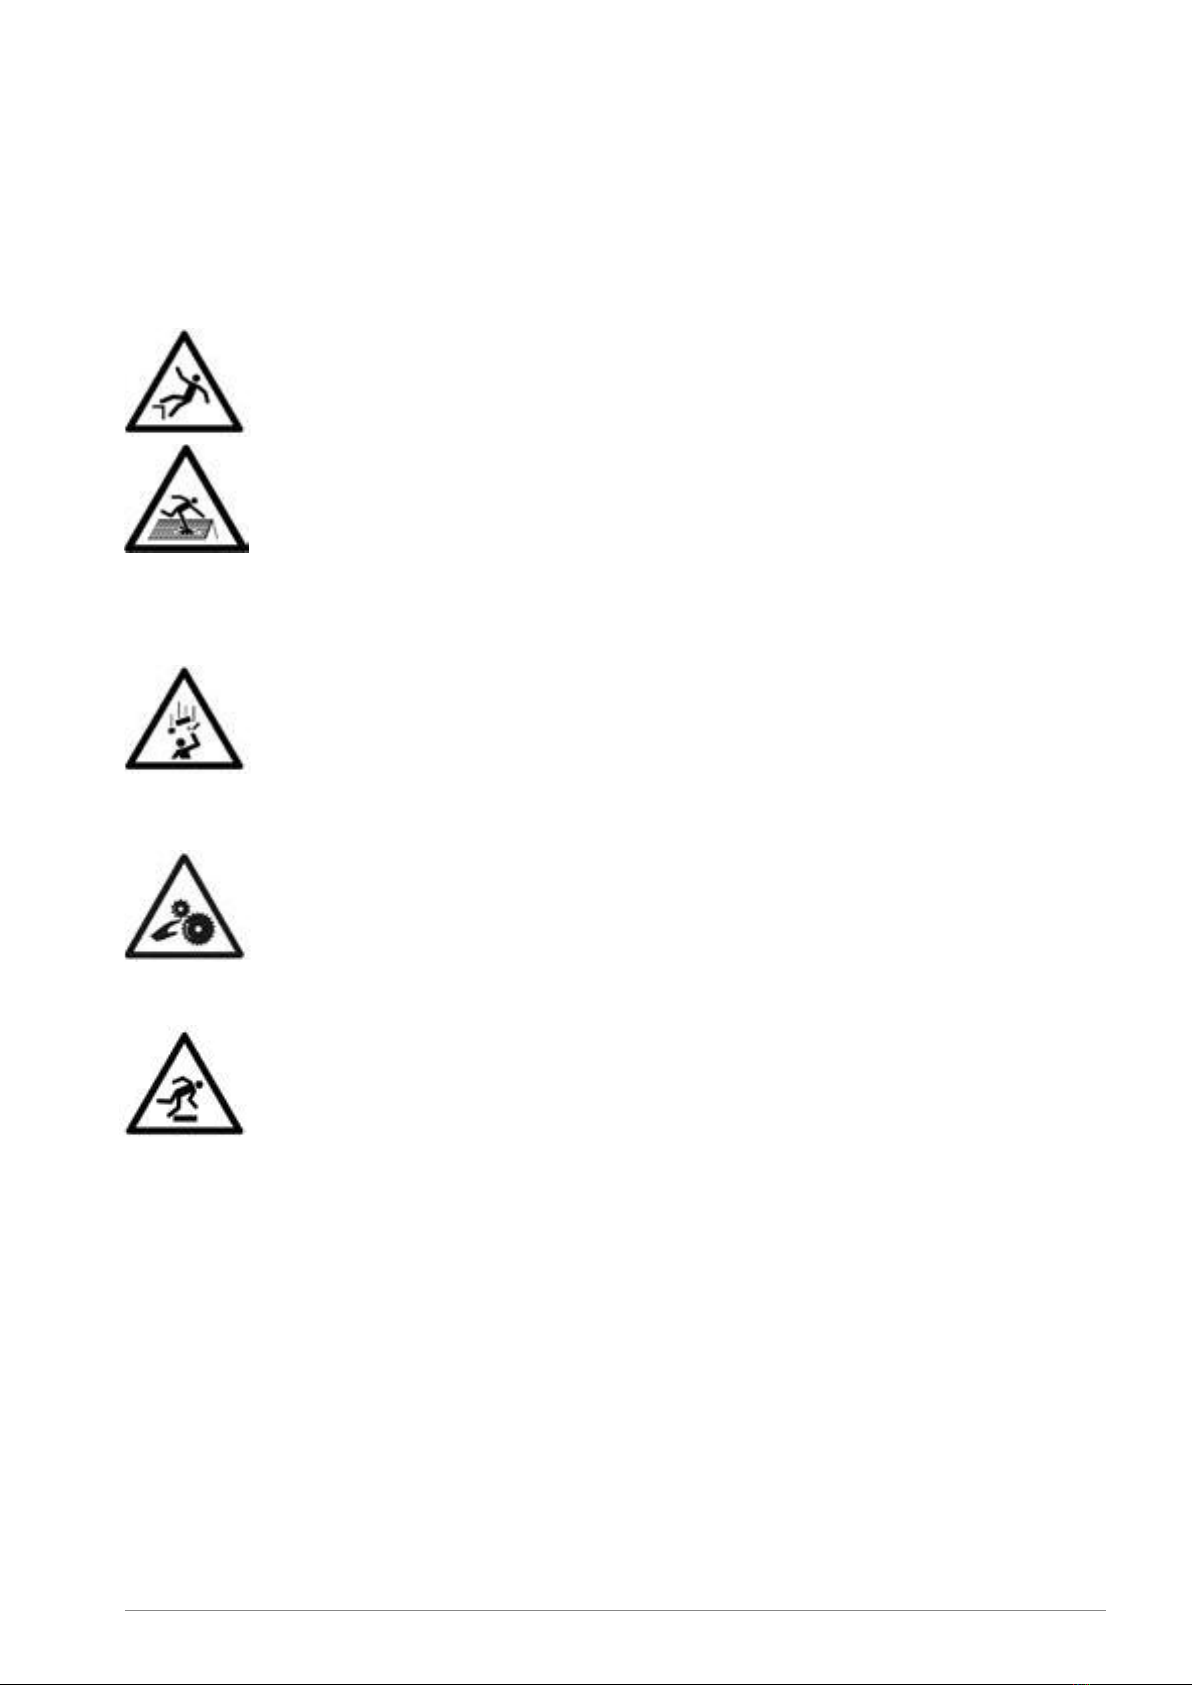
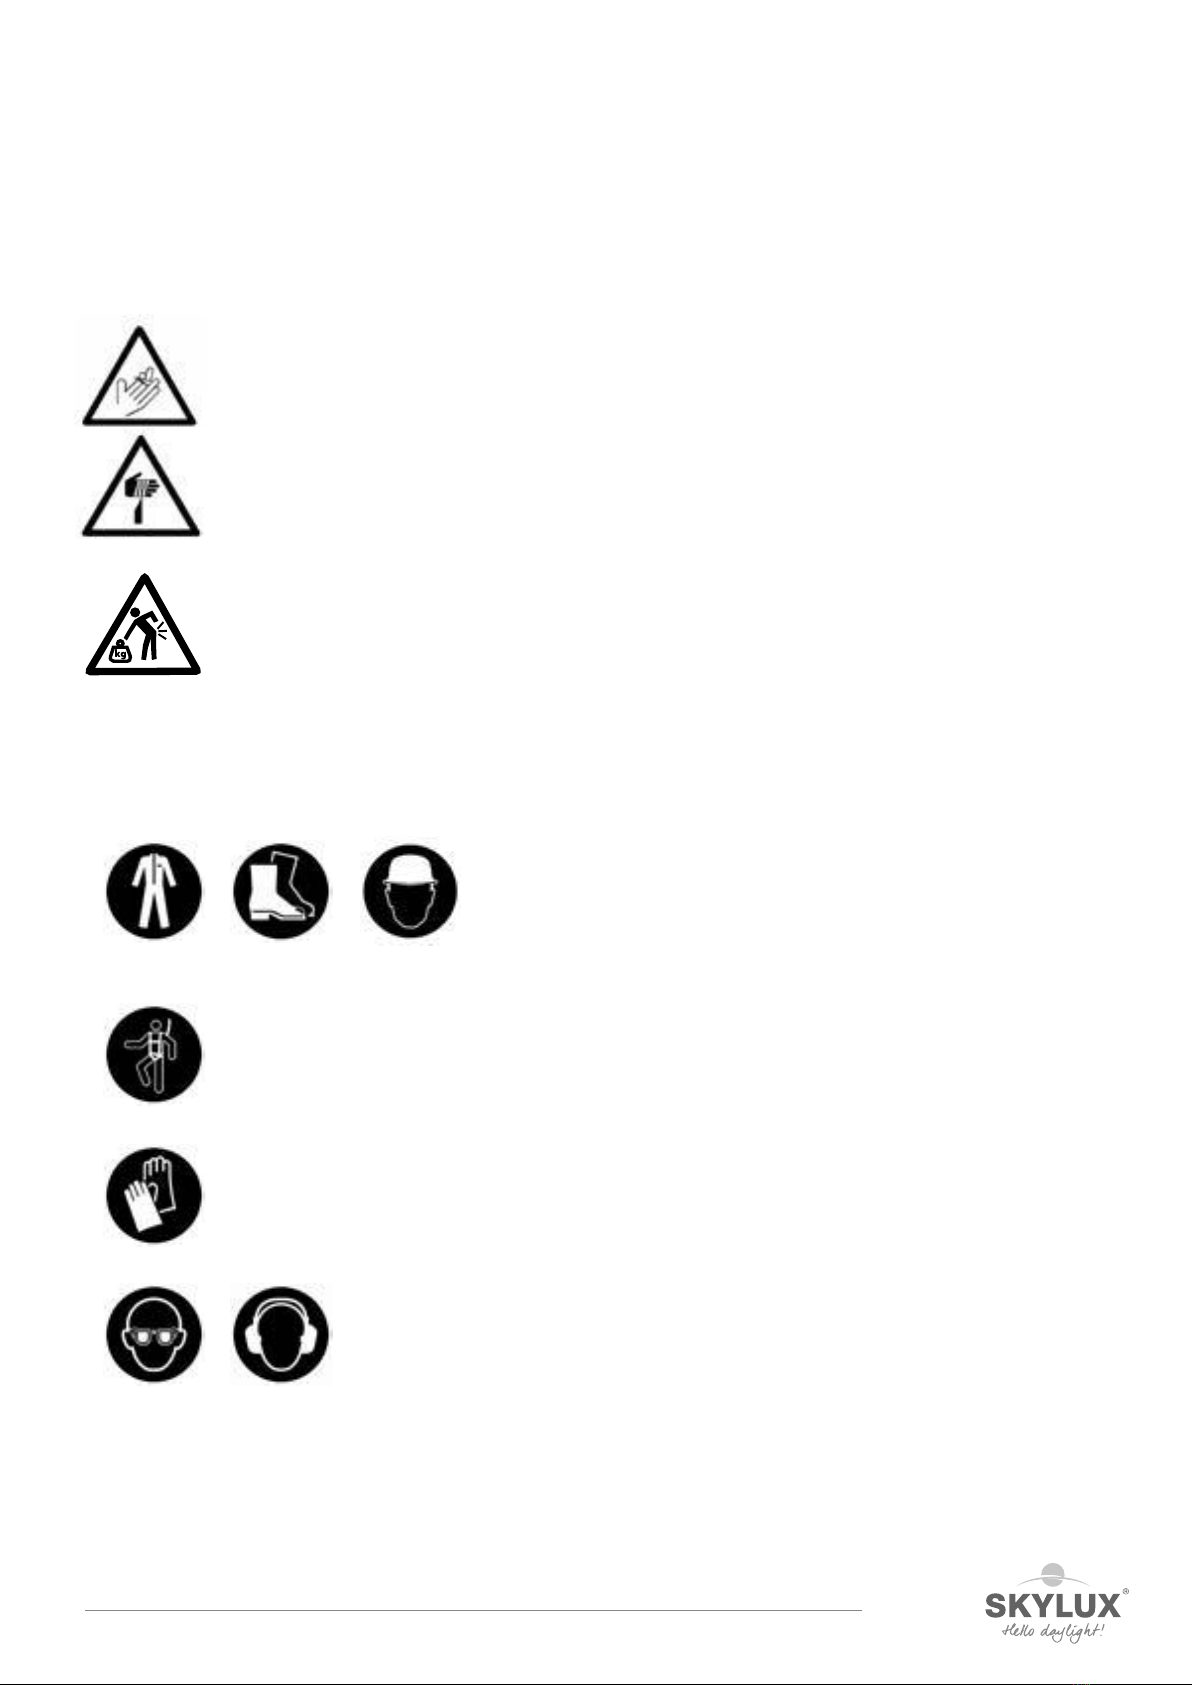
The installation must be carried out by people with sufficient technical knowledge and experience in the area of
conservatory installations (mechanical and electric). The installer must take the required safety measures into account
during the installation such as the use of scaffolding and personal protection equipment – safety shoes, helmet (i.e. hard
hat), gloves, safety goggles, etc. – to ensure the work is carried out in a safe environment. During installation, please make
sure that the necessary precautions have been taken to ensure the stability of the unfinished construction.
Stability
1) Statik
For roofs (attached or freestanding) that need a Statik, separate mounting instructions & corresponding parts are
provided.
2) Construction situation in general
The installer is responsible for the assessment of the appropriate fixing materials for the load and foundation on which
the structure is to be fixed. Please contact your fixing material supplier or specialised engineering consultants in case of
doubts. Skylux cannot be held responsible for the installation or the fixing materials used.
Seal installation
A distinction is made between push-in seals and slide seals.
The seal of a push-in seal is pushed into the profiles. The C2CX, C12, C8, CY10 and C31 seals are push-in seals.
The slide seals C1CX and C5 are slid into the profiles.
The seals C1CX and C2CX are equipped with an anti-stretch wire that prevents the seal from being stretched during
installation. This technology ensures that the seal cannot shrink after installation.
Avoid the use of silicone and detergent when installing the seals. Plastic sheets can be damaged by these products. Plastic
sheets can result in settlement noise due to temperature fluctuations. This will not affect the guarantee and will not be
accepted as a claim.
Terms, conditions and guarantee
The guarantee is void when the installation instructions provided below are not followed. Not following the instructions and/
or using other parts may have an adverse effect on the safety and life cycle of the product. Variations are not permitted
without written permission of the manufacturer. Our installation instructions manual and film are based on the latest level
of our knowledge and technics. We cannot be held responsible for possible incomplete information. Always check if our
product is suited for your application.
As the handling and installation of the product are done beyond our control, can Skylux not be held responsible for possible
damages.
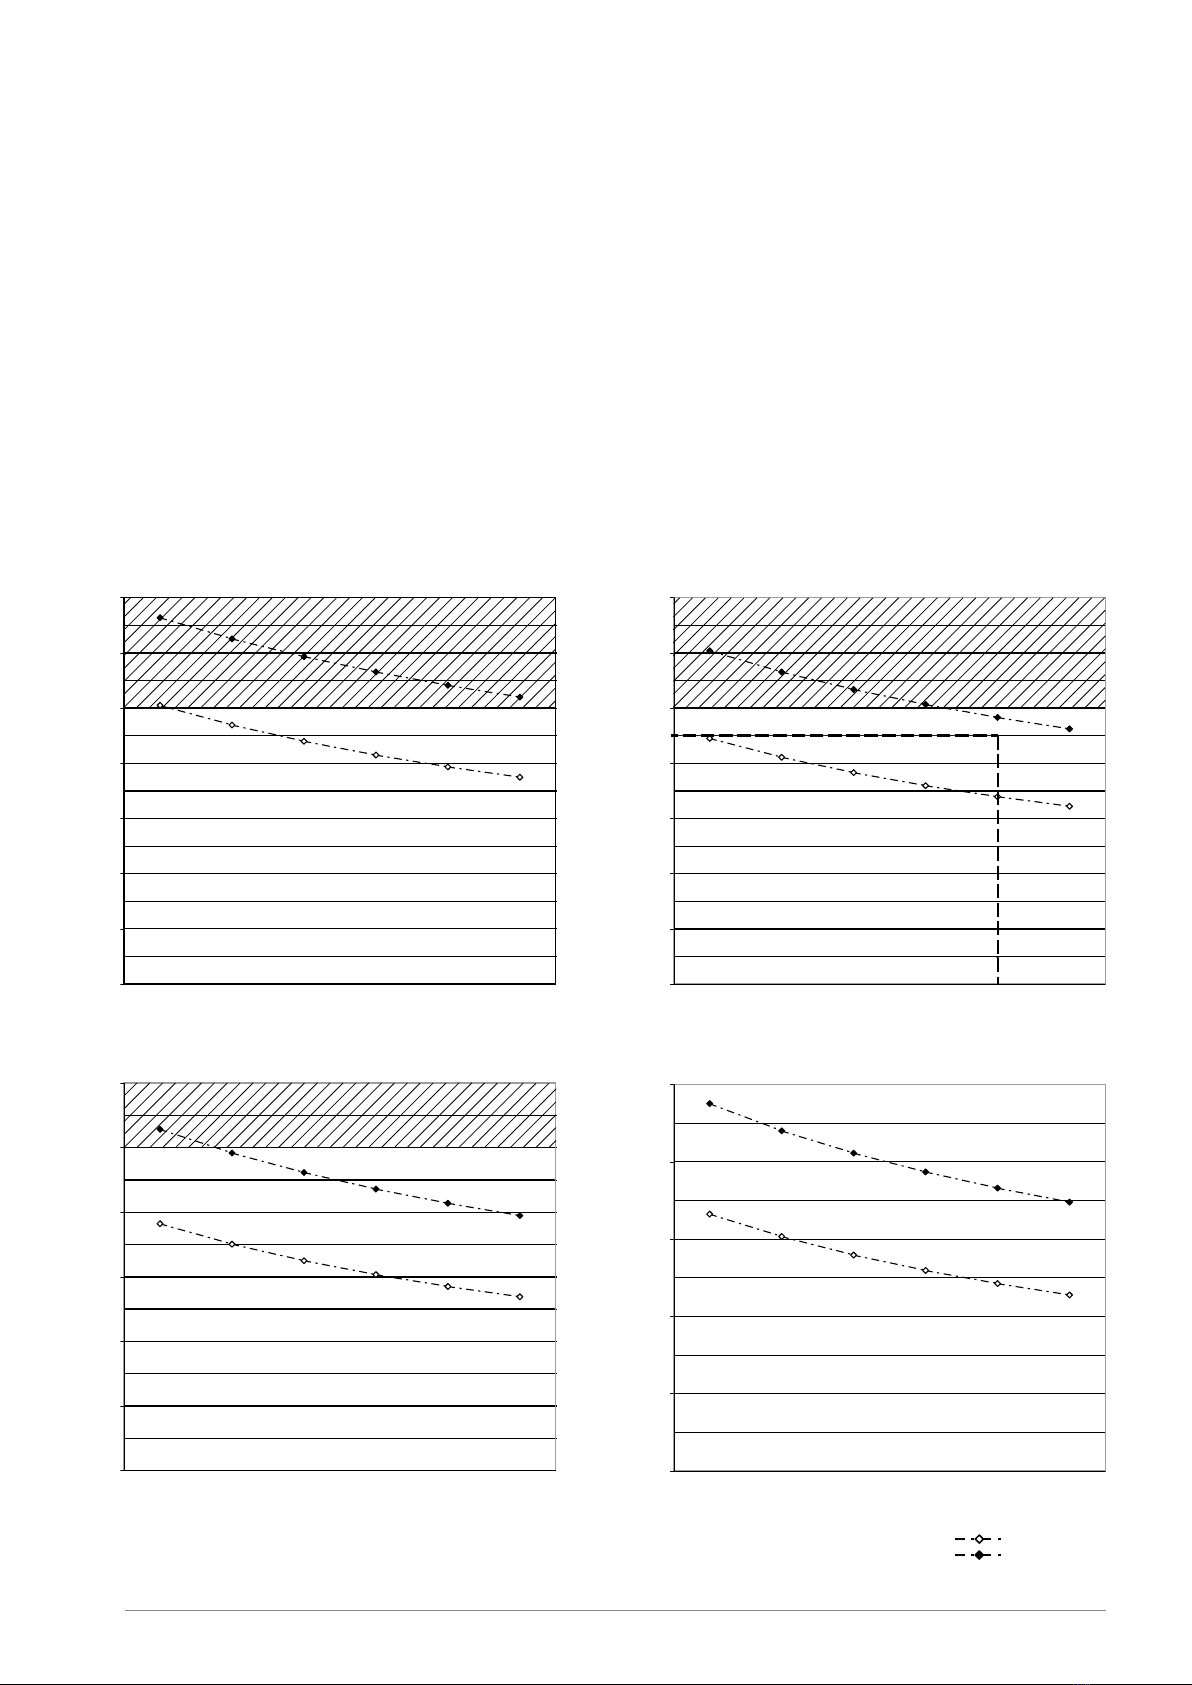
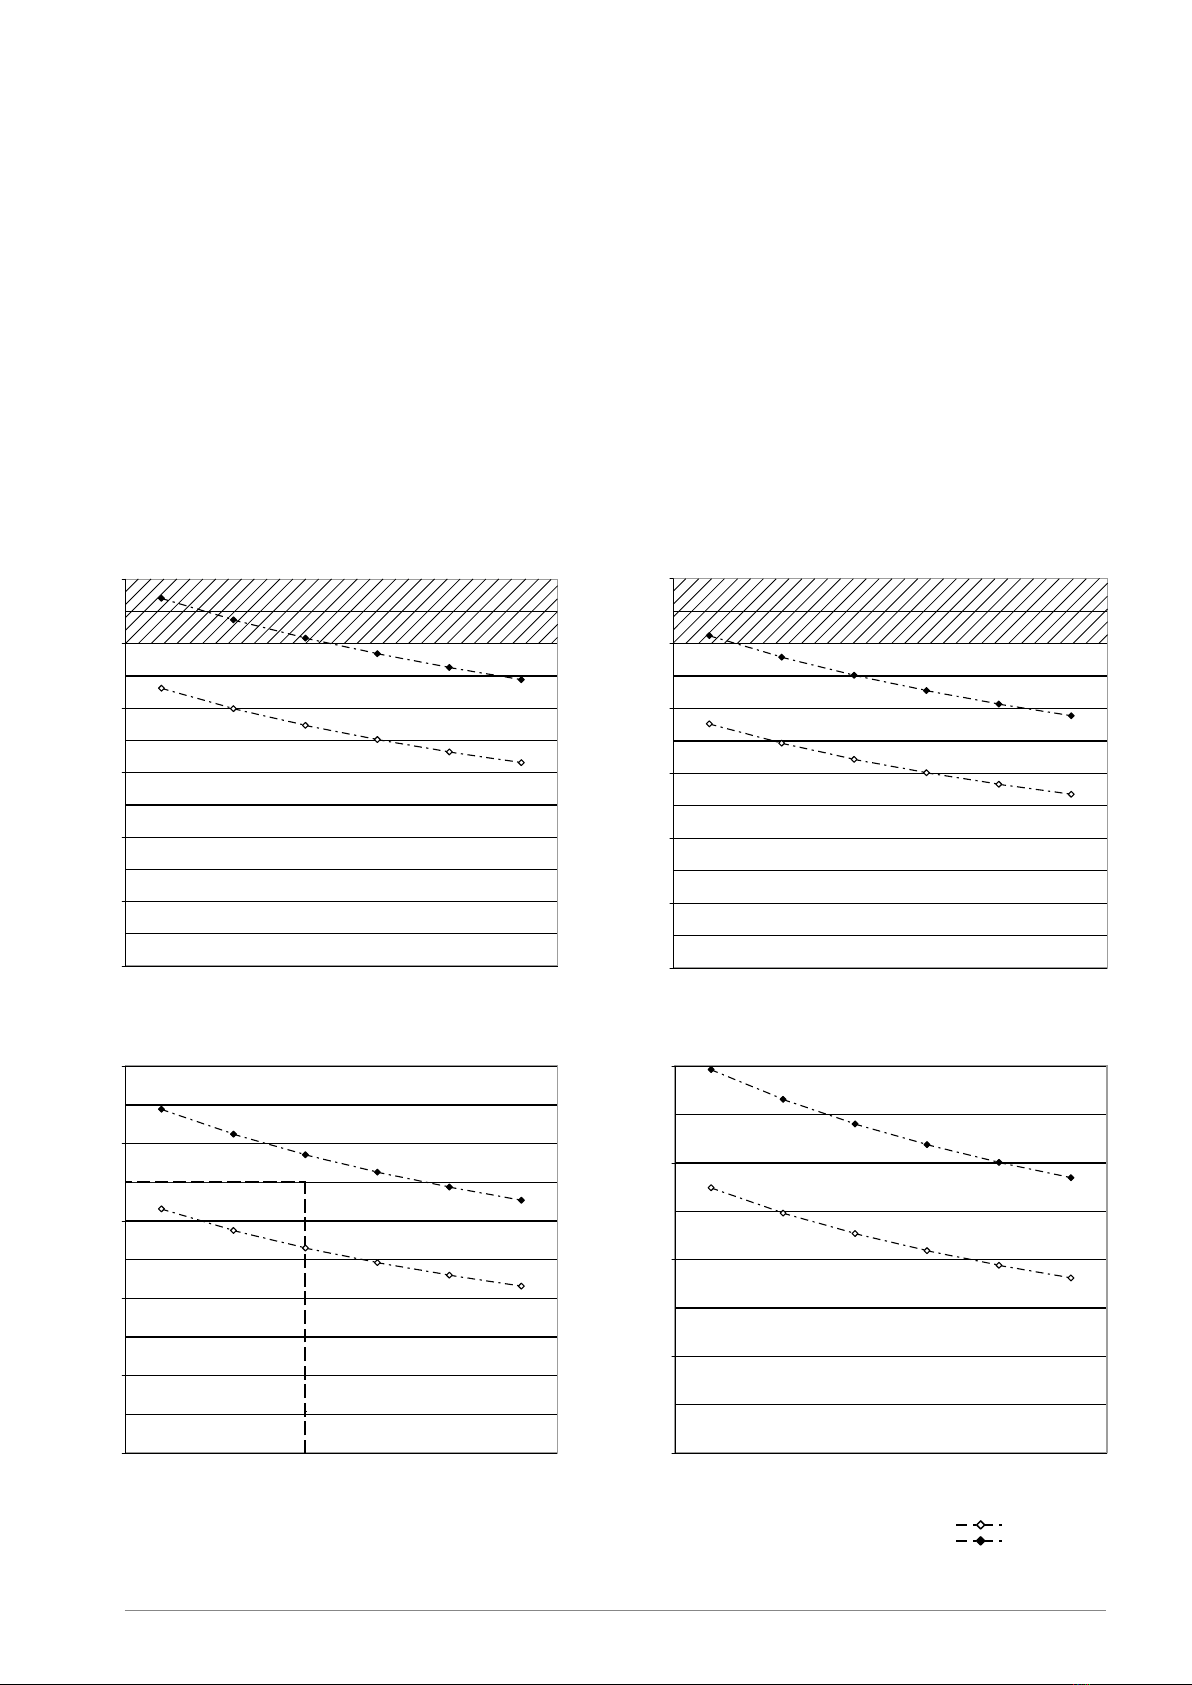
The installer must take the specified span values in relation to the glazing and load (snow and wind) according to the
applicable standards into account.
The load graphs that you will find in this manual on page 7 are only indicative. Contact the manufacturer, architect or
engineering consultant for conservatory roofs outside the normal range.
Technical changes are reserved by the manufacturer without prior oral or written notification.
Skylux reserves the right to change this manual without prior notification. Changing the installation requirements or the
product will not mean a right to any compensation or exchange of parts.
The latest version of this manual can be consulted by visiting www.skylux.eu.
Climafast
The Climafast calculation application is offered by Skylux for free. You will receive information on how to log on and
download the Excel version of the application upon request. With Climafast, you can determine the price of your Climax
roof. An overview of profiles, lengths, parts, allowed loads, etc, is provided for each
project. The aim of this application is to inform the user.
Skylux reserves the right to change the Climafast application without
prior notification. The results of the application are indicative and
do not give right to any compensation. The latest version of the
calculation application can always be downloaded from
www.skylux.eu.
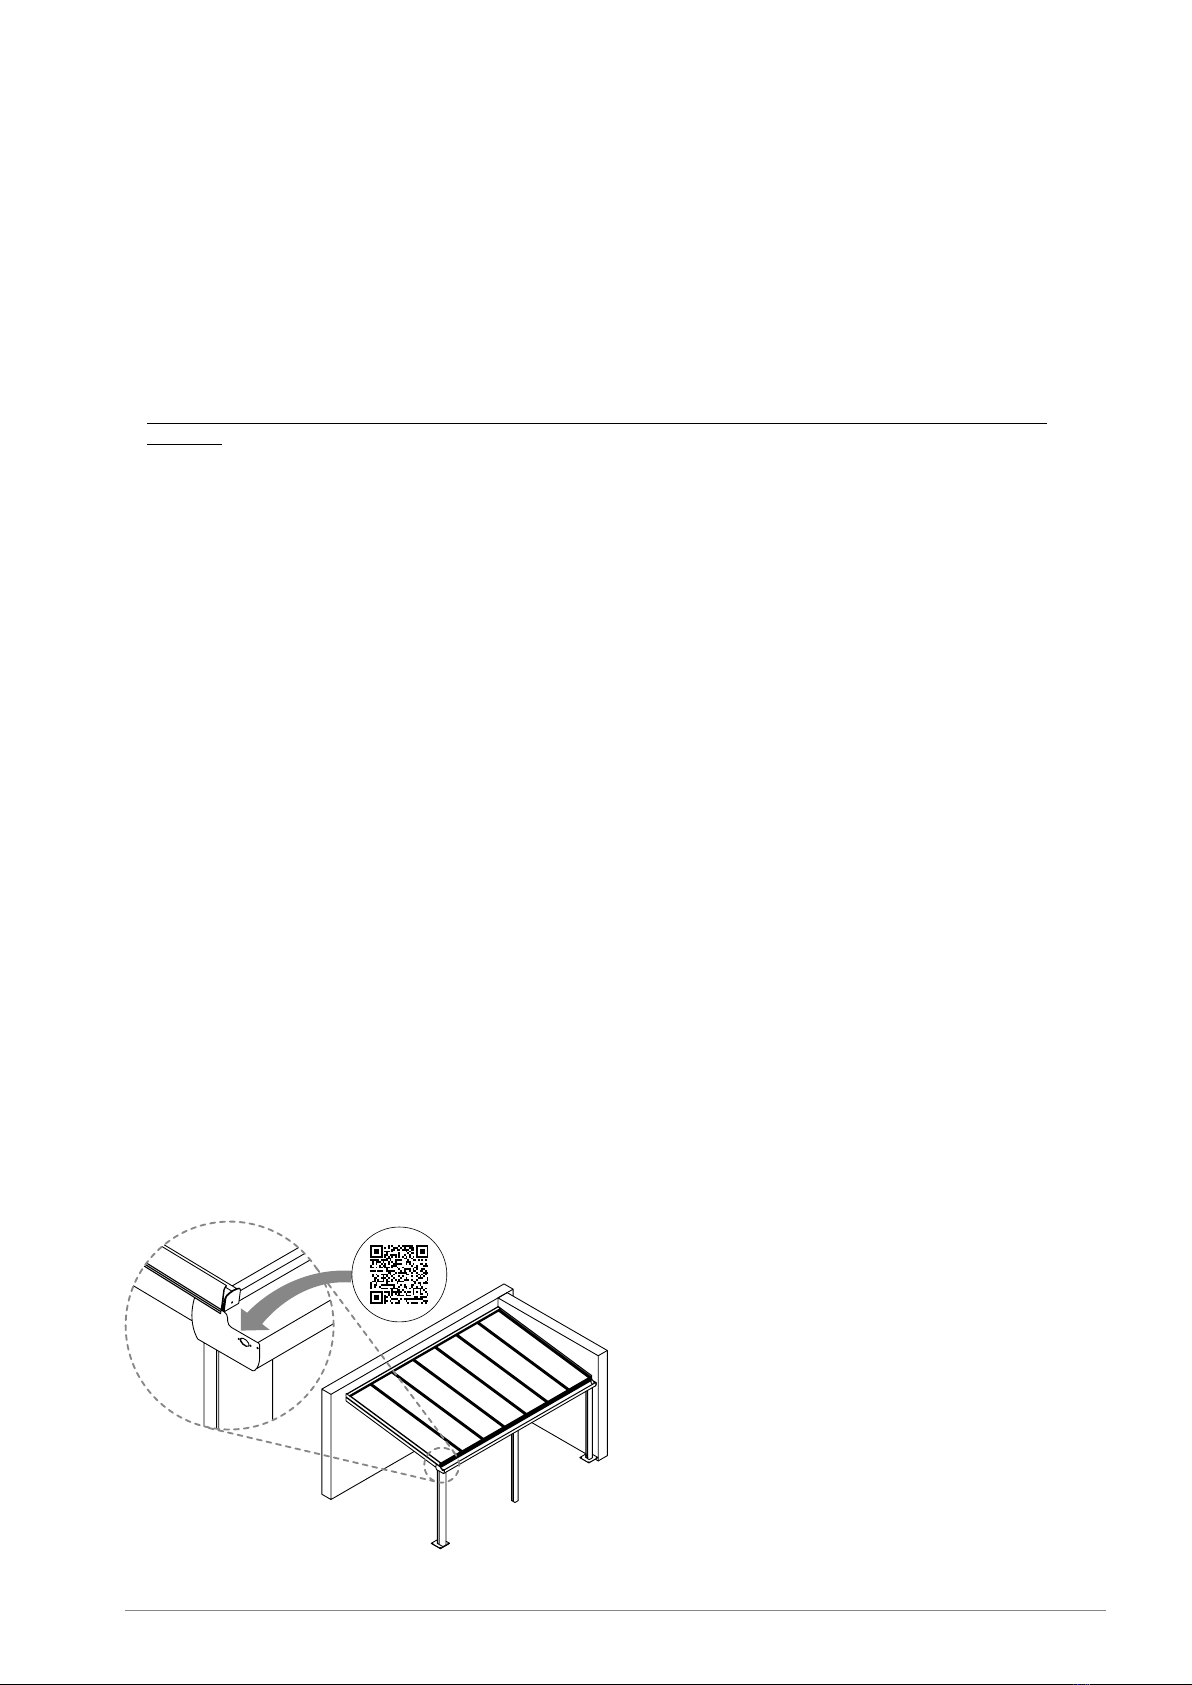
Questions or information about your canopy? Scan your
NFC code.
You will find this on the inside of the left gutter end plate
(see drawing). With this code, unique to your order, our
customer service can help you further.