Installation
Installation
When installing the unit in a 19” rack,
make sure that there is no uneven me-
chanical loading so as not to create a dangerous
situation. You should not use the unit as a shelf
or hang it uncommitted.
Rack mount installation
Select a place of unit installation inside the rack.
The system takes up 1U of rack. Set to the
desired location and tighten the bolts on the
spacer nuts.
To avoid equipment damage fasten all the
screws all the way!
Do not connect the device to ungrounded
outlets! Check the outlet and make sure
they are grounded when using the extension
cords.
Before applying power to the device, read
its electrical characteristics in order to
avoid the power supply circuit overloading.
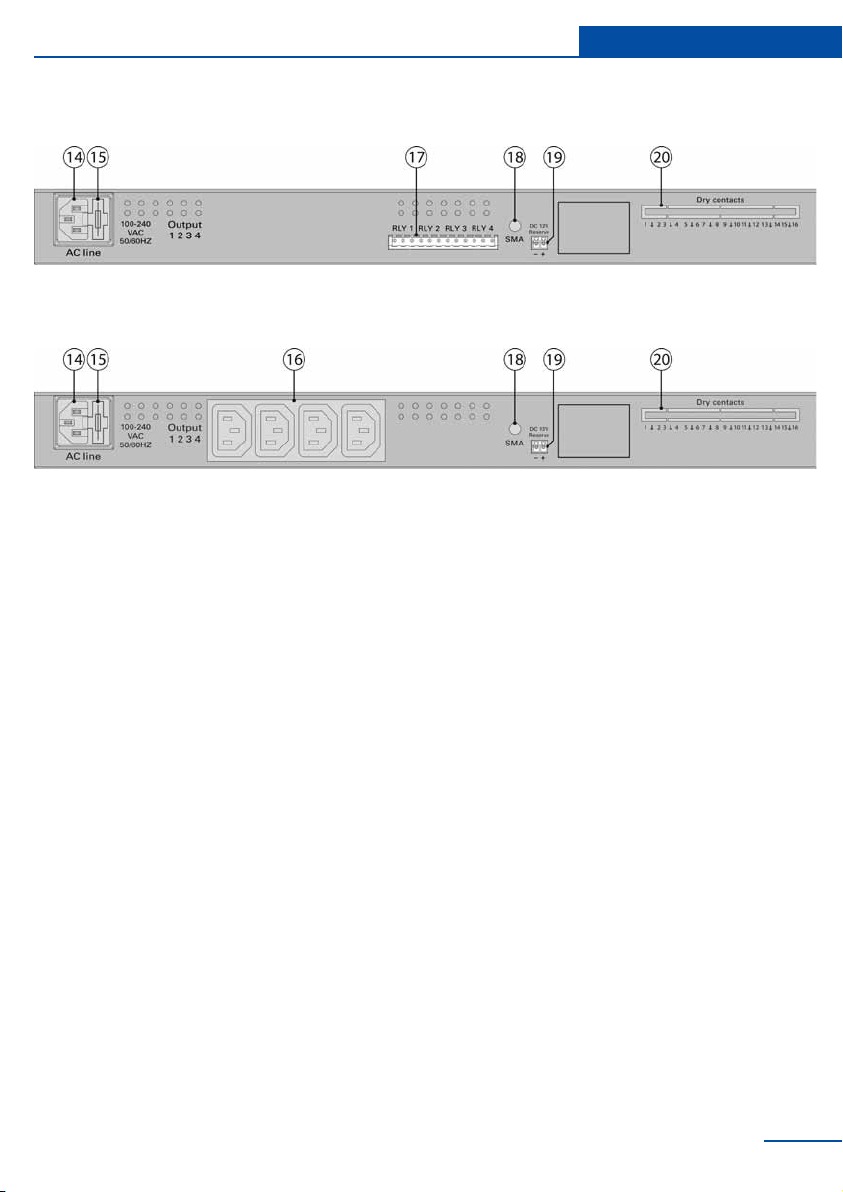
Power cable and Network cable con-
nection
8
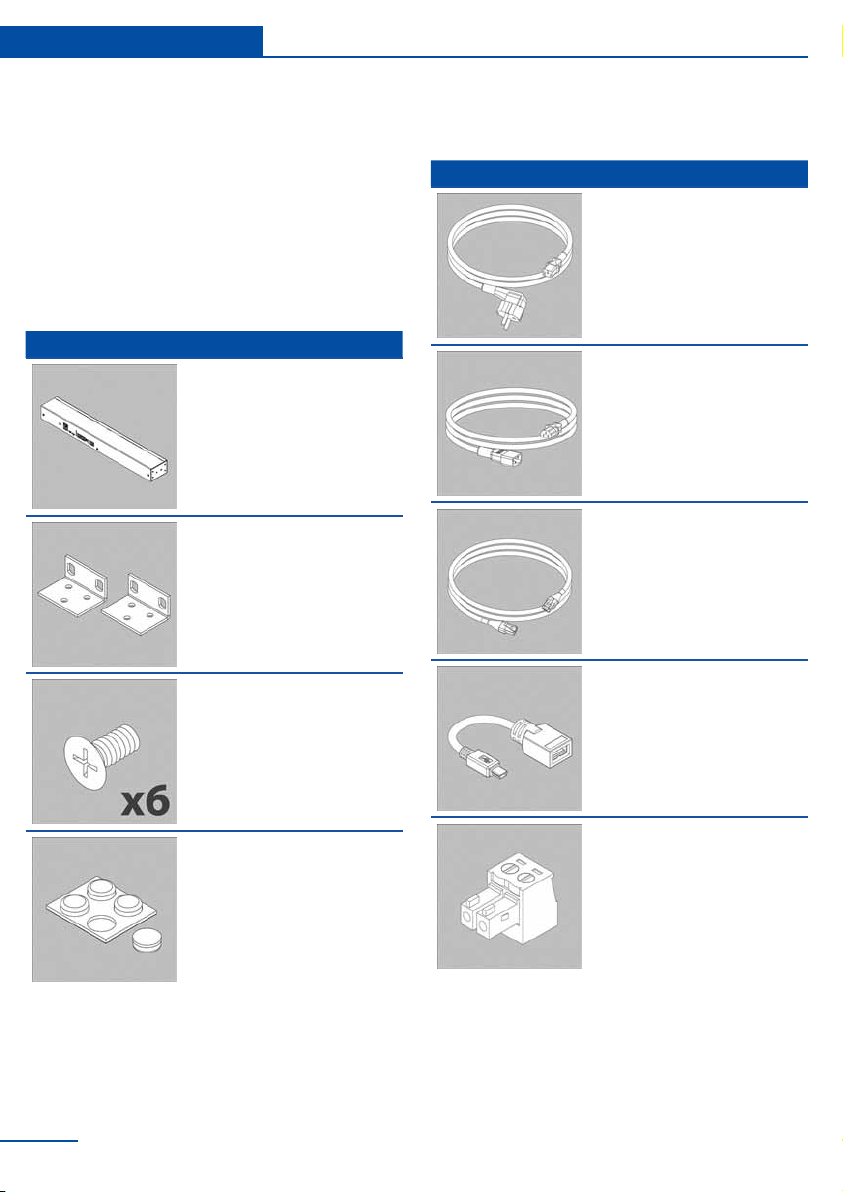
Installation of appliance
The unit can be installed in the front or rear of
the rack, or can be put on the shelf using self-
adhesive rubber feet. It takes up 1U of 19” rack!
When installing, consider the following condi-
tions:
nect approved devices to ports on the unit as di-
rected in this manual. Plugging in other devices
may result in equipment damage.
Connect the unit only after checking the
grounding of the circuit.
You must install the unit in place, where
the ambient temperature corresponds to
the values listed under “Specications”. Keep in
mind that the temperature of the unit increases
in cramped conditions, please keep track of the
temperature on the internal temperature sensor.
Try to install the unit in such a way as to allow
for normal air circulation required for the normal
functionality of the unit.
Do not connect homemade sensors and devices
with unknown functions to the unit! Only con-