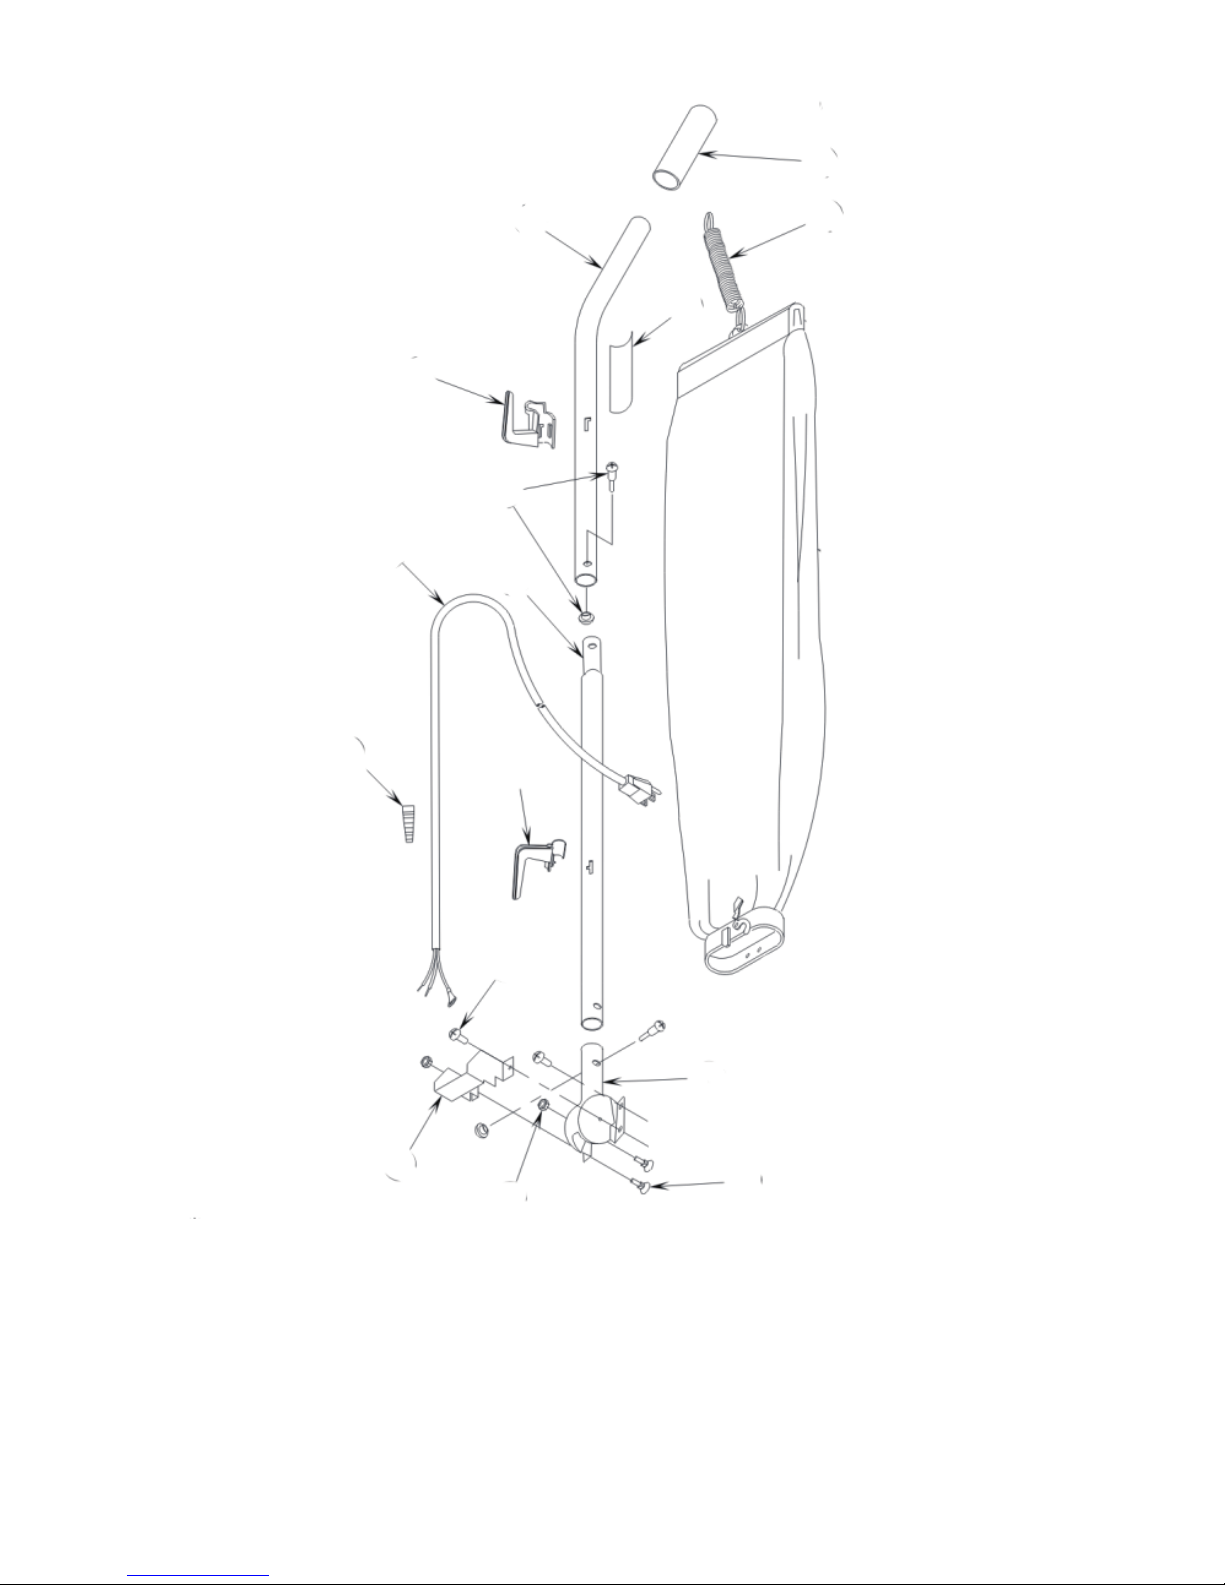
Removing and Emptying Cloth Bag
FAN CHAMBER
1. Unclip the spring at the top of the vacuum bag from the upper cord hook.
2. Unlatch the bottom of the bag from the base of the vacuum.
3. Remove the metal clasp and spring by sliding it off the top of the bag.
4. Empty the contents of the bag.
5. Slide the metal clasp and spring back onto the top of the cloth bag.
6. Attach bag back onto vacuum by finding hook on the bottom of the bag
and hooking it to the clip on the back of the vacuum base. Align latch with
the back of the vacuum and bring the collar forward. Turn latch so that bag
locks onto rivet.
7. Reinstall the spring on the top of the bag to the upper cord hook.
The clear fan chamber attached to the underside of the base may be
removed and cleaned. Remove the bottom metal plate and brush roll
belt from pulley. Remove the two screws on either side of the clear
chamber, press the cam locks outward and lift the clear chamber from
the base. Dirt should clear easily, though some scraping may be
needed. Be sure the gasket is in place, reinstall by placing the rear end
between the rear wheels and seat firmly. Reinstall belt and the metal
plate.
NOTE: Turn off all switches and unplug the electrical cord
when not in use and before servicing
NOTE: Very fine powders and substances may clog the
cloth bag. Please remember to empty bag often so that
vacuum
5
power metal
metal plate
metal