SillyComm VoltBolt Manuel utilisateur

VoltBot User Manual
1
Graphical DC charger & Power Supply
User Manual
V1.1
SillyComm
2019/05/27

VoltBot User Manual
2
Catalog
1. Summary ...................................................................................................................................................... 3
2. Introduction................................................................................................................................................. 3
1) Ports and Symbols........................................................................................................................... 3
2) Functions and Parameters ............................................................................................................ 4
Working Conditions ........................................................................................................................ 4
Charger Parameters ........................................................................................................................ 5
DC Supply Parameters ................................................................................................................... 5
Other Functions................................................................................................................................ 6
3. Graphical UI................................................................................................................................................. 8
A. Overview.................................................................................................................................... 8
B. Channel Icons........................................................................................................................... 8
C. System Icons............................................................................................................................. 9
4. Quick Start Guide ....................................................................................................................................10
1) Charge a Normal Phone..............................................................................................................10
2) Charge an iPhone X (PD support) ............................................................................................ 10
3) Power a Gadget..............................................................................................................................10
5. Connect VoltBot with a Web-browser.............................................................................................11
6. Touch Key ..................................................................................................................................................18
7. Connect VoltBot with Arduino............................................................................................................ 22
8. Connect VoltBot with App ...................................................................................................................24
A. App download .......................................................................................................................24
B. APP requirement:..............................................................................................................24
C. Demos ......................................................................................................................................25
9. Share VoltBot on Internet.....................................................................................................................38
10. Clear all Configuration .................................................................................................................44
11. Trouble Shooting ...........................................................................................................................44
12. Tips......................................................................................................................................................45
13. Privacy Disclaimer ..........................................................................................................................45
14. Moral Disclaimer.............................................................................................................................45
15. Customer Service ...........................................................................................................................45
VoltBot User Manual
3
1. Summary
Volt-Bot is a multi-channel charger and power supply.
Support quick charge technology
Real-time feedback of current change
Monitor power consumption and power curves
Digital interfaces: Wi-Fi and UART
2. Introduction
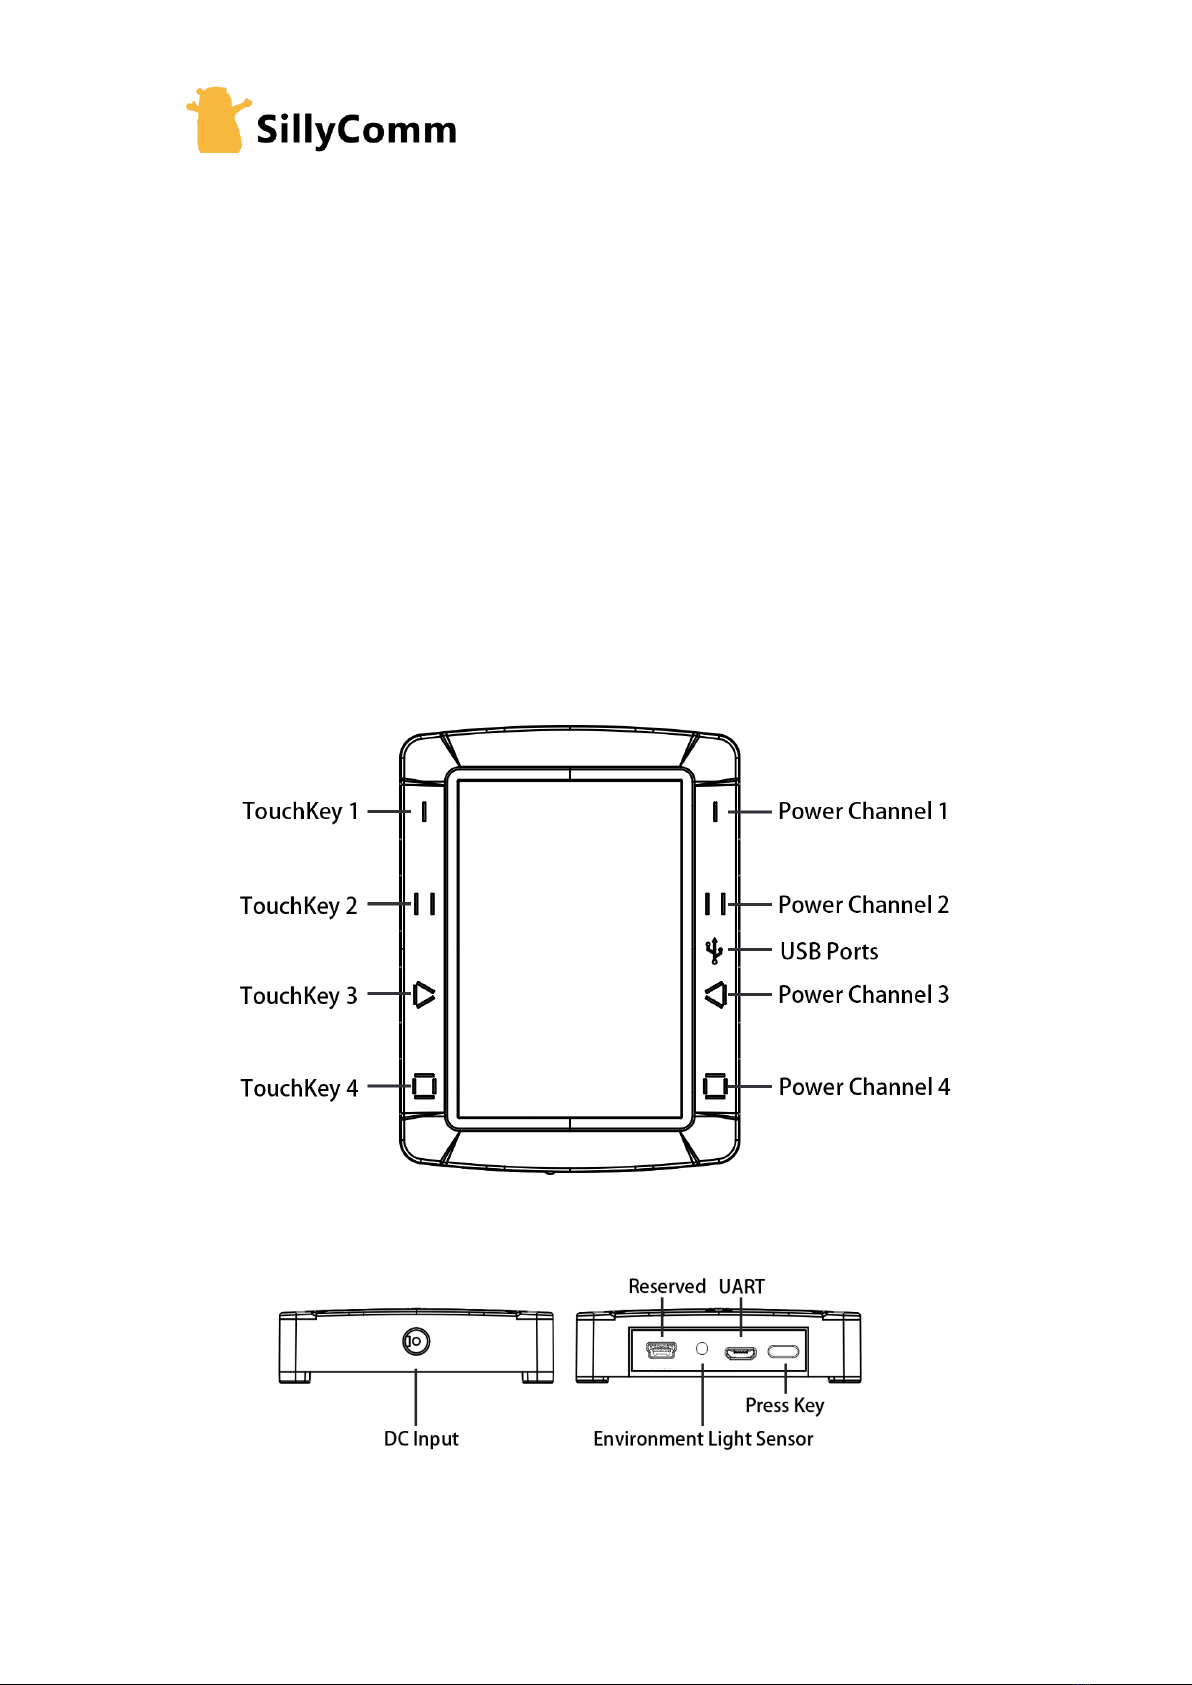
1)Ports and Symbols
VoltBot User Manual
4
TERMINOLOGY
DETAILS
CHANNEL
A circuit module that implement independent functions.
Channels are working parallel, with no interference between
each.
USB PORT
USB 2.0 has four leads. VBUS and GND are power leads. D+
and D- are data leads. Standard USB 2.0 ports has a current
limit of 0.5A (such as PC, notebook). Normal USB Battery
Charger has a current limit of 1.5A or 2A. USB port on VoltBot
is specially fabricated and can stand 3A and higher current
(Depend on the lead material, lead thickness, contact resistor
and contact force).
TOUCH KEY
Capacitor sensor, when a finger or an object comes near and
changes the electric field, it will generate a touch signal.
Calibrated every power-up to fit the environment.
DC INPUT
Normal 5.5*2.5 socket, but it only fits for 5.5*2.5*12mm plug.
5.5*2.5*9mm plug is too short to reach the leads.
LIGHT SENSOR
Sense the environment light to auto-adjust the LCD back-
light.
UART
3.3V TTL UART,115200 Baud, 8N1, no parity, no flow-control.
Meant to be used to connect with external MCU, PLC or PC.
RESERVED PORT
A reserved port, do not use it.
PRESS KEY
Single press: enable touch-key for a while
Double press: switch on/off screen
Long press: switch on/off sound
2)Functions and Parameters
Working Conditions
Recommended Input
14.5V~20V
Input Range
7~20V
Maximum Rated Input
20V
Weight
120g
Dimension
97*74*18mm
Wireless
Wi-Fi:802.1 b/g/n
LCD
3.5’ 72*49mm
Resolution
480*320
Input Plug
5.5*2.5mm DC-005 12mm length
VoltBot User Manual
5
Recommended Power of
Adapter
60~65W
Output Socket
USB2.0 (Strengthened for 3A)
USB-Type C (Extendable)
Recommended Environment
Condition
Temperature 0~55℃,Humidity 0%~60%
Maximum Rated
Environment Condition
Temperature -20~75℃,Humidity 0%~99%
Charger Parameters
Output
5.0~12V 3A
Maximum Ports
4
Short Protect
4A
Charge Mode
Quick charge and Normal charge
Quickcharge protocols
QC 1/2/3、MTK Pump-express,Compatible with QC4 and
higher、MTK Pump-express 2 and higher.
Apple 2.4A, Samsung 2.1A
Battery Protect
Auto Shutdown with current thread
Auto Shutdown with timer
Charge Curve
Graphical: Power, Voltage, Current
Raw Data Sheet (CSV): Power, Voltage, Current
Curve Type
1 second: precision 0.1s
1 minute: precision 1s
1 hour: precision 1min
1 day: precision 10min
DC Supply Parameters
Output
Min: 2.50V
Max: the lower between (Vin-2) and 12.5 V
For Example: if input with 9V, the maximum output is 7V
If input with 15V, the maximum output is 12.5V
Precision
0.01V
Voltage Accuracy
1%

VoltBot User Manual
6
Current Accuracy
1% plus 0.02A
Line regulation
<0.5%
Load regulation
<0.5%
Ripple Vrms(no-load)
<0.1mV
Ripple Vpp(no-load)
<1mV
Ripple Vpp(full-load)
<5mV
Efficiency (full-load)
94%
Transient Characteristics
Short Protect One-time
11A
Short Protect Recoverable
4A
Current limits (>250ms)
3~4A
Current limits (<250ms)
8A
Note: 1. For pulsed current (below 250ms) larger than 11A would cause the channel being
totally shut-down. It needs a re-power-up to recover.
2: The contact resistor of USB connector limits the continuous current. Considerable
temperature rise would occur if current is larger than 3A. Due to contact resistor is not
predictable, you can touch the plug to make sure the temperature is OK. If the temperature
Charge Curve
Graphical: Power, Voltage, Current
Raw Data Sheet (CSV): Power, Voltage, Current
Curve Type
1 second: precision 0.1s
1 minute: precision 1s
1 hour: precision 1min
1 day: precision 10min
Other Functions
Backlight Adjustment
Auto adjusting backlight intensity with reference of
environment light.
Channel Smart Switch
Equipped
LCD Flipping
Equipped
Unique ID
To identify several VoltBots in the same room, two numbers
can be post-fixed to wireless name. These two numbers are
also shown on screen.
WiFi channel
WiFi channel=unique ID tailing digit+1

VoltBot User Manual
7
Sound Switch
Equipped
Touch-key Switch
Equipped
UART Port
3.3V TTL-Level Baud 115200 8N1
Leads:VBUS: Floating, ID: Floating, D-: RX, D+: TX, GND
There are a level convertor board shipped with VoltBot
Wireless Configuration
WPA/WPA2 security, Static IP, Configurable host address
VoltBot User Manual
8
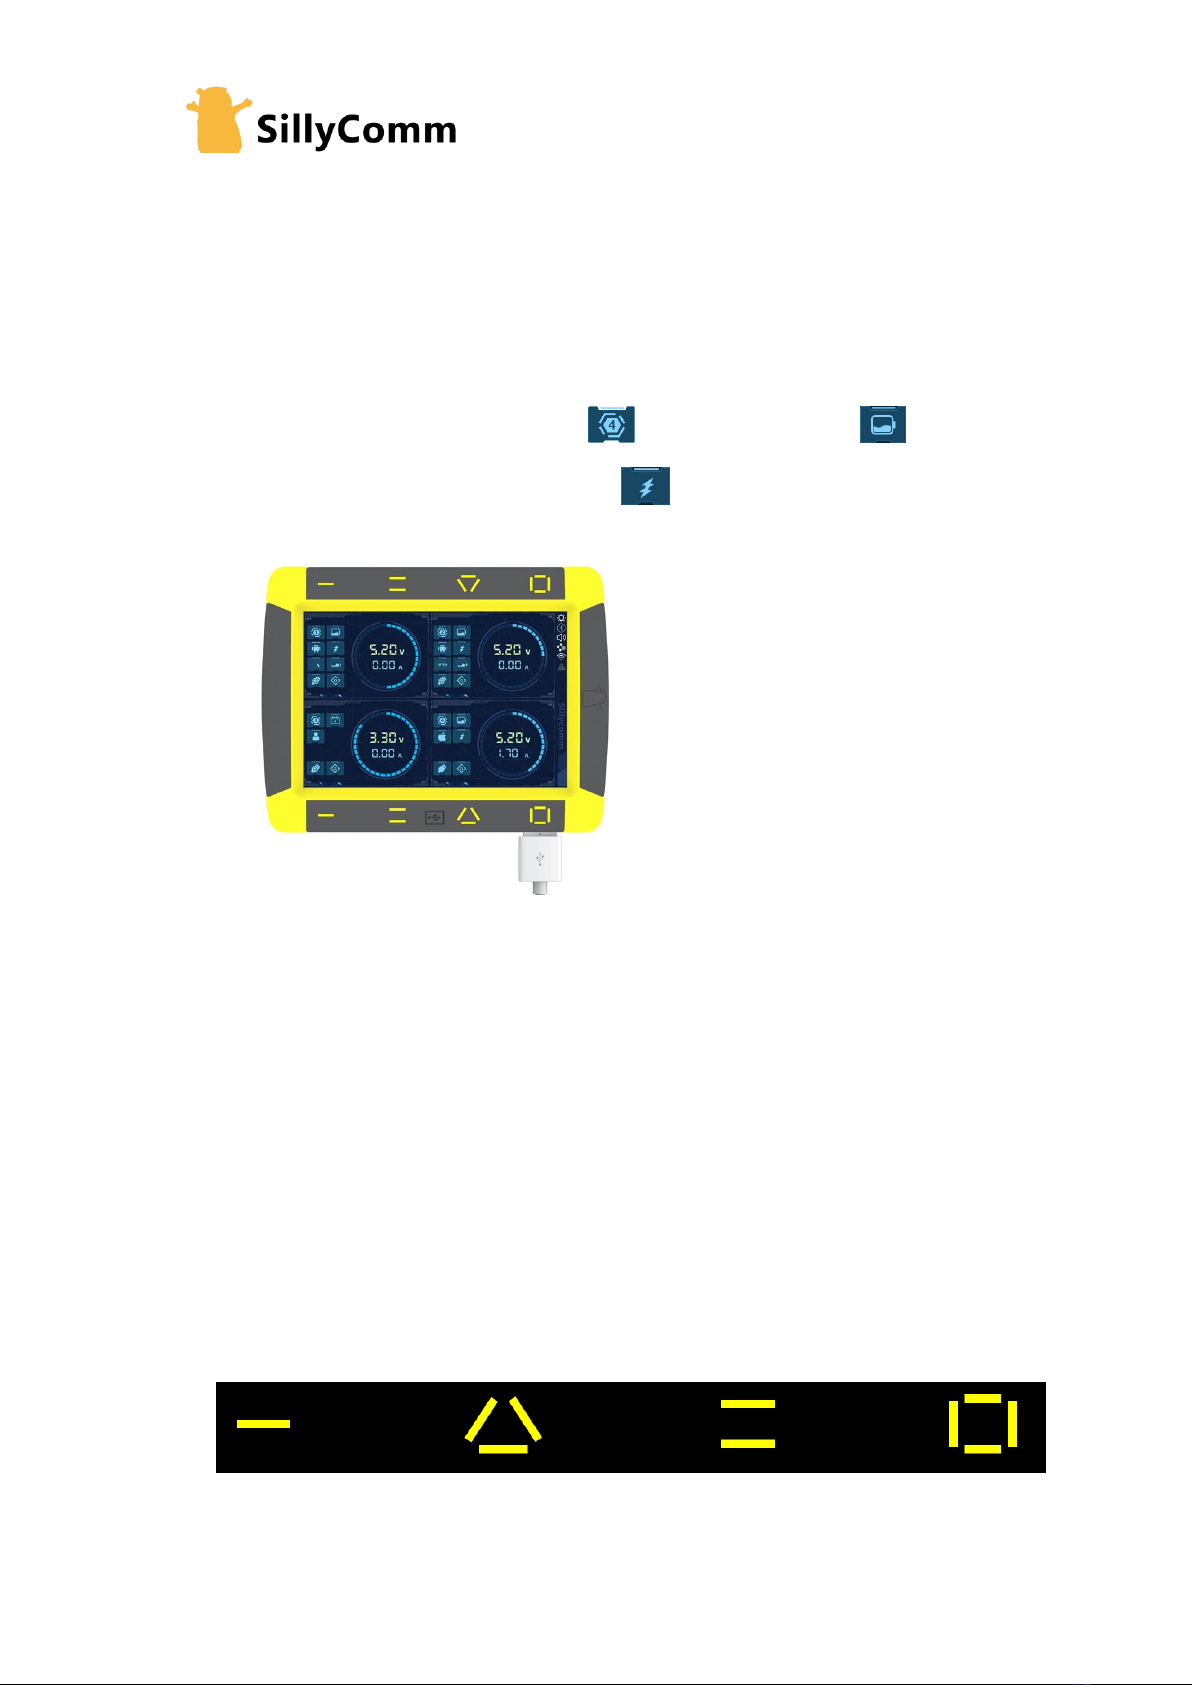
3. Graphical UI
A. Overview
B. Channel Icons
Channel Number
Charger Mode
DC source Mode
Apple supported
Android supported
Quickcharge enabled
Quickcharge detected
Device detected
Voltage 9Volts
Current 2Amper
Power 5W/ring
Channel
Icons
System Icons
Unique ID
Input Voltage
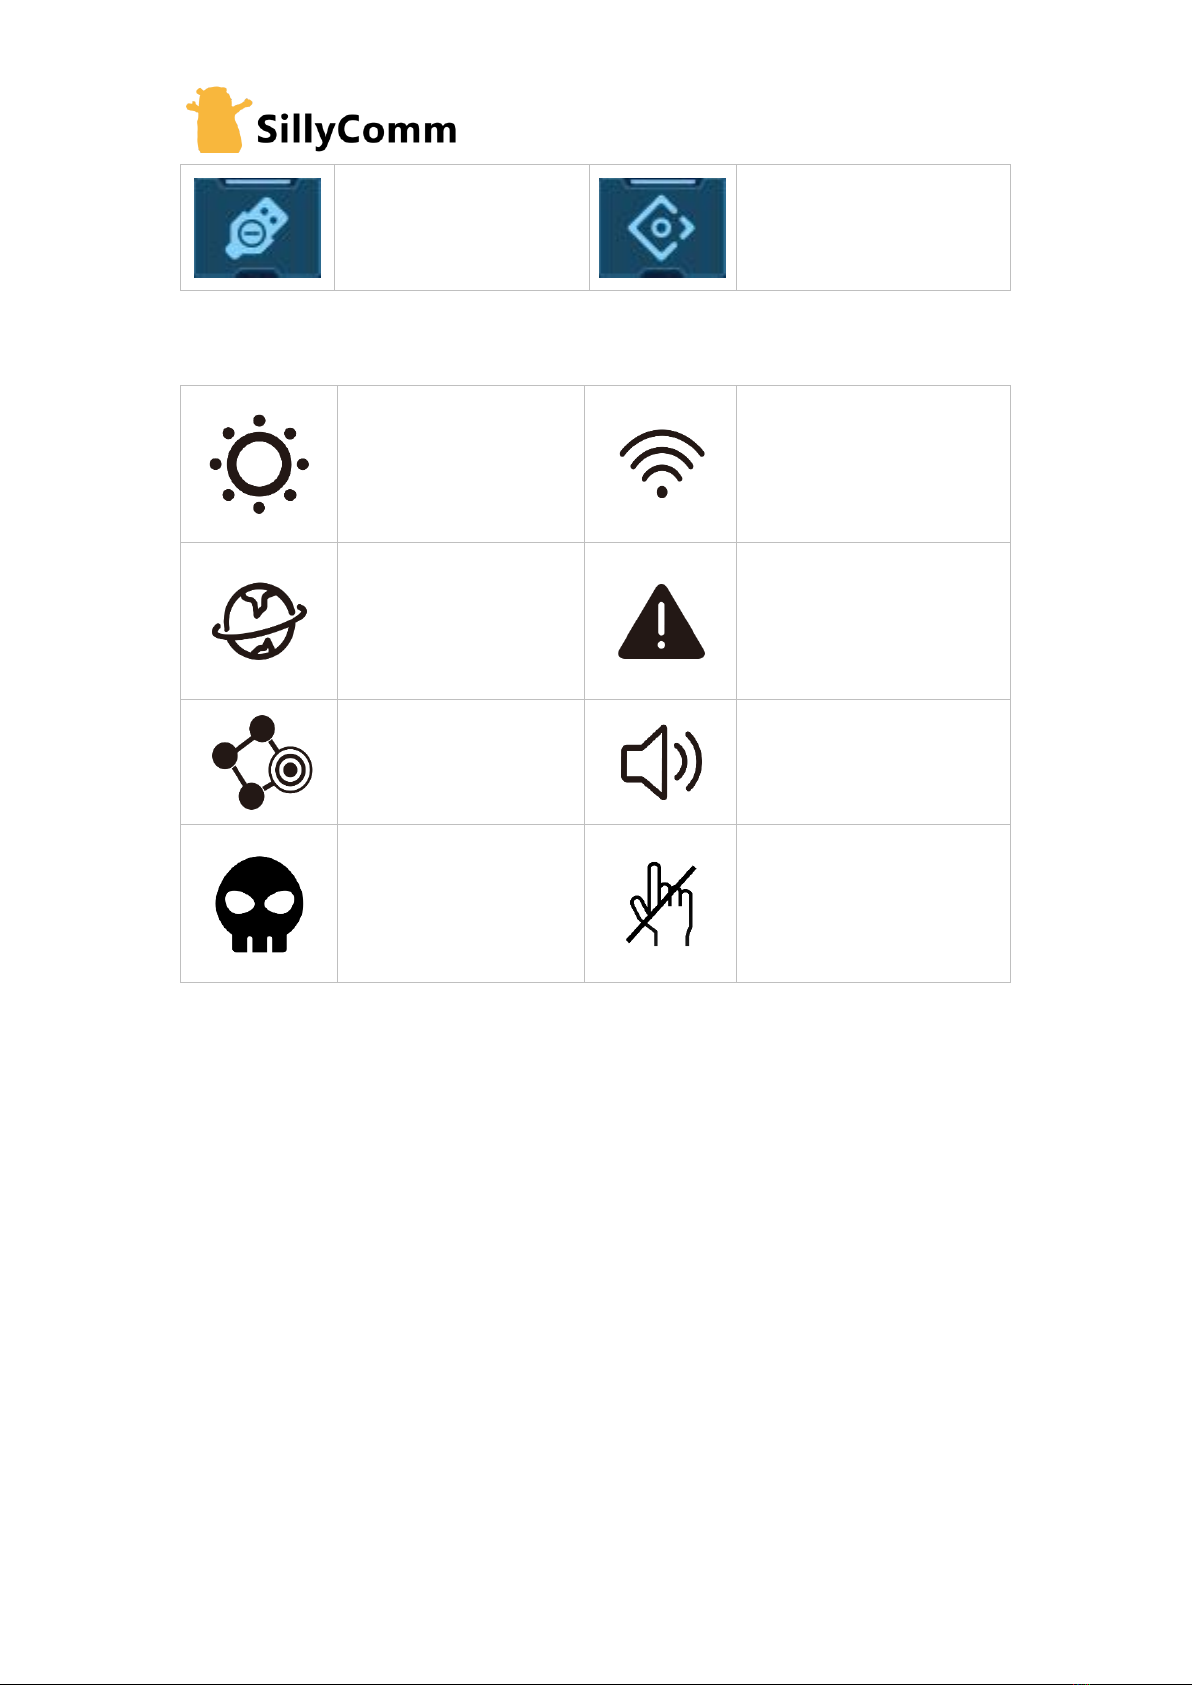
VoltBot User Manual
9
Unused
Reserved, factory use
C. System Icons
Backlight:
Auto-mode: bright
Manual-mode: dim
WIFI:
Wi-Fi on: bright
Wi-Fi off: dim
Communication: blink
Joined to hotspot: bright
Un-joined: dim
Communication: blink
Reserved, it indicate some
internal process has
unexpected response
UART Link: blink
Sound on: bright
Sound off: dim
Over heat or over
current: bright
Otherwise: dim
Touch-key off: bright
Touch-key on: dim
VoltBot User Manual
10
4. Quick Start Guide
1) Charge a Normal Phone
1. Connect Power Input
2. Channel 4 for example. Check channel 4 is under charger mode
3. Check channel 4 has quick charge switch on
4. Connect data-cable in channel 4 and start charging.
2) Charge an iPhone X (PD support)
1. Plug-in the A-to-C (Type-C) extender.
2. Follow the steps in previous section and adapt a C to Lightening Data Cable.
3. The iPhone 8P/9P/X/XR/Xmax will start quickcharge and auto set the voltage into 9V.
3) Power a Gadget
1. Make sure the input voltage required by the gadget (possible: 5V, 3.3V, 9V)
2. Press the side-key once. There will be something shown on the screen. You will see 1324
is the right code to configure output.
3. Touch these symbols as 1324 in a row.
4. If you touched the wrong button, touch any key 3~4 times to see “Fail”, or press the side-
Table des matières


