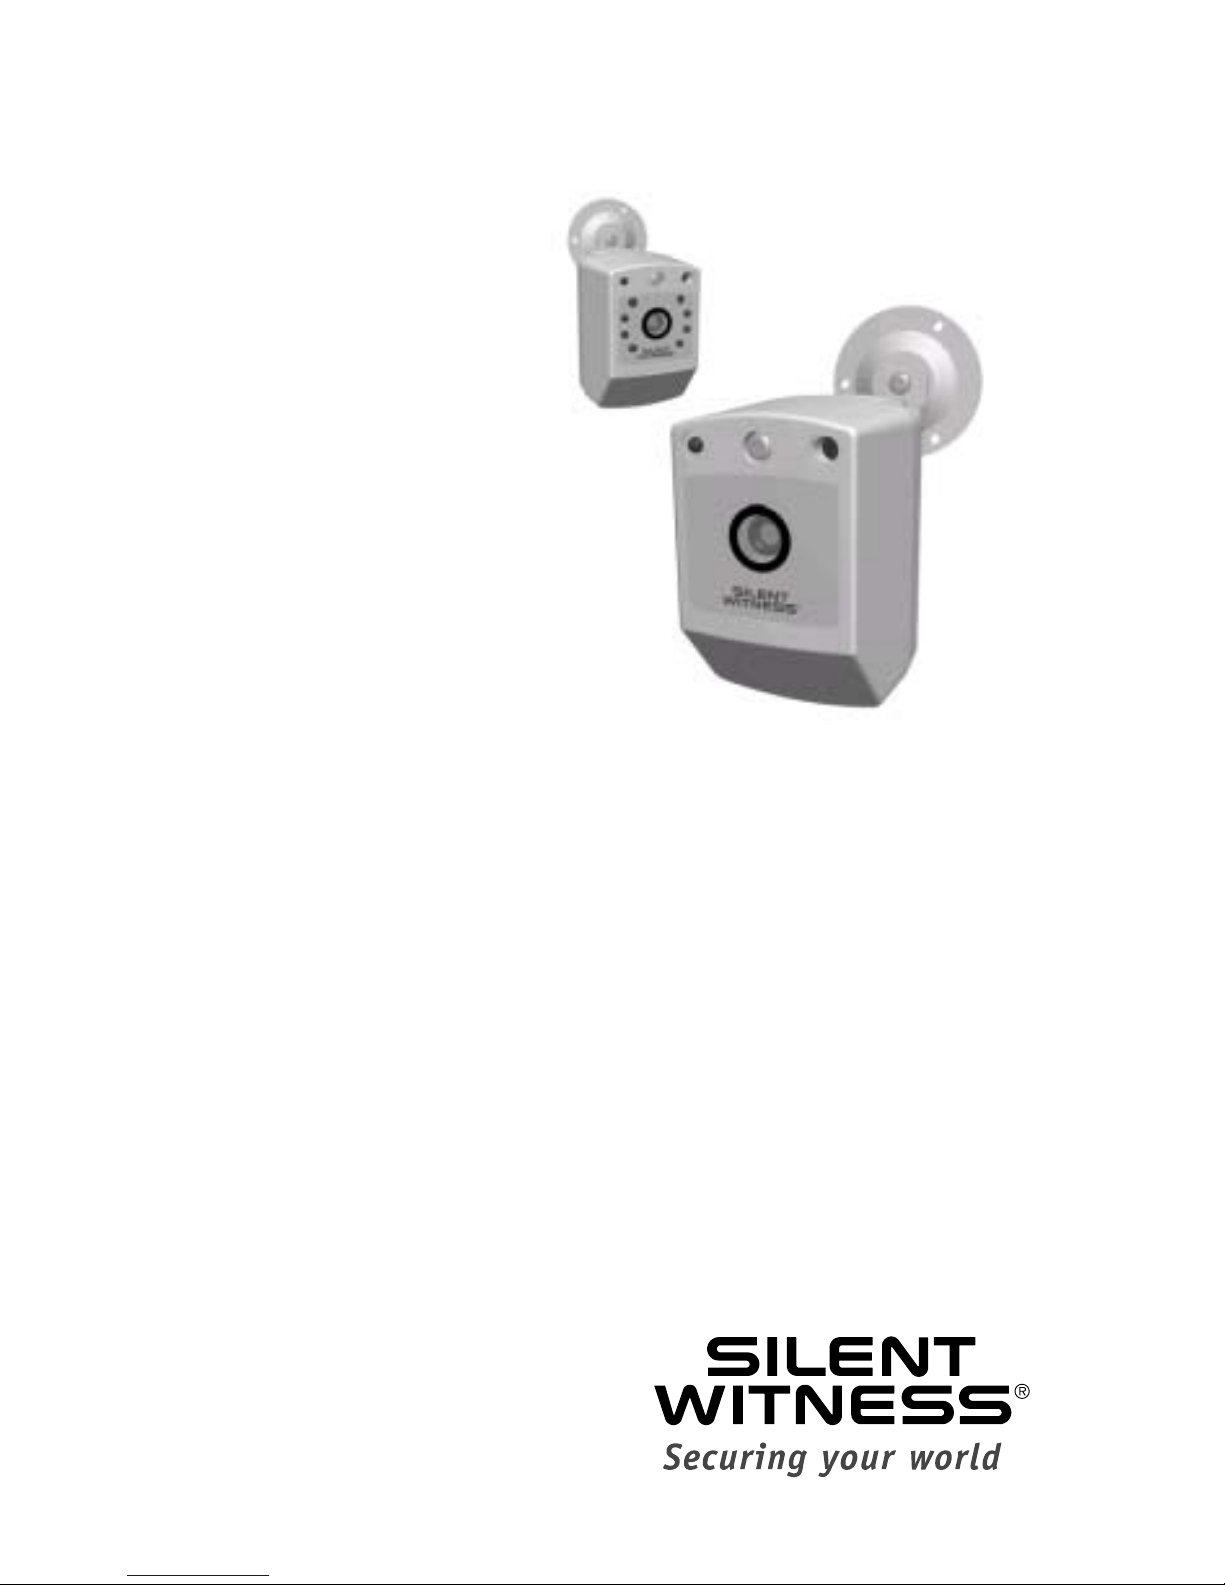
5
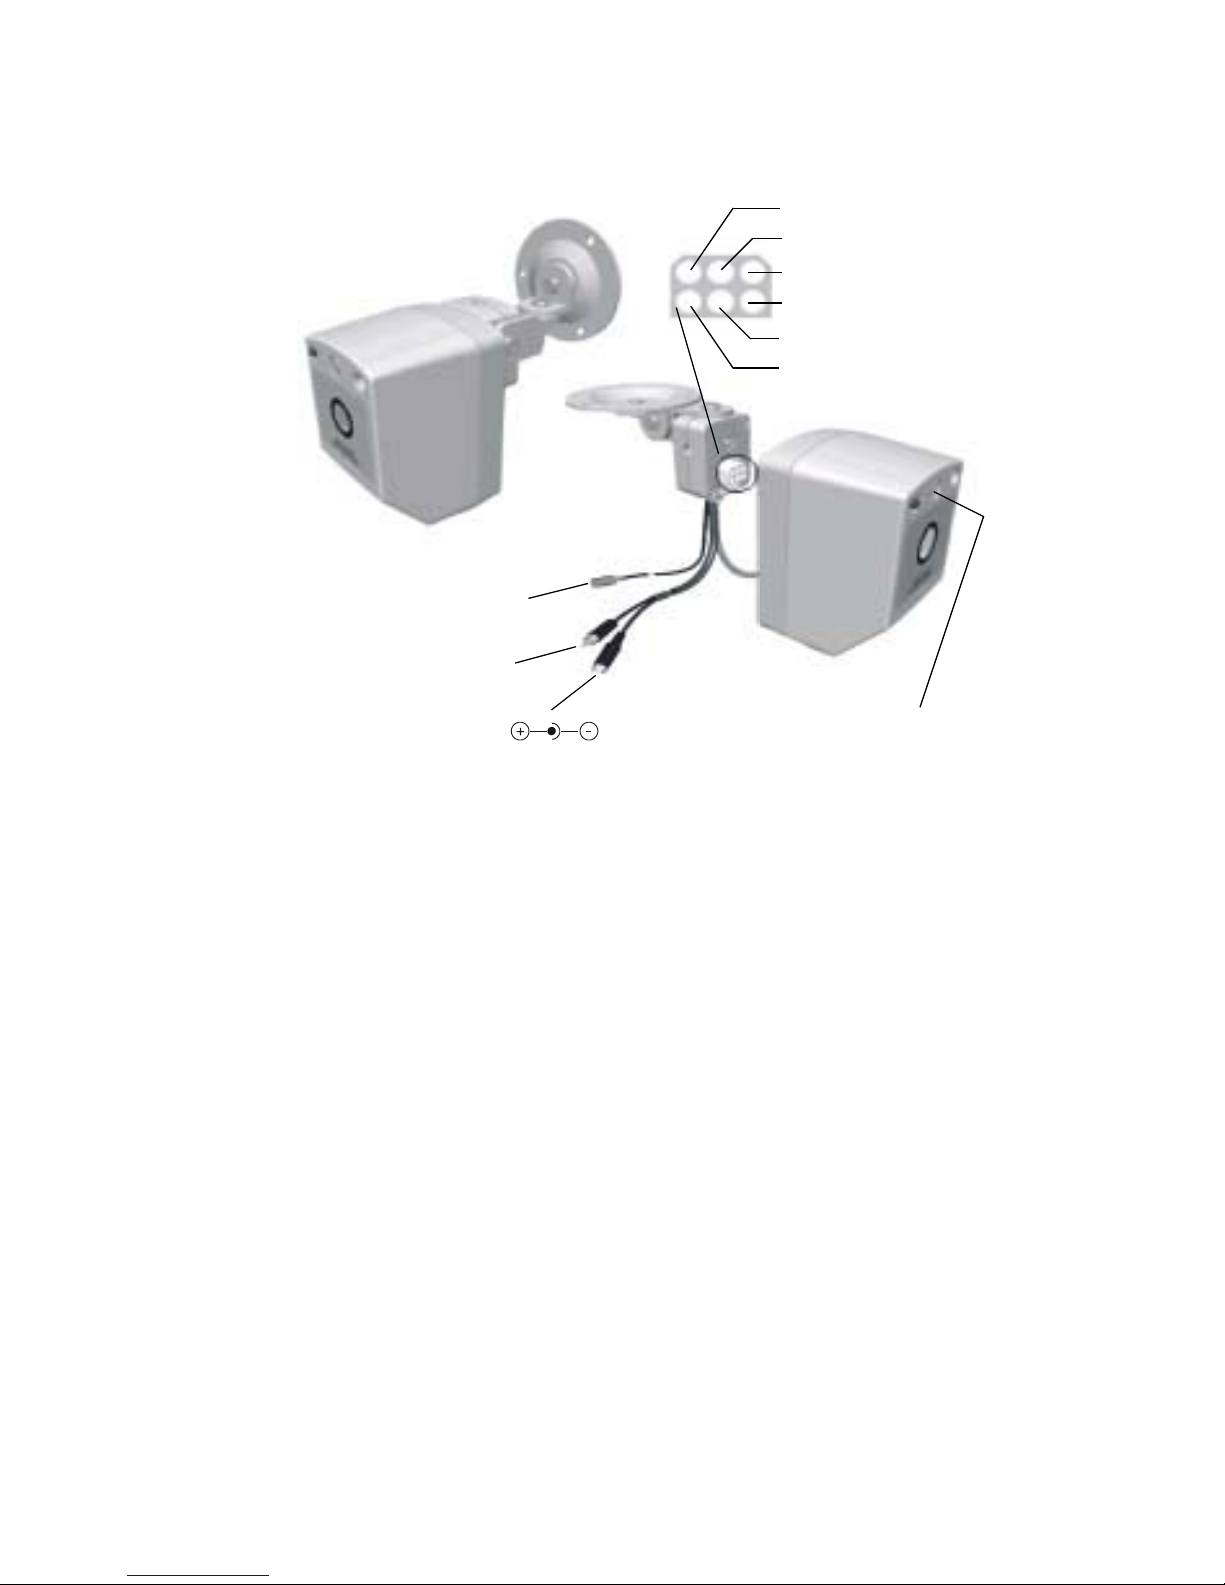
4. For V60 cameras with the microphone option installed, connect the audio
output signal (red RCA plug) to the audio input of a monitor or CCTV system.
Aiming
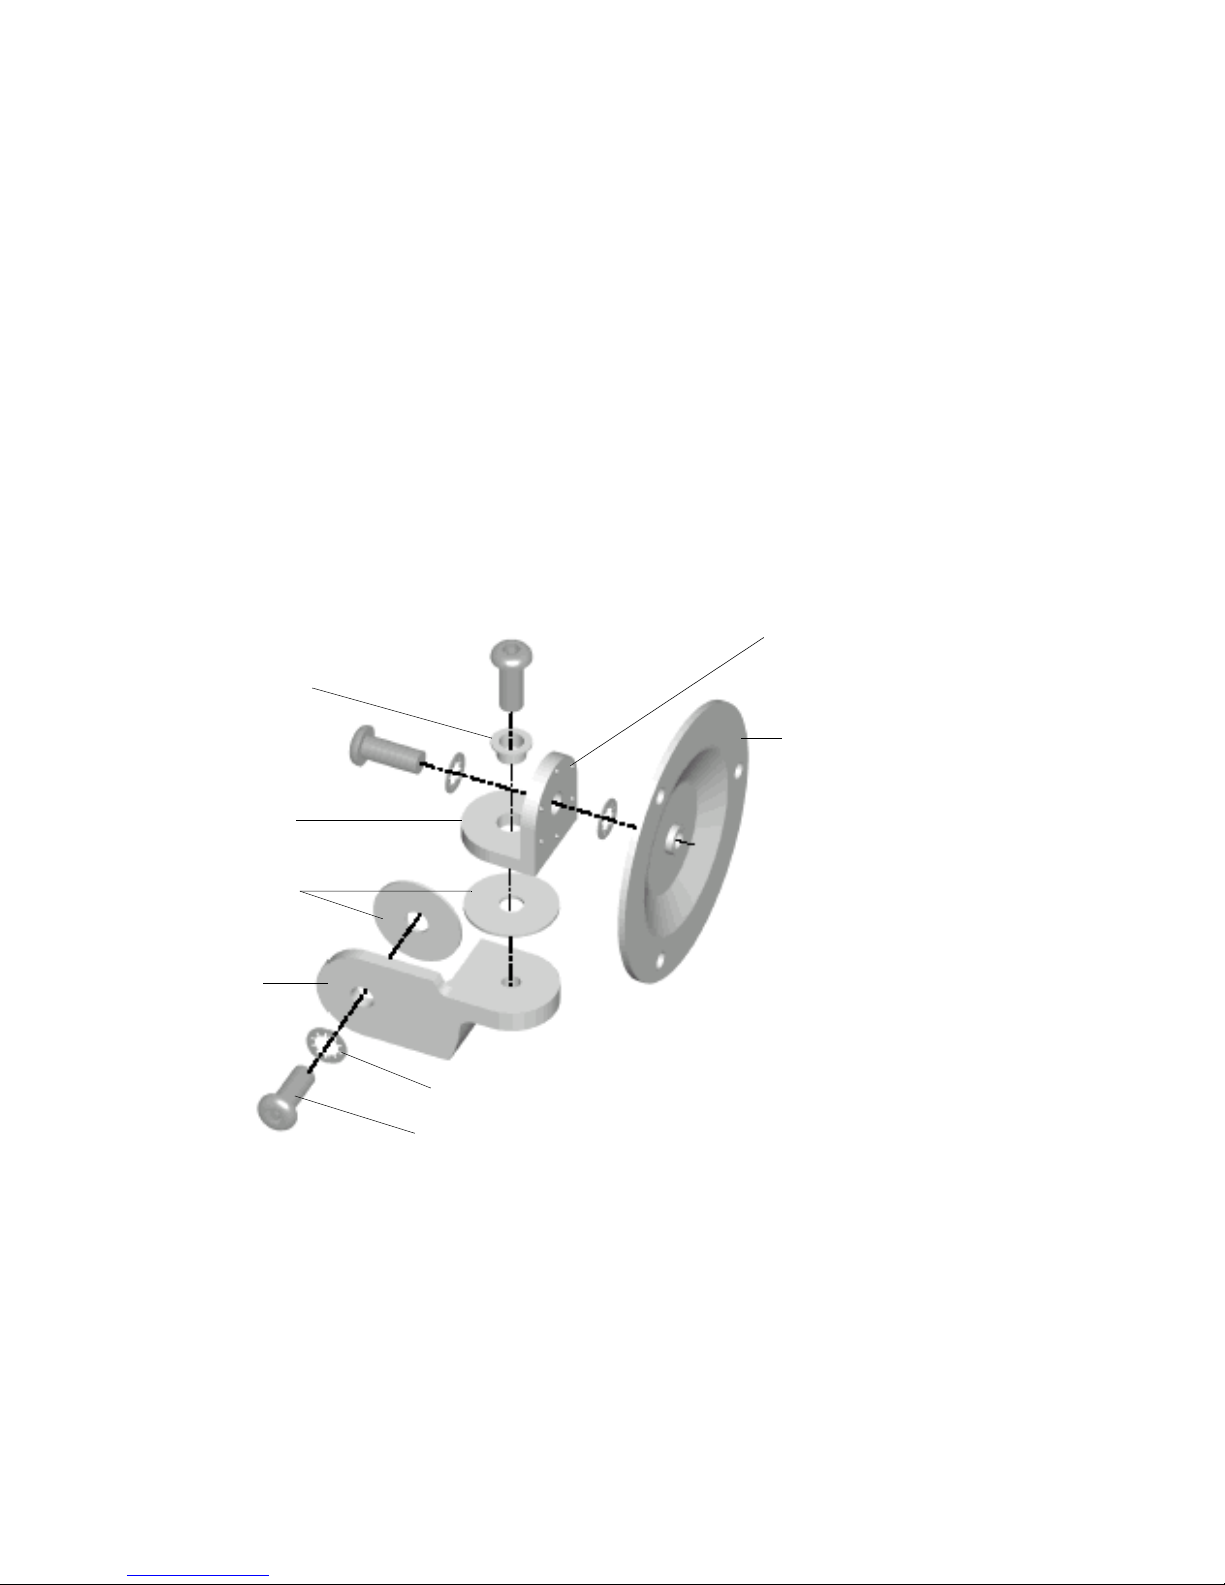
Adjusting the Mounting Bracket
The V60 mounting bracket adjustments are designed to lock in position.
Caution Always loosen the locking screws before adjusting the
mounting brackets to avoid damaging the locking
mechanisms.
To aim the mounting bracket:
1. Turn on the camera power and monitor the video signal.
2. Use the security hex key (supplied) to loosen the mounting bracket locking
screws.
3. Adjust the pan and tilt angle of the camera to the desired view.
4. Retighten the locking screws to secure the camera in position.
External Polarizer (Optional)
The optional V60 External Polarizer is a self-adhesive, polarized light filter that can
be mounted on the outside of the V60 camera window. This filter can improve
video image quality by reducing glare and increasing contrast.
Note Do not use the External Polarizer on V60 Night Hawk cameras.
To install the V60 External Polarizer:
1. Clean the V60 camera window with isopropyl alcohol and a clean, soft cloth.
2. Do not remove the adhesive backing from the polarizer at this time. Remove
the clear protective plastic from the front of the polarizer and set aside. Do
not discard. Handle the polarizer by its edges to avoid finger prints.
3. Position the polarizer on the outside of the V60 camera window, directly over
the viewing center of the camera. Rotate the polarizer to find the orientation
that provides the best video image. Use the flat edge of the polarizer as a
reference.
4. Replace the clear protective plastic on the front of the polarizer, and then
remove the adhesive backing. Do not touch the adhesive side of the polarizer.
Press the polarizer firmly onto the V60 camera window, in the position and
orientation that gives the best video image.
5. Remove the clear protective plastic from the polarizer.