Sienci Labs LongMill MK2 Manuel utilisateur
1
LongMill MK2 Assembly Manual
MK2

Welcome to CNC
3
Hey there!
So you got yourself a LongMill MK2 desktop CNC… congratulations!
So, now what? Here’s everything you should know before you start building your machine.
Please read this whole section before continuing on with assembly. It will provide you with the startup
information and context needed to have a smooth and successful assembly.
What to expect
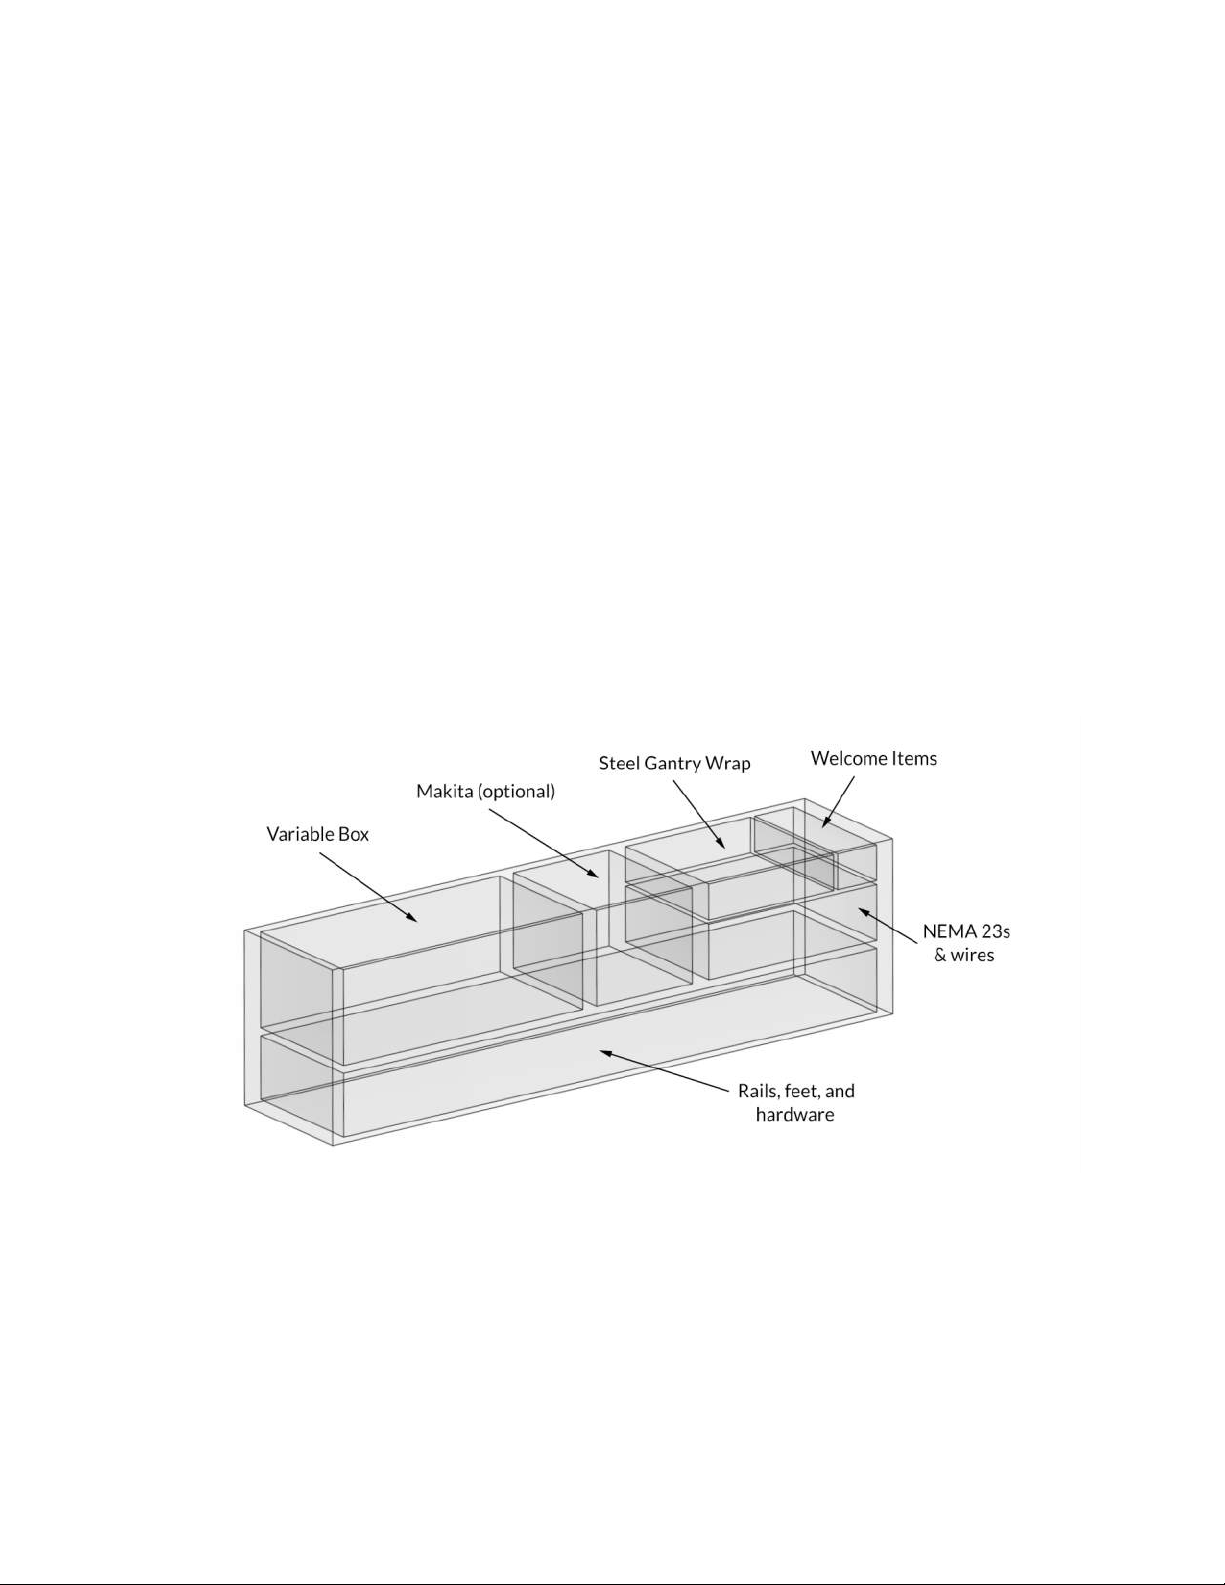
Diving into your LongMill box you’ll be met with a whole lot of boxes within. This assembly manual is laid out in
a way that you unbag and grab things as you need them so don’t feel the need to take stock of everything right
away, instead just start off by getting your space organized and getting each initial box opened up.
Check out the ‘welcome items’ where you’ll nd our letter alongside some tools provided for assembly and some
fun stickers. Also check out the ‘variable box’ and ‘rail box’ for extra goodies, some are hidden within the rails
themselves. Set aside items like the Makita and NEMA23 motor box as well any add-ons from the variable box like
bits, dust shoe, touch plate, since you won’t need these until much later on in the assembly.

4
Tools you’ll need
You’ll need these tools on hand for assembly. Most people will have these in their shop:
• Metric Allen keys (we provide)
• Metric wrenches (we provide) or a metric socket set
• A small at head screwdriver
• A red robertson driver or bit (optional if using the wood screws we provide)
We provide a specialized ‘LongMill wrench’ and the needed Allen keys to help complete your assembly and act as
dedicated maintenance tools once your machine is in operation. We don’t recommend you use an impact driver
for assembly except when mounting the machine because you won’t save much time and some assemblies are
prone to damage if they’re overtightened
Missing/broken parts?
Don’t sweat it - your kit has spares and redundancy included. If a part is lost or isn’t going together how you
expect, no worries; just check through the bags and you’ll likely nd what you need to continue assembly. Expect a
pile of bolts left over at the end and feel free to set these aside for future machine maintenance.
We supply extra parts so that:
• If a part doesn’t work properly the extra one can be used instead
• If you lose something (especially small things) you don’t have to search the oor
• You can more easily upgrade to a larger LongMill model at a later date
• We reduce the chance of packing too few on our end
If a part is missing completely, check that you’re looking for the right thing and ensure you look through all
the packaging you received with your LongMill. Some parts and add-ons such as the t-tracks ship in a separate
package if they can’t t into the box for the main kit.
If a part arrives broken and doesn’t have a spare, the LongMill’s warranty covers replacement parts and we’ll even
be happy to help you out if you break it yourself. Just shoot us a message here (https://sienci.com/contact-us/) and
see if there are any other areas of assembly you can continue with in the meantime. We’ll get back to you as soon
as we can.
5
Assembly tips
1. Take breaks when needed
The assembly process can take a few to several hours. Pace yourself and enjoy the process - after all, you are
learning CNC as a hobby!
2. Read the instructions
Many issues during assembly can be solved by re-examining the instructions. Check that you didn’t skip a
page and that you completed the previous step correctly. Some steps are hard to explain and some parts
have names that are hard to remember so looking at the pictures more closely can also help you to better
understand what needs to be done. Reading is encouraged if you’d like more detail on where to locate the
part, what function it serves on the machine, and other elaborative information.
Our assembly videos can’t be updated as often as the online or PDF instructions so if packaging or parts
change the written manual will always be able to clarify these changes.
3. Remember the language
This manual contains some technical language as well as a distinct visual language. Keeping these in mind will
make the assembly easier for you to understand and ensure that less mistakes happen.
• Section title pages: show the part of the machine you’ll be
working on next
• Transparent parts: outlined in blue with a blue arrow path
to show where the part starts and where it ends up
• Large green circles: provide a secondary view of the current
step for added clarity
• Caution triangles: marks something that requires attention
• Rotation arrows: come as either blue or red, blue indicating
a loose placement of the part and red indicating a rm
tightening required to fasten the part into place
!
6
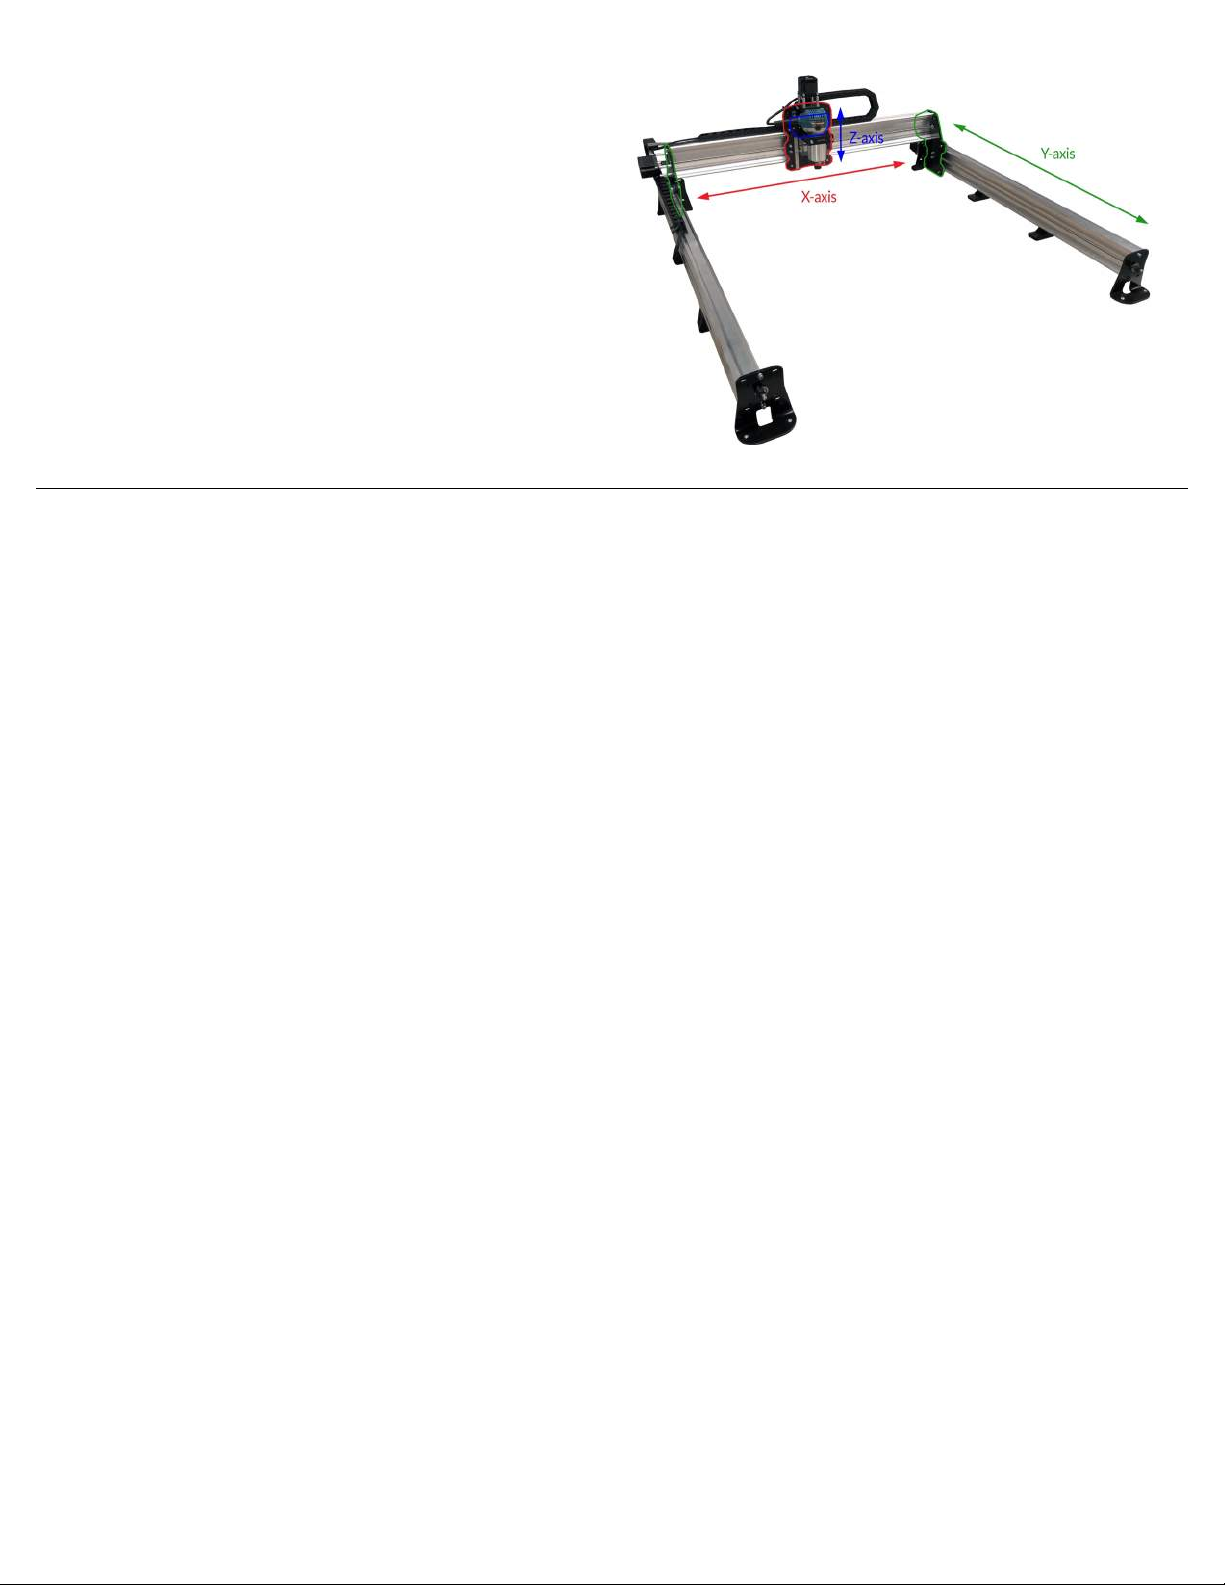
• X, Y, and Z: during assembly if you see these
capitalized letters used it’s because we refer
to some parts by the axis they belong to. For
reference, if you’re looking at the Longmill
from the front the X-axis is when the machine
moves left/right, the Y-axis is towards/away
from you, and the Z-axis is moving up/down
from the tabletop
4. Connect with the community
If you are looking to get quick advice or to share your excitement about the LongMill, post in our forum or
Facebook group! We have a large and friendly group of CNC enthusiasts who enjoy engaging in conversations
and sharing their CNC experiences.
Final words
You’ve got this! We want you to succeed and have designed this machine to give you a great CNC experience
while not requiring much experience or assembly accuracy from you. Thousands of people have been in the same
shoes as you, starting off as CNC beginners who eventually nd their way through.
We’ve got many resources at your disposal on our site and amongst our community. Be curious, take it easy and
you’ll soon be teaching everyone your new craft :)
7
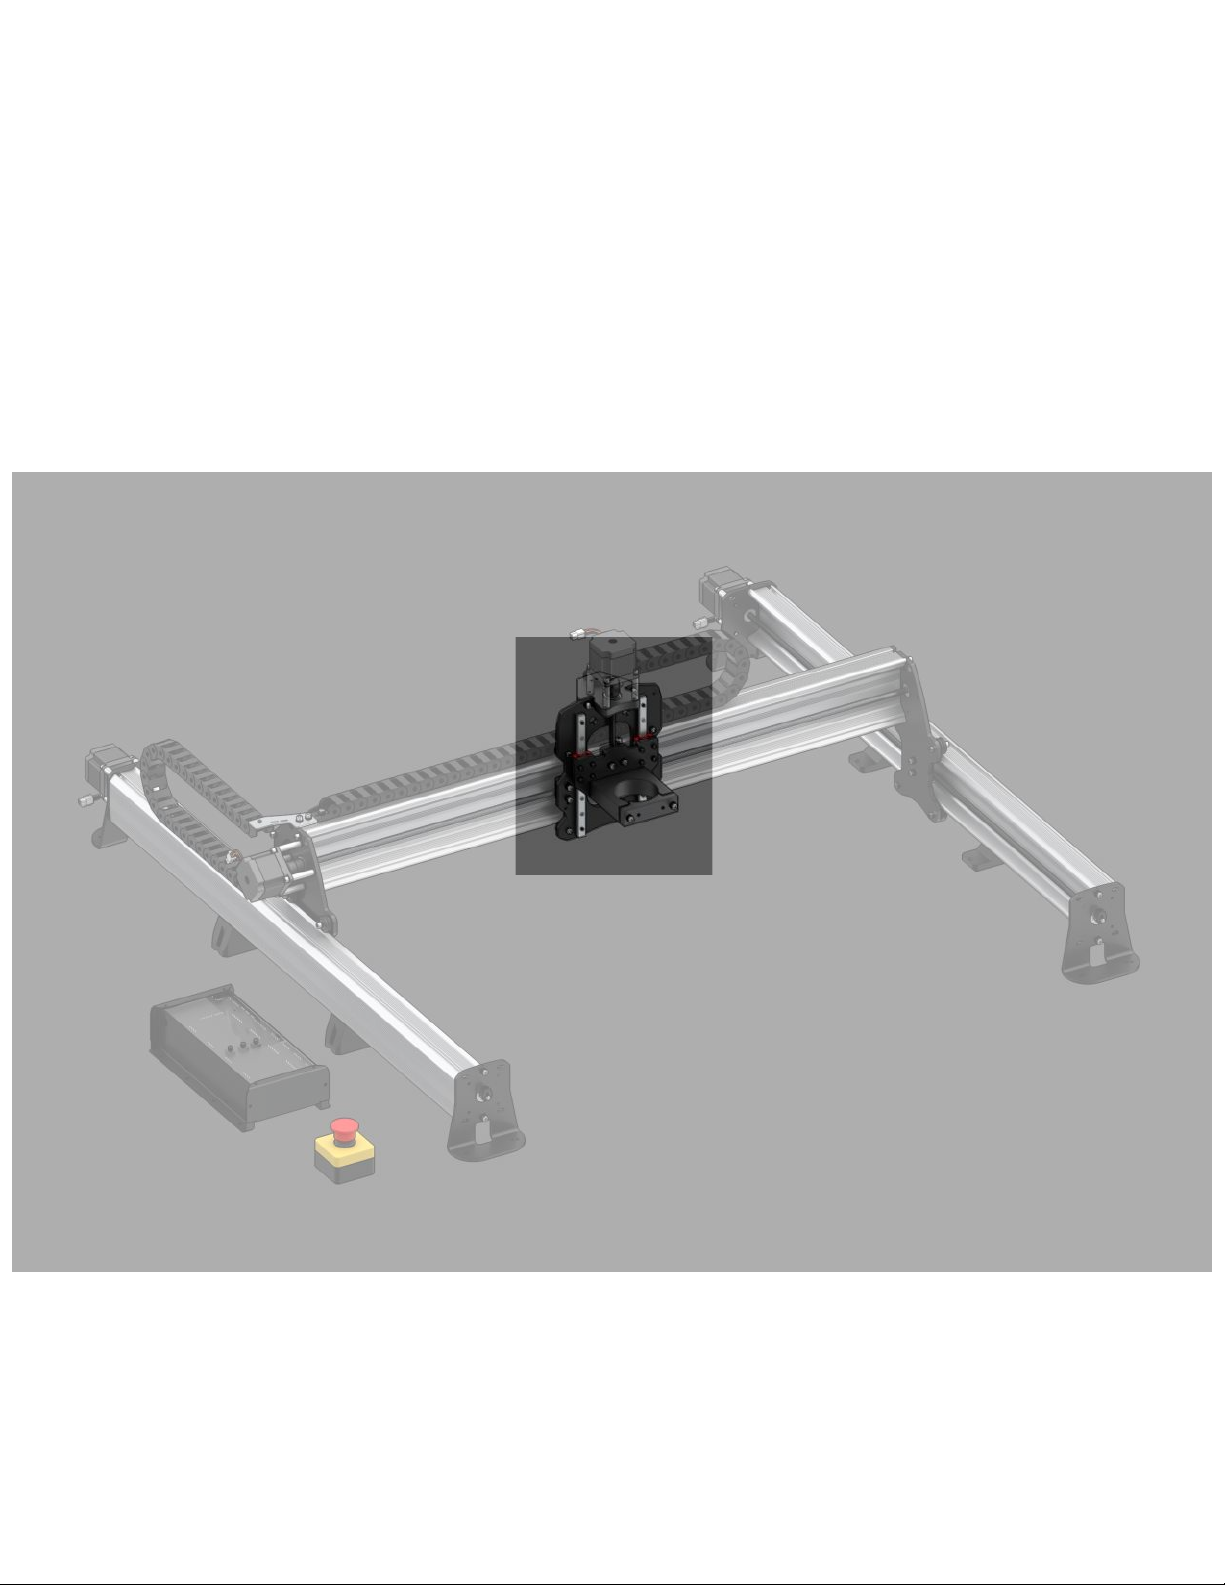
Part 1
X & Z-Axes

8
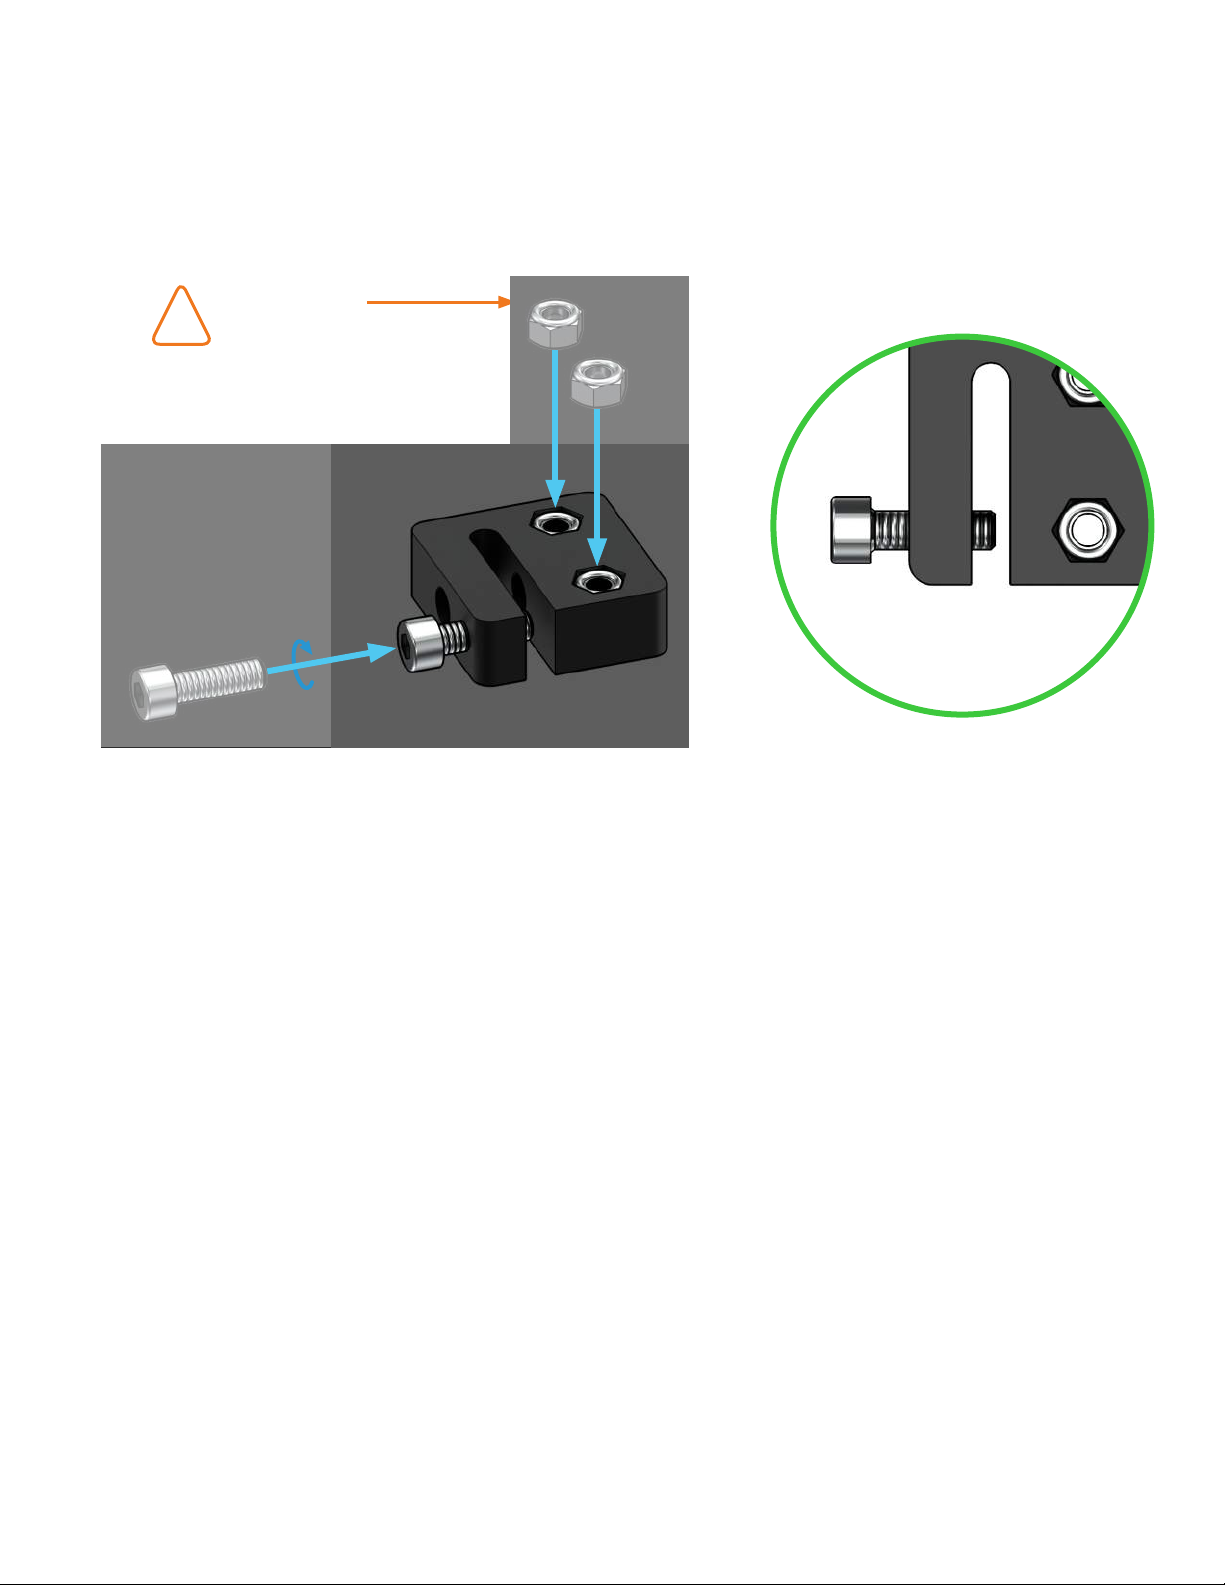
Nut Assemblies
Parts Needed:
x4
Delrin anti-backlash nut
x8
M5-nylock nut
x4
M5-16mm bolt
x4
Locking ACME
nut & set screw
We will start with the hardware bag marked with a green sticker - dump the contents out. This hardware is
most of what’s needed for the rst half of assembly so you can assume that hardware comes from here unless
mentioned otherwise.
Dumping out the green bag, you should see a bag containing some large hex nuts and small set screws. These are
called ‘locking ACME nuts’. Loosely thread each set screw into each ACME nut by about 2 turns. Prepare 4 pieces
and set them aside.
x4
9
Now, nd bags labelled for ‘M5-nylock nuts’, ‘M5-16mm bolts’ (there should only be 4 or 5 in the bag), and the
nal one which contains some large rectangular plastic blocks. These are called ‘anti-backlash nuts’, and you’ll see
later how they work to give your CNC movement and keep it accurate.
Start by pressing the M5-nylock nuts into the hexagonal cutouts in the plastic blocks. It’ll be tempting to face the
round part of the nut downwards for easier installation, but these have to actually face upward out of the plastic
so that they can be properly bolted on later. It may require some force to push the nuts into the cutouts - feel free
to use pliers, one of the steel plates, a vise, or anything else to get them in-place as long as you’re careful to take
your time. You’ll need 4 blocks, set aside spares as extra.
Now install one M5-16mm bolt into each anti-backlash nut. Don’t turn the bolt all the way on, leave a gap. With
four blocks ready, set them aside.
Leave a gap
Rounded part
facing up
!
10
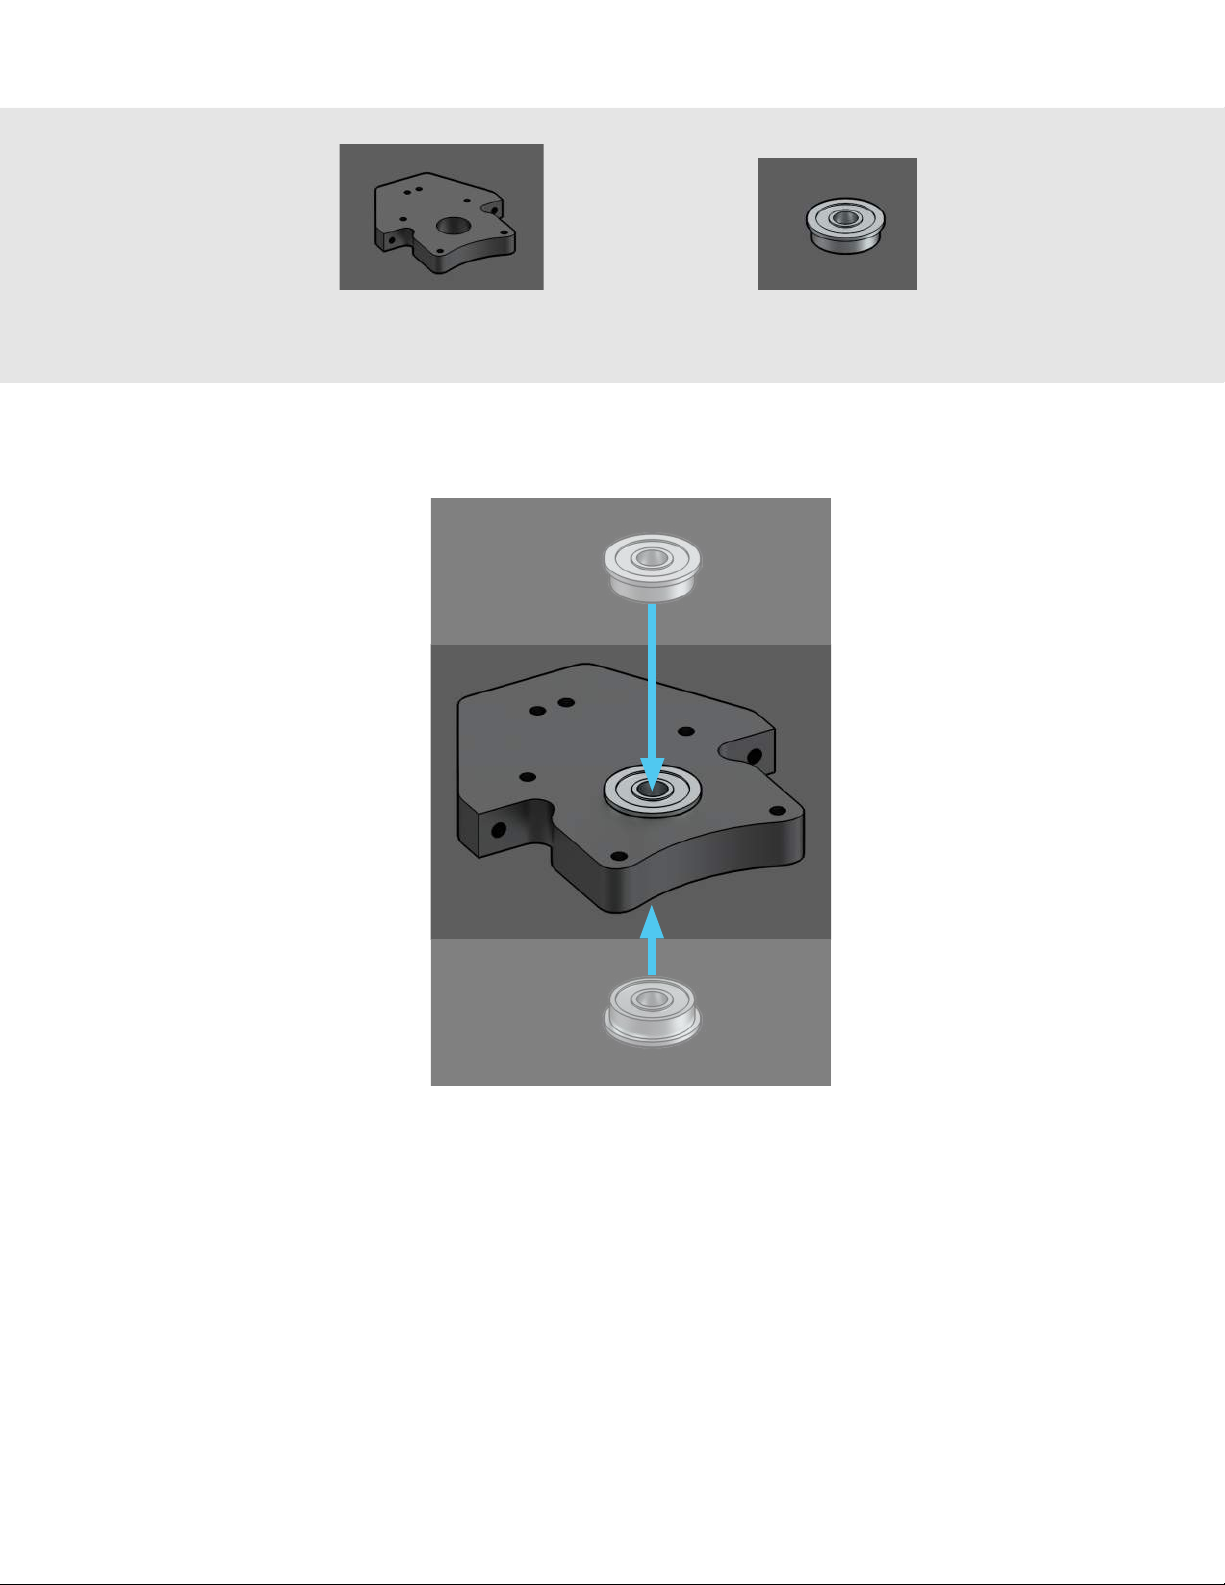
Z-axis Motor Mount
Parts Needed:
Z-axis motor mount 608ZZ ange bearing
x2
With the prep out of the way, let’s continue on to the overall XZ-axis assembly. First you’ll want to get your Z-axis
motor mount from where it would’ve been kept with the rest of the cutting tools and add-ons, we call this box the
‘variable box’. It’ll be a wrapped aluminum part similar in size to the router mount.
With this in hand you’ll also want to get the bag with bearings in it, of which you’ll just need two for now. Press
these into both sides of the bore on the Z-axis motor mount. You should be able to assemble these easily with
your thumbs.
Autres manuels pour LongMill MK2
1
Table des matières
Autres manuels Sienci Labs Outils


