MARKVPROFENCEROUTERTABLE
521962
10.
Turn
the
middle
screw (10)
either
clock-
wise
or
counterclockwise
then
tighten
the
Jam
Nut
using
the
two
open-end
wrenched.
Tighten
the
Screw.
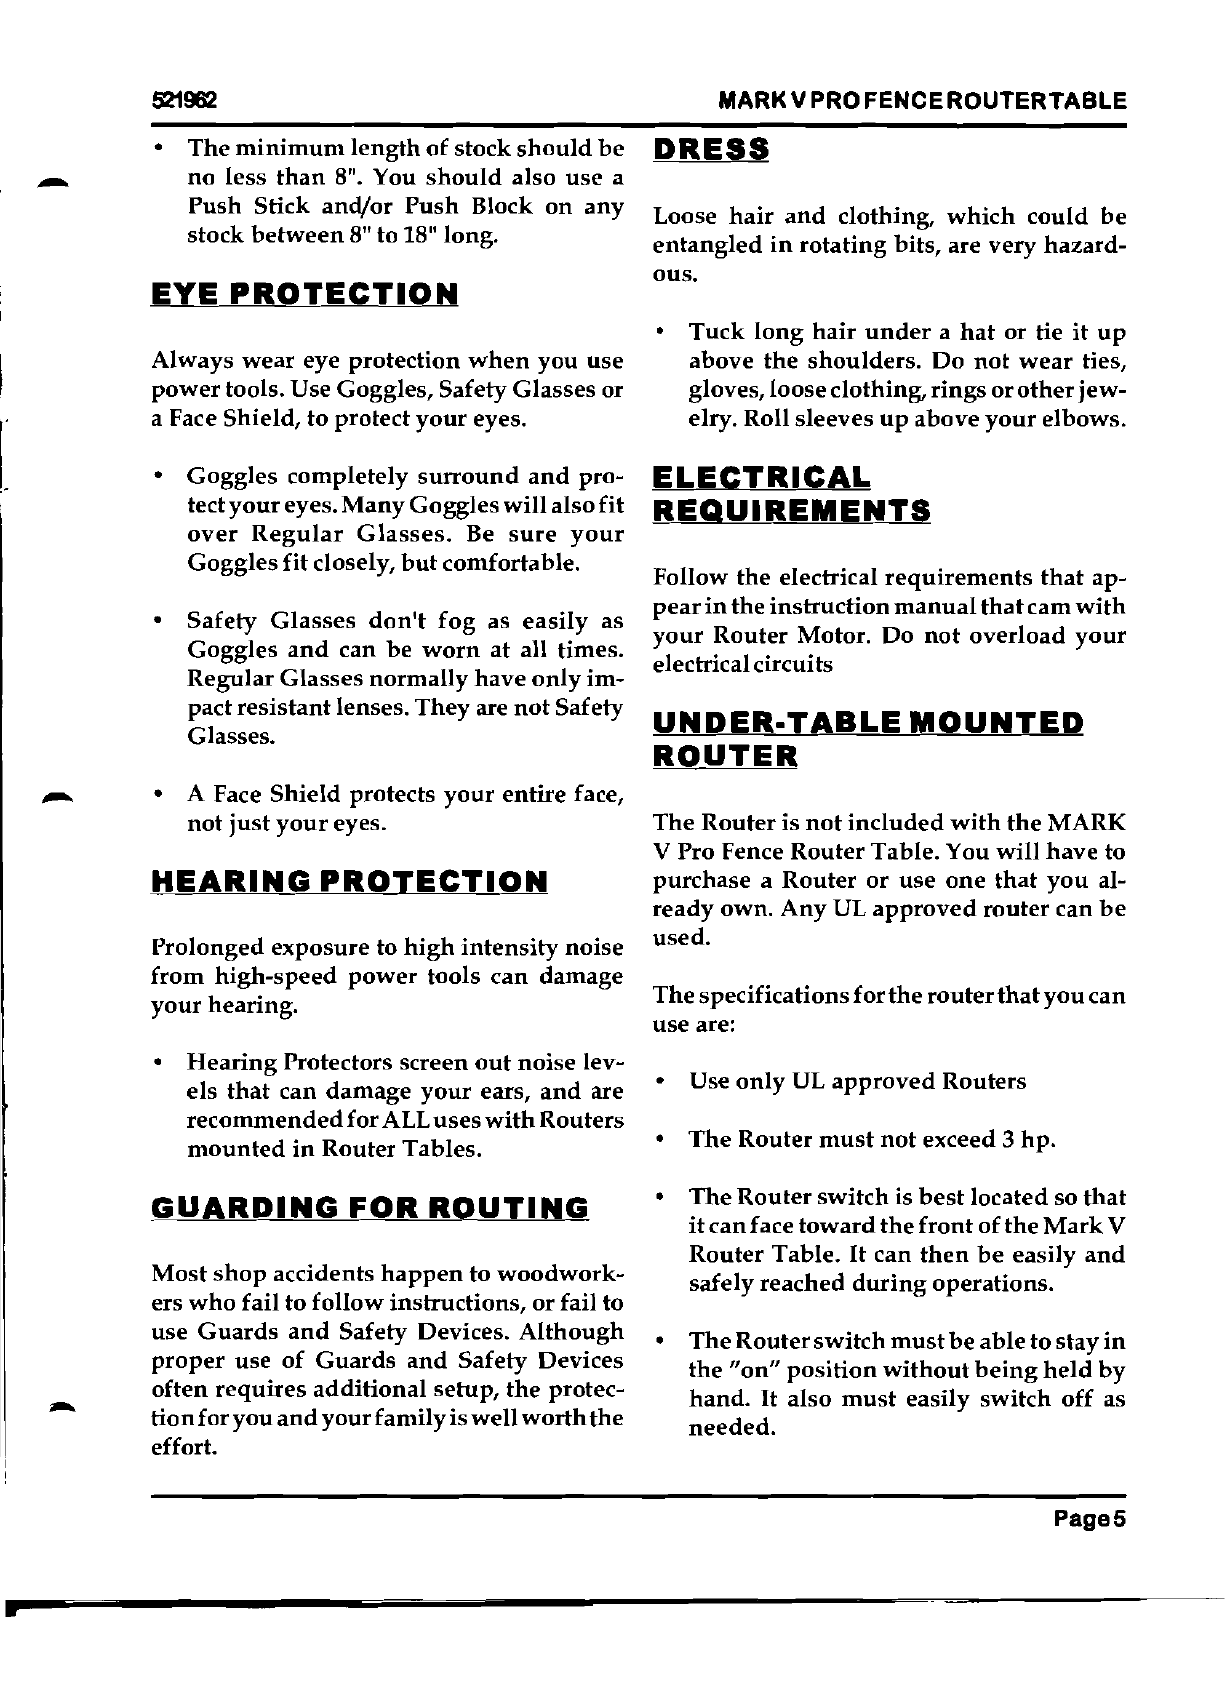
11. Remove
the
C-Clamps
and
Alignment
gauges
and
complete
your
assembly
in-
structions
beginning
at
Step 10.
OPERATIONS
I
WARNING
I
Be
sure
toturn
off
and
unplug
the
Router
beforemakinganyadjustmentsorchanglng
RouterBlts.
1. Install
the
Router
Bit. Insert
the
Router
Bit all the
way
into
the
Collet
and
retract
about
1/8"
to
avoid
any
transi-
tion
radius
where
its
shank
becomes
larger
for
the
profile.
NOTE
The
rotary
depth-of-eut
stop
found
on
some
Plunge
Routers
may
not
allow
some
1/4"
Shank
Router
Bits to
achieve
a
full
depth-of-
cut, to
temporarily
solve
this
problem,
re-
move
the
rotary
depth-of-eut
stop.
I WARNINGl
MakesuretheRouterBitissecuredproperly
intheCollet.Loose
Bitscouldworkfreeand
causeseriousinjury.
2.
Mount
accessories.
Depending
on
the
type
of
Routing
you
are
doing,
mount
the
appropriate
Fixture, Fence(s),
andl
or
Safety Devices
such
as
Feather
Board(s) to
help
control workpiece.
3.
Set
the
depth-of-cut. Rotate the
Router
Motor
in
its Base to set
the
depth-of-
cut
and
lock it firmly in position be-
fore
turrung
it on. Before
cutting
your
actual workpiece,
make
a practice
cut
-
on
a piece of
scrap
stock.
When
some
Routers'
depth-of-cut
lock
is
loosened,
they
may
tend
to
drop
down
from
the
Router
Table.
4. Install
and
adjust
the
Guard.
I
WARNINGI
TheGuard(515704)forfreehandcutsisan
accessory
.Itnotonly
Improvessafeopera-
tionsbutalsoactsasaDustCollectionChute.
We
strongly
recommend
its
purchase
and
use.Followoperationinstructionsthrough-
outthismanualforproperuseoftheGuard.
Avoidtakingdeepcuts.Withtheexception
ofsingle-passdovetail
cuts,limitdepth-of-
cutto114"foreach
passwhenusingBits
up
to
112"diameterlnhardwood.Limitdepth- -
of-cutto3IBR -112"foreachpasswhenuslng
Bits
upto
112"dlameterinsoftwood.When
usingBitsover112"dlameter,limitdepth-of-
cutto
halftherecommendeddepthsfor112"
diameterBits.
5.
Make
the cut. After following all
setup
procedures
and
checking
to be
sure
that
everything
is
tightened
properly,
you're
ready
to
turn
on
the
Router
Motor
and
make
your
desired
cuts.
NOTE
To
prevent
dwell
marks
or
burns
on
your
workpiece,
always
work
in
a
continuous
mo-
tion
without
stopping.
Always
remember
to
raise
or
slide
your
workpiece
carefully
away
from
the
rotating
bitbefore
turning
the
motor
off.
IWARNING
I -
NeverRoutwithouttheGuardin place.
Page10