Step 2
Step 4 - Installing the Caps
After you have stacked and secured the base and the second course of natural stone blocks the next step is
to install the caps. The caps will overhang the natural stone blocks by approx. 2”. Again, you need to stack
ALL of the caps to make them t before you use any adhesive. After ALL the blocks have been shifted &
ajusted so they t, you can secure the caps with the RG Techni-Seal Masonry Adhesive. You may need to shift
or adjust the last few pieces of stone to make them t together, the caps should t ush against each other.
Step 3 - Stacking & Securing the Second Course
Before you start stacking the second course of stone, clean any debris off the top of the stone blocks so they
will be level. You can now start stacking the second course of stone blocks. It is critical to alternate the joints
so each joint is centered over a single block. You should stack ALL of the stone blocks & make sure they ALL
t accordingly before you ever secure any blocks with masonry adhesive, (optional). Semco recommends RG
Techni-Seal Masonry Adhesive when installing the re-pit kit. This is the best adhesive to secure the stone
blocks. After ALL the blocks have been shifted & adjusted so they t, you can start applying the adhesive
between the two layers according to the manufacturer’s directions. Again, you may need to shift or adjust a
few pieces of stone to make the outside edges t together.
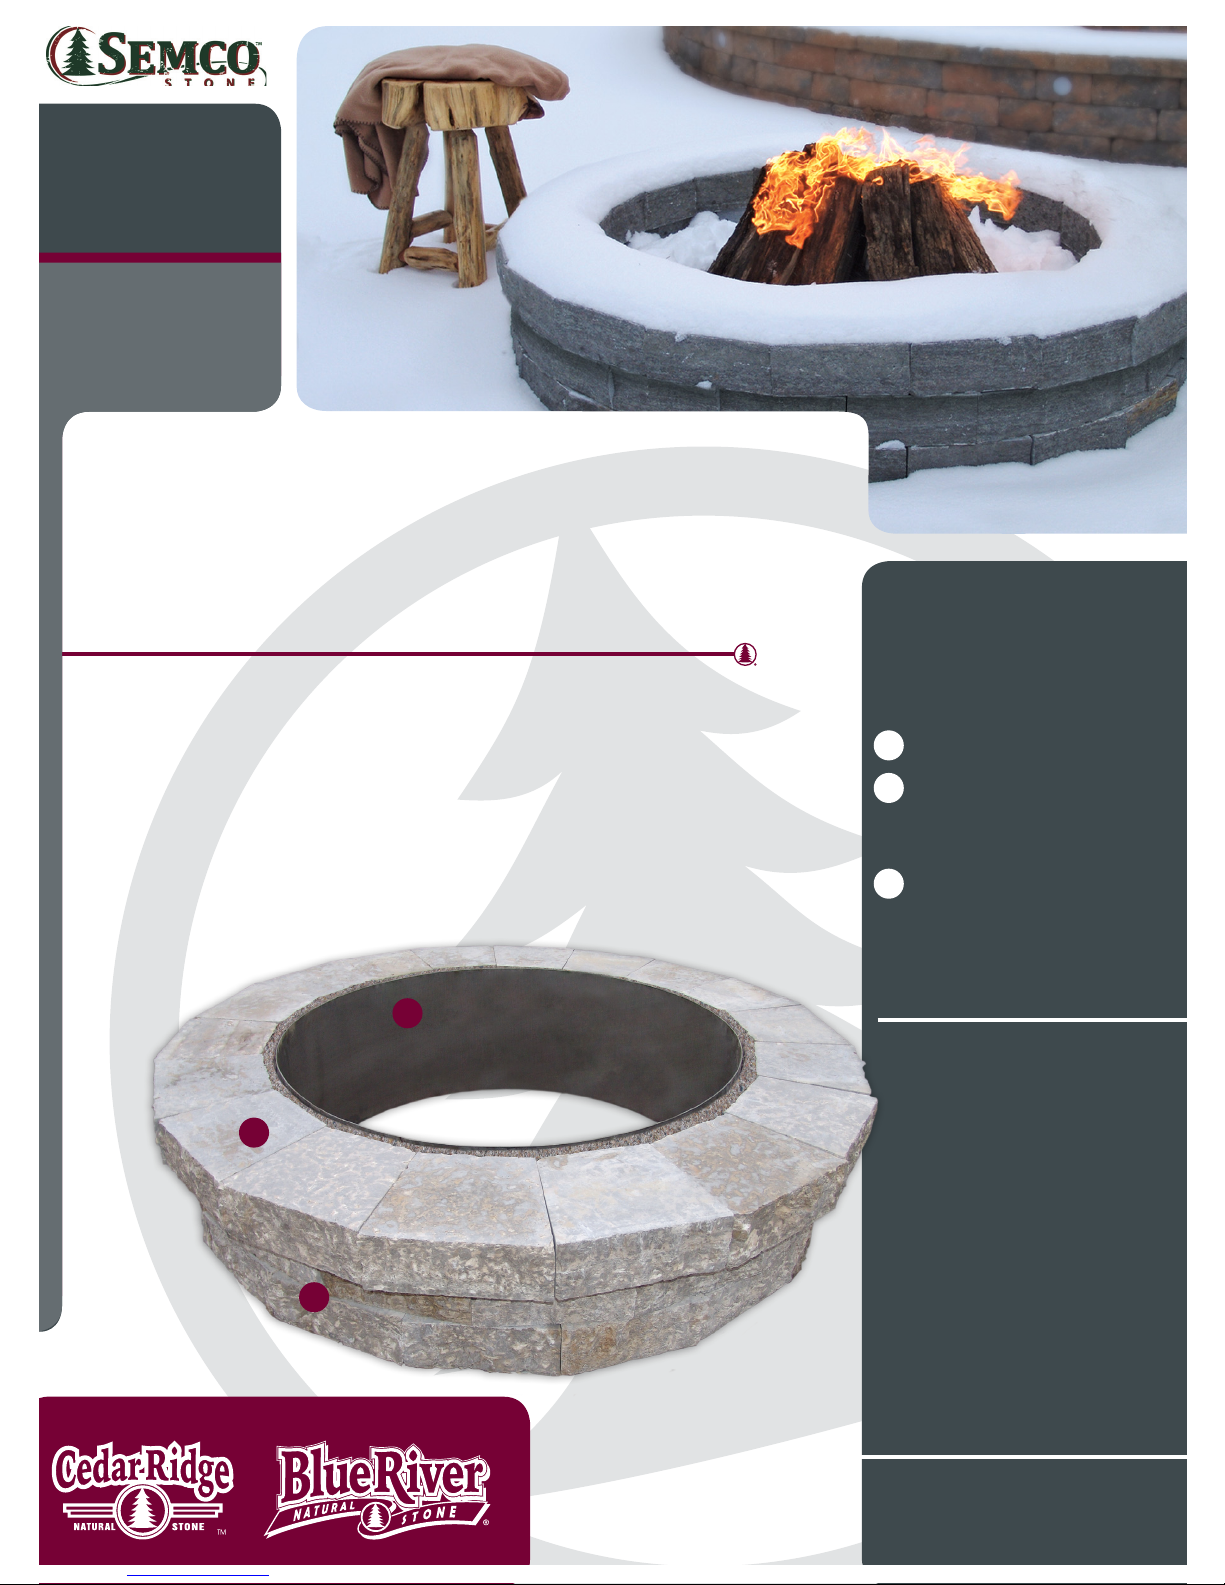
Step 2 - Base Course
29” Fire-Pit has 15 blocks/caps per course, 48” Fire-Pit has 18 blocks/caps per course
Now place the Steel Fire-Ring in the middle of the leveling pad. It will serve as a guide for laying the stone. After
the Steel Fire-Ring is in the desired position, pour a
1
/
2
” - 1” thick layer of sand at least 8” wide around the
outside of the ring. Compact the sand tight. The most important step in the installation process is to make
sure the aggregate & sand are level before you ever begin laying the stone. Place the natural stone blocks
approx. 1” away from the outside face of the Steel Fire Ring to leave room for pouring an insulator of sand.
The outside edge of the stone blocks should be tight against each other. Make sure the stone blocks are in full
contact (ush on the bottom) with the leveling pad. It is critical to use a level to make sure the base course of
stone is perfectly level. You may need to shift or adjust the last few pieces of stone to make the outside edge
t together. There is no need to cut the stone blocks.
C
2009 by Semco Stone
The pictures below are for illustrative
purposes to help demonstrate some
of the critical steps throughout the
Fire-Pit installation process.
As with all open fire equipment, basic safety precautions should be taken with the Semco Fire-Pit:
• Never use this Fire-Pit on a combustible surface such as a wooden deck.
• Fire-pits are intended for outdoor use only. Do not use indoors.
• Fire-Pits burn wood logs only. Do not burn leaves, or other
combustible material.
• Never leave the fire unattended. Keep children and pets at a safe distance.
• Have a fire extinguisher or a garden hose handy while the fire is going.
•Never start or maintain a fire in strong winds.
•Use a safety screen when children are nearby & conditions are dry.
Never use near flammable or combustible materials.
•Never use an accelerant (such as gasoline) or any other combustible liquid
with a Fire-Pit.
• Fire-Pits should be installed within a safe distance away from any homes
or buildings.