Securitytronix ST-HDLED18.5 Manuel utilisateur

19-inch LCD Display Unit
User Manual
ST-HDLED18.5
www.securitytronix.com

1
Thank you for purchasing our product. If there is any question or request, please do not hesitate to contact us.
This manual may contain technical or printing errors, and the content is subject to change without notice.
The updates will be added into the new version of this manual.
For further assistance please contact technical support at 1-800-688-9282, press 3 then 2.

II
Regulatory Information
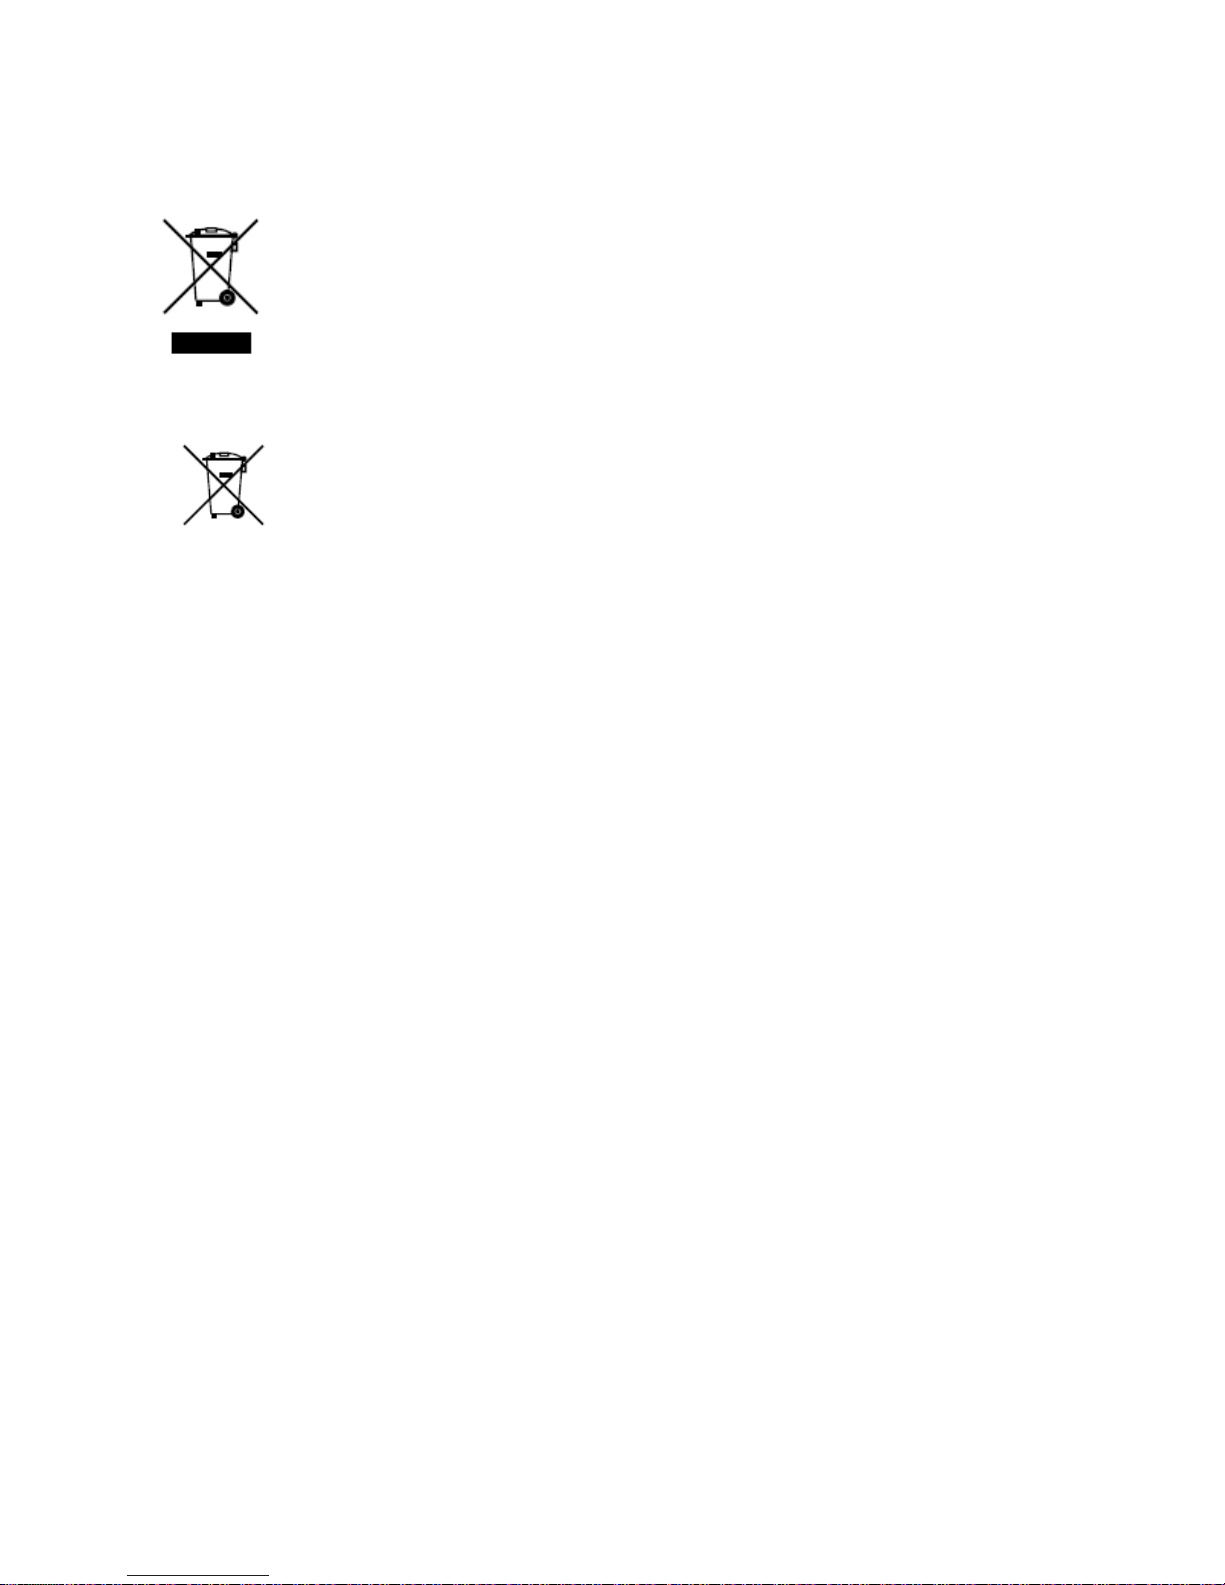
2002/96/EC (WEEE directive): Products marked with this
symbol cannot be disposed of as unsorted municipal waste in the
European Union. For proper recycling, return this product to
your local supplier upon the purchase of equivalent new
equipment, or dispose of it at designated collection points. For
more information see: www.recyclethis.info.
2006/66/EC (battery directive): This product contains a battery
that cannot be disposed of as unsorted municipal waste in the
European Union. See the product documentation for specific
battery information. The battery is marked with this symbol, which may
include lettering to indicate cadmium (Cd), lead (Pb), or mercury (Hg). For
proper recycling, return the battery to your supplier or to a designated
collection point. For more information see: www.recyclethis.info.

III
19-inch LCD Display Unit User’s Manual
This manual, as well as the software described in it, is furnished under license and may be
used or copied only in accordance with the terms of such license. The content of this
manual is furnished for informational use only, is subject to change without notice, and
should not be construed as a commitment.
Except as permitted by such license, no part of this publication may be reproduced, stored
in a retrieval system, or transmitted, in any form or by any means, electronic,
mechanical, recording, or otherwise, without the prior written permission.

1
Chapter1.Introduction
1.1 Key Features
Supports 1366 x 768 resolution
User-friendly operation menu
Three image modes to adapt to different environments
1 channel HDMI 1.3 input interface)
Supports software spread-spectrum technology to reduce EMI radiation
Standby Power Consumption is lower than 0.5W
Viewing Angle:Horizontal 90°, Vertical 65º
1.2 Power Supply Connection
Insert the 3-pin power plug into a properly grounded socket and turn the rocker switch on.
Figure 1.1 Power Input
Power input specification from 100VAC to 240VAC or provide automatic switching
between high line and low line input ranges.
Turn off the main power switch of the display unit, and pull the plug from the power outlet
if the display unit will not be used for a long time.
Never connect the device to DC power.

2
Chapter2.DeviceInterfaces
Figure 2.1 Rear Panel of Device
Interfaces
Description
POWER IN
Power Input
HDMI IN
HDMI Digital Signal Input
VGA IN
VGA Analog Signal Input

3
Chapter3.PanelKeys
Keys on the lower right corner of the display unit panel are shown in Figure 3.1
Figure 3.1 Keys on the Display Unit
The functions of the keys on lower right corner of the display unit vary according to different
situations. The functions are shown in the flow chart below:

4
Chapter4.BasicOperation
4.1 Contrast
T urn on the display unit when the power supply is on
and input source is confirmed.
Press ◄ key of the remote controller to enter the
menu as shown on the right. press ◄ or ► to adjust the
value of contrast. Press MENU to accomplish the
contrast adjustment.
Figure 4.1 Input Source
4.2 Brightness
Turn on the display unit when the power supply is on
and input source is confirmed.
Press ► key of the remote controller to enter the menu
as shown on the right. press ◄ or ► to adjust the value
of brightness. Press MENU to accomplish the
brightness adjustment.
Figure 4.2 Input Source
4.3 AutoAdjust
Turn on the display unit when the power supply is on
and input source is confirmed.
Press AUTO key of the remote controller to enter the
menu as shown on the right(In VGA Signal).
Figure 4.3 Input Source

5
4.4 Main Menu
4.4.1 Image Settings
Purpose:
You can adjust the picture parameters by switching image modes and adjust the values of contrast,
brightness, color temperature, auto adjust, color adjust.
Steps:
1. Press Menu key to enter the main menu interface as shown below.
2. Press MENU key to enter the setting you want.
3. Press ◄ or ► to adjust the value. It applies for adjusting contrast, brightness, color temp and other
parameters.
Contrast, Brightness: Press ◄ or ► to set the contrast. The range varies from 0-100.
Color temperature : Press ◄ or ► to set the color temperature you need.
Gray indicates that under current mode or current input source condition it is not adjustable;
Yellow indicates that it is adjustable.
4.Press AUTO key to return to the main menu after accomplishing the adjustment.
Figure 4.4.1 Image Settings

6
4.4.2 Image Adjustment
Purpose:
When the input source is selected VGA, you can adjust the VGA parameters. It is for adjusting
VGA H position, V Position, clock and phase.
Steps:
1. Press Menu key to enter the main menu interface.
2. Press ◄ key to enter the VGA parameter setting interface. (You can select Auto Adjust and press ◄
or ► to adjust the VGA parameters automatically or adjust it manually)
3. Select H Position and press ◄ or ► to adjust the H Position
4. Select VPosition and press ◄ or ► to adjust the V position.
5. Select Clock and press ◄ or ► to adjust the clock.
6. Select Phase and press ◄ or ► to adjust the phase.
The range of the adjustment varies between 0-100.
7.
Press Menu key to return to the main menu after accomplishing the adjustment.
Figure 4.4.2 Image Adjustment
Table des matières
Autres manuels Securitytronix Moniteur


