Sawo A Generic Manuel utilisateur
Version: 1.5 Note: Above images are for illustrative reference only and may differ from actual item.
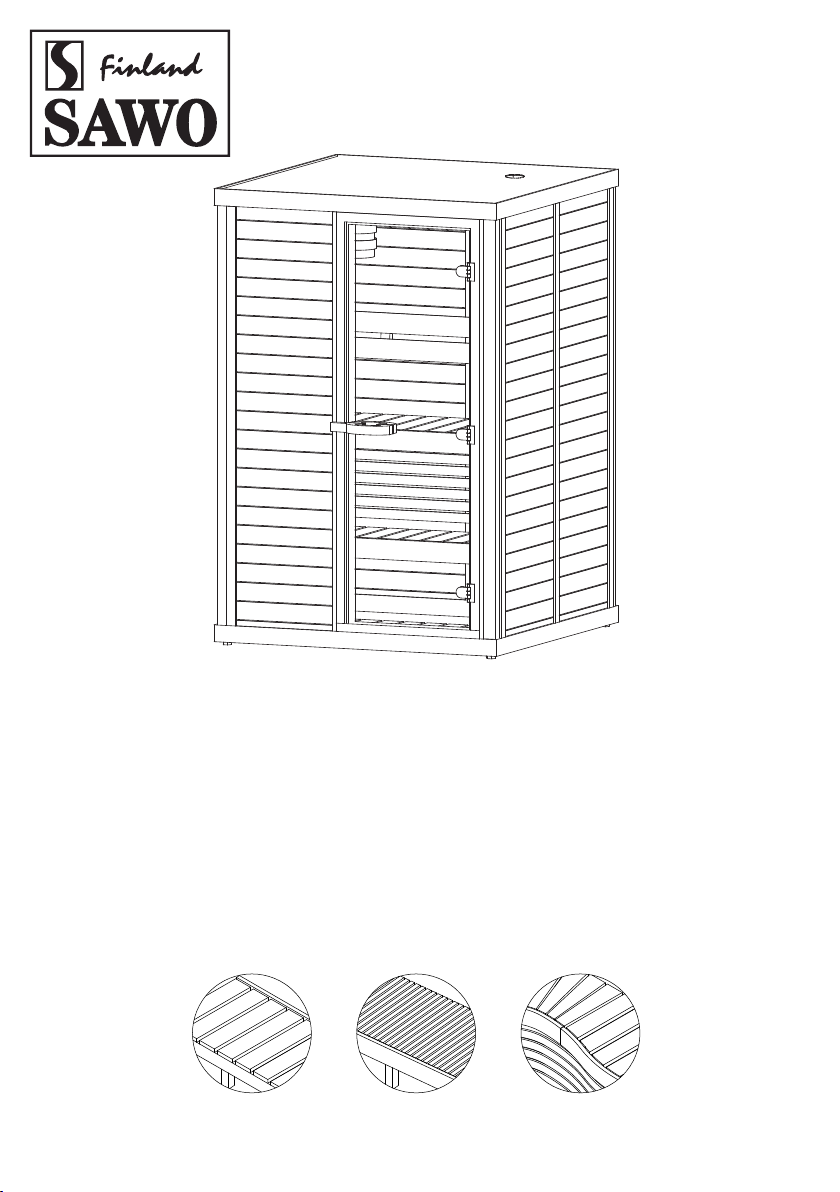
A Generic
Sauna Room
Assembly
Manual
Classic Bench Piano Bench Wave Bench

2
TABLE OF CONTENT
NOTE!
Warranty is not covering damages
which are caused by installing, using or
maintenance of contrary guidelines in
this manual. Contact for your retailer in
warranty questions.
Parts List Exterior and Interior.........................................................3
Parts List Interior (L-type Bench) .....................................................4
Parts List Interior (Wave-type Bench)...............................................5
Screws for Room Exterior and Interior .............................................6
Wall Assembly ...............................................................................7
Ceiling Assembly ............................................................................9
Moulding Installation Sequence ..................................................... 10
Interior Furnishes Assembly .......................................................... 12
Interior Furnishes Assembly (Bench Support) ................................. 14
Interior Furnishes (Bench Covers).................................................. 15
Electrical Layout........................................................................... 16
Sauna Maintenance ...................................................................... 18

3
Note: Above images are for illustrative reference only and may differ from actual item.
1
2
2
3
4
5
6
8
7
3
3
3
1
2
3
7
4
5
6
7
8
10
11
12
9
Parts List Exterior
Parts List Interior
1. Ceiling Assembly
2. Wall Elements
3. Exterior Mouldings
4. Top Exterior Mouldings
5. Bottom Exterior Mouldings
6. Main Base Frame
7. ABS Bolt Leveler
8. Door Set
1. Back Rest
2. Top Bench Cover
3. Top Bench Frame
4. Bench Siding
5. Lower Bench Cover
6. Lower Bench Frame
7. Bench Supports
8. Flooring
9. Collapsible heater guard
10. Internal Mouldings
11. Internal Top Mouldings
12. Internal Bottom Horizontal Mouldings

4Note: Above images are for illustrative reference only and may differ from actual item.
1
2
34
5
5
5
66
77
5
3
33
4
4
4
21
6
7
1. Upper Bench Cover 1A
2. Upper Bench Cover 1B
3. Upper Bench Frame 1A
4. Upper Bench Frame 1B
5. Diagonal Support
6. Bench Siding
7. Upper Bench Support
1. Lower Bench Cover 2A
2. Lower Bench Cover 2B
3. Lower Bench Support Frame 2A
4. Lower Bench Support Frame 2B
5. Collapsible Heater guard
6. Sauna Flooring
7. T-Support
(L-type Lower Bench)
Parts List Interior (L-type Bench)
*For larger sauna room.
Diagonal Support
T-Support
Classic Bench Piano Bench

5
Note: Above images are for illustrative reference only and may differ from actual item.
1
4
2
3
5
6
6
7
8
3
1
2
3
4
4
4
5
6
7
7
8
Parts List Interior (Wave-type Bench)
*For room with wave design benches.
Parts List Interior (L-type Wave Bench)
*For room with larger wave design benches.
1. Upper Bench Cover
2. Upper Bench Frame
3. Upper Bench Support
4. Lower Bench Cover
5. Lower Bench Frame
6. Lower Bench Support
7. Bench Siding
8. Collapsible heater guard
1. Back Rest
2. Upper Bench Cover
3. Upper Bench Frame
4. Upper Bench Support
5. Lower Bench Cover
6. Lower Bench Frame
7. Lower Bench Support
8. Bench Siding

6Note: Above images are for illustrative reference only and may differ from actual item.
6RM08-027 /
6RM08-919
Door Jamb
Vertical Moulding
42mm thick
Vertical Moulding Small
22mm thick
Horizontal Moulding
75mm wide
6RM08-123 /
6RM08-109 /
6RM08-951
6RM08-123 /
6RM08-109 /
6RM08-951
6RM08-123 /
6RM08-109 /
6RM08-951
6RM08-123 /
6RM08-109 /
6RM08-951
6RM08-123 / 6RM08-109 /
6RM08-951
568
Screw Cap Door Jamb
ABS Bolt Leveler
Twist to adjust
height
6RM08-032 / 6RM08-921
Bench Siding
6RM08-125 / 6RM08-923
Upper and Lower Bench Frame
6RM08-125 / 6RM08-923
Upper and Lower Bench Support
6RM08-032 / 6RM08-921
Heater Guard
6RM08-036 / 6RM08-920
Back Rest
4SRC5-002
Screw Cap for Back Rest
Corner Moulding
Vertical Moulding
42mm thick
6RM17-002
Cam Lock Bolt
Screws for Room Exterior
Screws for Room Interior

7
Note: Above images are for illustrative reference only and may differ from actual item.
1
23
4
FitFit
Use Leveler to make the
frame leveled.
Optional.
After the base frame is leveled, t in the ceiling
assembly on the base frames to check if it ts nicely
and leveled (great help after wall assembly).
Do not seal the gap underneath the base frame. The gap is the
passage way of the fresh air inside the sauna room.
Make sure the nish ooring where the sauna room will be placed is
water proof with incline oor towards the drain.
Twist ABS BOLT to adjust
height.
Wall Assembly
Insert cam lock bolts on wall panels.
Cam Lock Open
Side View
Cam Lock Close
6RM17-002
Cam Lock Bolt
For big sauna room base
frame connection.
No. 1 is underneath the
door and numbers increase
clockwise.
Connect base frames according to their corresponding numbers.
01
02
Make sure cam lock
is in open position
Cam Lock Bolt

8Note: Above images are for illustrative reference only and may differ from actual item.
Wall1
Wall2
Wall3
Wall 4 Wall5
Wall6
Wall7
Wall 1
Wall 2 Wall 3
Screw Cap
for door jamb
Wall Assembly
Attach wall panels according to their label. Take note of the grooves direction
(arrow direction).
Secure walls with cam locks.
04
Secure door jamb with screws then cover with screw caps.
05
Before moving on to securing the next wall element, make sure that both cam locks
are properly secured.
See door handle manual
Isometric View
Plan View
Tongue and Groove
Secure jamb from
both sides
03
Allen Wrench
6RM08-027 /
6RM08-919
Door Jamb Screw
568
Screw Cap Door Jamb

9
Note: Above images are for illustrative reference only and may differ from actual item.
Attach ceiling assembly via tongue to
Groove.
06
Attach all mouldings in sequence. (External, internal, top and bottom).
07
Check that the
ventilation hole
is in the right
position (refer
to plan drawing
for ventilation
location).
At this stage make sure all internal mouldings are attached as it will
be hard to do once the benches are installed.
*Ceiling assembly for big sauna room
(more than 1 ceiling)
Ceiling to ceiling connection side view
Interior ceiling moulding
Ceiling Assembly
Vertical Moulding
42mm thick
Vertical Moulding
Small 22mm thick
Vertical Moulding
42mm thick
Horizontal Moulding
75mm wide
6RM08-123 /
6RM08-109 /
6RM08-951
6RM08-123 /
6RM08-109 /
6RM08-951
6RM08-123 /
6RM08-109 /
6RM08-951
6RM08-123 /
6RM08-109 /
6RM08-951

10 Note: Above images are for illustrative reference only and may differ from actual item.
Moulding Installation Sequence
From the inside, follow the sequence below.
7.1
Internal top mouldings
Internal horizontal bottom
mouldings
Internal corner mouldings
Internal wall mouldings
Internal Top Moulding
Corner Moulding
Vertical Moulding
42mm thick
Horizontal Moulding
75mm thick
6RM08-123 /
6RM08-109 /
6RM08-951
6RM08-123 /
6RM08-109 /
6RM08-951
6RM08-123 /
6RM08-109 /
6RM08-951
6RM08-123 /
6RM08-109 /
6RM08-951
1
2
3
4
Table des matières
Autres manuels Sawo Produits de plomberie


