Roadhawk Ride RIDE Bullet Camera system Manuel utilisateur

USER MANUAL
RIDE
DIGITAL RIDER PROTECTION CAMERA

02
Contents
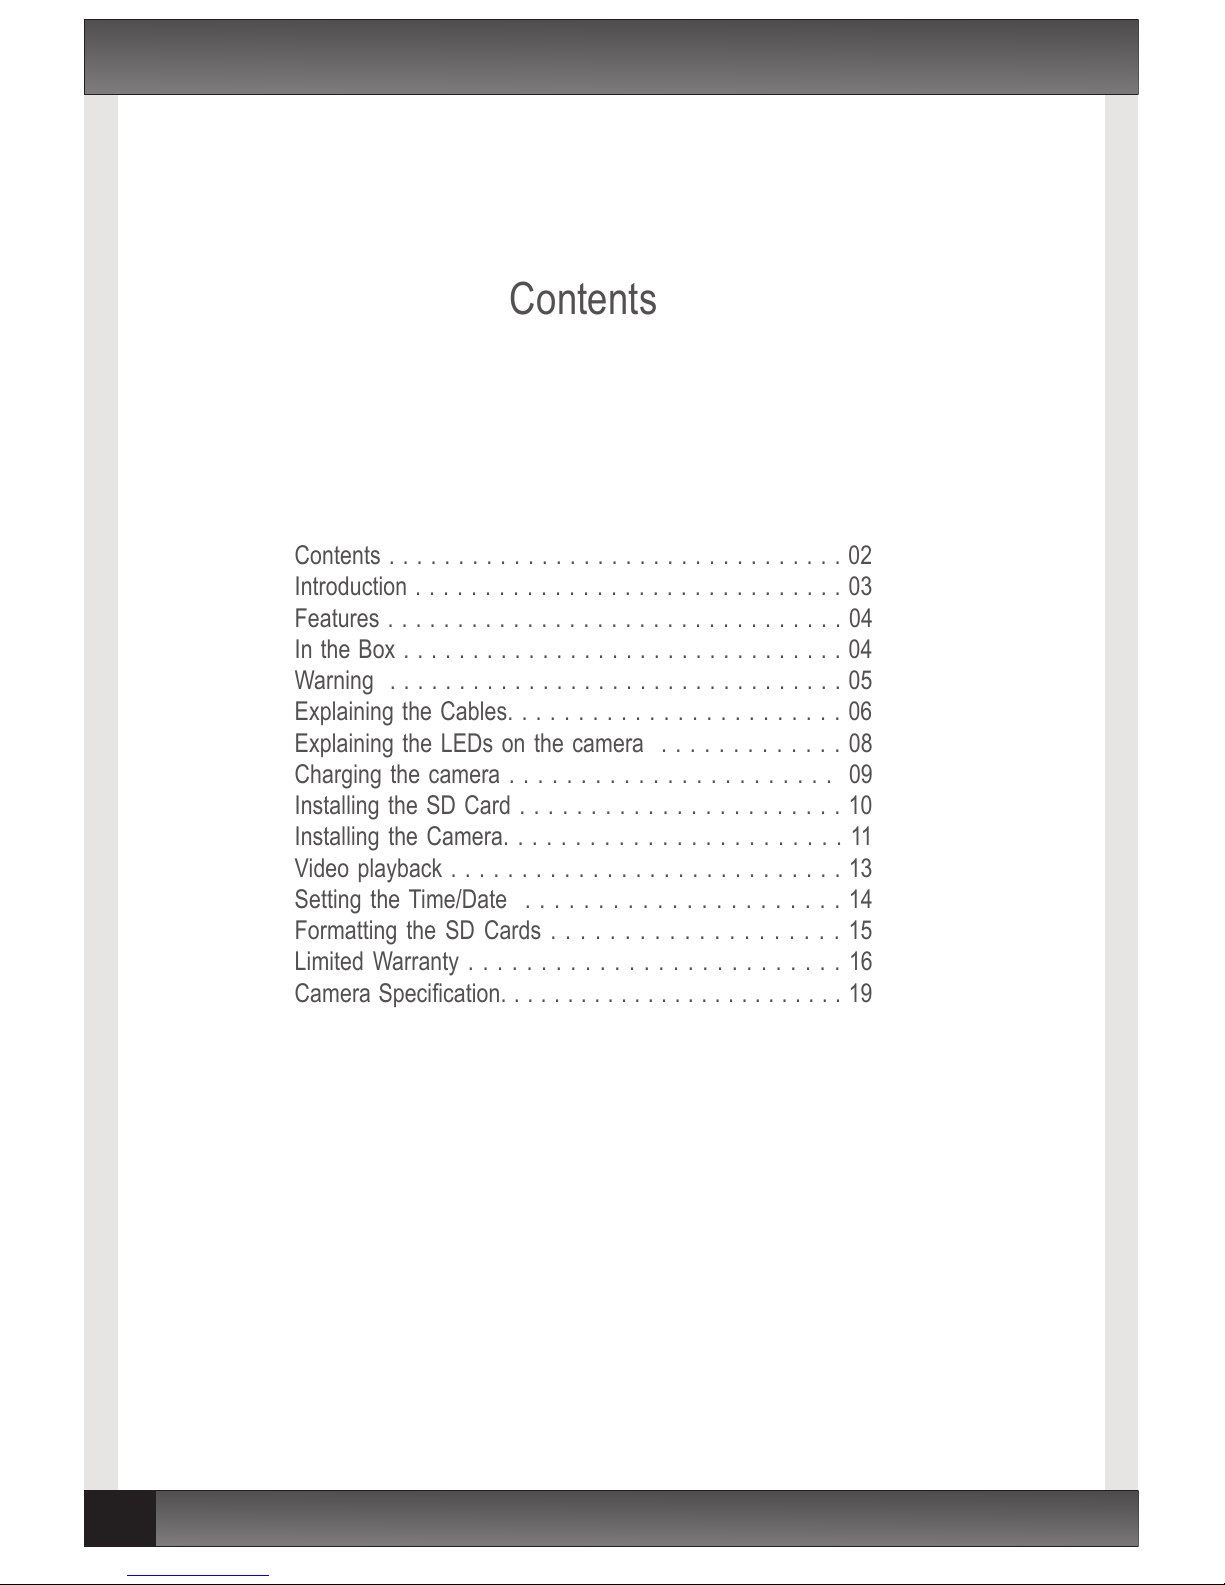
Contents
Contents . . . . . . . . . . . . . . . . . . . . . . . . . . . . . . . . . 02
Introduction . . . . . . . . . . . . . . . . . . . . . . . . . . . . . . . 03
Features . . . . . . . . . . . . . . . . . . . . . . . . . . . . . . . . . 04
In the Box . . . . . . . . . . . . . . . . . . . . . . . . . . . . . . . . 04
Warning . . . . . . . . . . . . . . . . . . . . . . . . . . . . . . . . . 05
Explaining the Cables. . . . . . . . . . . . . . . . . . . . . . . . 06
Explaining the LEDs on the camera . . . . . . . . . . . . . 08
Charging the camera . . . . . . . . . . . . . . . . . . . . . . . 09
Installing the SD Card . . . . . . . . . . . . . . . . . . . . . . . 10
Installing the Camera. . . . . . . . . . . . . . . . . . . . . . . . 11
Video playback . . . . . . . . . . . . . . . . . . . . . . . . . . . . 13
Setting the Time/Date . . . . . . . . . . . . . . . . . . . . . . 14
Formatting the SD Cards . . . . . . . . . . . . . . . . . . . . 15
Limited Warranty . . . . . . . . . . . . . . . . . . . . . . . . . . 16
Camera Specification. . . . . . . . . . . . . . . . . . . . . . . . . . 19

Introduction
03
RIDE
Thank you for purchasing the RoadHawk RIDE Bullet Camera system.
This camera has been designed to record your journey capturing both video and
audio that could be used as evidence in the event of a road traffic accident.
The RoadHawk RIDE is a waterproof bullet camera system that records on a
constant loop in 5 min segments. At the end of each 5 minute file, the camera saves
the file to the SD card and starts to record the next file without any gap in between.
Once the SD card is full, the camera will start to erase the earliest files and continue to
record new files. It will do this until either camera is turned off or the internal battery is
depleted.
The RoadHawk RIDE uses around 4gb of memory for every hour of video recorded
and so the 8GB card supplied will always hold approximately the last 2 hours of your
journey. The camera is compatible with MicroSD cards up to 32gb (min Class 4) for
holding more video. We recommend quality, branded Class 6 cards for optimum
stability of the system.
Because the camera records on a constant LOOP, it is not necessary to keep
deleting your video files from the memory card. It is recommended though that you
regularly format the SD card to keep it in good condition. Information about formatting
your SD card can be found on page 15 of this manual.
The camera is designed to work automatically. As soon as it receives power from an
external power source it will turn on and start recording. Once the power is removed,
the camera will stop recording and turn off. This allows the user to connect the camera
either to a vehicle’s accessory socket or an ignition LIVE 12v supply and the camera
will act as a black box when you start the vehicle.
The RoadHawk RIDE also has a built-in Li-Poly battery that can record for approx. 90
minutes. If your journeys are short then you can use the camera purely on its own
battery without connecting it to an external power source.
The operation of the camera can be overridden using the single silver button on the top
of the camera. A short press will start it recording; a longer press will stop it from
recording and turn the camera off.
Introduction

04
Features / Box Contents
● 720p High definition video and audio
● Wide angled 135 degree lens
● Waterproof design
● Loop recording
● Time/Date Stamp
● One button operation
● Internal Battery (90 minutes record time)
● External power input
● USB and Hardwiring 12v Power Kit supplied
● Helmet and Bike Mounts Supplied
● 8GB MicroSD Card Supplied
● RoadHawk Ride Bullet Camera
● 8GB MicroSD Card and adapter
● Camera Locking Clamp
● Rotating camera mount
● Curved/Helmet Camera Mount
● Flat Camera Mount
● Camera Cable
● Camera Extension Cable
● USB Cable
● USB Accessory Socket Plug
● Hard Wiring Kit
● User Manual
● Spare O-Rings
● Rear Audio Cap
● Fixed Camera Cradle (low profile)
● Velcro Goggle Mount
● Velcro and Adhesive Strips
● Camera Tether
● Head Band Mount (elastic)
● OPTIONAL: 2 meter power extension cables
Features
Box Contents

WARNING
05
RIDE
The RoadHawk RIDE camera always records video on a constant loop. It records
video and audio in 5 minute segments. When the SD card becomes FULL the camera
will start to record over the earliest files. If you are involved in an accident or you
capture some footage that you want to keep then you must be prepared to turn the
camera OFF. Failing to do this will result in the camera eventually overwriting the video
you want to keep. It is a good idea to carry spare SD memory cards with you for such
an occasion
The 8GB Micro SD card supplied with this camera will typically hold around 2 hours of
video before it starts to loop.
Formatting the SD Card: Although the camera will record on a constant loop, we
recommend formatting the SD card from time to time depending on how much you use
the camera. For instance; if you use the camera for 3 hours a day then you should aim
to format the SD card on a weekly basis. Formatting the SD card will wipe everything
from the card. It is important to do this to ensure the file system does not become too
fragmented. A guide on how to format your SD card can be found at the end of this
manual.
WARNING

06
Explaining the Cables
Cables
1. Camera Cable
4. Camera Extension Cable
2. USB Cable
3. Hard Wiring Cable
1. The camera cable connects to the rear of the camera and provides a connection for all
of the other cables supplied in the kit.
2. The USB cable connects to the camera cable and allows you to connect the camera to
a computer or to any USB power supply or battery.
3. The hard wiring cable connects to the camera cable and allows you to connect to any
12v power supply. Used for connecting to bike/car ignition power circuit.
(contains an inline fuse for protection and a 12v regulator)
4. The camera extension cable connects to the camera cable. You can then connect the
other cables to the end of this cable if you require a longer cable run.
(several camera extension cables can be linked together for even longer cable runs)

Explaining the Cables
07
RIDE
The RoadHawk Ride camera can be powered from its own internal battery for around
90 minutes before it will require charging again. To operate the camera in this way
please use the waterproof rear cap and ensure it is fitted correctly to retain the
camera’s waterproof properties.
If you want to power the camera for longer you have three options;
1: Connect the camera cable to the back of the camera and the USB cable to the other
end of the camera cable. You can now power the camera from any USB power supply
or portable battery.
2: Connect the camera cable to the back of the camera and the USB cable to the other
end of the camera cable. Connect the USB cable to the car accessory USB plug to
power the camera from any vehicle 12v accessory socket.
3: Connect the camera cable to the back of the camera and connect the hardwiring
cable to the other end of the camera cable.
The hard wiring cable is a fused, bare wire harness for connecting the camera in to any
12v supply. Use this configuration to hard wire the camera to a bike or car’s 12v power
supply. Ensure you use the correct polarity before making the connection. The wire
with the fuse should be connected to igniton LIVE.
If using the hard wiring kit you should connect it to the ignition LIVE rather than a
permanent LIVE cable. This way the camera will only turn on and start recording when
you turn the vehicle’s ignition on. If you connect it to a permanent LIVE then the
camera will be running 24/7. This will draw power from your vehicle’s battery, reduce
the life expectancy of your SD card and will increase the risk of the camera erasing
footage you might want to keep.
To connect the camera to a computer connect the camera cable to the rear of the
camera and connect the USB cable to the other end of camera cable. Plug the camera
in to your computer and it will act as an SD card reader where you can view, copy and
delete the files on the SD Card. The camera will also charge its internal battery when
connected to a computer. If nothing happens when you connect the camera to your
computer, press the silver power button to turn the camera on.
Explaining the Cables

08
Explaining the Camera’s LEDS
Camera’s LEDs
1. The camera has three small coloured LEDs positioned at the front of the camera
near to the lens.
RED = Charging internal battery
GREEN = Internal Battery fully Charged
RED/BLUE flash = Camera is recording video
RED/BLUE/GREEN flash = SD Card Error
If the camera flashes RED/BLUE/GREEN and then goes off within a few seconds then
make sure the SD card is fully inserted. Check the SD card has been formatted.
Check the camera has been fully charged or connect the camera to a power supply.

Charging the Camera
09
RIDE
Whenever the camera is connected to an external power supply, either an external
battery, a car accessory socket, a USB mains charger or a computer, the camera will
start to charge its internal battery. The RED LED will blink when charging and go
GREEN when it is fully charged.
You can also use many modern USB phone chargers to charge the battery inside the
RoadHawk RIDE camera.
A full charge from flat will take 2 to 3 hours. It is not possible to over-charge the battery
in this camera.
* When you connect the camera to a power source to charge the internal battery, the
camera will turn on and start recording. You can turn the camera off by pressing and
holding the silver power button. When connecting to a computer, the camera will
charge but will not start recording automatically.
The camera will charge quicker if it is not recording.
Charging the Camera

10
Installing the SD Card
1. Insert the Micro SD card with the text on the card facing UP and the electrical contacts
facing downwards and inwards.
2. Do not force the Micro SD card in to place. Gently push it with your finger nail.
3. Push the Micro SD card in to the camera until it clicks in to position.
4. The Micro SD card will be flush with the camera when it is fully inserted.
5. The Micro SD card will not protrude from the rear of the camera when fully inserted.
Ce manuel convient aux modèles suivants
1
Table des matières