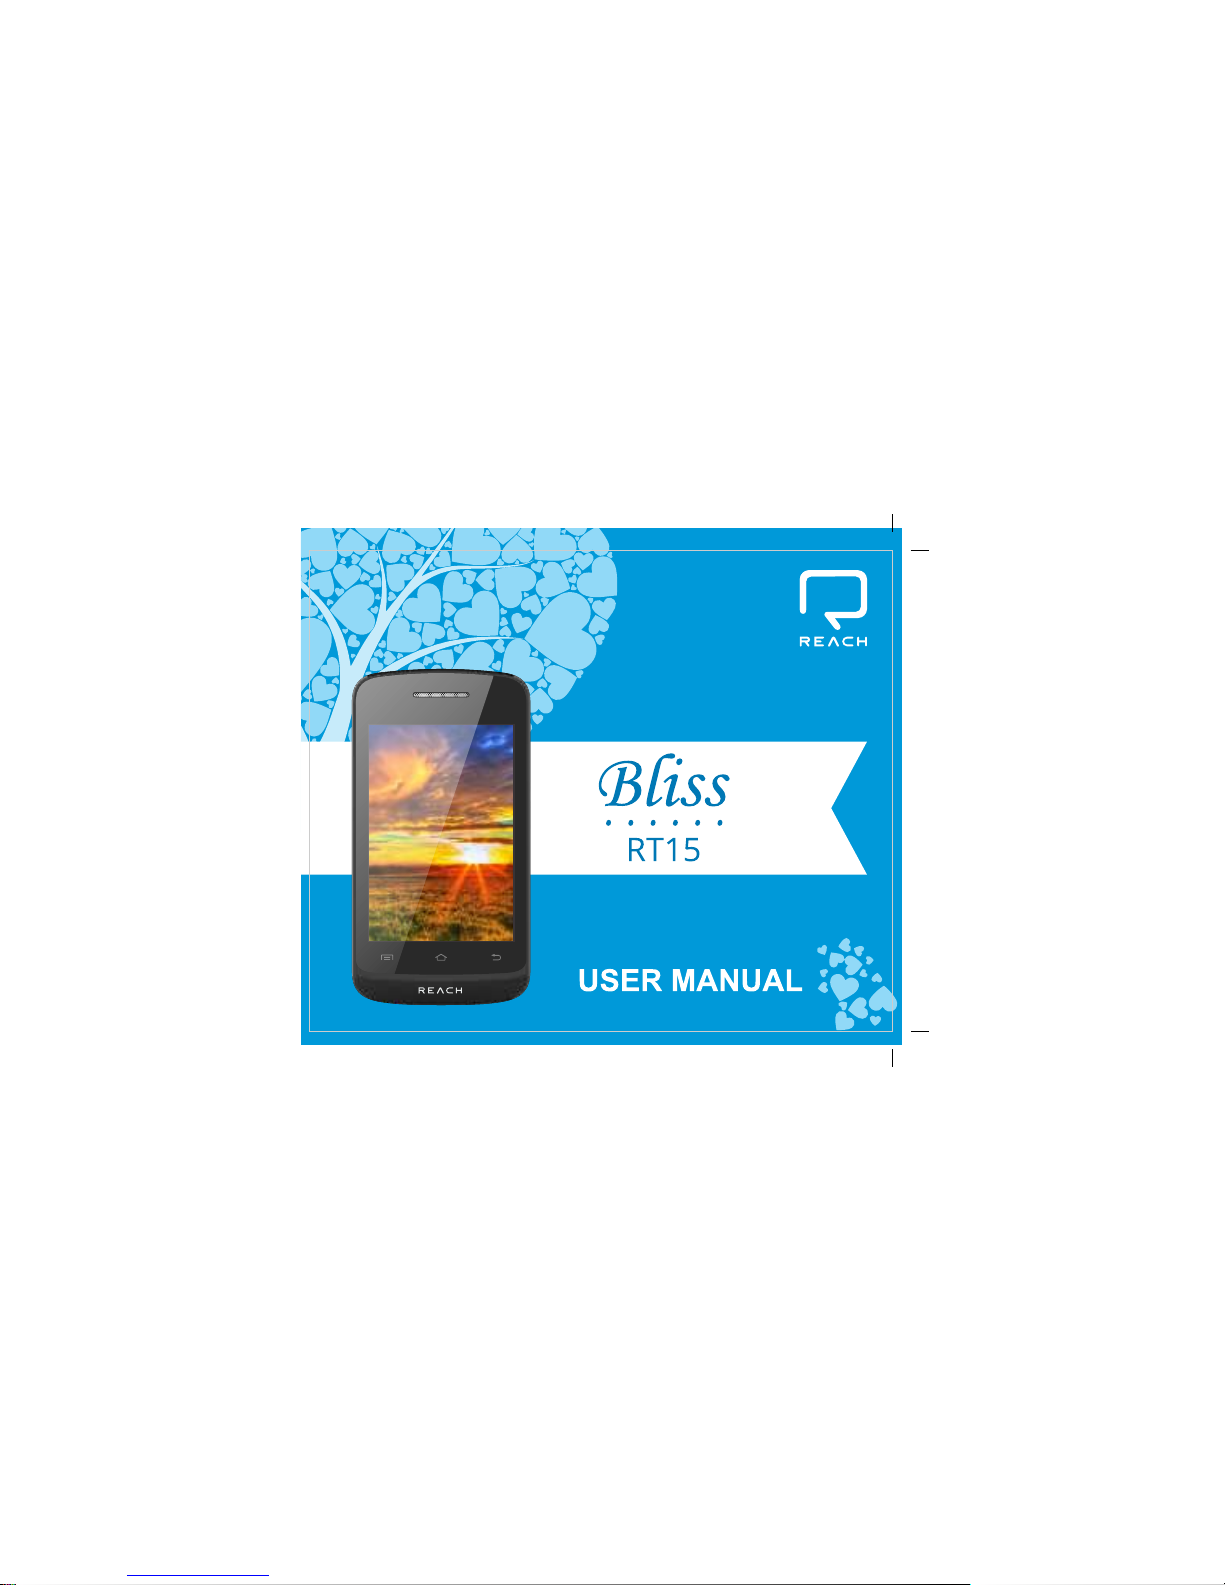
Reach Bliss RT15 Manuel utilisateur

CONTENTS
Contents…………………………..……………………………………………...1
Welcome……………………..…………………………………………………..5
Safety Precautions ........…………..…………………………………………………..6
Appearance………………..……………………………………………………..8
Introduction……………..………………………………………………………..8
Battery Charging……………..………………………………………………...11
Secure Password………………..……………………………………………..12
1.1 Power On / Off.........……….…..…………………………………………..13
1.2 Call……….…...………………………………………………………....14
2.Main menu functions……..…………………………………….…………18
2.1 Message…………...……….…………………………………..19
2.2 Contacts………..………………………………………………….. 23
2.3 Java……………..…………………………………………………..25
2.4 Games…………..………………………………………….………25
2.5 Call logs…………..……………………………………….………25
2.6 Setting……………..………….……………………….……………27
2.7 U menu……………..………….……………………….…………..37
2.8 Screen lock………..……………………………………….………37
2.9 Internet………………..……….……………………….…………..37
2.10 Camera………………..……….……………………….…………39
2.11 Video record…………..…………………………………………..40
2.12 Torch……………………..….……………………….……………41
2.13 Profiles…………………..…….……………………….………….41
2.14 Calendar………………………………………………..………....42
2.15 Audio…………………………………………….…..…………..43
2.16 Video………………………………………………..……………..43
2.17 KingMovie……………………………………….....……………..44
2.18 Ebook…………………………………………..…..……………..44
2.19 My files………………………………………..…………………..45
2.20 Bluetooth……………………………………..…….……………..45
2.21 Image………………………………………..……...……………..46
2.22 FM radio…………………………………..………..……………..46
2.23 Calculator………………………………..………………………..48
2.24 Recorder………………………………..………….……………..48
2.25 Clock……………………………………..………………………..49
2.26 Local Search…………..…………………………..……………..50
2.27 Unit Conversion………..…………………..……………………..50

2.28 Backup………………..…………………….……………………..50
2.29 STK…………………..……………………..……………………..50
2.30 Memo…………………..…………………..……………………..50
2.31 Opera Mini……………..…………………..……………………..50
2.32 System swith……………..………………..……………………..51
2.33 Ucamera…………………..……………….……………………..51
2.34 Mobile tracker……………..……………….……………………..51
Care and Maintenance………………..……………..……………………..51
Battery Handling Precautions…………….……..………………………..51
Mobile Maintenance……...……....…..…………………….……………..53
Welcome
Thank you for choosing Reach RT15 Handset.
Reach RT15 Handset can access a variety of international networks. Allows you to
make and receive international calls, the same as in their home use. However, in
using the Internet to provide these advanced features, you must first apply for the
required services.
To better use your phone, please read this manual carefully in order to make full use
of its various functions.
Note: In view of the mobile phone network configuration, and the services provided,
some functions may not be allowed to use, please ask your dealer or network
operator for details.
CAUTION: For because the user does not comply with these
recommendations or the consequences of misuse of mobile phones, the
manufacturers no responsibility.
Note: If the upgrade involves, without notice. The company has a right of final
interpretation of this manual.
Safety Precautions
Please read these simple guidelines and to comply with these rules, and guard
against dangerous or illegal. This manual provides detailed information about the
security.

Traffic Safety : While driving, do not use the device. This device is not installed car
phone, if you want to use, you should first parked vehicles.
When refueling shutdown: at the gas station or near flammable materials and
chemicals place, do not use the phone.
SWITCH OFF WHEN plane: While boarding or in flight, you must turn off the
phone, use the phone in aircraft is illegal.
In the hospital should be shut down: Please comply with the relevant rules and
regulations to avoid medical devices (such as pacemakers and hearing aids, etc.)
use the phone near.
Interference: All mobile phones may be due to the interference of radio waves
affect call quality.
Rational use: only in the normal position (toward the ear) use the phone. The
phone is built-in antenna, do not touch the top of the phone by hand for no reason,
if your fingers touch the antenna part of the shell, it will increase power consumption
and affect call quality.
Professional Services: Only qualified service personnel must install or repair this
phone.
Connect to other devices: connect another device, read its user guide for detailed
safety instructions, do not connect incompatible products.
Accessories: Use only the specified batteries and accessories, as this may
damage the phone.
Child Safety: the phone and its accessories in place of the reach of children.
Appearance

Introduction
Installation of the SIM/TF Card
Please install the SIM/TF card before using your phone.
Note: Please keep the SIM card out of the reach of children. The SIM card and its
contact are easily damaged due to scratching or bending. Please be cautious when
carrying, installing or taking out the SIM card. The SIM card is obtained through
your service provider.
To insert SIM/TF card(s):
1. Switch off the mobile phone and remove the rear cover.
2. Insert the SIM/TF card(s)
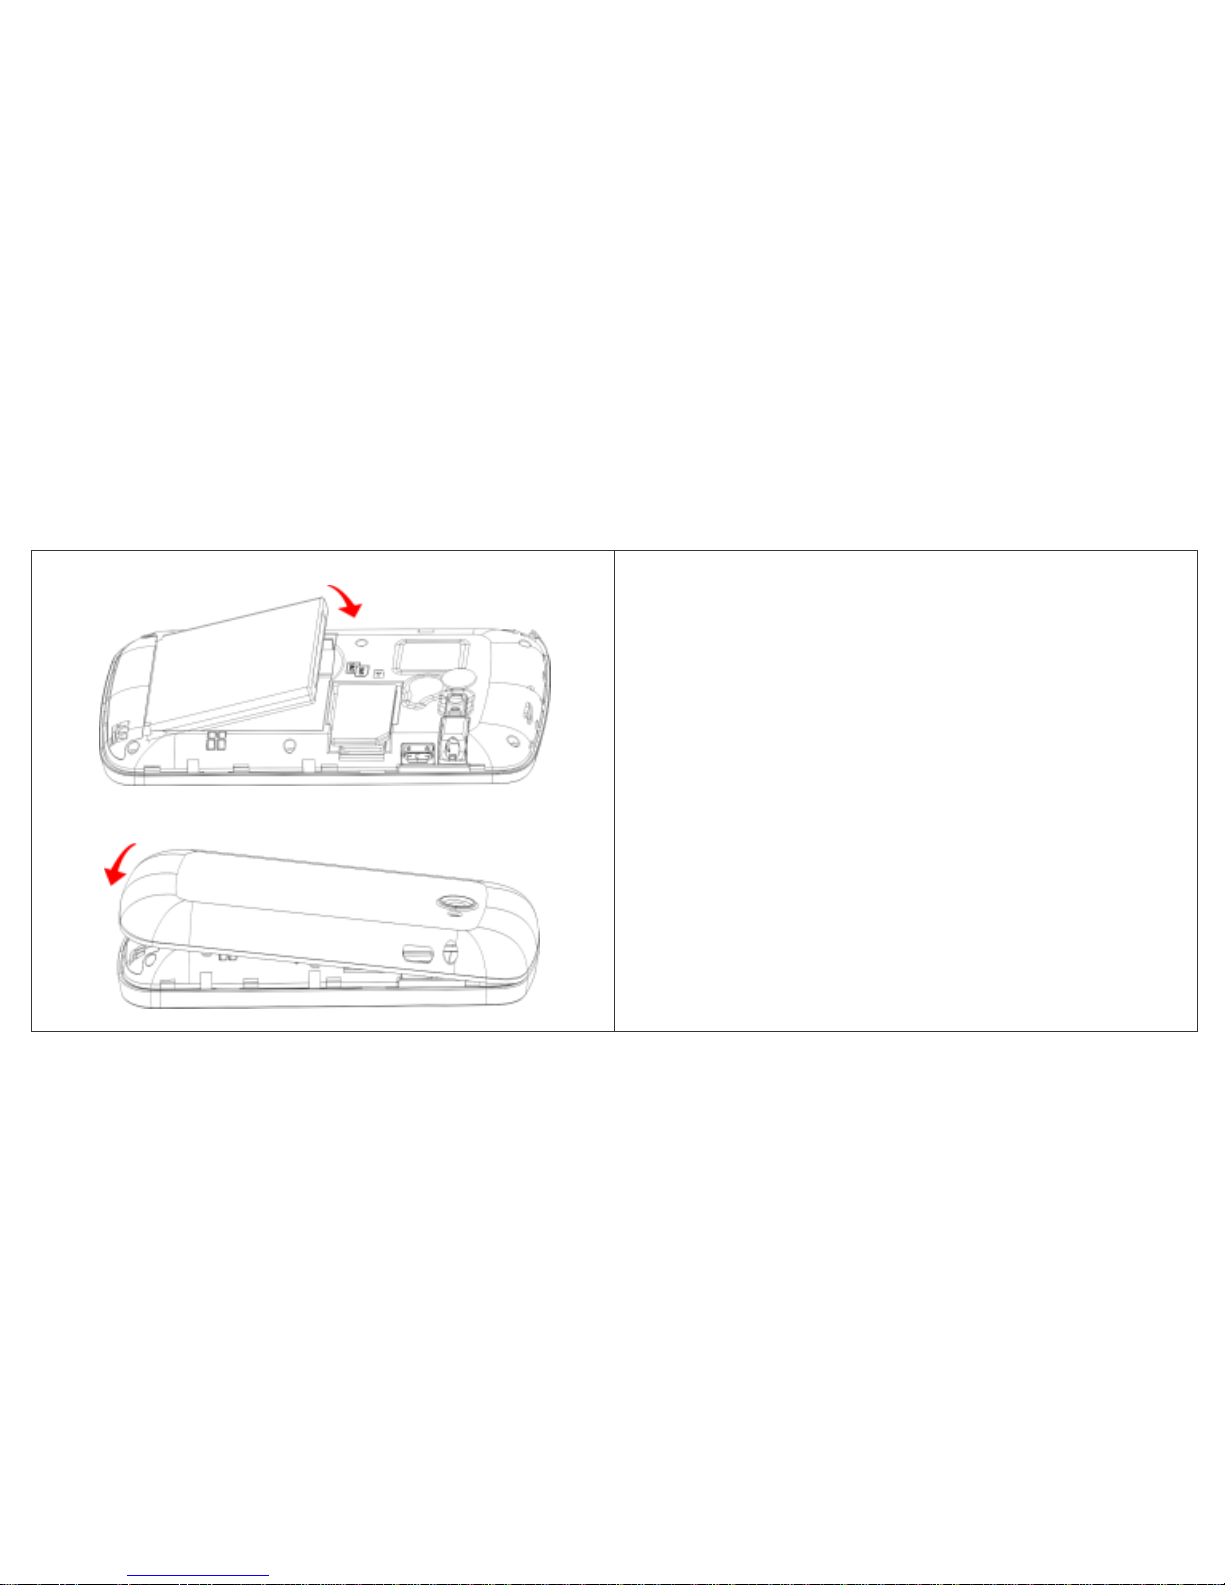
3. Insert the battery
4. Place the rear cover of the mobile phone and power on.
Battery Charging
Charging:Plug one end of the charger into the phone at the left of the attachment
interface, and the other end into a power outlet.
Battery strength icon indicates charging has started rolling streaks, when stripes fill
the entire icon and stop scrolling indicate charging has been
completed. If the phone off and charger connect, the screen displays the battery
strength icon scrolling, which means that the phone is charging.
When the battery is low, the phone screen displays a warning message. Power is
low, the phone automatically turns off. Do not leave the battery in low battery
condition; otherwise it will undermine the quality and life of the battery.
When the battery voltage is too low, the phone will have a pre-charging process; this
time without charging phone may prompt a normal phenomenon.

To ensure the phone works, be sure to use the specified charger.
During charging, do not directly remove the battery.
When charging, be sure to put an ambient temperature of 0 ~ 45 ventilated
place.
Secure Password
PIN code: This is your SIM card's personal identification number, PIN code is
usually supplied with the SIM card provided by your network operator.
PIN2 code: PIN2 code supplied with some SIM card is also provided by the
network operator.
If you enter the wrong PIN code (SIM card will be locked), and PIN2 code, need to
enter the corresponding PUK and PUK2 code to unblock it, please contact your
network operator.
PUK code: change a blocked PIN code requires that private PUK code to unlock
the password. PUK code is provided with the SIM card. Otherwise, please contact
your network operator for the password. If you lose this password, please also
contact your network operator.
1. Common Functions
1.1 Power On / Off
1. Long press the switch button on or off your phone.
2. This machine supports two GSM network SIM card. When the phone is
inserted into the two SIM cards, and is turned SIM card PIN code, then enter the
correct boot need a SIM card PIN and to determine only open the phone.
3. mobile phone is turned on, it will automatically search the network, if the network
search to the authorization on the screen will show the network name and signal
strength (network name and signal strength as the startup type and signal strength
SIM card dependent); if the search does not to authorize the network, the phone can
only use some non-emergency calls or other communications functions.
1.2 Call
Standby interface, click on the bottom left of the interface dial icon to enter the
virtual keyboard dialing interface, just click the number buttons to enter the phone
number you want to call, click the Delete button to delete a wrong number, long click
the Delete button you can delete all entered digits, Click Dial key to make the call.

During a call, pull the bottom of the screen in the middle of [dialpad] enter dial
interface, you can enter the number of new calls.
Landlines Extension: Some fixed telephone extension can not be directly dialed,
you need to dial switchboard, and then continuously click [*] key until the screen
displays "P / W" (pause / wait), dial extension number.
International calls: To make an international call, you can continuously press the
* key until international telephone prefix symbol "+", which will allow you do not
know the local international telephone prefix number (for example, in China is 00)
from any one time National call.
1.2.1 Answer or reject a call
Answering Phone:
there is an incoming call, press the dial button to answer.
If the headset is plugged in, you can by pressing the button on the headset to
answer the call.
To reject a call:
There is an incoming call, press the HOME key or click the [Hang up] to reject a
call.
1.2.2 End Call
During a call, to end the call, press the End key or click hang up to end the call.
2. Main menu functions
In the standby screen, click the application icon menu directly enter the main menu,
select the function icon, click the icon to enter the corresponding function interface.
Long press the application icon, you can change the application to add to the
desktop.
2.1 Message
Write message
To open the Message, on the Home screen, then touch and select the Message
icon.
New SMS: select [Write message] to enter the editing interface, edit the message.
In text editing interface, edit the information you want to send and click the send
icon on the screen to send text messages. When editing text, press the Set button
to enter the options menu, you can perform the following operations: Add contact

info: extracting from your contacts names and phone numbers, inserted into the
message content. Add phiz: cursor position in a text message insert emoticons.
Open timeing send: Set transmission time, and the number of transmissions. Save
as Draft: Save the edited message to Drafts.
New MMS: This information service allows you to use your phone to send or
receive the information content of illustrations. Including color pictures, animations
and music can be transmitted to the other party via MMS or receive to your phone.
Music, success depends on the ability to send pictures and other phone functions
and networks between two incompatible cell phone can not be sent and received.
This service is network operators support GPRS function opened before use,
please contact the operator.
select [Write message] to enter the editing interface, edit the message, press the
[options],select [add subject] to MMS:
Add Recipient: Edit the recipient's number. You can manually enter the recipient's
number, or directly into the [Address Book], select Add recipient number.
Preview: preview each page in turn.
Insert:
- Picture: Select the desired image into the current MMS.
- Audio: Select the desired sound file into the current MMS.
-Video: Select the desired video file into the current MMS.
-Next slide: this slide is inserted after one, making it the current page.
- Previous slide: this page is inserted before a, making it the current page.
- Attachment: add text or other files into the current MMS.
Save as draft: save the currently edited MMS to Drafts.
Text Layout: Set typesetting for text on top or below the text.
You can also directly edit the MMS editing interface recipient, subject, text and other
information; add pictures, audio, video, or add information later - a new page or the
front - a new page. When more than one page from time to time multimedia editing,
multimedia editing interface you directly press the left / right can achieve the
previous or a switch.
2.2 Contacts
Click the address book icon in the menu interface, enter the address book, or dial-
up interface, click on the Contact to communication records.
2.2.1 Browse Contact
After entering the default display all contacts list. Slide up and down to view the
remaining contacts.
Use the search feature to quickly find a contact.
2.2.2 New Contact
You have 2 phonebooks in this mobile phone: SIM card and the mobile. The mobile
can store 500 phone numbers and the SIM card's capacity depends on its type.

Press the Set button to select New Contact
Phone: All stored in the SIM card in addition to outside phone records are stored in
the memory bank. Enter the name, mobile phone, email, select the corresponding
group and so on.
SIM: add a new record to the SIM card.
[Delete multiple]: Choose one or more records to delete
[Import/Export]: Copy/Import/Export records to T-Card or phone.
[Memory status]: Query the current SIM card and mobile phone storage capacity.
2.3 Java
Java function and java sound settings.
2.4 Games
Some games are available for this phone.
2.5 Call logs
Click on the appropriate icon to enter the call history list, view call records history.
You can view your recent call situation.
[Missed calls]: Show all missed calls list, select a view after a missed call occurred
the date and time, phone number and frequency.
[Dialed calls]:Show all dialed calls list, select a view after a dialed calls occurred
in the date and time, phone number and frequency.
[Received calls]: Show all answered the phone list, select a view after a phone that
has the date and time of occurrence, telephone number, frequency,
[Rejected calls] Show all refused to answer the phone list, select a view after a
missed call occurred the date and time, phone number and frequency.
Long press a number into the options menu you can make the following operation :
◆ Call: Call the current number.
◆ Write message: send the current record of SMS
◆ Edit before dialing: edit before dialing this number
◆ Delete: Delete the currently selected record
[Delete all]: Delete all call records
[Call times]: Last time zero starting time for last call statistics, a total of dialed calls,
received calls, all calls total, all the time can also be zero.
2.6 Setting
2.6.1 Phone settings
Time & date: set the phone time / date.
Language setting: Set the phone to display the language, with the input language.
Input method Settings: Set the input is the size of the text with the default input
language.
Auto On / Off: Sets off automatically.
Power Save Mode: On / Off power saving mode. Power Save Mode setting: 1, set
to enter power saving mode charge status. 2, the power saving mode on / off data
Table des matières
Autres manuels Reach Téléphone portable


