Pure Processing FlexiPump Manuel utilisateur

FlexiPump™ Independent Flushing System
User Manual
Pure Processing, LLC
130 East St. Charles Road, Unit C
Carol Stream, Illinois 60188
www.pure-processing.com
Support 877-718-6868 Manual FPIFS 0001/February 2023

OVERVIEW: FlexiPump™ Independent Flushing System
INSTALLATION
OPERATION
Keypad Settings
Connecting Devices
Tube Sets
MAINTENANCE
Disinfecting surfaces
Disinfecting tube sets
Changing tube sets
Conducting flow validation tests
TROUBLESHOOTING
REPLACEMENT ITEMS, ACCESSORIES
3
4
6
6
8
10
10
10
11
12
14
15
20
TABLE OF CONTENTS
FlexiPump™ Independent Flushing System User Manual © Pure Processing, LLC. 2023. All rights reserved.
2

The FlexiPump system is designed for use in a medical reprocessing area, and has been fully tested
for use with a wide variety of reusable lumened devices, including rigid and flexible endoscopes,
minimally invasive surgical devices, ocular and robotic devices, and suction tips.
Accessories are available from Pure Processing to adapt the system to multiple additional uses. The
FlexiPump tube sets connect to most devices, with or without luer locks and/or ports. A pressure
relief feature is included to help protect scopes during flushing. The FlexiPump system can be used
alone or can augment existing pumps.
OVERVIEW
FlexiPump™ Independent Flushing System
DESCRIPTION
Components
Removable cap with side tabs
Electric cord
Pump housing
Internal Components
Supply Tube (connects to medical devices)
Rotor
Squeeze Tube
Key Pad
Forward Flush button
Stop Cycle button
Speed Control button
Impact Cycle button
FlexiPump™ Independent Flushing System User Manual © Pure Processing, LLC. 2023. All rights reserved.
3

INSTALLATION
Set-up: on Multi-Pump Bracket
FlexiPump™ Independent Flushing System User Manual © Pure Processing, LLC. 2023. All rights reserved.
4
To install your multi-pump bracket on your wall, insert the anchor in the bracket holes. Line up
the pegboard holes and the anchor, and screw in the steel bracket securely.
To install on solid walls, position the bracket onto the wall, and note where the drilling will be
located. Pre-drill a 1/4” hole will into the area. Line up the bracket holes to the pegboard holes,
and screw in steel bracket securely.
The FlexiPump system can be inserted into the corner well of the PureStation Sink Insert, or along
the side ridges molded into the sink.
Set-up: on Pure Station™ Sink Insert
The FlexiPump unit is not
meant to be submerged; use
caution when installing near
water.

FlexiPump™ Independent Flushing System User Manual © Pure Processing, LLC. 2023. All rights reserved.
5
Once your FlexiPump system has been installed in its preferred place, remove the black power cord
from your FlexiPump box. Take the barrel end of the gray cord found at the back of the FlexiPump
and insert the barrel end of the black power supply to the gray cord. Make sure there are no frays in
the wires.
Once both barrel cords have been tightly secured, plug the power supply into your wall outlet. Run
the forward flush on your FlexiPump to make sure that the power has been installed correctly.
Set-up: Power Supply
Do not submerge the power or
barrel cords. Please use caution
when installing near water.

Speeds
Low speed
This setting is designed for small channels, 1 to 3 millimeters (mm) in size. This
setting will flush a total of 200 mL of fluid in 30 seconds. Do not turn up the
speed when you hear the motor slowing down. The smaller channels cannot
accommodate any higher flow volume. Trying to force it to go faster will cause a
back-up in the motor and will make the pressure release valve drain fluid.
Medium speed
This setting is designed for channels that are 2 to 3 mm in diameter. This setting
will flush a total of 375 mL of fluid in 30 seconds. Do not turn up the speed if you
hear the motor slowing down. However, if there is fluid draining from the pressure
relief valve, you can consider slowing the pump speed.
High Speed
This setting will flush a total of 500 mL of fluid in 30 seconds. This is used for
channels larger than 4 mm in diameter.
FlexiPump™ Independent Flushing System User Manual © Pure Processing, LLC. 2023. All rights reserved.
6
Too much pressure and speed
for small devices can result in
tube set damage.
Because fluid will take the path of least resistance, it is important that instrument channels attached to a FlexiPump
system are approximately the same diameter, to assure consistent flushing into all the devices. For this reason, do
not attach a large-diameter lumen to one lead and a small-diameter lumen to another on the same pump system.
OPERATION
Keypad Settings
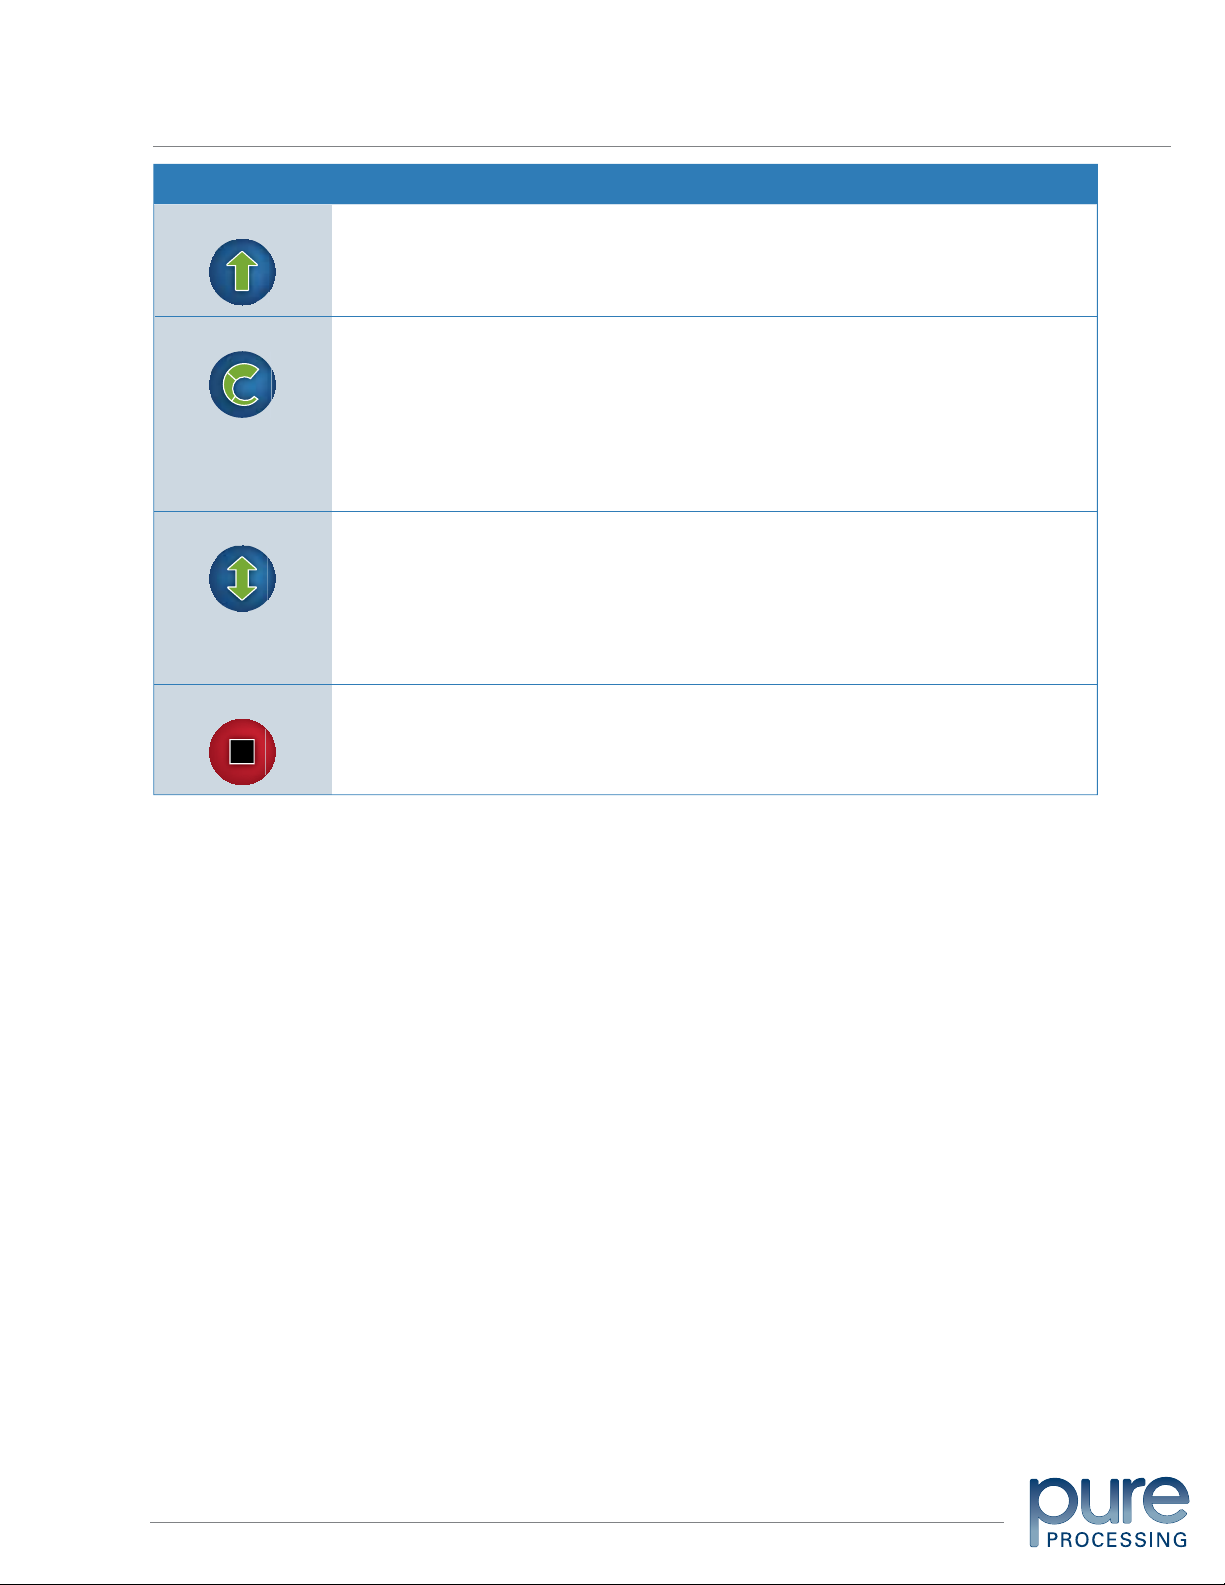
Key Pad Operation
Speed Control
Push the button ONCE for low (500 ml per minute), TWICE for
medium (750 ml per minute), and THREE TIMES for high speed
(1,000 ml per minute).
Forward Flush
Press the button ONCE for 30 seconds, TWICE for 60 seconds
and THREE TIMES for 90 seconds.
Stop
Press to stop all pump action and cancel any cycle.
Impact
Press for clogged devices. Press the button ONCE for two (2)
minutes, TWICE for four (4) minutes, and THREE TIMES for six
(6) minutes.
For a video demonstration, visit our
YouTube page at:
youtube.com/user/pureprocessing

FlexiPump™ Independent Flushing System User Manual © Pure Processing, LLC. 2023. All rights reserved.
7
The Impact cycle is used ONLY for devices that are clogged. The
FlexiPump tube set must be decontaminated after each Impact Cycle run.
OPERATION
FlexiPump Cycles and Keypad Settings
Most frequently used button; time controlled:
• 1 LED light- 30 seconds
• 2 LED lights- 60 seconds
• 3 LED lights- 90 seconds
Stops the flushing
It’s important to control the volume without too much pressure:
• 1 LED light- Low- for small devices 1-2 mm diameter, such as suction tips
and eye instruments (500 ml** per min.)
• 2 LED lights- Medium- medium devices 2-3 mm diameter (750 ml** per min.)
• 3 LED lights- High- large devices, 4 mm and larger diameter, such as
laparoscopic, robotic, or orthopedic lumens (1000 ml** per min.)
**Milliliters flushed is the total volume. Example: if three devices are flushed at
the same time on high speed – each device flushes 333 ml per minute.
Used on devices that have material clog or impact. The impact cycle will create a push and
pull pressure- moving in a forward direction, and then stopping to reverse and create
suction. This feature will allow the clog to soften up and allow you to push a brush through.
Time controlled:
• 1 LED light: 2 minutes
• 2 LED lights: 4 minutes
• 3 LED lights: 6 minutes
Forward Flush
Speed/Volume
Impact Cycle
Stop
KEY PAD FUNCTIONS

Many lumened/channeled devices can be properly connected and flushed with the FlexiPump system.
OPERATION
Connecting Devices
For devices with luer locks:
Twist the FlexiPump tube collar onto the
device with a luer, until locked.
Flush the device following manufacturer’s
recommendations.
FlexiPump™ Independent Flushing System User Manual © Pure Processing, LLC. 2023. All rights reserved.
8
For devices with luer ports:
Pull the tube collar back.
Insert the slip tip into the device.
Flush according to manufacturer’s
recommendations.
For devices without luer locks or ports:
Use a cup adaptor to create a tight seal.
Flush according to manufacturer’s
recommendations.
For devices with female luer locks:
Use a female-to-female luer lock adapter.
Flush according to manufacturer’s
recommendations.

It is important to follow the manufacturer’s instructions for use (IFU) for each flexible endoscope. The
FlexiPump system replaces the syringe flushing method in the pre-cleaning sections of these IFU.*
The injector tube (or suction channel tube in this example)
is used to inject reprocessing fluids into the instrument
channel, suction channel, and air/water channels of the
endoscope. It is also used to flush air through these chan-
nels to expel fluids.
Follow the device manufacturer’s IFU to attach the injector
tube to the scope.
FlexiPump™ Independent Flushing System User Manual © Pure Processing, LLC. 2023. All rights reserved.
9
Attach the FlexiPump tube set luer locks to the suction channel port
and air/water port of the injector tube. Directions may vary depending
on the scope and the manufacturer.
Cap off all unused tubes on the FlexiPump Tube Set. If there are two
channels on the endoscope, place a FlexiPump end cap on the end
of the third FlexiPump tube lead. If you are flushing only one channel
or lumen, cap off the other two FlexiPump tube leads with luer end
caps.
IMPORTANT
Most endoscope manufacturers specify how much cleaning solution to flush through
the device. Follow IFU’s to prepare the cleaning solution. Carefully monitor all device
exit points for flushing cleaning solution to ensure copious flushing.
Be sure to rinse devices per manufacturer’s IFU.

OPERATION
Tube Sets
FlexiPump™ Independent Flushing System User Manual © Pure Processing, LLC. 2023. All rights reserved.
10
If the pump sounds or looks stressed,
turn the speed setting down to avoid
unnecessary wear on the motor.
PSI Settings
Please refer to the manufacturer’s IFU for each instrument’s pressure requirements. The FlexiPump
system can be used with a low-pressure tube set or a higher-pressure tube set. In general, smaller
flexible devices (urology scopes and ocular instruments, for example) require lower pressure.
There are multiple leads on any FlexiPump tube set. If any tubes are not in use, be sure they are
secured with end caps provided in the tube set.
PLEASE NOTE: The FlexiPump Independent Flushing System is intended for manual and flushing of lumened
devices. It is not for final treatment and does not replace manual brushing and rinsing. Refer to each medical device
manufacturer’s instructions for use for complete cleaning requirements.
MAINTENANCE
Disinfecting surfaces
The surfaces of the system should be cleaned daily and whenever there is visible soil.
Step 1 Wipe all external surfaces with a ready to use disinfectant, including the tubing, and allow
them to air-dry.
MAINTENANCE
Set-up: tube sets
The drop-down tube on each new tube set is 30 inches long.
If the tube is too long for your sink, it can be cut to shorten it.
Each FlexiPump tube set comes with two, three, or five leads,
each of which can be attached to an instrument. You can use
them all at once. If you have fewer than three devices to flush,
you can cap off the unused lead(s) to ensure appropriate pres-
sure into the lead(s) with attached devices. Use the end cap
provided with your tube set. You may also re-use end caps from
other FlexiPump tube sets.
For a video demonstration, visit our website.
Autres manuels pour FlexiPump
1
Table des matières
Autres manuels Pure Processing Équipement médical