
Proteus Delta Staff Manuel utilisateur

Delta Staff User Guide
v 1.3
Thanks for purchasing the Delta by Proteus Kinetics. This user guide will cover the basics
functions and features of your new smart staff.
At Proteus Kinetics, we try to create flow props that exceed the capabilities of our competitors
while remaining inexpensive enough that our friends can buy them without selling a kidney.
When we design these devices, we give them the potential to do much more than our initial
design goals require. Because of this, we will continue to add new functions and features to our
devices as time goes on. Check our website regularly to keep current with the newest device
updates, as well as new PC/Android software releases.
If you have any questions, comments or suggestions, please feel free to email us at
www.ProteusKinetics.com
ProteusKinetics.com
856-437-0046
Strive.Adapt.Shine
.

Table of Contents
●What’s in the box!?
o Included in your package
o Options and Accessories
●General overview of the Delta
o Buttons
o Battery Compartments
o Shell
o Lights
●Turning on your Delta
●Connecting to your Delta to your Windows 10 PC
o Pairing your Delta with your Windows 10 PC
oUploading new Patterns and Firmware Updates
ProteusKinetics.com
856-437-0046
Strive.Adapt.Shine
.

What’s in the box?!
●Included in your package will be:
o1 → Delta Smart LED Staff
o2 → 3000 mAh, High-Capacity, Li-Ion, Battery
o 2 → End Caps
o 1 → Universal Li-Ion Battery Charger
o 1 → Greeting Letter
●Optional:
o Soft End Cap Covers
o Spare Li-Ion Batteries - TBA
o Spare Battery Charger
o Replacement End Caps
o Replacement Grip Tube
o Battery and End Cap Removal Tool (Included with some devices)
ProteusKinetics.com
856-437-0046
Strive.Adapt.Shine
.

General Overview of the Delta Staff
●Buttons
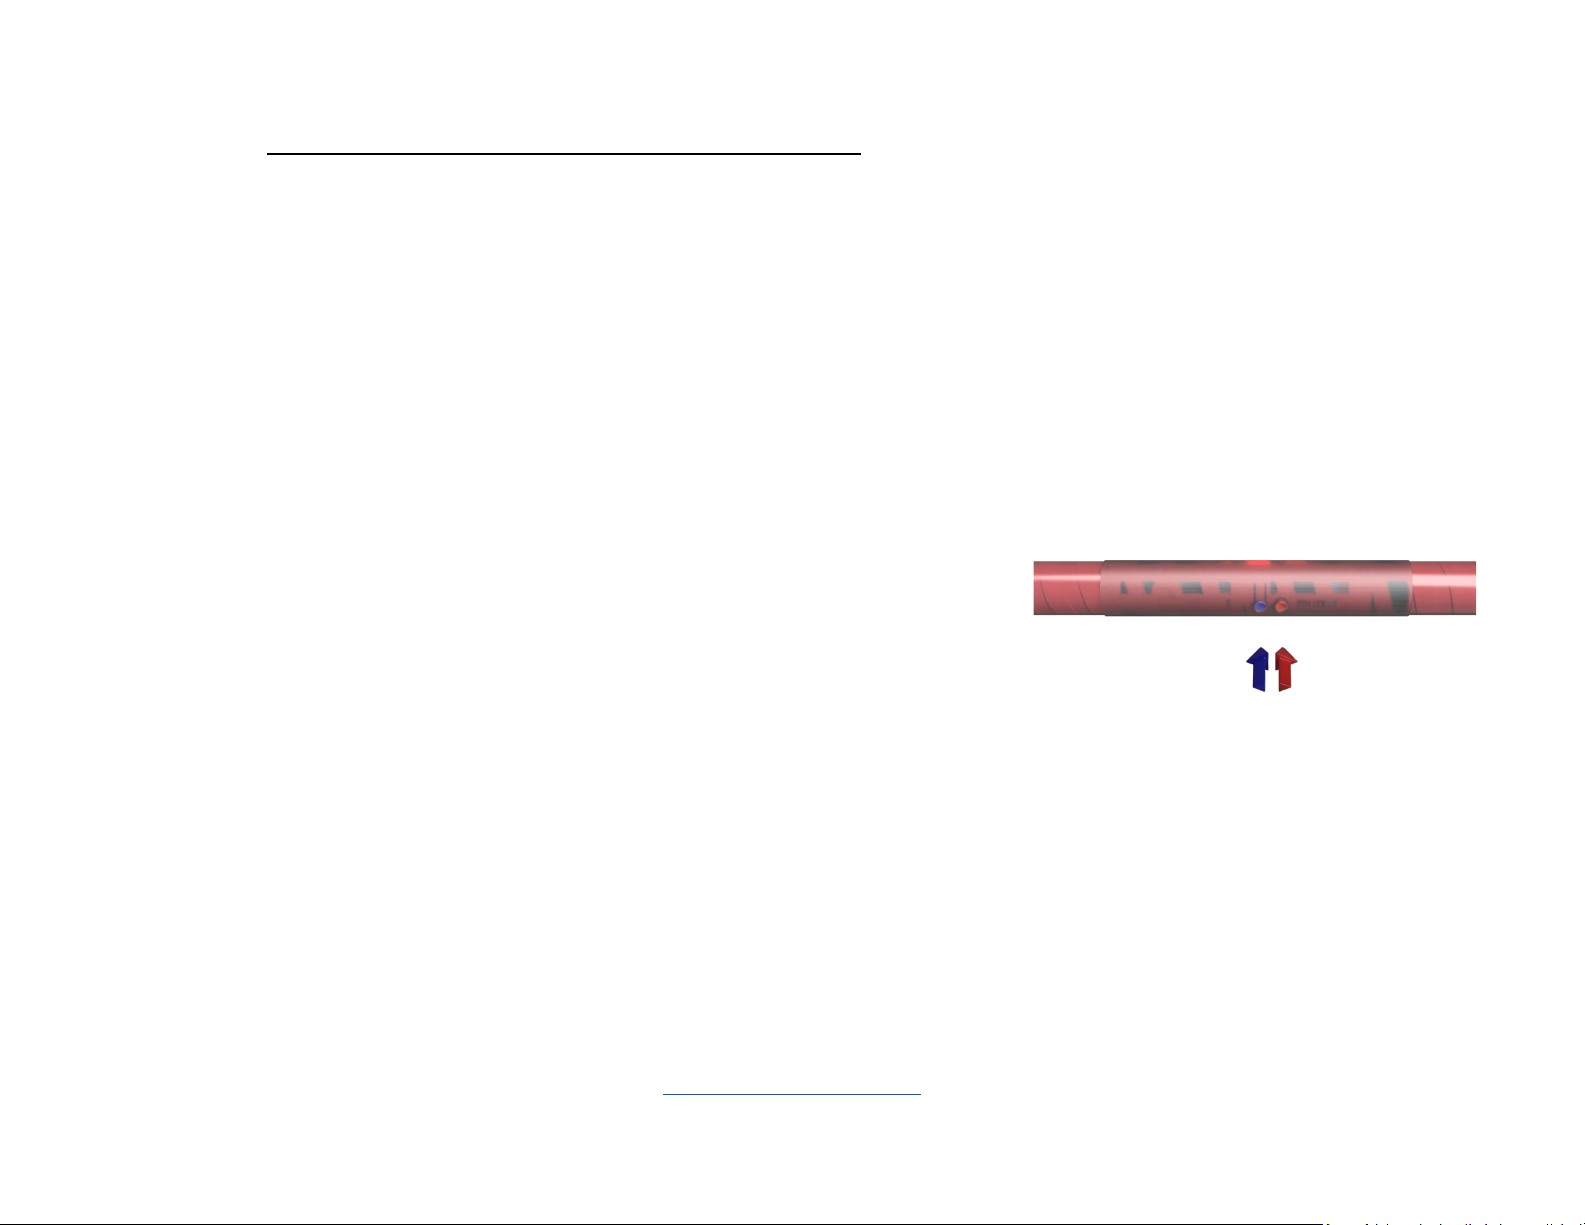
o The Delta has two tactile buttons and which can be found at
the center of the staff, under the grip tube. (Figure 1)
o For the sake of simplicity, we will refer to the two tactile
buttons as “NEXT” (white or blue) and “PREVIOUS” (red.)
▪NEXT
●Short Press (less than 1 second) will change the
pattern that’s being currently displayed to the
next available pattern.
●Long Press (more than one second) will turn the
LED array On or Off.
-Note: Doing this does not turn off the staff, only the LED array. To
turn off the staff completely, one or both batteries must be
removed from the battery compartments.
▪PREVIOUS
●Short Press (less than one second) will change the
pattern that’s being currently displayed to the
previous pattern on the available pattern list.
- Note: The pattern list is circular, meaning that you’ve cycled to
the end or beginning of the pattern list, it will the list will continue
from the opposite end. End>>Beginning/Beginning>>End)
Figure 1
●Long Press (more than one second) will activate
AutoChange which will cause the Delta to cycle
through patterns automatically. The change
period (time that each pattern is shown for) is set
by pressing and holding the PREVIOUS button for
the desired duration.
-Example: To have the Delta change patterns in sync with music,
you would press and hold the PREVIOUS button immediately
before the beginning of the first beat of a measure then release it
just before the end of the last beat.
Note: The Autochange feature is still in the process of being fully
implemented with all pattern packs. If the pack that you’ve
chosen is not compatible with this feature, please send us an
email and we’ll update it right away.
●Battery Compartment
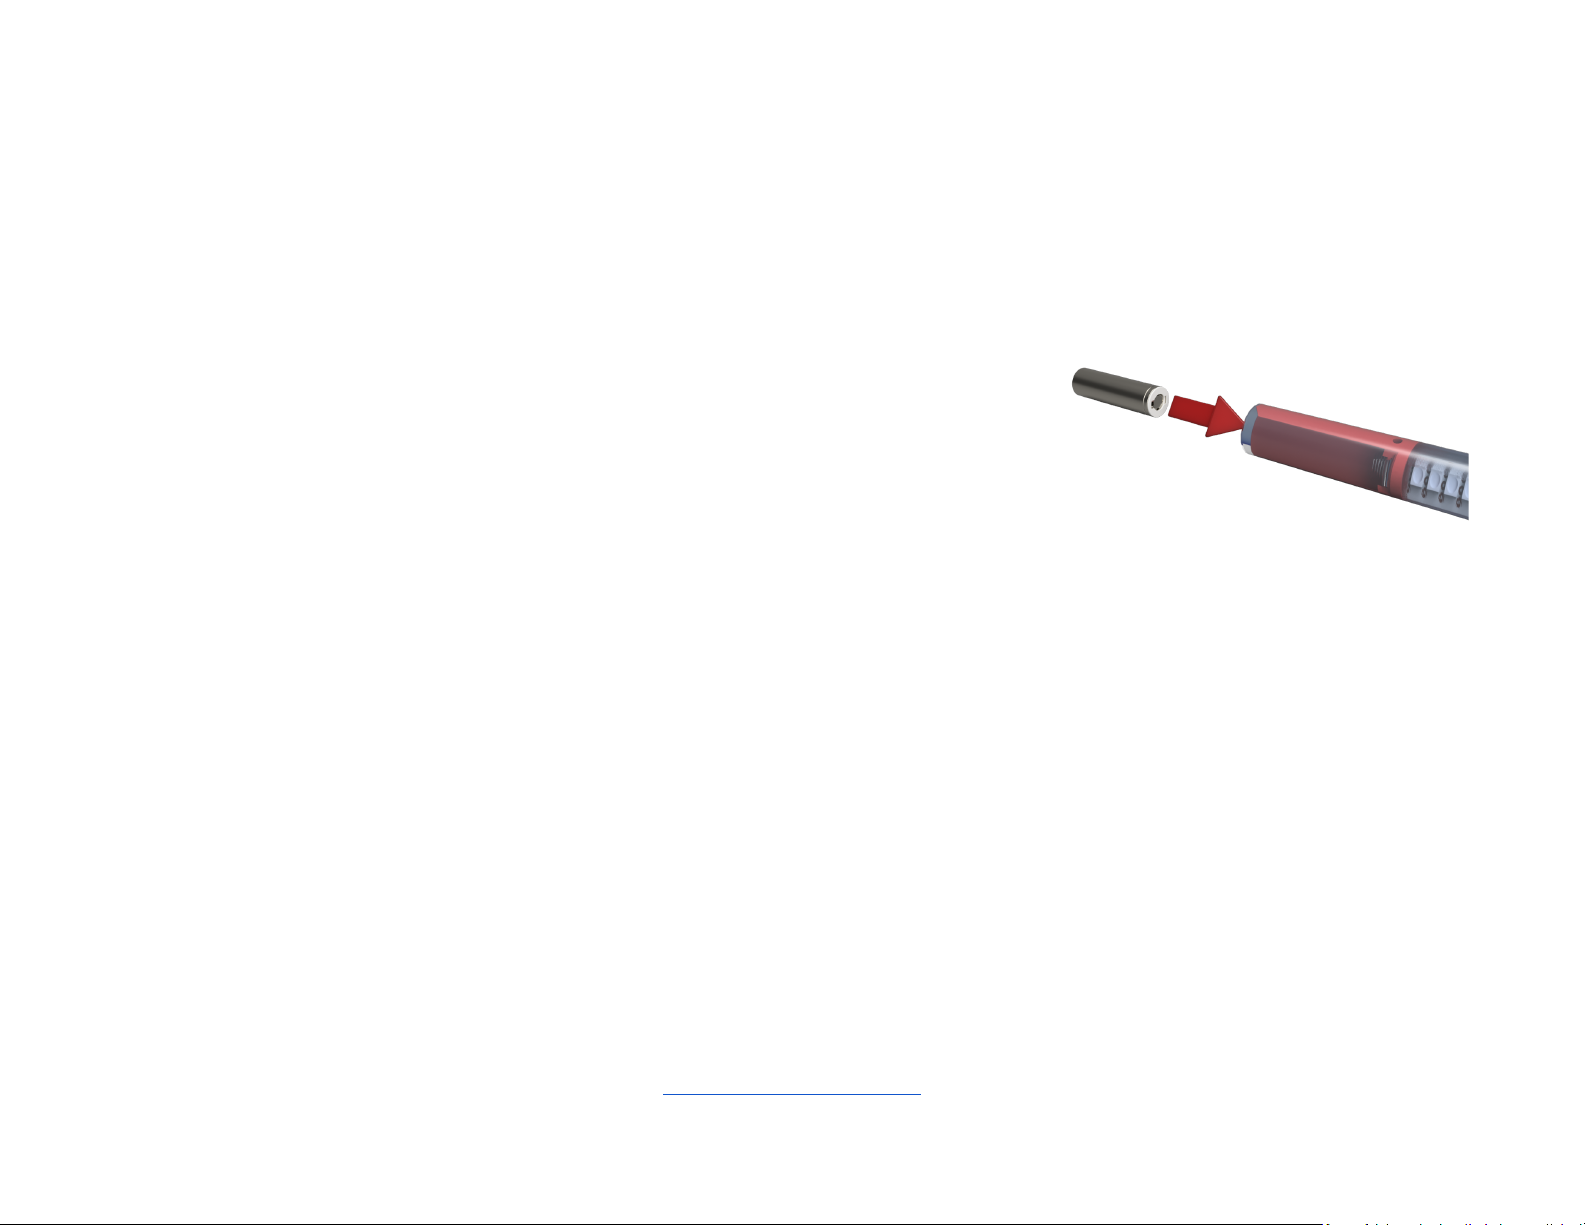
o The battery compartments of the Delta are located at either
end of the staff, under the end caps. (Figure 2)
Note: When new, some Deltas will come with very tight fitting end caps. This is
entirely normal and the end caps will loosed with several uses. If you are having
trouble removing the end caps or batteries, use the End Cap & Battery removal
tool. Details on this can be found under “Turning on Your Staff”
o Insert one of the provided, 3.7v Li-Ion batteries into the
battery compartment with the negative (-) end facing our and
positive (+) end (with the vents) facing in. Afterwards, firmly
press the end cap onto the end of the staff and repeat with
Figure 2
the other side.
o The Delta is turned on and enters standby mode immediately
following the boot sequence which begins as soon as the
batteries have been inserted into the battery compartments.
o When you’re ready to power down the Delta, remove one of
the batteries one at a time before replacing the end cap and
moving on to the second battery.
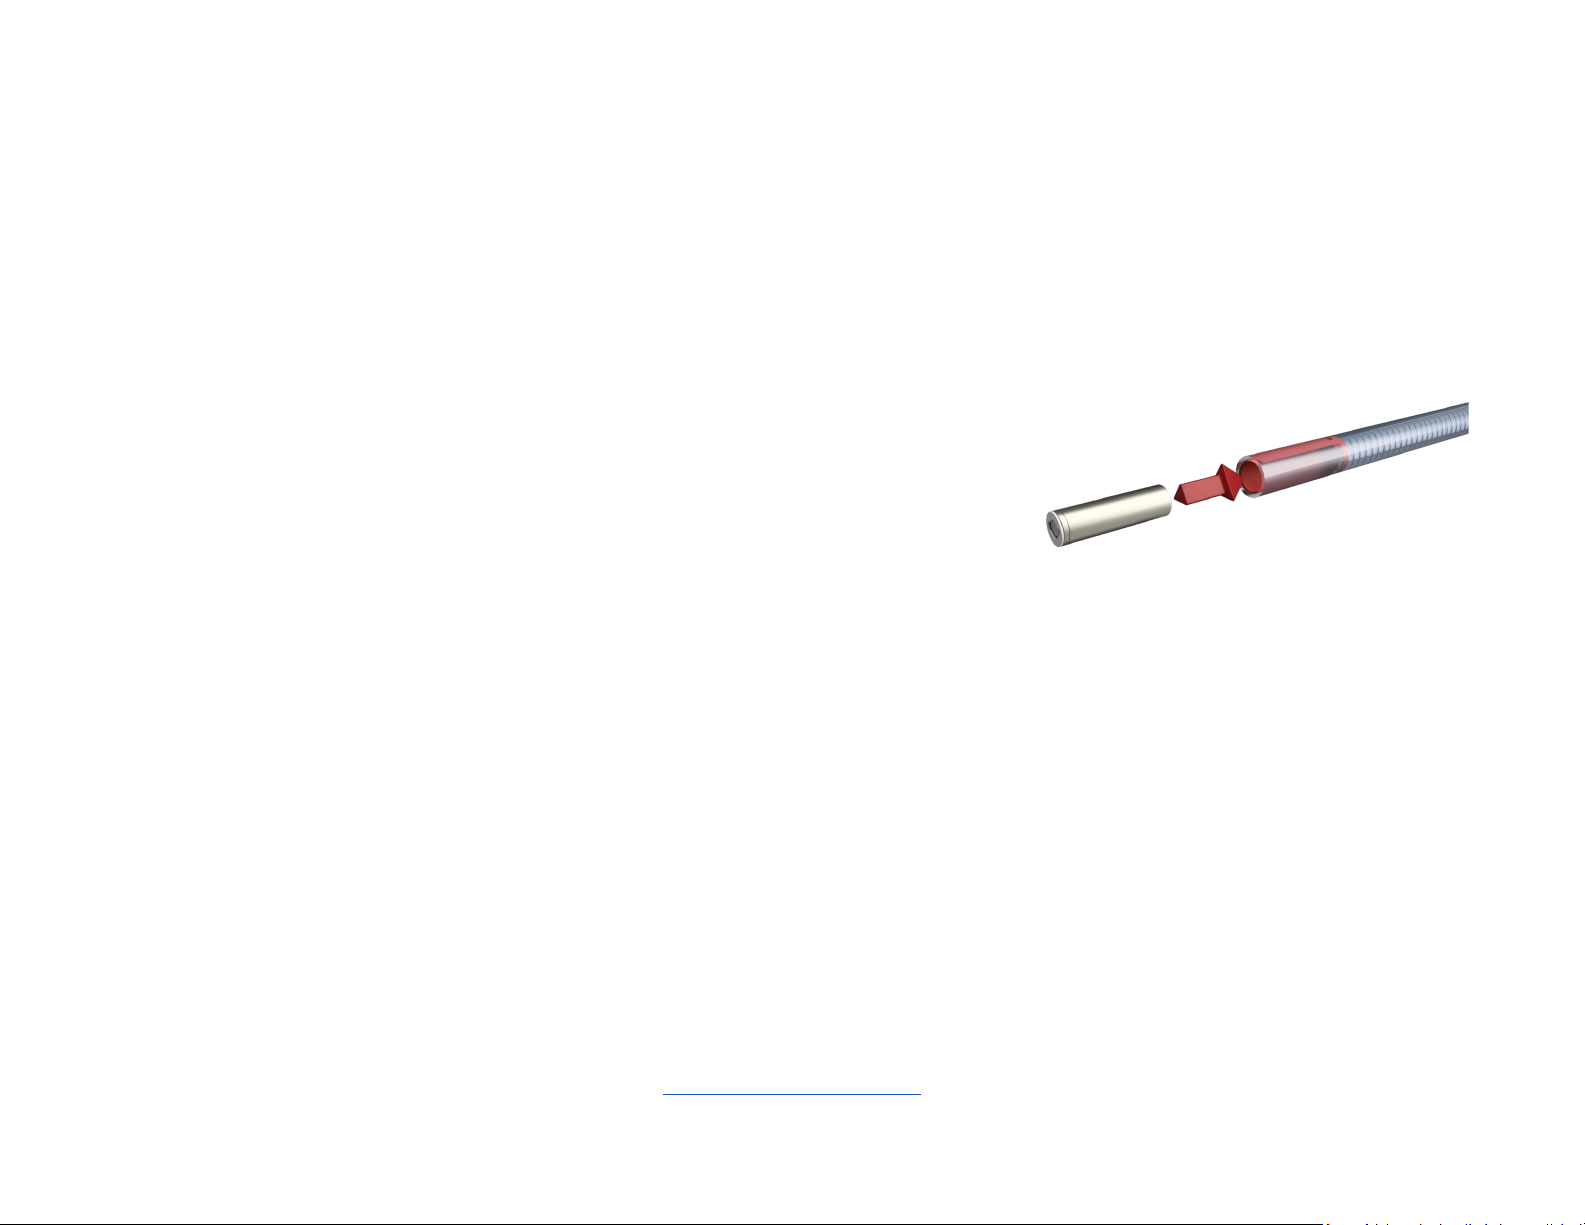
o For storage, we recommend that the batteries be put back in
to the green battery bag or that you reverse BOTH batteries
inside of the battery compartments. (Positive end out,
Negative end in.) (Figure 2A)
Note: Failure to flip both batteries will cause the full discharge of the unflipped
battery. Afterwards, the battery will be unable to take a charge and will need to
be replaced. Over Discharge is not covered by the warranty.
●Shell
o The shell of the Delta is made of a clear-blue, UV resistant
plastic. Proteus Kinetics takes pride in the durability of its
props and because of this, we carefully choose the materials
to maximize their toughness.
o That said, the Delta, LightSword and Delta are all vulnerable
to heat warping. Leaving your Delta in a hot car or in the sun
while resting on an uneven surface may cause warping which
Figure 2A

is not easily corrected. Please take care to keep your Delta out
of direct sunlight for extended periods of time and in
environments below ~120º F ( or ~50º C.)
Note: If the Delta must remain in a hot car for an extended period of time, we
recommend that it be kept inside the box in which it was shipped. This box can
be substituted for a shipping tube, PVC pipe, or any type of container that evenly
supports the length of the staff.
●Lights
o The Delta has 3 distinct light groups. The main light arrays,
the board indicator light, and the bluetooth module indicator
light.
▪The main light arrays are located to the left and right of
the the colored or white component armor, covering
~18” (or 500mm.)
●These arrays are canted to face opposing
directions. This is done to maintain symmetry so
that audiences watching from any direction will
see the same amount of light.
●The polycarbonate LED sleds which support and
protect the arrays also work as light diffusers,
drawing the light that is emitted by the arrays to
wrap around to both sides of the staff.
Note: We recognise that it might initially seem strange to have the LED arrays
facing different directions, but after thorough testing, both while doing
performances for crowds and for photographers & videographers, we determined
that the current configuration is optimal. Because of our light diffusers, the
difference between the two sides is hardly noticeable on camera or in person.
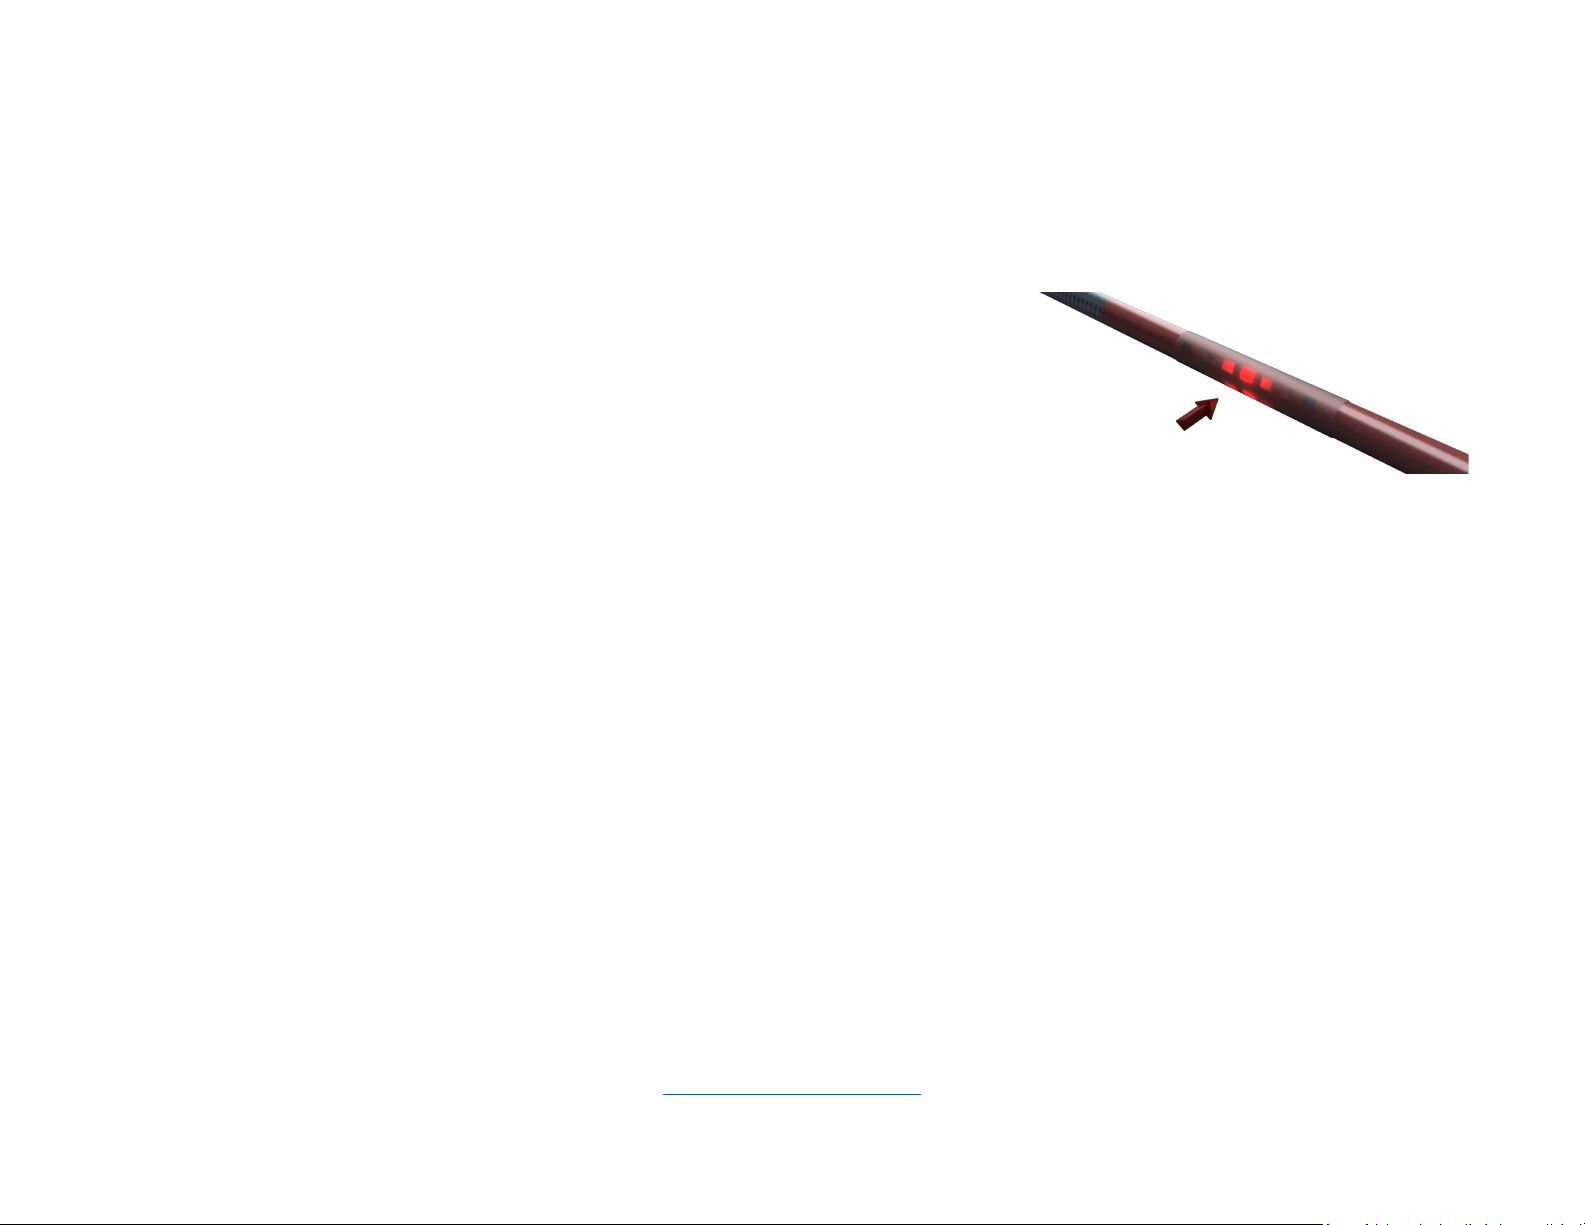
▪The power indicator light is a red light which is
illuminated whenever power is supplied to the staff.
(Figure 3)
▪The bluetooth module indicator light is a small, red light
that blinks to show the status of the bluetooth module.
This light is located beneath the gap cover that is
closest to the NEXT button. (Figure 4)
●Rapid blinking means that the Delta is not
connected and is in pairing mode. This is the
default state.
●Slow blinking (1-2 per second) indicates a
connection. The Delta will enter this mode when
a bluetooth remote or device update tool has
been connected.
Note: After pairing to the Delta to a PC for the first time, it is normal for the connection
to remain even after the pairing process has finished. To reset this connection, open the
battery compartment connection and allow it to power down for 5 seconds before
reconnecting the battery section.
If you choose a Delta with a darker component armor color, the BT indicator light may
Figure 3
Figure 4

Table des matières
Manuels Matériel de DJ populaires d'autres marques


thomann
thomann Stairville DJ Lase 40-G MK-III Manuel utilisateur

Eagletone
Eagletone 6 Eyes Flower Manuel utilisateur

EuroLite
EuroLite FLD-1508 Manuel utilisateur

Technical Pro
Technical Pro LG8xSEA Manuel utilisateur

JB Systems
JB Systems Lounge Laser DMX Manuel utilisateur

Lightmaxx
Lightmaxx Vega Halo 90 Manuel utilisateur

Elation
Elation FUZE WASH Z350 Manuel utilisateur

Maverick
Maverick MK3 WASH Manuel utilisateur

Infinity
Infinity TF-260C7 Fresnel Manuel utilisateur

Chauvet
Chauvet EVE E-50Z Manuel utilisateur

Eliminator Lighting
Eliminator Lighting E 138 Manuel utilisateur

EuroLite
EuroLite Mini Multicolor LED Flashing Light SC Manuel utilisateur