3. Tuck the leg bands under the client’s legs in one of the configurations outlined above
4. Bring the shoulder strap in line with the client’s shoulders
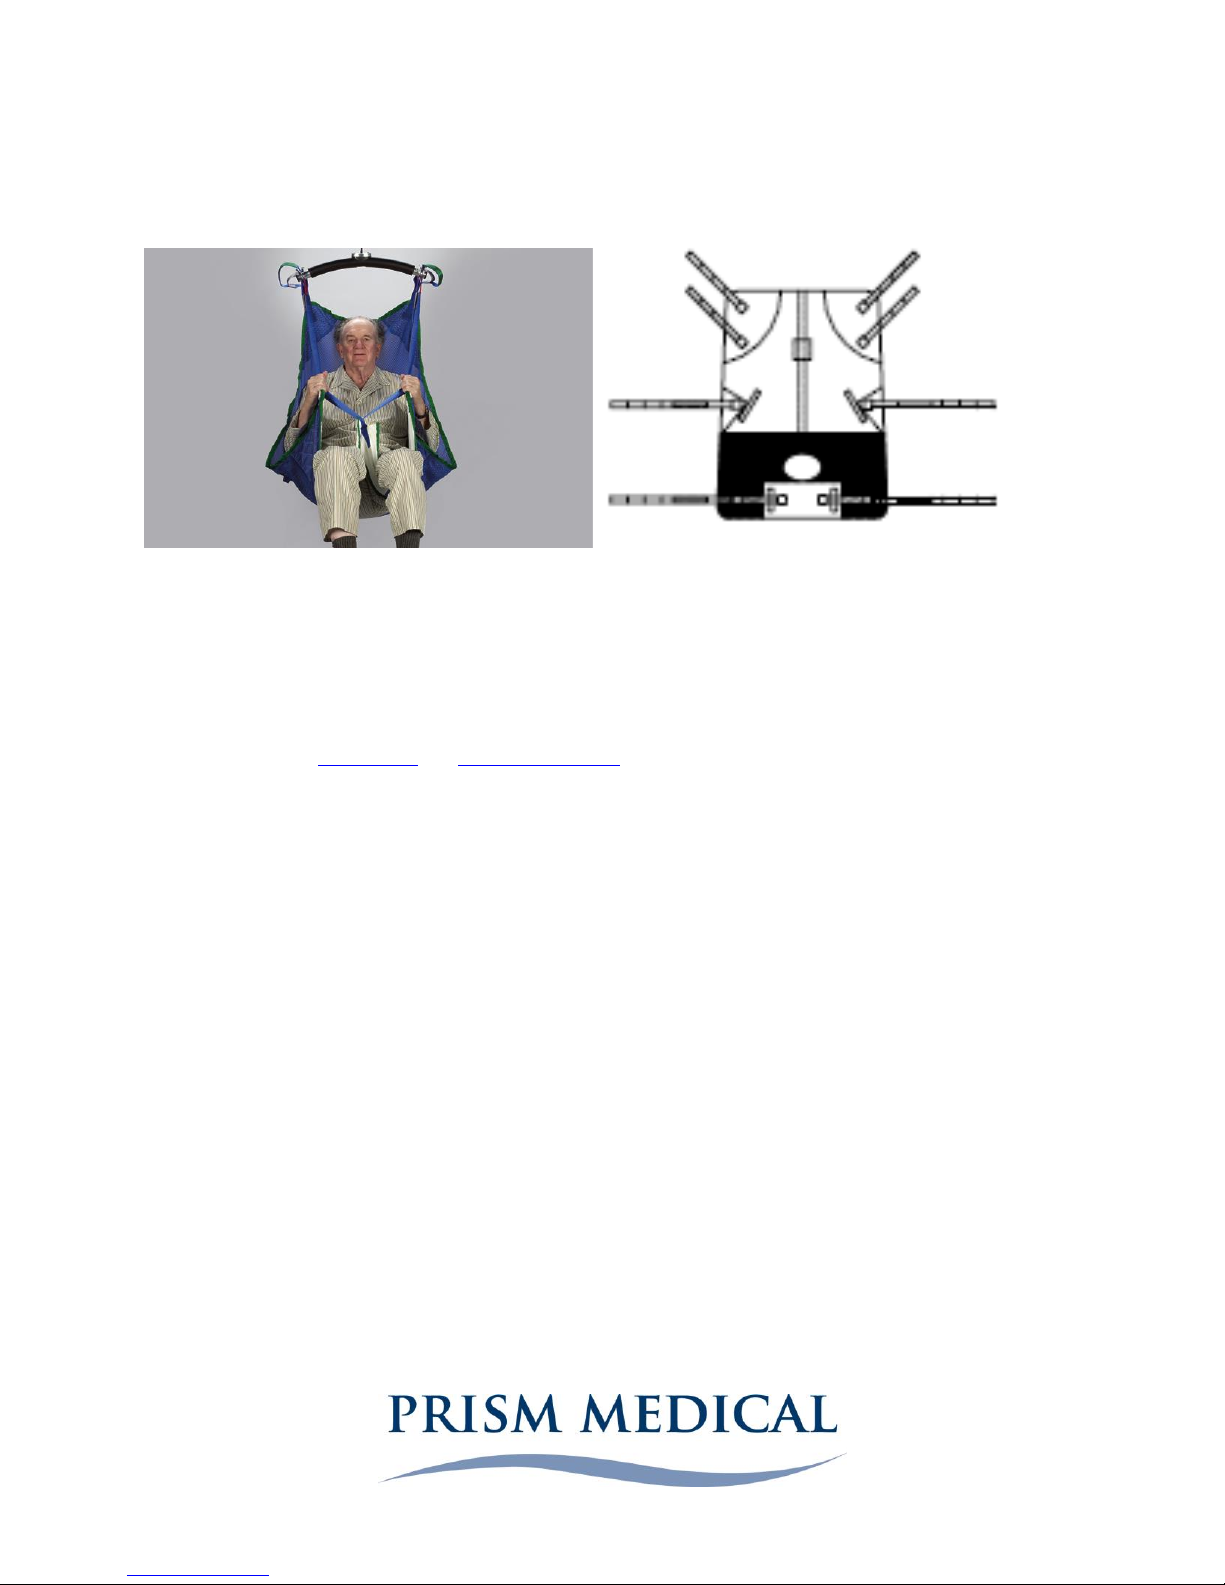
5. Attach the loops on the straps to the carry bar on the lift
a. Make sure you use the same colour loops on both sides of the sling
b. Remember: Short loops for Shoulders, and Long loops for Legs if you want the client to be lifted in an
upright seated position
Important note: Once you have reached the point at which there is tension on the straps but the client has not
yet been lifted off of the surface, STOP THE LIFT. Make sure all straps are securely fastened to the carry bar and
that the sling has not shifted position on the client’s body (i.e., it is not slipping up the client’s back and there no
folds or wrinkles in the sling fabric). If you notice anything of concern, stop the lift, and reassess the situation.
Hammock Leg Band Application
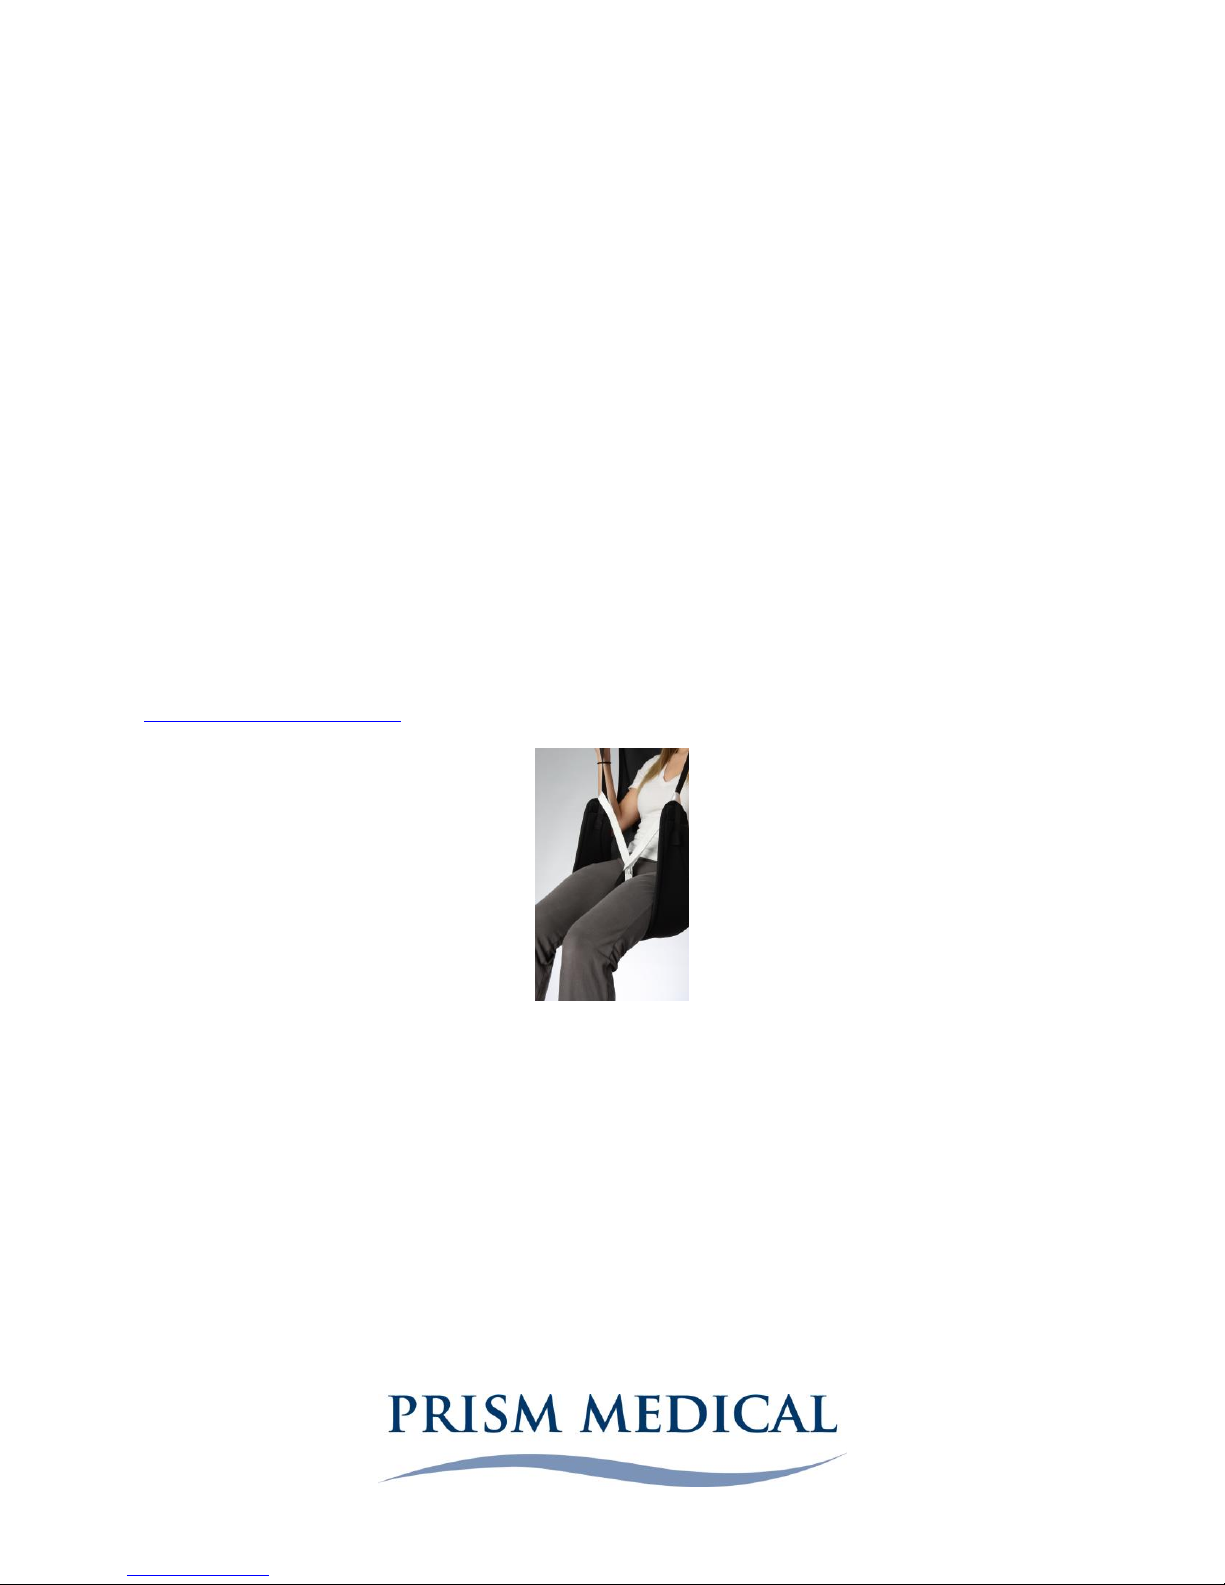
There are three typical leg band configurations;
Divided Leg "Closed/Crossover" - Provides optimum comfort and security. The most commonly used (default)
attachment option and is recommended. The “crossover” is achieved by threading one short midline strap through
the other short midline strap. These straps are designed to create a connection between the two leg bands and are
not designed to attach to the lift or portable motor. Next, thread the leg straps through the midline straps.
Divided Leg "Open" - Provides increased access for personal hygiene. Use extreme caution with this leg band
configuration as external hip rotation may be increased and the opening is larger, increasing the risk to the client.
Closed Leg –Maximum dignity is provided because the client’s legs are held tightly together when lifted. This leg
band configuration is achieved by threading each leg band and strap under both of the client’s thighs. Each long leg
strap is then threaded through the short strap closest to it. This creates a “bucket” effect and provides the smallest
opening under the client. This leg band configuration may be suitable for clients with limited ability to externally
rotate hips (i.e., those with lower extremity contractures, increased tone).
Sling removal
Best practice is to remove the sling after the transfer has occurred and to re-insert the sling prior to the client
being transferred again. In practice, this is not always happening. Caregivers often report that the sling removal
process is time consuming. Encouraging client participation can increase the time efficiency of the task.
Efforts should be made to reduce the potential of friction occurring between the sling and skin.
The following steps are used for removal of the universal, hammock, and deluxe support slings.
When the client is lying down:
1. Remove the leg bands from the client’s legs
b. Assist the client to bend his or her knee to facilitate leg band removal
2. Assist the client to roll onto his or her side –have him or her help as much as possible.
3. Tuck the sling under the client’s back, pushing down into mattress to reduce friction between the sling and the
client’s skin
4. Ask the client to roll onto his or her back
5. Walk around to the other side of the bed