Optimus L-06D Manuel utilisateur

L-06D
INSTRUCTION MANUAL

2CTVUVCVGOGPV
&KDQJHRU0RGLILFDWLRQVWKDWDUHQRWH[SUHVVO\DSSURYHGE\WKHPDQXIDFWXUHUFRXOGYRLG
WKHXVHUVDXWKRULW\WRRSHUDWHWKHHTXLSPHQW
2CTVUVCVGOGPV
7KLVHTXLSPHQWKDVEHHQWHVWHGDQGIRXQGWRFRPSO\ZLWKWKHOLPLWVIRUDFODVV%GLJLWDO
GHYLFHSXUVXDQWWR3DUWRIWKH)&&5XOHV7KHVHOLPLWVDUHGHVLJQHGWRSURYLGH
UHDVRQDEOHSURWHFWLRQDJDLQVWKDUPIXOLQWHUIHUHQFHLQDUHVLGHQWLDOLQVWDOODWLRQ7KLV
HTXLSPHQWJHQHUDWHVXVHVDQGFDQUDGLDWHUDGLRIUHTXHQF\HQHUJ\DQGLIQRWLQVWDOOHGDQG
XVHGLQDFFRUGDQFHZLWKWKHLQVWUXFWLRQVPD\FDXVHKDUPIXOLQWHUIHUHQFHWRUDGLR
FRPPXQLFDWLRQV+RZHYHUWKHUHLVQRJXDUDQWHHWKDWLQWHUIHUHQFHZLOOQRWRFFXULQD
SDUWLFXODULQVWDOODWLRQ,IWKLVHTXLSPHQWGRHVFDXVHKDUPIXOLQWHUIHUHQFHRUWHOHYLVLRQ
UHFHSWLRQZKLFKFDQEHGHWHUPLQHGE\WXUQLQJWKHHTXLSPHQWRIIDQGRQWKHXVHULV
HQFRXUDJHGWRWU\WRFRUUHFWWKHLQWHUIHUHQFHE\RQHRUPRUHRIWKHIROORZLQJPHDVXUHV
5HRULHQWRUUHORFDWHWKHUHFHLYLQJDQWHQQD,QFUHDVHWKHVHSDUDWLRQEHWZHHQWKH
HTXLSPHQWDQGUHFHLYHU
&RQQHFWWKHHTXLSPHQWLQWRDQRXWOHWRQDFLUFXLWGLIIHUHQWIURPWKDWWRZKLFKWKH
UHFHLYHULVFRQQHFWHG
&RQVXOWWKHGHDOHURUDQH[SHULHQFHGUDGLR79WHFKQLFLDQIRUKHOS
(%%2CTV%NCUU$%QORNKCPEG
7KLVGHYLFHDQGLWVDFFHVVRULHVFRPSO\ZLWKSDUWRI)&&UXOHVDQG,&(6&ODVV%
GLJLWDODSSDUDWXVUHTXLUHPHQWVIRU,QGXVWU\&DQDGD2SHUDWLRQLVVXEMHFWWRWKHIROORZLQJ
WZRFRQGLWLRQV7KLVGHYLFHDQGLWVDFFHVVRULHVPD\QRWFDXVHKDUPIXOLQWHUIHUHQFHDQG
WKLVGHYLFHDQGLWVDFFHVVRULHVPXVWDFFHSWDQ\LQWHUIHUHQFHUHFHLYHGLQFOXGLQJ
LQWHUIHUHQFHWKDWPD\FDXVHXQGHVLUHGRSHUDWLRQ
$QF[YQTP1RGTCVKQP
7KLVGHYLFHKDVEHHQWHVWHGIRUERG\ZRUQRSHUDWLRQVZLWKWKHGLVWDQFHRIFP
LQFKHVEHWZHHQWKHXVHUĜVERG\DQGWKHSKRQH7RFRPSO\ZLWK)&&5)H[SRVXUH
UHTXLUHPHQWVDPLQLPXPVHSDUDWLRQGLVWDQFHRIFPLQFKHVPXVWEHPDLQWDLQHG
IURPWKHXVHUVERG\7KLUGSDUW\EHOWFOLSVKROVWHUVDQGVLPLODUDFFHVVRULHVFRQWDLQLQJ
PHWDOOLFFRPSRQHQWVPD\QRWEHXVHG%RG\ZRUQDFFHVVRULHVWKDWFDQQRWPDLQWDLQFP
LQFKHVVHSDUDWLRQGLVWDQFHEHWZHHQWKHXVHUVERG\DQGWKHSKRQHDQGKDYHQRW
EHHQWHVWHGIRUW\SLFDOERG\ZRUQRSHUDWLRQVPD\QRWFRPSO\ZLWK)&&5)H[SRVXUHOLPLWV
DQGVKRXOGEHDYRLGHG
9+(+%CWVKQP
7KLVGHYLFHLVFDSDEOHRIRSHUDWLQJLQDQPRGH)RUDQGHYLFHVRSHUDWLQJ
LQWKHIUHTXHQF\UDQJHRI *+]WKH\DUHUHVWULFWHGIRULQGRRURSHUDWLRQVWR
UHGXFHDQ\SRWHQWLDOKDUPIXOLQWHUIHUHQFHIRU0RELOH6DWHOOLWH6HUYLFHV066LQWKH86
:,),$FFHVV3RLQWVWKDWDUHFDSDEOHRIDOORZLQJ\RXUGHYLFHWRRSHUDWHLQDQ
PRGH *+]EDQGDUHRSWLPL]HGIRULQGRRUXVHRQO\
,I\RXU:,),QHWZRUNLVFDSDEOHRIRSHUDWLQJLQWKLVPRGHSOHDVHUHVWULFW\RXU:,),XVH
LQGRRUVWRQRWYLRODWHIHGHUDOUHJXODWLRQVWRSURWHFW0RELOH6DWHOOLWH6HUYLFHV
7KLV GHYLFHLVQRWLQWHQGHGIRUVDOHLQWKH86$

Confirmation and Settings before Using
29
Confirmation and Settings before Using
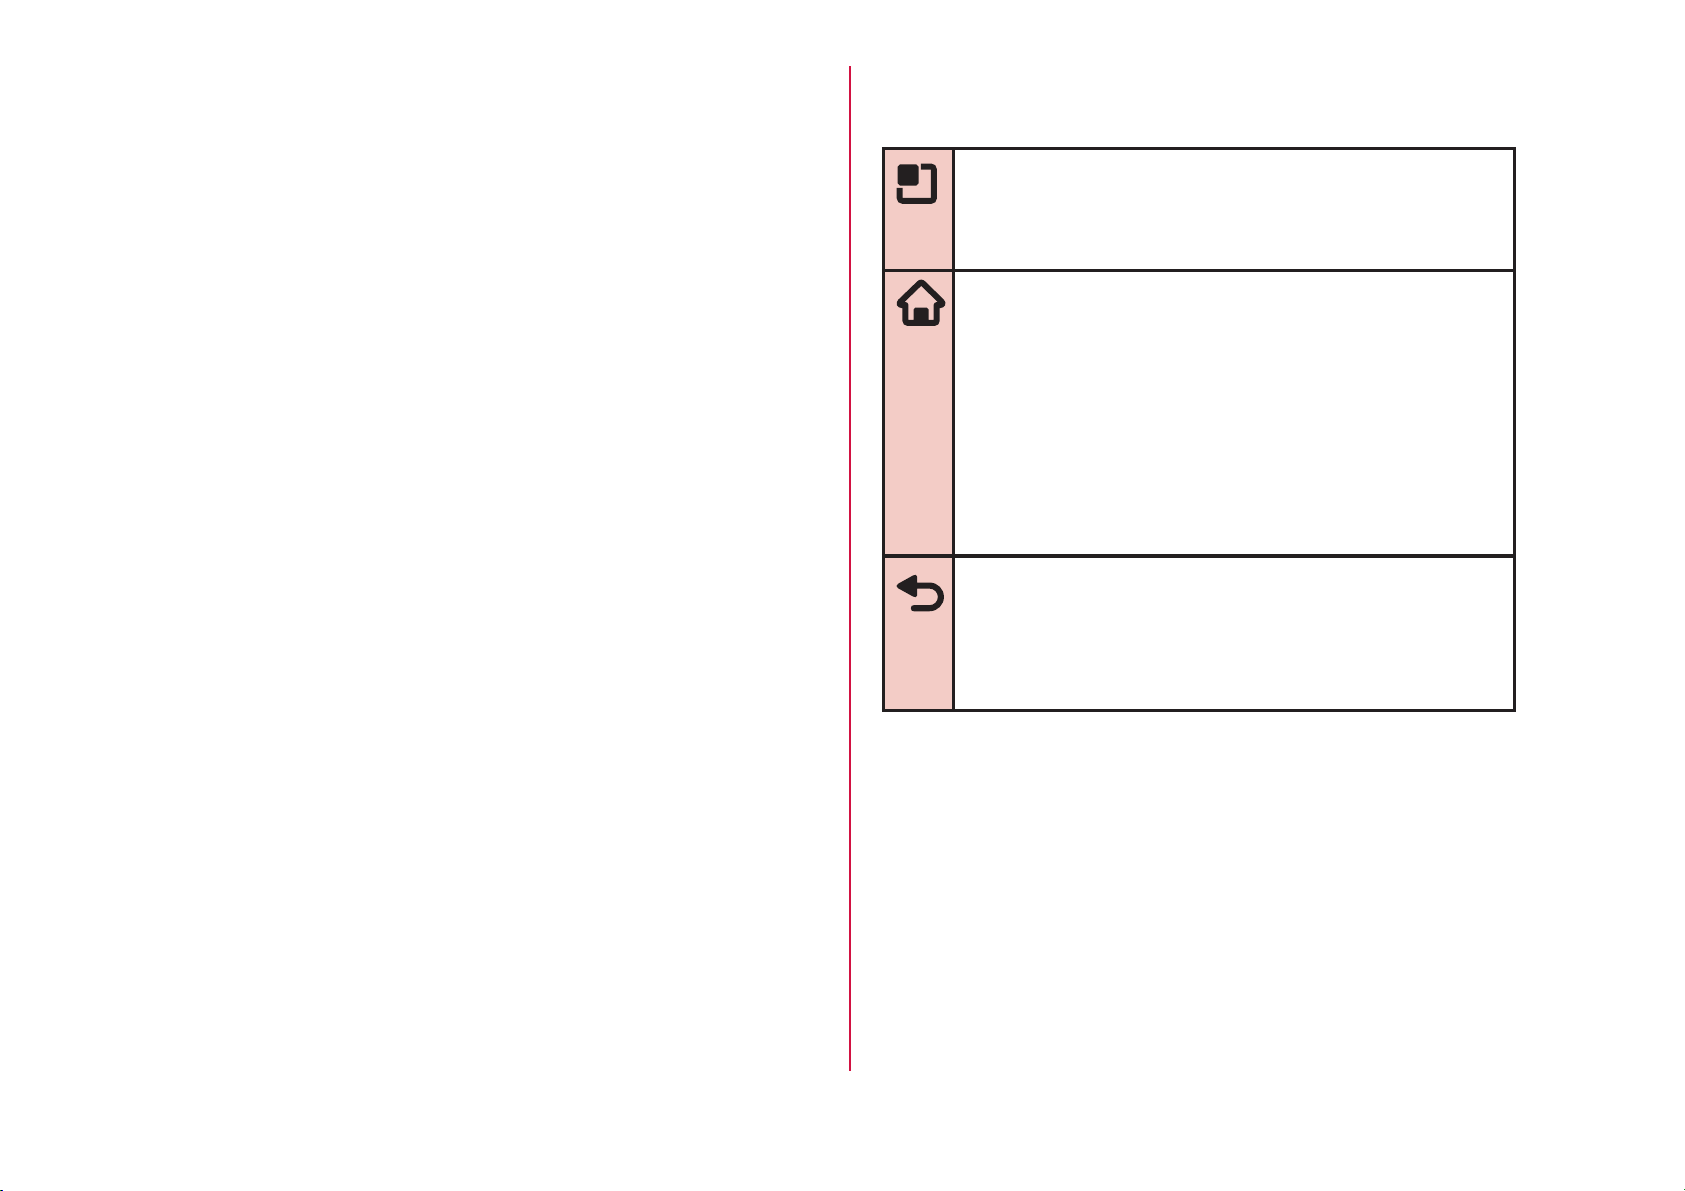
There are three keys on the front of the terminal. The
roles of these keys are shown below.
Menu key
Tap this key to display the options menu for
the current screen or application.
Home key
rIf you tap this key, you will return to the
Home screen, regardless of the application
being used or the screen being displayed.
rIf you touch this key for over 1 second, the
icons of the most recently used applications
appear. Tap an icon to open the application.
(It may be displayed as horizontal screen.)
Back key
Tap this key to return to the previous screen. It
also closes a dialog box, an options menu, the
Notification panel, or the on-screen keyboard.
30
Confirmation and Settings before Using

UIM
UIM is an IC card that stores informations of each
customer.
You cannot use some of the terminal functions if the
UIM is not inserted. Before inserting or removing
the UIM, you must always turn OFF the power and
disconnect the AC adapter cable.
This terminal uses only the UIM. Bring your miniUIM/
FOMA card to a docomo Shop to exchange it.
UIM security codes
The UIM can set security code named PIN code. This
code is set to "0000" at the time of subscription, but you
may subsequently change it. For details about changing
this security code, refer to "Security Code and UIM
Protection" (P111).
Inserting the UIM
Insert a fingernail into the groove in the
back cover, and pull up in the direction
of the arrow (a) while pressing ●part
slightly to remove the back cover
31
Confirmation and Settings before Using

Remove the battery pack (P35), and
insert the UIM into the slot with the gold-
colored IC side facing down
Removing the UIM
Remove the back cover and the battery
pack. Gently press the UIM with your
fingertip and slide it out
32
Confirmation and Settings before Using

Battery Pack
Attaching the Battery Pack
Remove the back cover (P31)
Insert the battery pack in the direction of
the arrow (a) with the "CE" mark facing
up. Ensure that the tabs on the terminal
and the battery pack are aligned with
each other
Check the direction of the back cover
and attach it to the terminal (b). Press
portion to close it firmly (c)
rMake sure there is no gap between the terminal
and the back cover.
34
Confirmation and Settings before Using
Removing the Battery Pack
Remove the back cover (P31)
Put your fingernail into the groove, and
lift out the battery pack in the direction
of the arrow (b), pushing it to the
direction of the arrow (a)
Note
rTurn the power OFF before attaching/removing
the battery pack.
Charging
Battery Pack Life
rThe battery pack is a consumable accessory. The
usage time of the battery per one charge decreases
gradually each time the battery is recharged.
rWhen the usage time from one charge becomes
about half of a new battery pack, the life of the
battery pack is assumed to be almost over. We
recommend that you replace the battery ahead of
time. Refer to "Repairs" on the back of the manual
or consult a specified DOCOMO repair center for
battery exchanging information.
35
Confirmation and Settings before Using
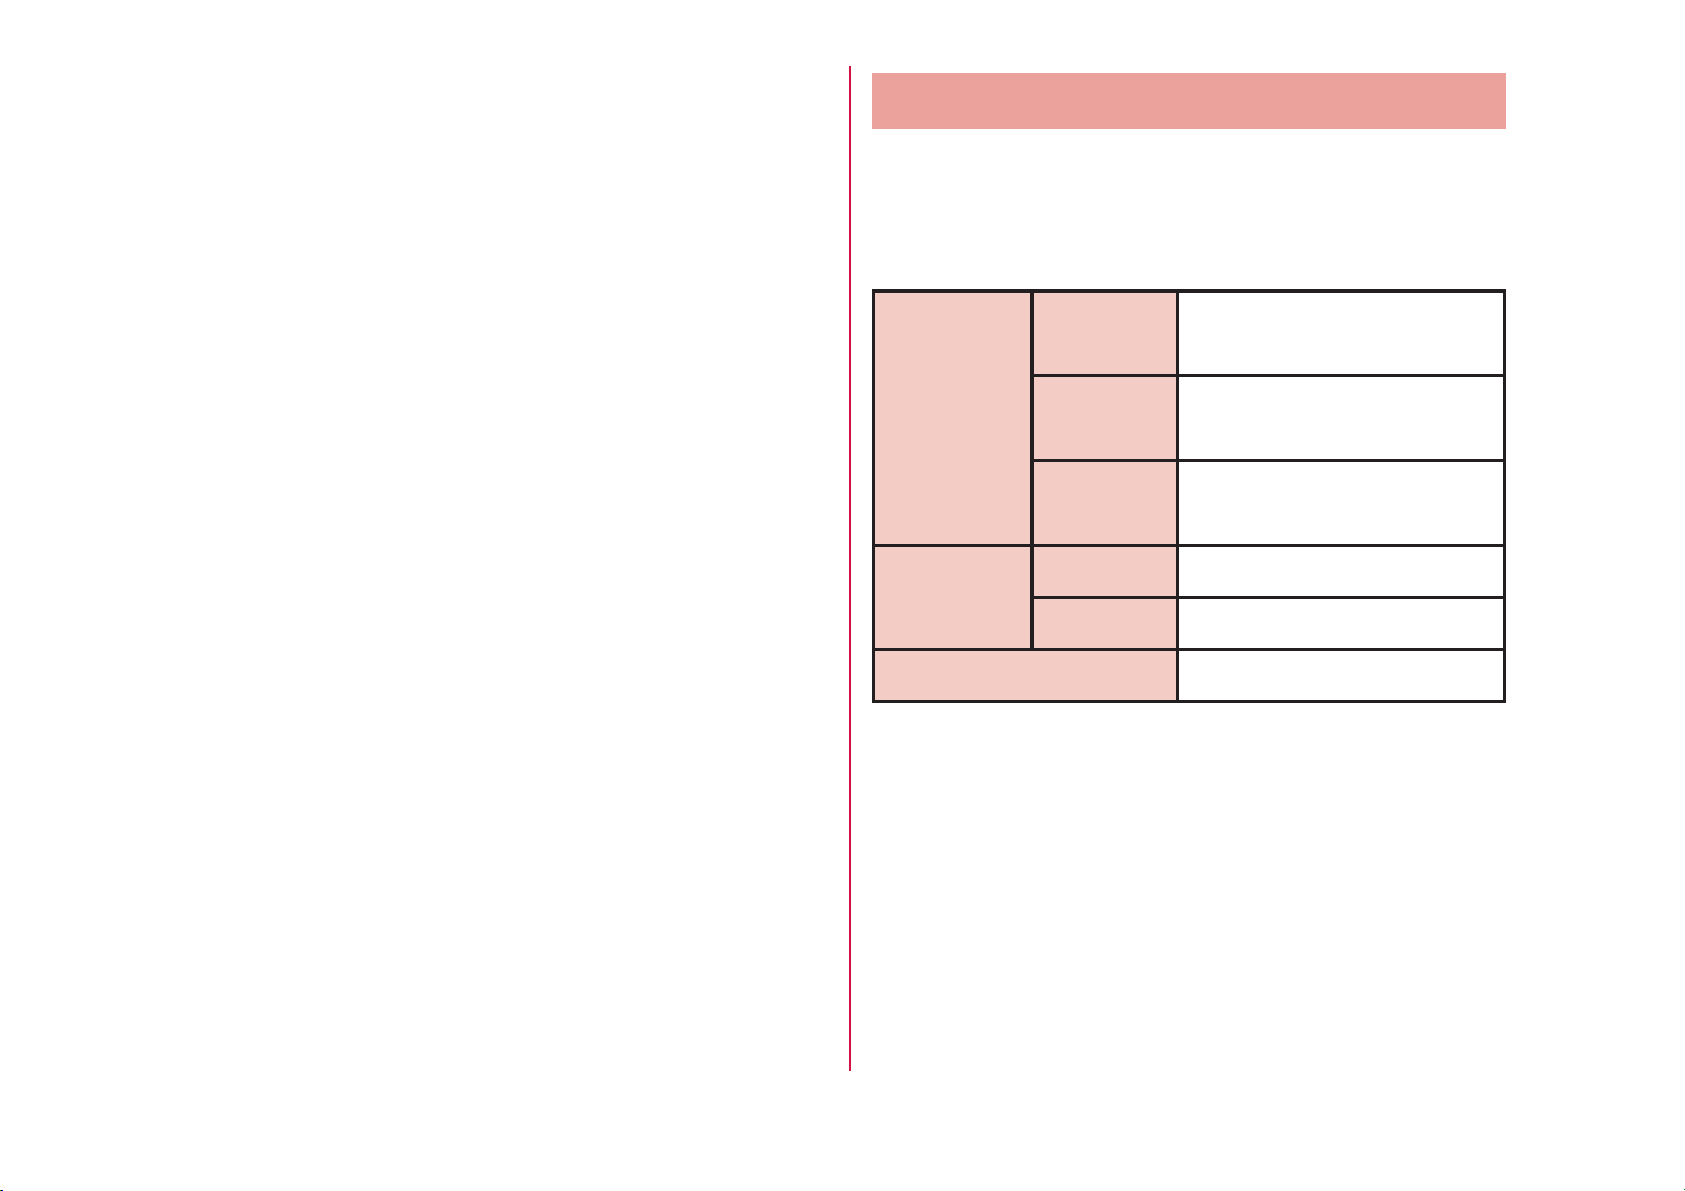
Usage Time (estimate)
A list of the charging time (estimate) of a fully charged
battery is shown below. The usage time varies depending
on the usage conditions and the battery pack condition.
For details, refer to "Main Specifications" (P225).
Continuous
standby
time
Xi/LTE Stationary (Automatic):
Approx. 240 hours
FOMA/3G Stationary (Automatic):
Approx. 300 hours
GSM Stationary (Automatic):
Approx. 240 hours
Continuous
call time
FOMA/3G Approx. 340 minutes
GSM Approx. 240 minutes
1Seg watching time Approx. 240 minutes
36
Confirmation and Settings before Using
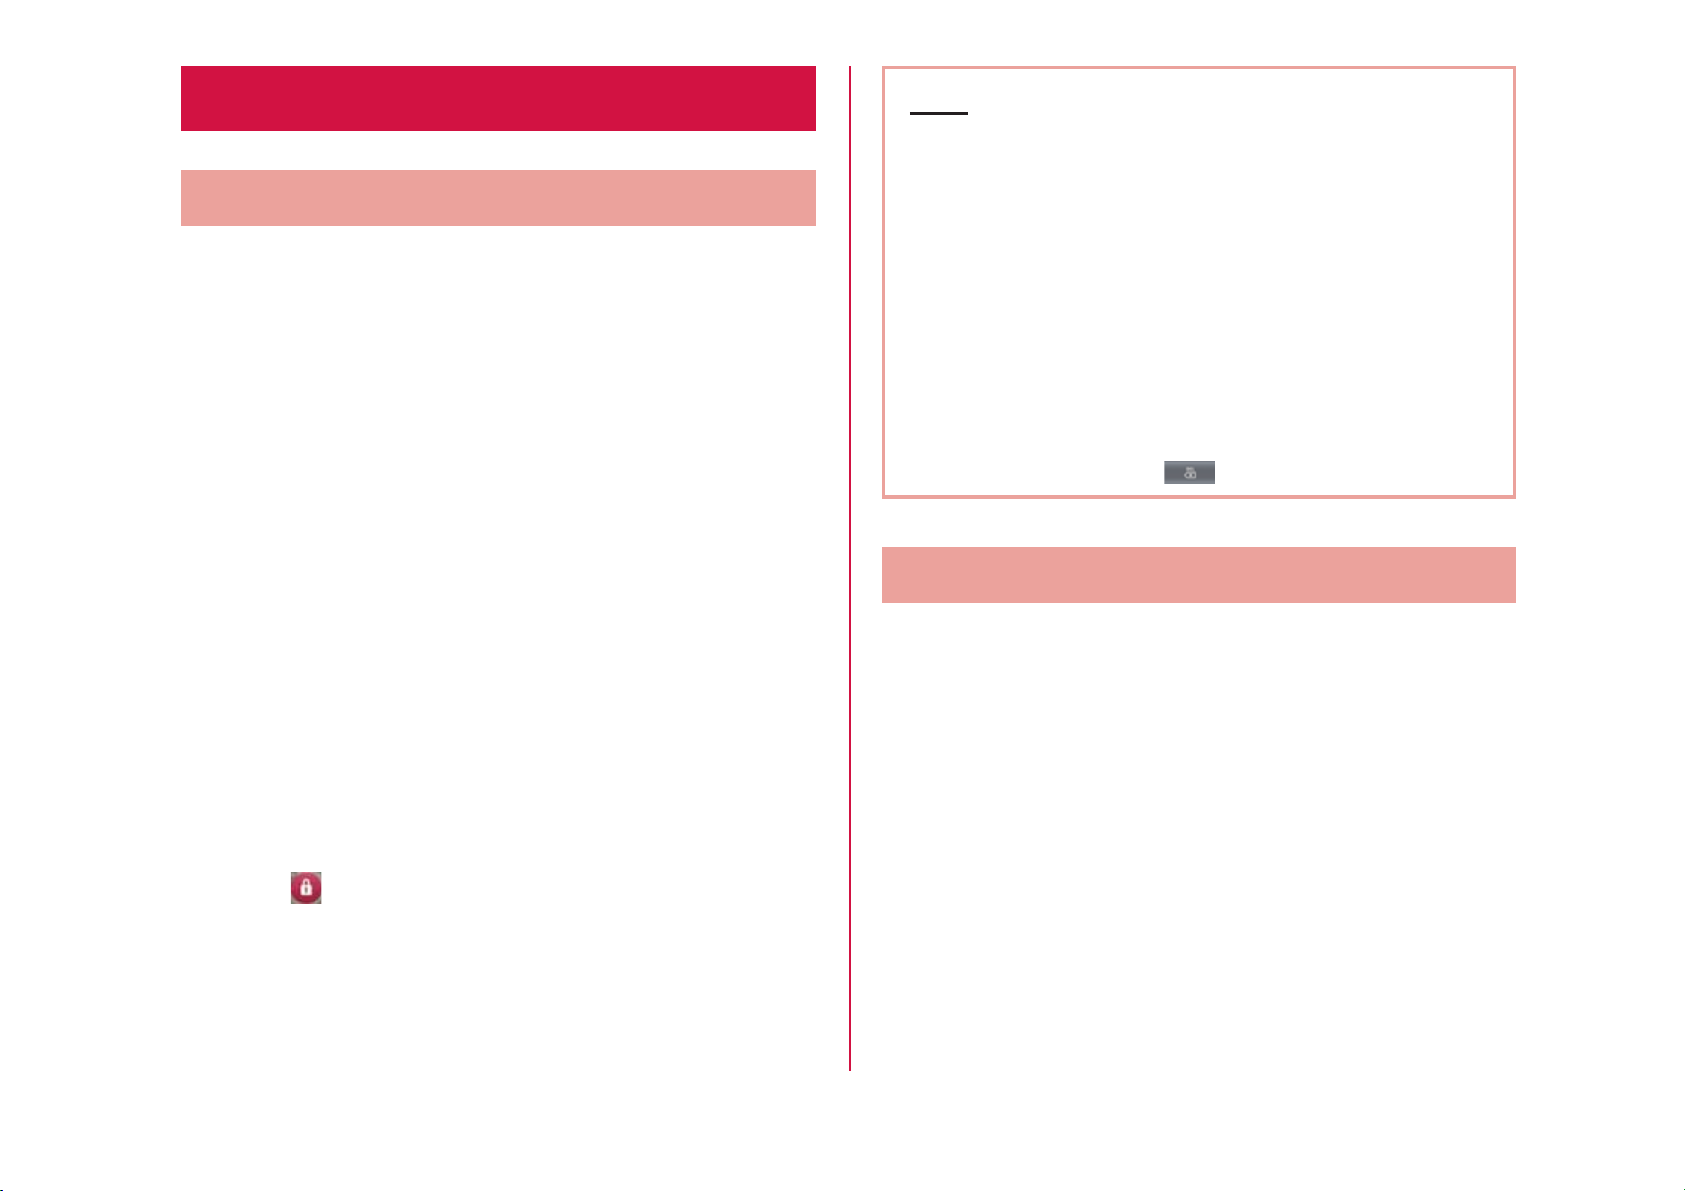
Turning ON/OFF the Power
Turning ON the Power
Press and hold the power key for over 1
second
Tap to release the screen lock.
Note
rThe "Locked" screen appears when the power is
turned ON or when the backlight is turned on.
rIf the screen lock has been set using a screen
unlock pattern, the "Draw pattern to unlock"
screen appears when the power is turned ON.
rIf the screen lock has been set using a PIN code
or password, the "Locked" screen appears
when the power is turned ON. After releasing
the screen lock by following Step 2, enter the
PIN code or password and tap "OK". To correct
the typing error, tap .
Turning OFF the Power
Press and hold the power key for over 1
second
"Power off"
"OK"
40
Confirmation and Settings before Using
Table des matières


