Open Country FG-400SK Caractéristiques techniques

Electric Food Grinder FG-400SK
Care/Use Guide
Guide d’entretien et d’utilisation
Broyeur d’aliments électrique FG-400SK

English
Table of Contents
IMPORTANT SAFEGUARDS ................................................................................... 1
Get to know OPEN COUNTRY® Grinder................................................................2
Assembly Instructions...............................................................................................3
Operating Instructions..............................................................................................4
How to clear Jammed Food ......................................................................................4
Cleaning Instructions.................................................................................................5
Grinding Tips ................................................................................................................5
Sausage Maker Assembly and Tips.........................................................................6
Sausage Maker assembly...........................................................................................7
ONE YEAR LIMITED WARRANTY........................................................................8
Electric Food Grinder FG-400SK
OPEN COUNTRY® is a registered trademark of The Metal
Ware Corporation.
The Metal Ware Corporation
1700 Monroe St., P.O. Box 237
Two Rivers, WI 54241
Ph: (800) 288-4545

1
English
IMPORTANT SAFEGUARDS
- This product is designed for household use only -
When using electrical appliances, basic safety precautions should always be
followed, including the following:
1. READ ALL INSTRUCTIONS BEFORE USING THIS APPLIANCE.
2. The appliance is designed for household use only. It is not intended for
commercial use.
3. To protect against electric shock, do not immerse the Appliance, including
cord and plug, in water or other liquid.
4. Close supervision is necessary when appliance is used near children. This
appliance is not recommended for use by children.
5. Unplug appliance from power outlet when not in use, before assembly or
disassembly of parts, and before cleaning.
6. Do not operate any appliance with damaged cord or plug or after appliance
malfunctions, or has been damaged in any manner. Return the appliance to OPEN
COUNTRY® Factory Service Department for examination, repair or adjustment.
7. Do not place appliance on or near a hot gas or electric burner, or heated
oven.
8. Only use accessory attachments recommended by the manufacturer.
9. Do not use appliance outdoors or for other than intended use.
10. Do not let the cord hang over the edge of a table or touch hot surfaces.
11. Do not operate the appliance continuously for more than 15 minutes. Allow
the appliance to cool for 15 minutes before second operation.
12. Do not use appliance to grind frozen foods or bones.
13. Operate appliance only when all parts are fully engaged and tightened.
14. To reduce risk of injury and damage to appliance keep hands, hair, clothing
and utensils away from moving parts during operation.
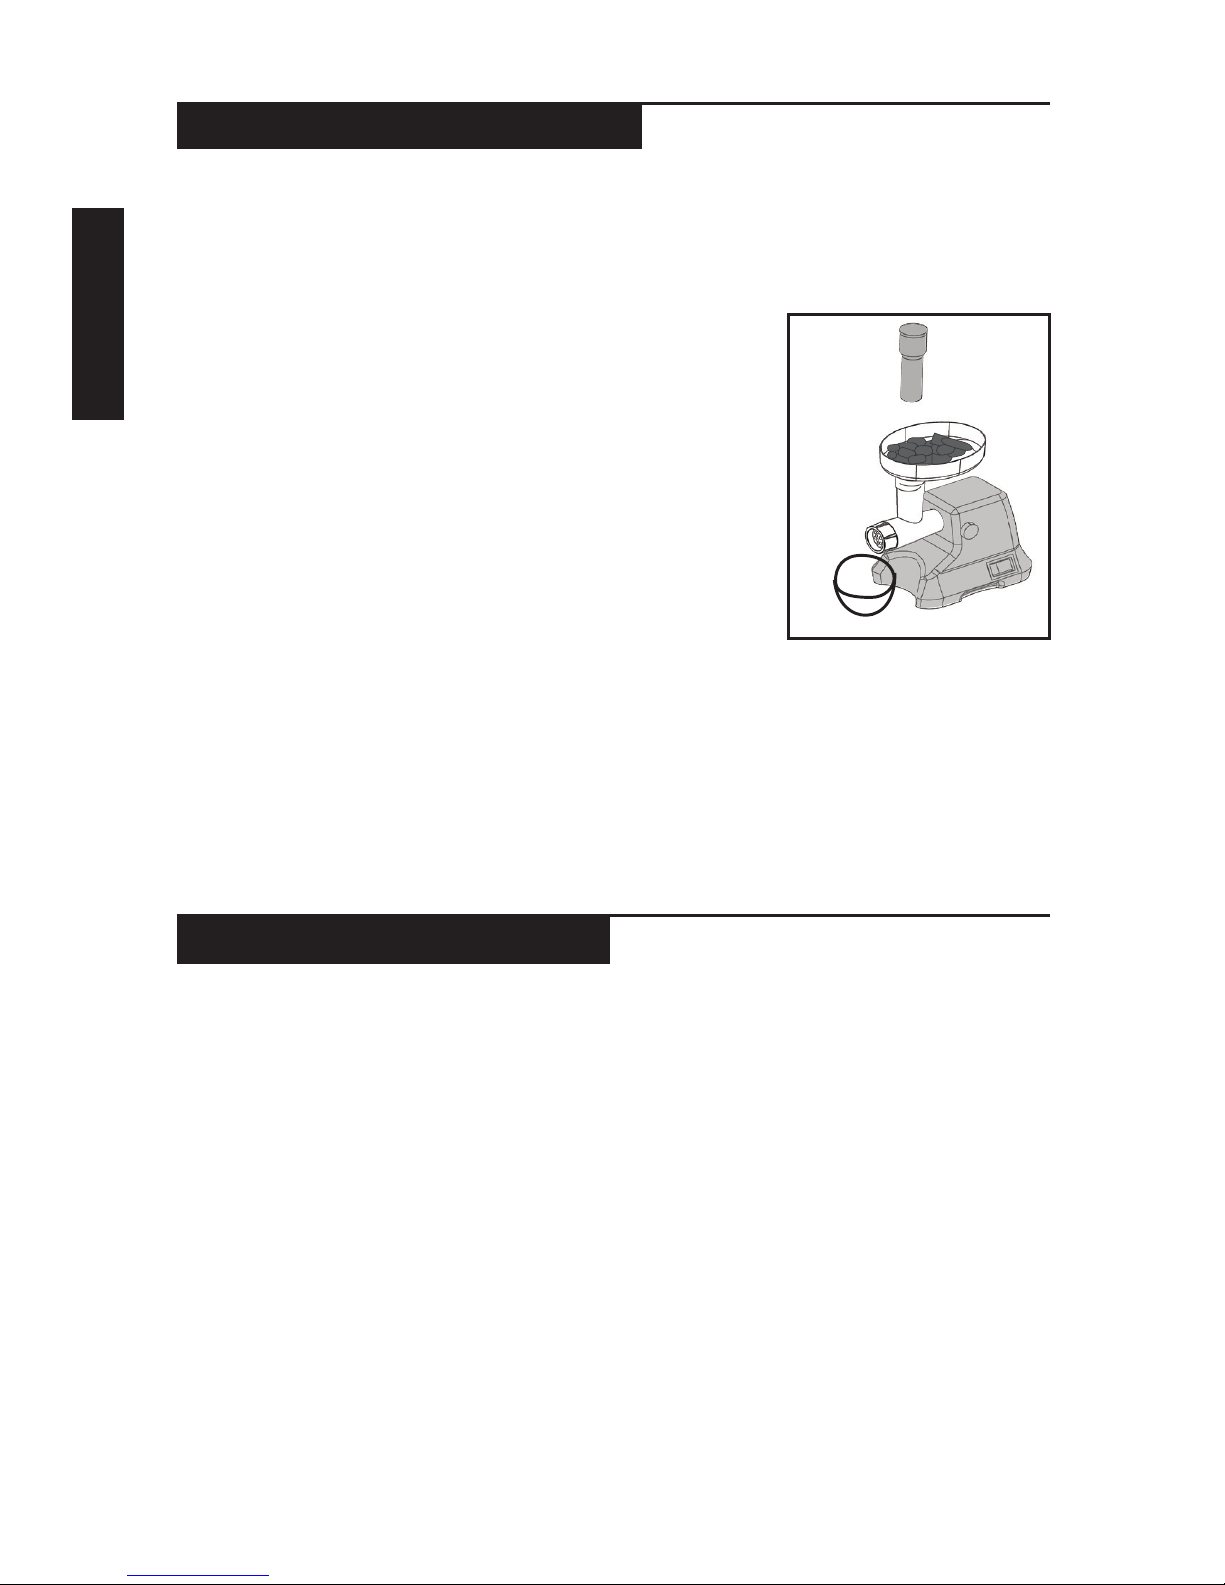
15. NEVER feed appliance by hand, always use the PUSHROD.
16. Place appliance on at and steady support surface when ready for use.
17. Remove all packaging and wash parts before using the rst time.
18. Do not use ngers to scrape food away from discharge disc while appliance
is operating. Cut type injury may result.
SAVE THESE INSTRUCTIONS
Polarized Plug: This appliance has a polarized plug (one blade is wider than the
other). To reduce risk of electric shock, plug is intended to t into polarized
outlet only one way. If the plug does not t fully into the outlet, reverse the
plug. If it still does not t, contact a qualied electrician. Do not try to modify
the plug in any way.
Short Cord Instructions: A short power supply cord is provided to reduce
the risk resulting from becoming entangled in or tripping over a longer cord.
Extension cords may be used if care is exercised in their use. If an extension
cord is used, the marked electrical rating of the cord should be at least as
great as the electrical rating of the appliance. The longer cord should be
arranged so that it will not drape over the tabletop where it can be pulled on
by children or tripped over unintentionally.

2
English
Get to know your OPEN COUNTRY®Food Grinder
Figure 1
03
01
02
04
08
05
06
09
07
10
11
Parts list for FG-400SK
Food Grinder
01 Pushrod
02 Hopper
03 Grinder Base
04 Grinder Head
05 Feed Screw / Auger
06 Cutting Blade
07 Plates: Lg., Med., Sm.
08 Adapter, Sausage
Maker
09 Sausage Cone, Lg./Sm.
10 Ring Nut
11 Wrench, Ring Nut

3
English
Assembly Instructions
1. Carefully unpack unit and examine all packaging to make sure all parts are
included (See page 2)
2. Clean all parts prior to using.
3. Place unit on a at stable surface.
4. Make sure Switch is “OFF” (O)
and power cord unplugged before
assembling.
5. Turn Locking Screw counter-
clockwise several turns. Insert
Grinder Head into Base opening until
seated and tighten Locking Screw.
6. Insert Feed Screw into Grinder
Head, long end spindle rst. Turn
slightly until fully set in Grinder Head.
7. Position Cutting Blade (cut edge facing outward to plate) onto Feed Screw. Make
sure blade is seated over ‘square’ shoulder of Feed Screw or meat will not grind
properly and Cutting Plate may be damaged.
8. Place desired Cutting Plate over end of Feed Screw and against Blade. NOTE:
Make sure “notch’ is aligned with
‘key’ in Grinder Head and seated
against Blade.
9. Thread Ring Nut on Grinder
Head and turn clockwise until tight.
Use Ring Nut Wrench to loosen Nut
after use if needed.
10. Place Food Hopper on top of
Grinder Head.
11. Plug into 120 V outlet and you
are ready to begin grinding.
OPEN COUNTRY® Food Grinder - A Healthier Diet
• With your own OPEN COUNTRY® Food Grinder, you control the ingredients.
You control the amount of fats, salts and other additives, for a healthier diet.
Chunky sandwich spreads, savory appetizers, hearty soups, relishes, homemade
sausage, other meat dishes. . . even cakes are so easy to make.
• You can make sausages out of any foods. Most butcher shops offer casings,
which you purchase fresh, just before you are ready to grind.
• Your OPEN COUNTRY® Food Grinder is intended for processing relatively
small quantities. Meat needs to be cut into relatively small chunks and gristle
should be removed or it will likely clog the Feed Screw assembly. If grinder
clogs, you can easily clear the Feed tube by pressing the REVERSE switch
button.

4
English
OPERATING INSTRUCTIONS
1. Place the unit on a at and stable work surface. Be sure unit is fully
assembled (see Assembly Instructions, page 3).
2. Make sure the Switch is in the “OFF” (O) position.
3. Insert plug into standard 120 Volt electrical outlet, rated 15A minimum.
4. Place a wide, shallow bowl or plate beneath the
Grinder Head to catch ground food.
5. Press Switch to “ON” (I). Always have the unit
running before adding food.
6. Cut food into strips or cubes slightly smaller than
the Hopper opening.
7. Place food into the Hopper and use Pushrod to
gently feed food into the Feed Screw. Do not
force food into the Grinder Head and NEVER use
ngers or other tools, other than recommended by
appliance manufacturer, to feed food into Grinder Head.
8. If the motor slows or stops, this may be due to jammed food. See
instructions below for clearing jammed foods. IMPORTANT - NEVER PUT
YOUR FINGERS INTO THE FOOD HOPPER OPENING WHILE UNIT IS
OPERATING OR PLUGGED INTO ELECTRICAL OUTLET.
9. When you have nished grinding food, press Switch to “OFF” (O), unplug
from electrical outlet and follow cleaning instructions.
How to clear Jammed Foods
1. If the motor slows or stops, press Switch “OFF” (O) immediately.
2. Press the Switch to the REVERSE position for several seconds to clear
jammed food in the Grinder Head.
3. Release the Reverse switch and try operating as usual.
4. If motor slows or stops again, press Switch “OFF” (O) and unplug from
electrical outlet. Follow cleaning instructions to clear the jammed food
completely.

5
English
CLEANING INSTRUCTIONS
1. Always unplug unit when not in use, before inserting or removing parts and
before cleaning.
2. NEVER immerse Base unit in water or other liquids. Wipe Base with damp
cloth and mild detergent. Do not use harsh or abrasive cleaners on Base as
it could damage the nish.
3. Wash all parts, except Base, in hot soapy water, rinse and set aside to
dry. Use care when handling Cutting Blade. NOTE: REMOVABLE PARTS
ARE NOT DISHWASHER SAFE. Dishwasher detergents may cause pitting
and corrosion. Always wash by hand in soapy water.
4. The Blade and Cutting Plates should be coated with cooking oil after
washing and drying. Wrap in grease-proof paper or plastic bag to prevent
corrosion (rust).
5. Store appliance in a dry place.
6. Any other servicing should be performed by an authorized service
personnel.
Grinding Tips
During extended periods of use, fats from meats can build up inside the grinding
head causing motor to strain and slow. If this happens turn off grinder and unplug
cord from outlet. Disassemble and clean grinding head and feed screw.
Fine Cutting Plate - Use for nely ground texture, such as spreads, baby food
or hamburger.
Medium Cutting Plate - Use for ground meat in soups or relishes
Course Cutting Plate - Use for coarsely ground texture, such as nuts,
vegetables or ground meat for chili.
Raw Meat and Fish - These items will have a minimum loss of juices if
thoroughly chilled before grinding. When grinding larger quantities, fats can
build up inside the Grinder Head. If this occurs, disassemble and wash parts
in soapy water, then reassemble. After grinding meat you can clean the Feed
Screw by grinding a slice of bread.
Remove all bones, tough tendons, nut shells, etc. before grinding.
Nuts - Use the Course Cutting Plate and feed nuts into Grinder Head slowly.
Whenever possible, alternate with other ingredients, such as dried fruits or
vegetables.
Bread Crumbs - Best if using dry or toasted bread. Make sure all parts are
free of moisture before starting.

6
English
Sausage Maker Assembly
1. Make sure all parts have been cleansed and dried before assembly
2. Assemble Grinder Head to Base. Secure Grinder Head by turning Locking
Screw clockwise until tight. Be sure the Grinder Head is fully seated into
Base before tightening Locking Screw. NOTE: Notch on Grinder Head
aligns with Key in Base.
3. Insert Feed Screw into Grinder Head, long
end of spindle rst. Turn slightly until fully
set in Grinder Head.
4. Place Sausage Maker Adapter and Sausage
Cone onto end of Feed Screw.
5. Insert Ring Nut over Sausage Cone and
thread onto end of Grinder Head, turn
clockwise until tight. Use Wrench if needed.
6. Insert Food Hopper on top of Grinder Head.
Sausage Making Tips
• Pork Butt is a good selection of meat for sausage making because of the
ideal proportions of lean and fat.
• After stufng you can clean the Feed Screw by grinding a slice of bread.
• Stufng is made a lot easier if you consider it a two-person job. Prick the
casing with a pin to allow the air to escape while stufng.
• Fresh sausage is readily perishable and has a short shelf life of 3-4 days
at refrigerator temperature. Up to 4-6 months in freezer.
• Average weight of fresh sausage (8 inch link) is 6 ounces.
03
08
09
04
11
10

7
English
Sausage Maker Assembly
1. Casings (natural or synthetic) are available in some grocery stores, most
butcher shops, meat packing plants and butcher supply houses. Local
butchers or giant supermarkets that make their own sausage are your
best bets.
2. Meats must be coursely ground and seasoned before making sausage links.
3. Select Sausage Cone based on size of casing to be used.
4. Before stufng, insert two ngers into one end of casing to open, hold
under the faucet and let water run the entire length. This will wash away
some of the packing salt. If you don’t clean well, you’re sausage will turn
out saltier than when you tested the seasoning.
To Stuff Casings:
1. Gather all of casing over Sausage Cone, except the last 4 inches.
2. Place seasoned meat into Food Hopper an dpress Switch “ON” (I).
3. Use Pushrod to push seasoned meat into Grinder Head. As you push mix
through the Grinder, it will stuff your casing. NOTE: Stuff casing loosely,
as some sausages will expand during cooking.
4. As casing begins to ll, tie-off the end with
string.
5. Distribute meat through casing and twist
into links as it lls to obtain the desired size
adn shape.
6. When nished or dacing is full, press Switch
“OFF” (O).
7. Unplug unit from electrical outlet and clean
thoroughly by following cleaning instructions
given in this book.

8
English
ONE YEAR LIMITED WARRANTY
This appliance is warranted for one year from date of original purchase
against defects in material and workmanship. This warranty does not cover
transportation damage, misuse, accident or similar incident. This warranty
gives you specic legal rights and you may have other rights, which vary
from state to state. This product is intended for household use only, not for
commercial use. Warranty does not cover commercial use.
Your new OPEN COUNTRY® appliance comes equipped with numerous safety
features. Any attempt to interfere with the operation of these safety features
makes this warranty null and void. In the event we receive an appliance for
service that has been tampered with, we reserve the right to restore it to its
original state and charge for the repair.
For service in warranty - Defective products may be returned, postage
prepaid, with a description of the defect to: The Metal Ware Corporation,
1700 Monroe Street, Two Rivers, Wisconsin 54241, for no-charge repair or
replacement at our option. Must include proof of purchase or copy of original
bill of sale when returning product for warranty service.
Please call Customer Satisfaction at 1-800-288-4545 to obtain a Return
Authorization before shipping.
• For service in warranty, follow instructions set forth in warranty. When
ordering new parts, make sure that you always mention the model number
of the product.
• Call us on our toll free number, 1-800-288-4545 and tell us about your
problem.
• If we instruct you to send all or part of your appliance to us for repair
or replacement, our Customer Satisfaction representative will provide
a Return Authorization number (this number noties our receiving
department to expedite your repair). Pack your unit carefully in a sturdy
carton with sufcient padding to prevent damage because any damage
caused in shipping is not covered by the warranty.
• Print your name, address and Return Authorization number on the carton.
• Write a letter explaining the problem. Include the following: your name,
address and telephone number and a copy of the original bill of sale.
• Attach the sealed envelope containing the letter inside the carton. Insure
the package for the value of the OPEN COUNTRY® appliance and ship
prepaid to:
Attn: Factory Service Dept.
The Metal Ware Corporation
1700 Monroe Street
Two Rivers, WI 54241, USA
Table des matières
Langues :
Autres manuels Open Country Broyeur


