Nexus NX1000 Manuel utilisateur
Installation and Operation Manual
English
Installation and Operation Manual
English
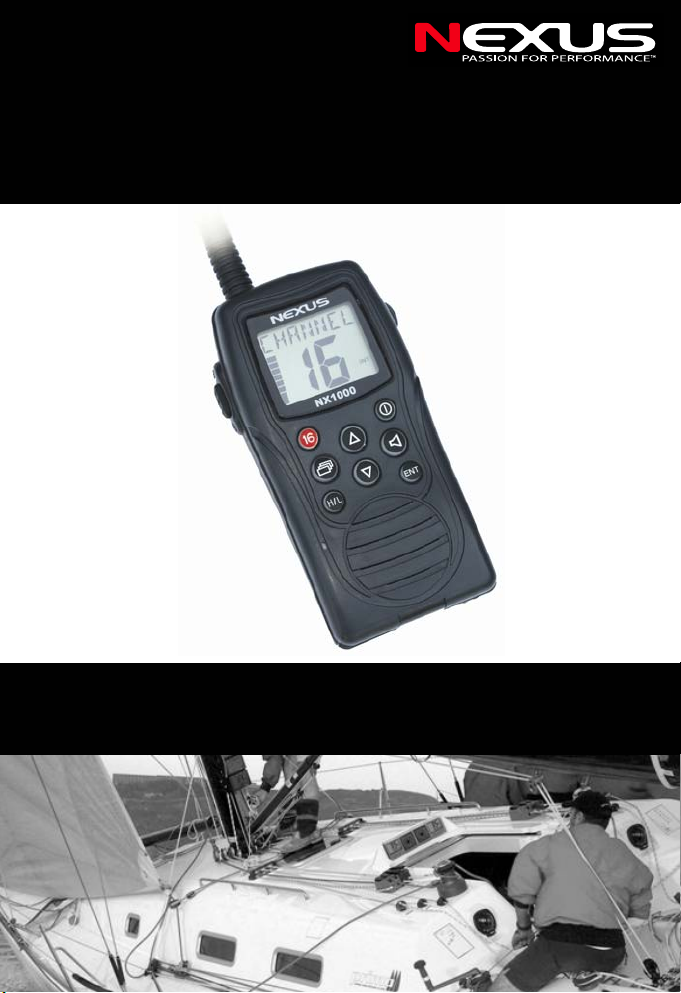
NX1000
- Handheld VHF Radio -

VHF NX1000
1

VHF NX1000
2
IN CASE OF EMERGENCY
If your vessel requires assistance, contact other vessels or the Coast
Guard by sending a distress call on Channel 16.
USE CHANNEL 16!
EMERGENCY CALL PROCEDURE
1. MAYDAY MAYDAY MAYDAY.
2. THIS IS “Name of vessel”, followed by:
3. Your call sign or other indication of the vessel.
4. LOCATED AT “Your location”
5. The nature of the distress and assistance required.
RECOMMENDATION
CLEAN THE TRANSCEIVER THOROUGHLY WITH FRESH WATER
after exposure to saltwater, air dry it before operation. Otherwise, the
transceiver’s keys, switches and controllers may become inoperable
due to salt crystallization.
IMPORTANT
READ ALL INSTRUCTIONS carefully and completely before using the
transceiver.
SAVE THIS INSTRUCTION MANUAL, This manual contains
important operating instructions for the NX1000.
FEATURES
•Waterproof construction
Built to a high standard to withstand the punishing marine
environment, the NX1000 meets the IPX7 standard.
•Dual watch function
A convenient function that allows you to monitor the distress channel
(Ch 16) while receiving a second channel of your choice—dual watch.

VHF NX1000
3
•Large LCD, easy-to-read
With dimensions of 32(H) × 39(W) mm, the NX1000’s function display
is easy to read and shows operating conditions at a glance. Backlight
can be adjusted to suit your preference.
•Easy-to-use
8 large buttons on the front panel provide convenient operation. The
independent volume and channel buttons are located on the front
panel for convenient one-hand operation.
PRECAUTION
•WARNING! NEVER hold the transceiver in such a
way that the antenna is very close to, or touching exposed
parts of the body, especially the face or eyes, while
transmitting. The transceiver will perform best if the
microphone is 5 to 10 cm away from the lips and the
transceiver is vertical.
•AVOID using or placing the transceiver in direct sunlight or
in areas with temperatures below –15°C or above +55°C.
•KEEP the transceiver out of the reach of children.
•KEEP the transceiver at least 1 metre away from your
vessel’s magnetic navigation compass.
•BE CAREFUL! The NX1000 is built to be fully
waterproof, corresponding to the IPX7 industry standard, (1
m depth for 30 min.). However, once the transceiver has
been dropped, waterproofing cannot be guaranteed due to
the fact that the transceiver may be cracked, or the
waterproof seal may have been damaged, etc.
•MAKE SURE the flexible antenna and battery pack are
securely attached to the transceiver, and that the antenna
and battery pack are dry before attachment. Exposing the
inside of the transceiver to water may result in serious
damage to the transceiver.

VHF NX1000
4
Contents
RECOMMENDATION................................................................................ 2
IMPORTANT.............................................................................................. 2
FEATURES................................................................................................ 2
PRECAUTION ........................................................................................... 3
1OPERATION RULES................................................................... 5
1.1 Priorities.................................................................................. 5
1.2 Privacy.................................................................................... 5
1.3 Radio licenses ........................................................................ 5
1.3.1 Ship station license ............................................................ 5
1.3.2 Operator’s license .............................................................. 5
2INSTALLATION AND ATTACHMENTS ......................................6
2.1 Installation............................................................................... 6
2.2 Accessories ............................................................................ 6
2.3 Attachments............................................................................ 7
2.3.1 Flexible antenna................................................................. 7
2.3.2 Hand strap.......................................................................... 7
3PANEL DESCRIPTION................................................................ 8
3.1 Front, top and side panels ...................................................... 8
4FUNCTION DISPLAY ................................................................ 10
5BASIC OPERATION.................................................................. 11
5.1 Channel selection ................................................................. 11
5.1.1 Channel 16....................................................................... 11
5.1.2 Specific channels ............................................................. 11
5.1.3 Weather channels for USA and Canada .......................... 11
5.2 Normal channel selection ..................................................... 12
5.3 Adjusting the volume and squelch levels.............................. 12
5.4 Receiving and transmitting ................................................... 13
5.4.1 Receiving ......................................................................... 13
5.4.2 Adjust transmitter power .................................................. 13
5.4.3 Transmitting ..................................................................... 13
6MENU......................................................................................... 14
6.1 Dual watch ............................................................................ 14
6.2 Automatic KEYLOCK function .............................................. 14
6.3 Automatic backlight function................................................. 15
7TROUBLE SHOOTING.............................................................. 16
8SPECIFICATIONS ..................................................................... 16
8.1 General ................................................................................. 16
8.2 Transmitter............................................................................ 16
8.3 Receiver • ............................................................................. 17
9DECLARATION OF CONFORMITY .......................................... 18
10 WARRANTY............................................................................... 20

VHF NX1000
5
1 OPERATION RULES
1.1 Priorities
• Read all rules and regulations pertaining to priorities and keep an up-
to-date copy handy. Safety and distress calls take priority over all
others.
• You must monitor Channel 16 when you are not operating on
another channel.
• False or fraudulent distress calls are prohibited under law.
1.2 Privacy
• Information overheard but not intended for you cannot lawfully be
used in any way.
• Indecent or profane language is forbidden.
1.3 Radio licenses
1.3.1 Ship station license
When your craft is equipped with a VHF FM transceiver you must be
in possession of a current radio station license before using the
transceiver. It is unlawful to operate a ship station which is not
licensed. Inquire through your dealer or the appropriate government
agency for a Ship-Radiotelephone license. This license includes the
call sign that is your craft’s identification for radio purposes.
1.3.2 Operator’s license
A restricted Radiotelephone Operator Permit is the license most often
held by small vessel radio operators when a radio is not required for
safety purposes. The Restricted Radiotelephone Operator Permit must
be posted near the transceiver or be kept with the operator. Only a
licensed radio operator may operate a transceiver. However, non-
licensed individuals may talk over a transceiver if a licensed operator
starts, supervises, ends the call and makes the necessary log entries.
A current copy of the applicable government rules and regulations is
only required to be on hand for vessels in which a radio telephone is
compulsory. However, even if you are not required to have these on
hand it is your responsibility to be thoroughly acquainted with all
pertinent rules and regulations.

VHF NX1000
6
2 INSTALLATION AND ATTACHMENTS
2.1 Installation
Follow the picture below to install a complete transceiver:
2.2 Accessories
Number Supplied accessories Qty.
(1) 4 pcs. AA Batteries (not supplied) 4
(2) Battery lid 1
(3) Pull ring 1
(4) Battery fixer 1
(5) Belt clip 1
(6) Flexible antenna 1
(7) Hand strap 1

VHF NX1000
7
2.3 Attachments
2.3.1 Flexible antenna
Connect the supplied flexible antenna to the antenna connector.
• NEVER HOLD by the antenna when carrying the transceiver.
• Transmitting without an antenna may damage the transceiver.
2.3.2 Hand strap
Pass the hand strap through the loop on the side of the transceiver as
illustrated below for easy carrying.

VHF NX1000
8
3 PANEL DESCRIPTION
3.1 Front, top and side panels
1. External audio jack
2. LCD display
3. POWER SWITCH/CANCEL button. Press and hold to turn power
ON and OFF. Cancel current task with a short press on this button.
4. UP button select an operation channel.
5. VOLUME and SQUELCH button A short press on this button and
the display will show a number corresponding to the VOLUME level
that was set initially or before by the user. A second press on this
button and the display will show a number corresponding to the
SQUELCH level that was set initially or before by the user. Adjust
VOLUME and SQUELCH levels with the UP or DOWN buttons. After
5 SEC (without action) the display will return to showing the main
screen. Enable the MONITOR function with a long press.
6. DOWN button. Select an operation channel. Select a preference
function in MENU mode.
7. ENT button. • Set the current channel as a tag channel when short
pressed. Clear current tag channel’s tag with a second short press.
Confirm a preference selection in MENU mode with a short press.
8. SPEAKER
9. MICROPHONE
10. H/L button. Used to alternate power output between 2W and 1W
transmission power

VHF NX1000
9
11. .MENU button.Press MENU to access more functions and the
preference settings. Display shows D/WATCH, Use UP or DOWN
button to select a preference function. Press to confirm you
selection. To exit current menu mode, press the CANCEL button or
press CH16 button.
12. CHANNEL 16 button. Press the button for instant access to
CHANNEL 16.This is also the “HOME” button, enabling the user to
return to channel 16 from any other function. In HUNTS channels,
this button enables the return to the main screen but not channel 16
when pressed.
13. PTT button. Push and hold to transmit; release to receive.
14. ANTENNA CONNECTOR Connects the supplied antenna.
Table des matières
Autres manuels Nexus Radio


