nedis WCAM130GN Manuel utilisateur
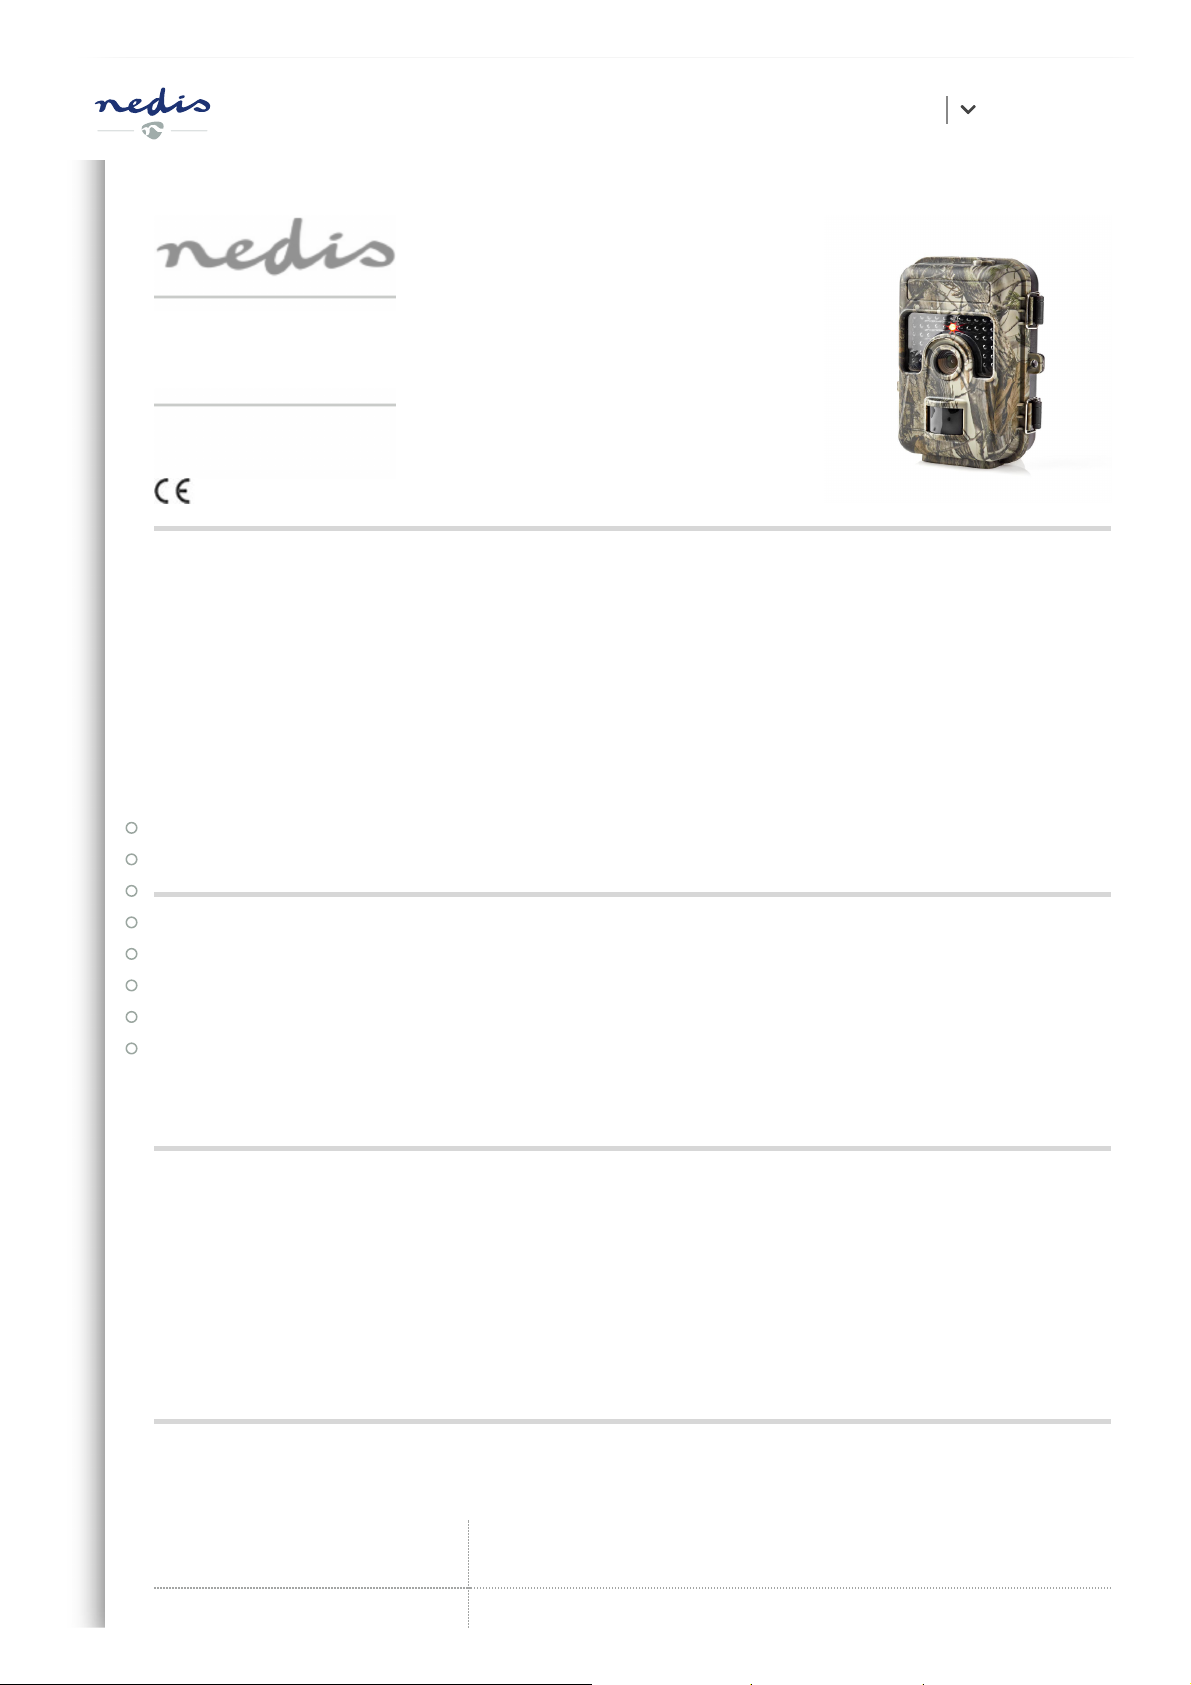
Wildlife camera
Article number: WCAM130GN
Nedis BV
De Tweeling 28, 5215 MC ’s-Hertogenbosch, The Netherlands 06/19
Preface
Thank you for purchasing the Nedis WCAM130GN.
This document is the user manual and contains all the information for correct, ecient and
safe use of the product.
This user manual is addressed to the end user. Read this information carefully before
installing or using the product.
Always store this information with the product for use in the future.
Product description
The Nedis WCAM130GN is a wildlife camera for indoor and outdoor use.
The product is used to take photos and record video images of animal and human activity
when it detects movement.
Intended use
This product is exclusively intended as a wildlife camera.
Consult the local laws and regulation for wildlife cameras before installing and using.
Any modication of the product may have consequences for safety, warranty and proper
functioning.
Specications
Product Wildlife camera
User manual EN

Article number WCAM130GN
Dimensions (l x w x h) 145 x 110 x 74 mm
Input voltage DC 6 V
Batteries AA batteries, alkaline/NiMH (4x/8x)
Memory MicroSD card (2 - 32 GB) (not included)
PIR sensor Detection range = 20 m, below 25 °C
Viewing angle = 60 degrees
Camera lens Focal ratio = 1.8
Viewing angle = 90 degrees
Image sensor 3 MP colour CMOS
Image resolution 16 MP / 12 MP / 8 MP / 5 MP / 3 MP / 1 MP
Image format .jpg
Video resolution 1920 x 1080 px / 1280 x 720 px / 720 x 480 px / 640 x 480
px / 320 x 240 px
Frame speed 30 fps
Video format .avi
Trigger time 0.6 seconds
Time lapse Up to 24 hours
Trigger interval 5 seconds - 1 hour
Images per trigger 1 - 3
Infrared ash 940 nm
IP rating IP66
Operating temperature -30 °C – 70 °C
Battery life 4 months (with 4 x AA batteries)
8 months (with 8 x AA batteries)
User manual EN

Current
≤ 160 mA (at DC-6V)
≤ 950 mA (when infrared light lights up)
≤ 0.1 mA (standby)
Low battery alarm 4.5 V
Safety instructions
WARNING
• Only use the product as described in this manual.
• Do not use the product if a part is damaged or defective. Replace a damaged or
defective device immediately.
• Do not drop the product and avoid bumping.
• This product may only be serviced by a qualied technician for maintenance to reduce
the risk of electric shock.
• Disconnect the product from the electrical outlet and other equipment if problems
occur.
• Do not expose the product to water or moisture.
• For battery safety, consult the manual of the batteries.
Parts list
User manual EN


w
Power switch
e
DC protection rubber
r
DC power port
t
Micro SD card slot
y
Tripod mount
u
Mini USB port
i
Battery cover
o
Battery slots
p
Lock buckles
a
Strap hole
s
Lock hole
d
Infrared light
f
Camera lens
g
PIR sensor
Installation
Check the contents of the package
Check that all parts from the parts list are present and that no damage is visible on the
parts. If parts are missing or damaged, contact the Nedis B.V. service desk via the website:
www.nedis.com.
Power supply and memory
The camera works either on batteries or with a DC-6V power cable. A microSD card is
required to take pictures or video images. These items are not included.
User manual EN

Insert or change batteries
4
To take pictures and video images at night with the infrared light, battery voltage
should be more than 4.5V.
1. Open the lock buckles
p
.
2. Open the wildlife camera.
3. Pull the battery cover
i
out of the housing.
4. Take the empty batteries out of the battery slots
o
if present.
5. Insert either 4 or 8 batteries in the battery slots
o
. In case you use 4 batteries, place
them all in the same battery compartment.
6. Place the battery cover
i
on the housing.
7. Close the lock buckles
p
.
Plug in DC-6V power cable
User manual EN

4
DC-6V power cable is not included.
1. Lift the DC protection rubber
e
located on the bottom of the camera.
2. Plug a DC-6V power cable into the DC power port
r
.
3. Plug the other end of the DC-6V power cable into a power outlet.
Insert or change memory card
4
Use a microSD card with a maximum of 32 GB storage capacity.
1. Open the lock buckles
p
.
User manual EN

2. Open the wildlife camera.
3. Take the previous microSD card out of the microSD card slot
t
if present.
4. Insert the new microSD card into the microSD card slot
t
.
5. Close the wildlife camera.
6. Close the lock buckles
p
.
Attachment
There are two ways to attach the camera: With the camera strap
2
or with the tripod
mount
y
.
Attach with camera strap
To attach the camera with the included camera strap, follow these steps:
1. Open the strap buckle
3
.
2. Guide the camera strap
2
through the strap holes
a
on the back of the camera.
3. Bind the camera strap
2
around a still object (e.g. a tree).
4. Close the strap buckle
3
.
Lock the camera
There is a lock hole
s
on the side of the camera. Here you can attach a lock to prevent
unauthorized users from opening the camera.
Use
Automatic mode (ON)
Switch to automatic mode
Slide the power switch
w
to the ON position to enter the automatic mode.
The display shows a countdown from 15 to 0. The display turns off and the camera is now
in standby mode. The camera automatically takes pictures or records video images as
soon as an object enters the detection range of the sensor. When the object leaves the
detection range, the camera will stop recording and goes back into standby mode. All
pictures and video images are stored on the microSD card.
Manual mode (SET)
User manual EN

Switch to manual mode
Slide the power switch
w
to the SET position to enter the manual mode.
In this mode you can take pictures or record video images manually. When you do not use
the camera for 3 minutes, the display turns off. After 10 minutes of inactivity, the camera
turns off completely.
Take a picture
Press RIGHT to take a picture in the manual mode.
Record video
1. Press UP to enter the video mode. The video icon appears in the top left of the display.
2. Press RIGHT to start recording. A blinking red circle and the image time appear in the
top of the display.
3. Press RIGHT again to stop recording. The red circle and the image time disappear.
4. Press UP to return to the picture mode after recording. The picture icon appears in the
top left of the display.
View pictures and video images
To view pictures and video images on the display, follow these steps:
1. Slide the power switch
w
to the SET position to enter the manual mode.
2. Press OK to enter the viewing mode.
3. Use UP and DOWN to navigate through pictures and video images.
4. Press RIGHT to start or stop viewing a video.
5. Press MENU after you stop viewing a video to re-enable navigation through pictures
and video images.
6. Press OK to exit the viewing mode. The camera returns to the manual mode.
Picture and video menu navigation
Delete pictures or video images
1. Slide the power switch
w
to the SET position to enter the manual mode.
2. Press OK to enter the viewing mode.
3. Use UP and DOWN to navigate to the picture or video image you want to delete.
User manual EN

4. Press MENU to enter the picture and video images menu. Delete one is selected.
a. To delete the picture or video image currently displayed, press OK.
b. To delete all pictures and video images on the microSD card, follow these steps:
1) Use UP or DOWN to navigate to Delete all.
2) Press OK to conrm.
5. Press MENU again to exit the picture and video images menu. The camera returns to
the viewing mode.
Settings menu
Settings menu descriptions
Setting Description
Mode Select whether the camera takes pictures,
video images or both.
Language Select the desired operating language for
the camera.
Photo size
Select the resolution of pictures. Higher
resolution increases the quality but
creates larger les that take more of the
microSD card capacity. Higher resolution
may reduce the shutter speed.
Video size
Select the resolution of video images.
Higher resolution increases the quality but
creates larger les that take more of the
microSD card capacity.
Photo No.
Select the number of photos taken in
sequence per trigger in the automatic
mode.
Video length
Select the length of the video images in
the automatic mode, ranging from 3
seconds to 30 seconds.
Interval Select the shortest length of time that the
User manual EN
Autres manuels pour WCAM130GN
1
Table des matières
Autres manuels nedis Caméra de repérage


