MSI DigiVOX mini Manuel utilisateur

-1-
DIGI VOX mini Installation Manual
Contents
V1.0
Chapter 1 : DIGI VOX mini Dongle Hardware Installation........................................................................3
1.1 Package Contents...............................................................................................................................3
1.2 System Requirements.........................................................................................................................3
1.3 Hardware Installation........................................................................................................................3
Chapter 2 : DIGI VOX mini Drivers Setup...................................................................................................4
Chapter 3 : DVB-T PLUS Software Installation...........................................................................................5
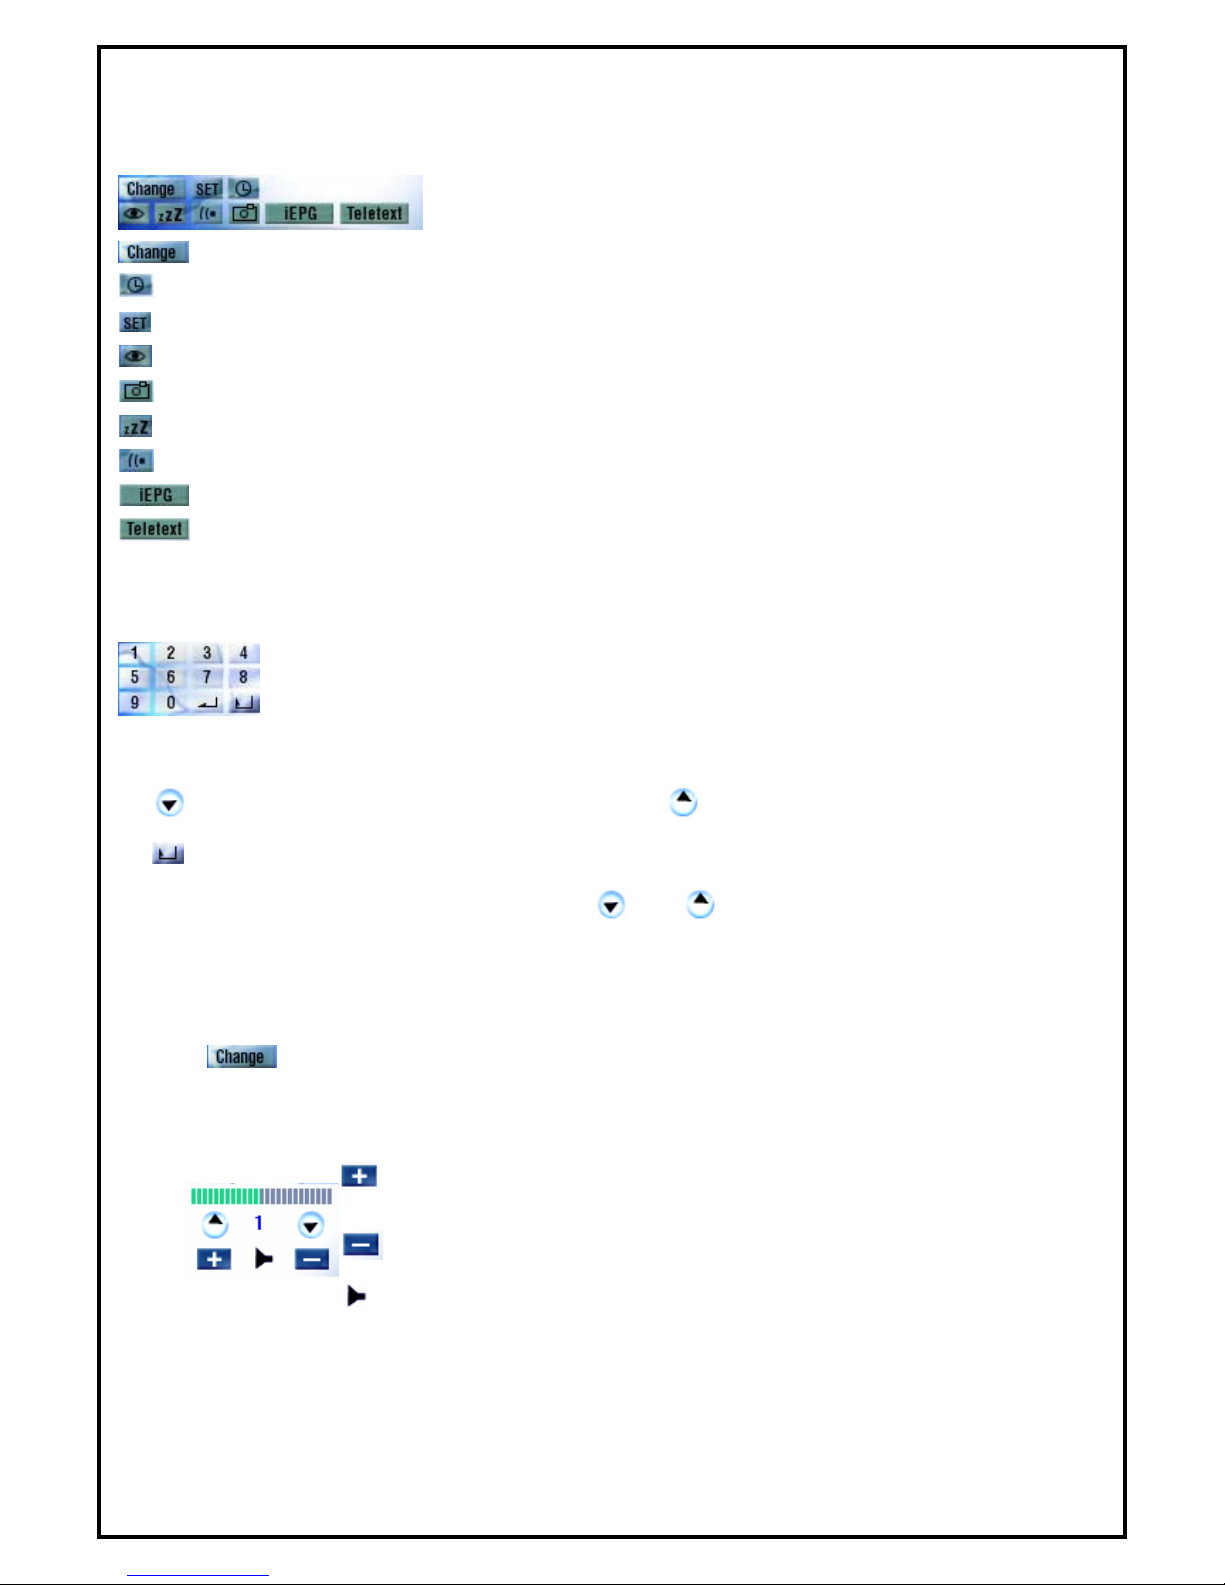
Chapter 4 : DVB-T PLUS Software Functions .............................................................................................7
Chapter 5: DTVR.............................................................................................................................................8
5.1 System Setting and Channel Scan ....................................................................................................8
5.2 Main Panel..........................................................................................................................................9
5.2.1 Information Window ..............................................................................................................9
5.2.2 Basic Tools..............................................................................................................................10
5.2.3 Channel Tuning.....................................................................................................................10
5.2.4 Input Source ..........................................................................................................................10
5.2.5 Volume Adjust .......................................................................................................................10
5.2.6 Record, Playback and TimeShifting....................................................................................11
5.3 Schedule Recording..........................................................................................................................13
5.3.1 Capture ..................................................................................................................................13
5.3.2 Time option............................................................................................................................13
5.4 Setup Utility......................................................................................................................................15
5.4.1 Channel Setup Properties.....................................................................................................15
5.4.2 Capture Setup Properties.....................................................................................................15
5.4.3 Other Setup Properties.........................................................................................................16
5.5 Setup Utility for composite and S-Video........................................................................................17
5.5.1 Capture Setup Function .......................................................................................................17
5.5.2 Video Setup properties..........................................................................................................17
5.5.3 Other Function ......................................................................................................................18
5.6 Channel Preview...............................................................................................................................18
5.7 Snapshot............................................................................................................................................19
5.8 Sleeping Timer..................................................................................................................................19
5.9 iEPG ..................................................................................................................................................19
5.10 Pop-Up Menu..................................................................................................................................20

-2-
5.11 Teletext.............................................................................................................................................21
Chapter 6 : MPEG Encoder..........................................................................................................................22
6.1 User Interface...................................................................................................................................22
6.2 Practice Streaming Video File Format Conversion.......................................................................22
Chapter 7 : MPEG Editor .............................................................................................................................25
7.1 Play List Editor ................................................................................................................................25
7.2 Display Panel....................................................................................................................................26
7.2.1 Original Clips Display Window...........................................................................................27
7.2.2 Edited Clips Display Window..............................................................................................27
7.3 Original and Staging Clips..............................................................................................................27
7.3.1 Original Clips ........................................................................................................................27
7.3.2 Staging Clips..........................................................................................................................28
7.4 Frame Edit Mode.............................................................................................................................28
7.4.1.Frame Range Selection for Editing .....................................................................................28
7.4.2. Video Frames Editing and Saving......................................................................................29
Chapter 8 : Burn DVD...................................................................................................................................30
8.1 Adding Files ......................................................................................................................................30
8.2 Burning .............................................................................................................................................31
Chapter 9 : FAQ.............................................................................................................................................32
FAQ 1 : How do I use the “Schedule Record in Power-Off mode (SRPO)” function?....................32
FAQ 2 : How to capture video clip in MPEG4 format? .....................................................................33

-3-
Chapter 1 : DIGI VOX mini Dongle Hardware Installation
1.1 Package Contents
Unpack your DIGI VOX mini package and make sure that all items are included. The following items should
be included in your package:
MSI Digi VOX mini USB2.0
Software Pack CD
Quick guide
USB2.0 extension cable
Portable antenna
Antenna adapter Cable
1.2 System Requirements
PentiumR –IV1.6 GHz or above
256MB RAM of system memory or above.
One free USB2.0 port
Graphics Card (Must support Microsoft DirectR x9.0 or above)
Sound Card (AC97 compatible sound card).
1GB Free HD Space.
CD-ROM Drive (For software installation)
Microsoft DirectR x9.0b .
Windows ® 2000/XP / MCE(when using MCE OS an extra 3rd party DVD decoder must be installed)
1.3 Hardware Installation
Please follow the steps shown below to connect DIGI VOX mini to your computer:
1.Connect the antenna into the TV INPUT connector.
2. Plug DIGI VOX mini Dongle into the USB 2.0 port of your system.

-4-
Chapter 2 : DIGI VOX mini Drivers Setup
Before installation, we recommend that you exit all background programs. These include applications such
as anti-virus software and system monitoring applications.
Once you finish the hardware installation, restart your
system. “Windows Found New Hardware Wizard” will pop
up. Please click “Cancel” and run the setup included in the
CD.
1. Select “Driver Install” to install drivers and utilities.
2. The driver utilities will help you to install all the
drivers. Click “Start” to continue installing
drivers. Please wait while installation in process.
3. Click “Start”to start installing DVB-T BDA
drivers. Please wait while installation is in
process.
Note: You can restart your computer after installing
DVB-T PLUS software application.

-5-
Chapter 3 : DVB-T PLUS Software Installation
After the drivers are installed, the next step you need to do is to install “DVB-T PLUS”. Please follow the
steps below to install it.
1. Select “DVB-T PLUS” to start installing the software.
2. The InstallShield Wizard will guide through installation of
DVB-T PLUS application. Click “Next” to continue.
3. Please choose the destination folder where you want to
install the files. You can click “Browse” to change the
destination folder.
4. Setup will add program icons to the Program Folder’s list.
You may type a new folder name, or select one from the
existing folders list. Click “Next” to start installing. Please
wait while installation in process.

-6-
5. When the message as the one on the left pops up, click
“Finish” to end the installation.

-7-
Chapter 4 : DVB-T PLUS Software Functions
When using DVB-T PLUS, There are four different functions to choose from. Picture below is an example
of how the interface looks like and a short description of each function.
•DTVR : DTVR turns your PC into a full-featured video recorder.
•MPEG Encoder : MPEG Encoder converts AVI files into MPEG format.
•Video Editor : Video Editor makes editing MPEG video files easy.
•Burn DVD : Burn DVD creates VCD, SVCD and DVD that can be played on a
PC or DVD player.
Note: For more detailed descriptions, please refer to DVB-T PLUS user manual.

-8-
Chapter 5: DTVR
DTVR is a powerful and easy-to-use TV application which includes feature-rich video/audio entertainment
functions. DTVR provides a convenient way to watch and record digital terrestrial TV programs or video on
your PC and also allows you to playback recorded TV or video files. You could also listen to digital radio
broadcasts (NOT DAB) under radio mode if it is included in your model.
5.1 System Setting and Channel Scan
When executing DTVR at first time, TV Setup Wizard will help you to set your TV configurations step-by-
step.
Set the frequency range by
either choosing your origin’s
default frequency from “Select
country,” or define the range
manually from “User define.”
Set frequency input source from “Video System” and sound source
from “Video live sound.” Video live sound is the audio device
channel that connects to your audio-out of TV tuner card.

-9-
Click “Start” to start channel scanning.
After scanning the set frequency range, click “Finish” to
activate DTVR to follow the frequency table set from channel
scanning to do channel mapping.
Note:
Sometimes the signal strength will affect the scanning result. If you cannot scan enough channels,
please check the terrestrial TV signal by moving your antenna around to find a better reception spot.
5.2 Main Panel
Preview window size can be adjusted by mouse or double click to switch to full-screen. There are six major
functions of DTVR.
5.2.1 Information Window
Displays current state (Live, REC, Playback, Time-Shifting), TV sound state (Mono, Stereo or SAP),
audio volume, speaker state, recording time, recording file size and current time.

-10-
5.2.2 Basic Tools
There are 9 sub functions, see following for icon definition.
: Switch different video source
: Scheduling
: Setup
: Channel preview
: Snapshot
: Sleeping timer setup
: TV audio mode switching (Your channel must support multi sound.)
: Launch IEPG function
: Launch Teletext
5.2.3 Channel Tuning
Selecting channel can be done by entering the channel through numeric keys from the
application’s control panel or keyboard.
: Previous channel. : Next channel.
: Back to previous channel.
Note: Frequency table must be enabled in order for and buttons to be functional.
5.2.4 Input Source
There are only one video input sources for users to select from (DVB-T). Input source can be changed by
clicking “ ” button on control panel or choose "Switch Video Source" in popup menu.
5.2.5 Volume Adjust
: Volume increase
: Volume decrease
: Mute or restore sound
Autres manuels pour DigiVOX mini
1
Table des matières
Autres manuels MSI Récepteur TV


