Mistral 360 Manuel utilisateur
MISTRAL 360
(SHA Two)
Forced air convection oven
User manual
Version 2.11

Rev. 2.11 Manual Mistral 360 January 2016
©Spidé, the Netherlands
Page
1
TABLE OF CONTENTS
IMPORTANT SAFETY RULES FORCED AIR CONVECTION OVEN ............................................................... 2
1. Preface ................................................................................................................................................. 4
2. Setting up ............................................................................................................................................ 5
3. Working with the TFT touch screen .................................................................................................... 6
3.1 Main screen without password check ............................................................................................... 7
3.2 Main screen with password check. ................................................................................................. 10
3.3 Recipe editor ................................................................................................................................... 11
3.4 Profile or “Trend” screen. ................................................................................................................ 12
3.5 Recipe selection ............................................................................................................................... 16
3.6 Machine settings and info. .............................................................................................................. 17
3.7 Setting Date and Time ..................................................................................................................... 18
3.8 Setting User & Passwords................................................................................................................ 19
3.9 Edit user data................................................................................................................................... 20
3.10 Setting Display & Sound ................................................................................................................ 21
3.11 Dealer info. .................................................................................................................................... 22
4. Specifications ..................................................................................................................................... 23
6. Appendix ............................................................................................................................................ 24

Rev. 2.11 Manual Mistral 360 January 2016
©Spidé, the Netherlands
Page
2
IMPORTANT SAFETY RULES FORCED AIR CONVECTION OVEN
Risk of fire and burning:
When the oven is in production mode it is dangerous to leave the oven unattended, high
temperature and long producing times can be overheat the oven what can lead to
fire. When you take out a PCB when oven is at working temperature use protective gloves
or a heat resistant tool.
In case of fire pull out the plug!
Put no flammable materials near or on the reflow –oven, don’t block the ventilation grate.
Don’t touch the glass of the oven, it can be hot. You risk a serious burning of the skin.
Machine location:
Use this oven not outdoors! The oven is developed to install it on a flat, dry surface. This
surface or table must be capable to care a weight of at least 200 Kg. The oven should be
used with normal room temperatures from 15 to 25 degrees. Be sure to provide with
clearance of at least 4 inches (10 cm) between the unit and walls.
It is not allowed and even dangerous to build it in a cupboard or box. Install this oven not
near a heating element or stove, also not in a wet environment.
Power supply:
Be sure to install complying with industry standards. Incomplete or bad installation can
cause stumbling accidents or electrical shock. Put the main plug in the wall socket near by
the oven, this is important! Because in case of an emergency the operator can pull out the
plug. The power supply is 3 phase 16A, 380/400V 50 Hz AC power outlet. Each phase must
be secured with a 16 A fuse.
Normal use:
The oven is developed only for soldering of PCB’s , don’t use the oven for food, animals or
heating of other materials. You will lose warranty if you don’t commit to those rules.
Don’t use the oven when it’s damaged or not working properly.
Check the properly working of the oven by following the checklist below:
1. Are entry and outlet free, are there no other obstruction
2. Are all springs in good condition
3. Check the line cord, plug and outlet. Be sure they are not damaged.
High voltage - ONLY QUALIFIED PERSONS MAY OPEN THE CASING:
The casing may never be opened or removed! Inside the machine are high voltages which
can be lead serious injuries or even to dead!.
Don’t put the plug and the line cord into any kind of liquid. Avoid situations that liquids or
other materials entering the oven through door latching or ventilation grate.
In the case this is happening:
Switch off the oven immediately or/and, pull the plug out of the wall socket.
Ask your supplier what to do.
Be sure the line cord is not making a sharp hook or is hanging on sharp things. Avoid line
cord to be in contact with warm or hot surfaces.
In case of damage only qualified persons may replace the line cord.
Operating the oven:
It’s not allowed to operate this oven under the age of 18 years. It’s also not allowed that the
oven is operated by persons with disabilities which will make it impossible to use the
machine in a save and responsible way.
It’s strongly recommended that the operator has enough knowledge about working with
soldering machines and the use of the right paste for soldering.
Use the oven only in well ventilated rooms. Follow the safety rules of your paste supplier.
During the soldering process gas and heat will be produced. The gasses can be affect your
health in a negative way.
It is recommended to buy our fume extractor option!.

Rev. 2.11 Manual Mistral 360 January 2016
©Spidé, the Netherlands
Page
3
Responsibility at improperly use:
Nor the supplier or manufacturer is responsible for damage at the oven or personal injury
when safety rules and correct installation are not committed. Also warranty will be
immediately omitted.

Rev. 2.11 Manual Mistral 360 January 2016
©Spidé, the Netherlands
Page
4
1. Preface
Congratulations! You have purchased a machine of high quality made with dedication to meet
the highest standards possible. To ensure proper operation we strongly advise you to read this
manual first.
This manual is designed to help you get the most out of the Forced Air Convection Oven
program in the shortest possible time. It is written for both the new and experienced user in
mind.
1.1 How this manual is organized
The first section of the manual explains the unpacking and installation of the oven. Included is
a description of the principles and specifications of the oven.
The main section of the manual is built around questions a user might have concerning the
touch screen display. The software is designed to achieve the most user friendly control of the
oven simply by using your fingertip.
1.2 The figures
The figures in this manual were captured with the intention of providing the clearest possible
tutorial for the program. Default screen positions and sizes were used in most cases.
Because the oven program can be configured in many different ways, do not be concerned if
you detect minor differences between the figures in this manual and what you see on your
display.

Rev. 2.11 Manual Mistral 360 January 2016
©Spidé, the Netherlands
Page
5
2. Setting up
2.1 Unpacking the oven
Carefully unpack the oven and save the original package in case you need to ship the unit.
Ensure that1 thermocouple wire is enclosed.
2.2 Before starting the oven:
Operate the oven in a well-ventilated room only.
Keep people, who do not operate the unit, away from the oven.
2.3 Power source
400 VAC, 3-phase +N, 16A 50/60Hz.
Make sure that the oven is connected to a well earthed outlet.
2.5 Notices on operation
- Do not operate any switch with a wet hand, otherwise you can get an electrical shock.
- Do not use combustibles (e.g. thinner), combustible gases, or volatile matter near the oven;
otherwise explosion or fire can be caused.
- Do not put anything on the oven while using the oven. The heat could cause fire and/or
deformation, cracking, etc.
- Consult only your dealer for repairs. Incomplete repairs can cause electrical shock, fire or
stumbling.
- When removing dirt on the oven, do not use chemicals, such as thinner or benzene;
otherwise accidents can be caused.
2.6 Purpose of using the oven
The oven was designed only to be used for soldering or drying. Do not use for other purposes.
2.7 Using an exhaust
To connect the exhaust: move the exhaust pipe over the stud at the rear end of the oven. From
there you can exhaust directly to the outside as long as the distance is less the 3 meter.
When the distance is more than 3 meter, an additional exhaust ventilation unit is required.
Note that when using an added ventilation unit air flow regulation may be required since
excessive air exhaust can cause temperature drop in the oven.
Rev. 2.11 Manual Mistral 360 January 2016
©Spidé, the Netherlands
Page
6
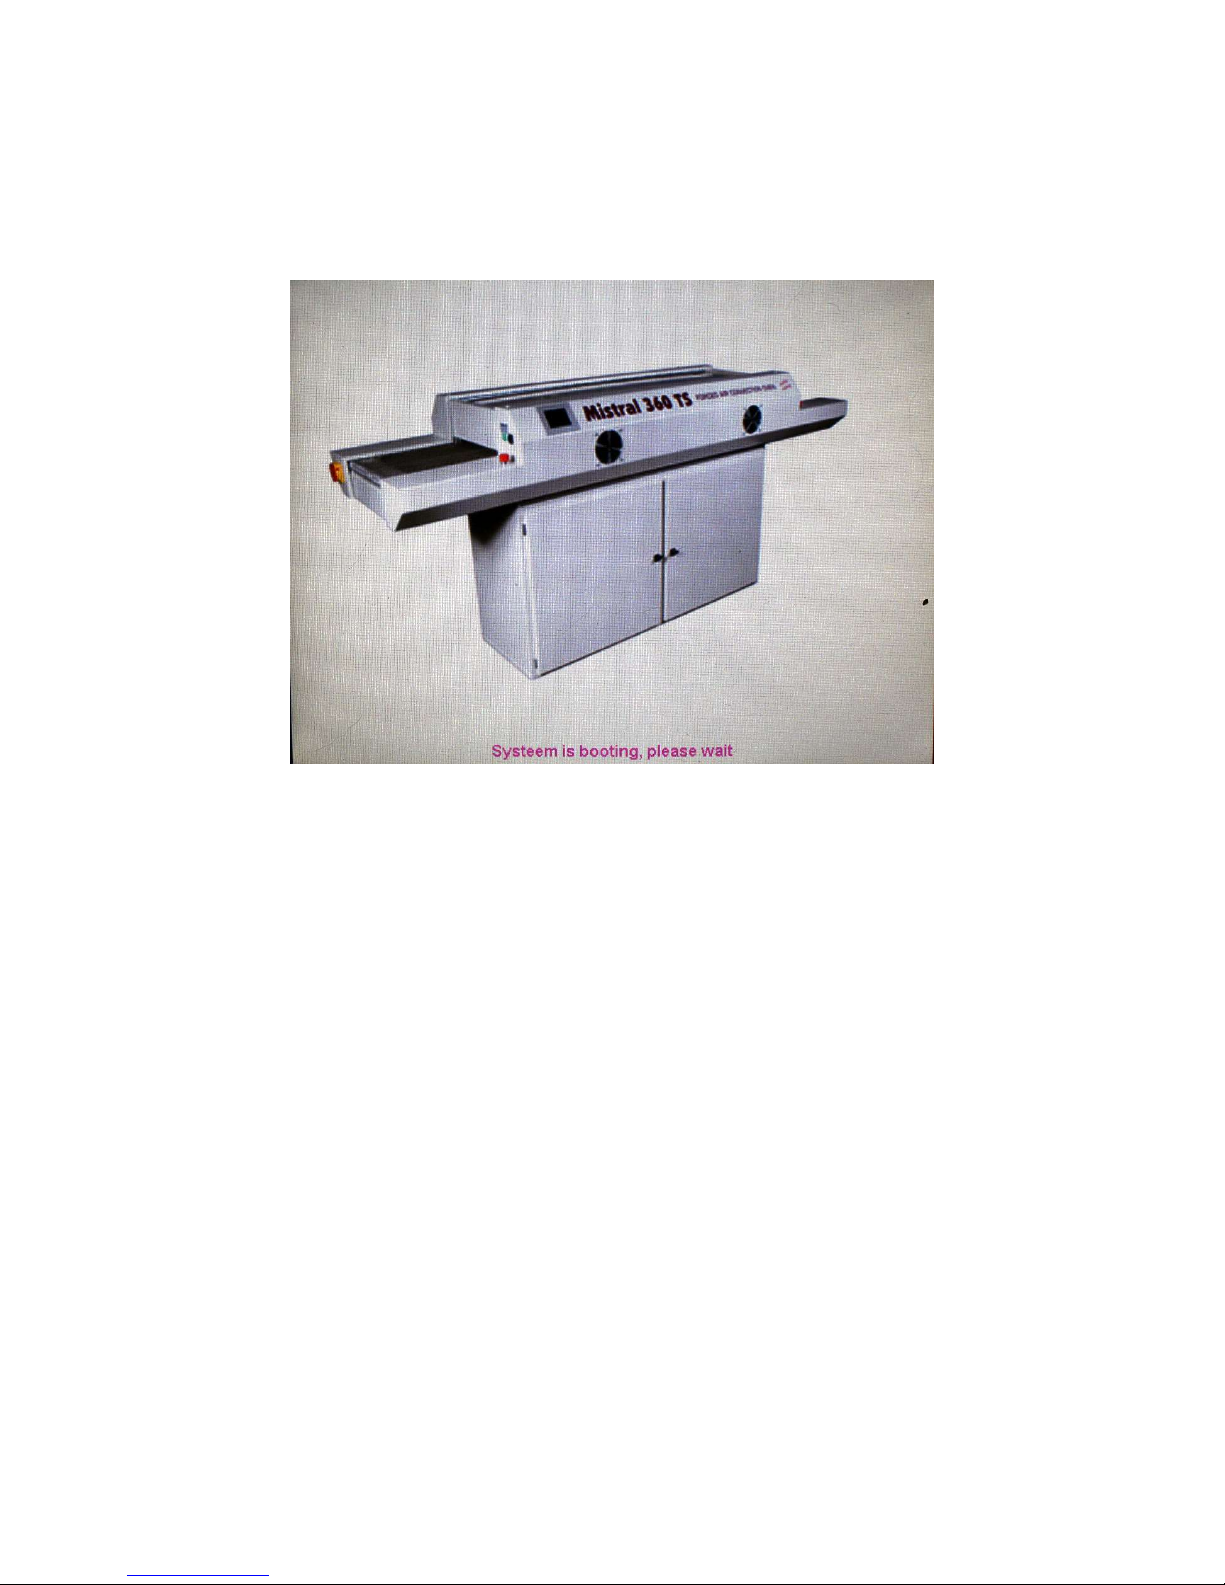
3. Working with the TFT touch screen
When the machine has been switched on the following picture will be displayed on screen:
After the machine has booted there are two possibilities about the screen that’s coming up. The
main screen or the login screen. This will be explained in the next chapter.
Rev. 2.11 Manual Mistral 360 January 2016
©Spidé, the Netherlands
Page
7
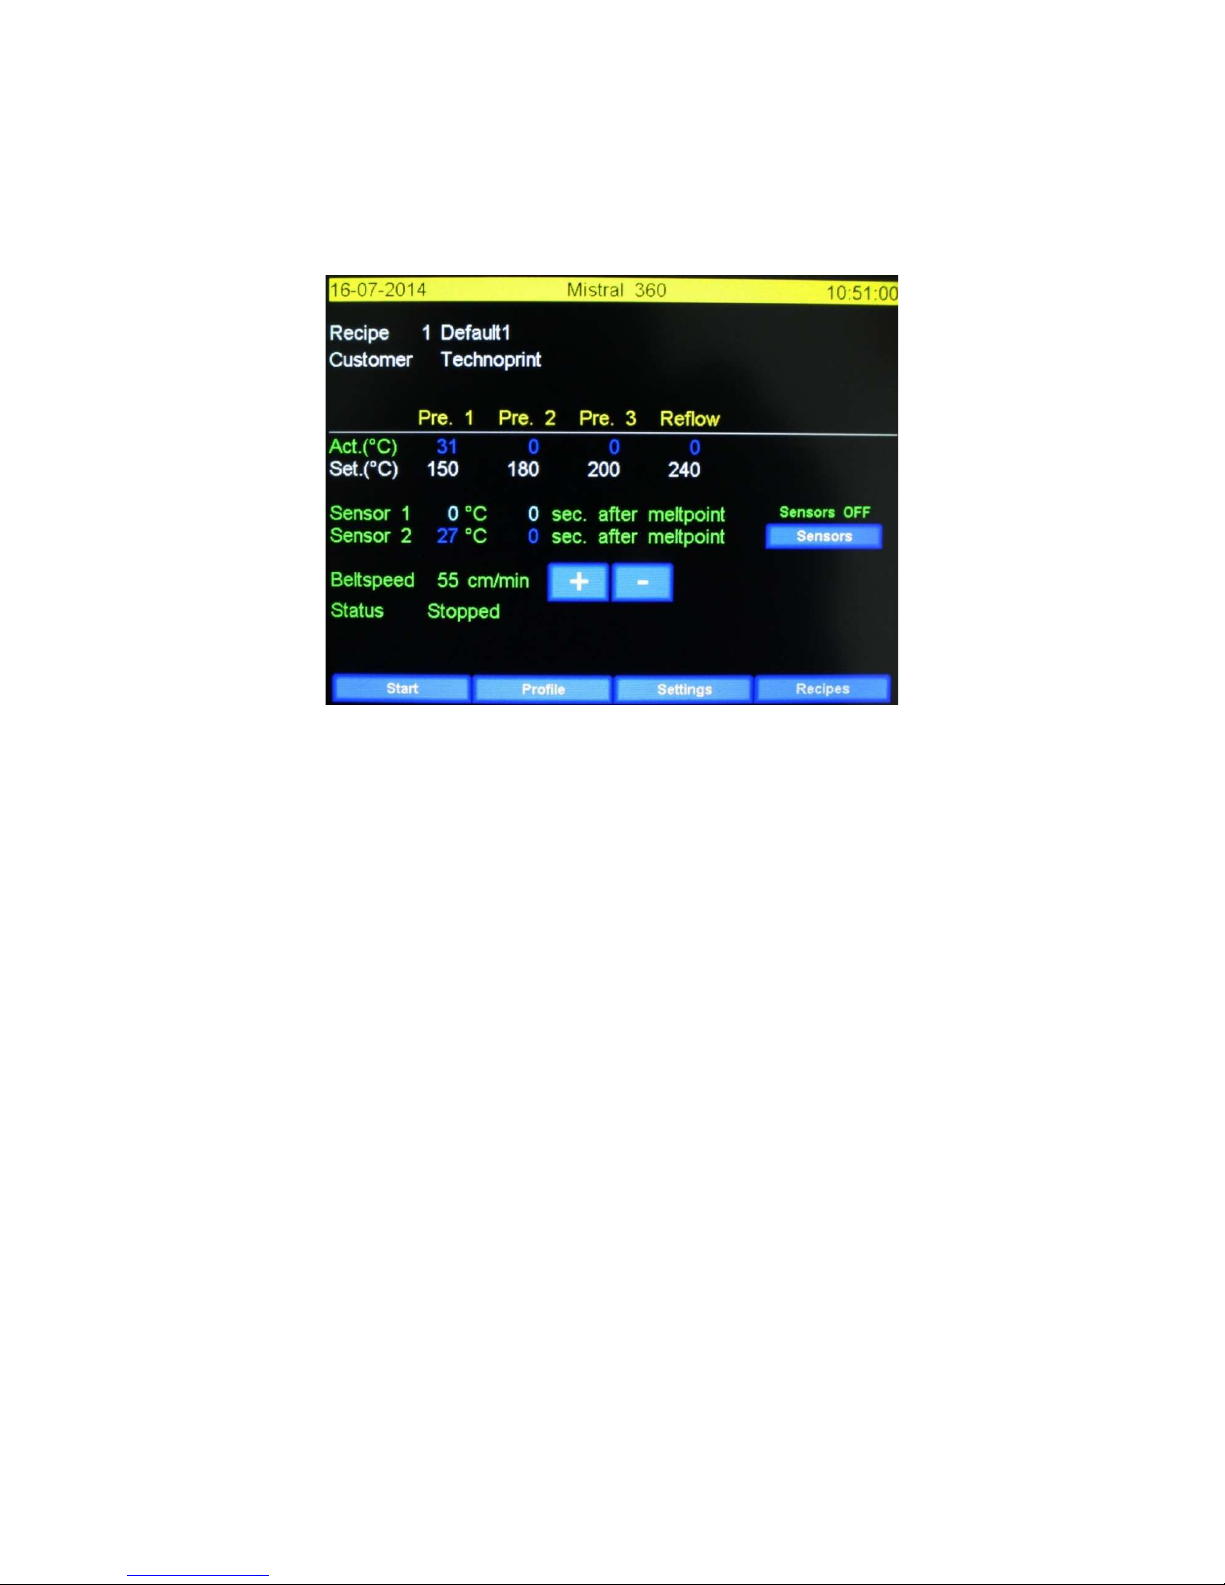
3.1 Main screen without password check
This screen will be displayed when in the menu “Settings \ Display & Sound” the function “Use user
& password” is set to “No”.
The main screen without the use of passwords is shown below.
3.1.1 Lay-out of the main screen.
The upper left corner displays the current date, the upper right corner displays the current time.
Both can be changed at “Settings / Date and Time”. (See “Machine settings en info”)
Recipe: Name of the current soldering profile.
Customer: Name of the current client.
Act.( C ): The actual zone temperature.
Set.( C ): The set zone temperature.
Sensor 1 en 2: it might be useful to check the temperature of the product during the production
process, to make sure the soldered component has the correct temperature the appropriate amount
of time. To do this at least one thermocouple sensor must be attached to the product. The melting
temperature can be modified in the “Recipe editor”.
The first number represents the actual temperature (°C). The second number represents the time the
component is at melting temperature.
Sensors: This button will only show if at least one thermocouple sensor has been connected. The
thermocouple functions as described as before in “Sensor 1 en 2” is turned on and off by this button.
If switched on “Sensor On” will be displayed in red.
Belt speed: This is the speed of the belt as set in the recipe. The belt speed can be adjusted by
cm/min with the buttons “+” and “–“. The belt speed can also be adjusted at the “Recipe editor”.
If the profile has to be changed the user should press on the value that should be changed. This will
display the “Recipe editor”. This screen will be discussed in the chapter “Recipe editor”.
Invisible button: There is an invisible button between the “Sensor” and “Recipes” buttons. By
pressing this button you will put the screen in ”Max. brightness” mode. This option is set at the
“Display & Sound” screen. Please refer to “Display & Sound” for more information.

Rev. 2.11 Manual Mistral 360 January 2016
©Spidé, the Netherlands
Page
8
Rev. 2.11 Manual Mistral 360 January 2016
©Spidé, the Netherlands
Page
9
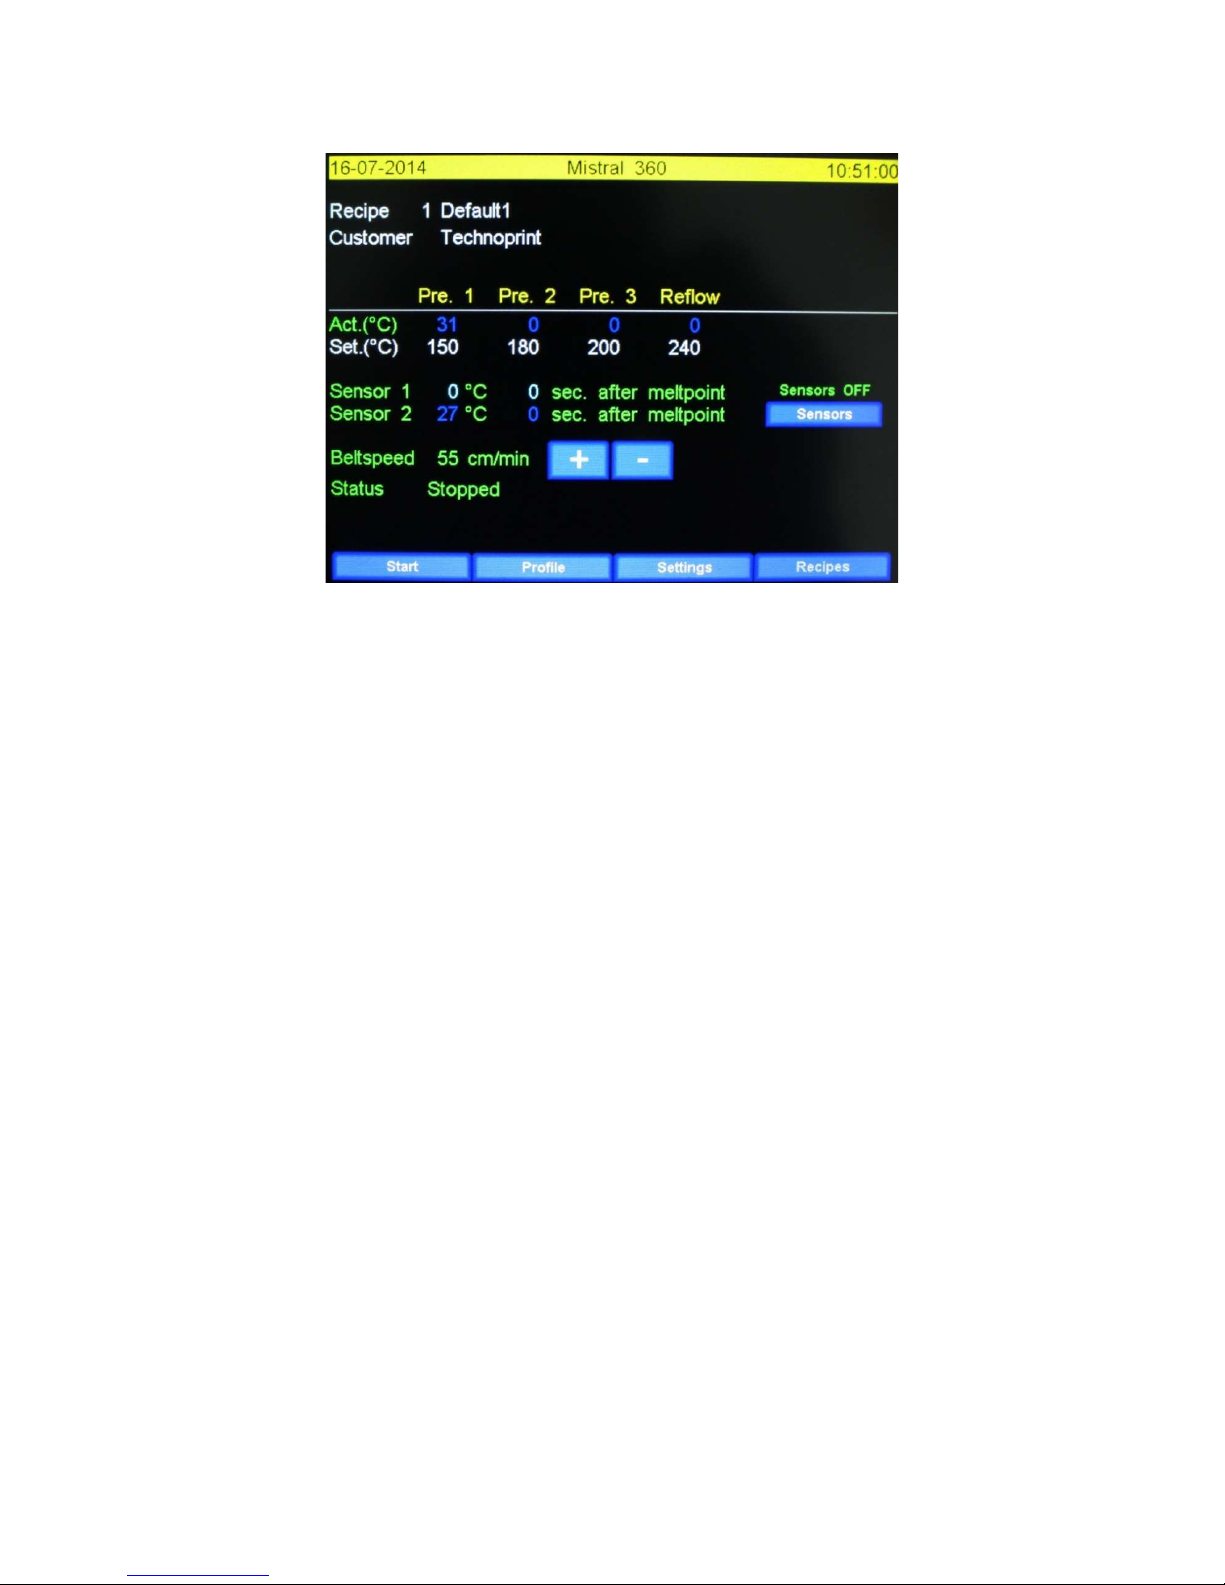
3.1.2 Functions explained.
Start: when this button is pressed the status will change from “Stopped” to “Running”. The oven is
now in production mode. The button text will change to stop. When pressed the status will change
from “Running” to “Stopped”, this indicates the machine went back to stand-by mode.
Profile: by pressing this button the “Make profile” screen will be displayed. Using this the user can
make a soldering profile by using thermocouples. Please refer to “Make profile” for more
information. Another word often used for “Profile” is “Trend”.
Settings: By pressing this button the “Machine settings and info” screen will be displayed. Please
refer to “Machine settings and info” for more information.
Recipes: By pressing this button the “Recipe selection” screen will be displayed. This will display a list
with all available profiles. Please refer to “Recipe selection” for more information.
Table des matières


