Marmitek Octopus Manuel utilisateur

20103/200505 © ALL RIGHTS RESERVED MARMITEK ®
OCTOPUS
TV MEDIA
USB LINK
OCTOPUS
TV MEDIA
USB LINK
USER MANUAL 3
GEBRAUCHSANLEITUNG 33
GUIDE UTILISATEUR 63
GEBRUIKSAANWIJZING 93

2MARMITEK
Contents
1. Introduction _____________________________________________________________3
1.1 Contents ________________________________________________________________3
1.2 System requirements ______________________________________________________3
2. Getting started ___________________________________________________________4
3. Using the Octopus programme ____________________________________________10
3.1 Starting the Octopus Software for the first time _____________________________10
3.2 Watch TV or video on your laptop or PC (continued use of Octopus) ____________12
3.3 Record video images, camera images or TV programs _________________________13
3.4 Make a photo from a video image _________________________________________14
4. Playing video files, using Movie player ______________________________________15
5. Watching images, using Browse Image _____________________________________18
6. The remote control ______________________________________________________19
6.1 Replacing the battery ____________________________________________________19
6.2 Button functions ________________________________________________________19
7. Extra software for burning DVD’s, using Time Shift ___________________________20
7.1 Installing WinDVR3 ______________________________________________________20
7.2 Starting the software for the first time _____________________________________23
7.3 Burning a CD or DVD ____________________________________________________24
7.4 TimeShift_______________________________________________________________27
8. Extra software Showshifter: Create your own media centre ____________________29
9. Troubleshooting _________________________________________________________30
10. Technical information ____________________________________________________30

3OCTOPUS
Safety warnings
• To prevent short circuits, this product should only be used inside and only in dry spaces.
Do not expose the components to rain or humidity. Do not use the product close to a
bath, swimming pool etc.
• Do not expose the components of your systems to extremely high temperatures or bright
light sources.
• Do not open the product: The device contains live components. The product should only
be repaired or serviced by a qualified repairman.
• In case of improper usage or if you have opened, altered and repaired the product your-
self, all guarantees expire. Marmitek does not accept responsibility in case of improper
usage of the product or when the product is used for other purposes than specified.
Marmitek does not accept responsibility for additional damage other than covered by
the legal product responsibility.
1. Introduction
Congratulations on your purchase of Octopus TV Media USB Link! This product allows you to
connect various media to your PC. The Octopus connects the various appliances to your PC.
The options include:
• Watching TV on your laptop or PC
• Recording programmes on your PC (just like a Hard Drive recorder)
• You can transfer your favourite VHS tapes to your PC by connecting your video recorder,
edit the files and burn them onto a DVD (if you have a writer)
• Edit and archive camcorder movies by connecting your camcorder to your PC (you can
also burn a DVD)
• Connect a security camera to your PC to record images while you are away. You can look
at the images later to see what happened in your absence
• Use your PC as a TV while on vacation (if there is an aerial or cable connection)
1.1 Contents
The Octopus kit contains the following components:
• Octopus TV Media USB Link box
• 1 Audio/USB cable
• 1 cable with RCA plugs (RCA-RCA cable)
• 1 Remote control
• 1 User manual (4 languages)
• 1 CD with installation software The CD contains 3 software packages:
- Octopus software
- WINDVR3 software
- Showshifter software
1.2 System requirements
• IBM PC or comparable system
- 1 GHz CPU (comparable to a Pentium III) or higher (this allows you to watch TV,
but not record images)
ENGLISH

4MARMITEK
-1.5 GHz CPU (comparable to a Pentium IV) or higher for 352x288 MPEG1 recording
-2.0 GHz CPU (comparable to a Pentium IV) or higher for 640x480 MPEG2 recording
-2.4 GHz CPU (comparable to a Pentium IV) or higher for 720x480 MPEG2 recording
• Minimum of 128 MB internal memory
• Minimum of 100 MB free disk space
• VGA video card with DirectDraw driver 16 bit colour or higher
• A free USB port (2.0 /1.1)
• Microsoft Windows® 2000/XP
• CD ROM drive
• Hard drive: 5400 RPM or higher (preferably 7200 RPM)
2. Getting started
The Octopus TV Media USB Link comes with a CD containing installation software. The CD
contains 3 software packages:
- Octopus software
- WINDVR3 software (to burn DVD’s, and use the time-shift function)
- Showshifter software (with this program in combination with other Marmitek
products you can create your own media centre)
The Octopus Software consists of three parts:
1. Octopus program. This enables you to watch the connected source
(TV, Video, video recorder), record images and also make photos from the images.
2. Movie player. This allows you to play the images you recorded with the Octopus
software.
3. Browse Image. This enables you to view and edit the photos you created.
Follow these steps to connect the Octopus TV Media USB Link to your laptop or PC:
Attention: Do not connect the USB cable to the USB port of the computer until asked!
1. Connect the TV antenna or cable connection to the “RF” connector on the back.
2. Connect your video recorder or video camera “SVHS OUT” to “S-VIDEO IN”
or the “VIDEO OUT” to “VIDEO IN”. This entirely depends on the cables and connections
on your video recorder or video camera.
3. Connect the “AUDIO OUT” of the video recorder or video camera to “AUDIO IN”.
4. Connect the audio cable supplied with the Octopus to the "LINE IN" of the sound card
of the laptop or PC and to the "AUDIO OUT" of the Octopus next to the USB port on
the back.
5. Do not connect the USB cable to the USB port of the computer until asked!
6. Place the supplied CD in the CD ROM drive. Now it is time to install the necessary
Windows 2000/XP drivers.

5OCTOPUS
7. Select Octopus drivers in the Autorun menu.
Click “Next”.
Click “Continue anyway”.
ENGLISH

6MARMITEK
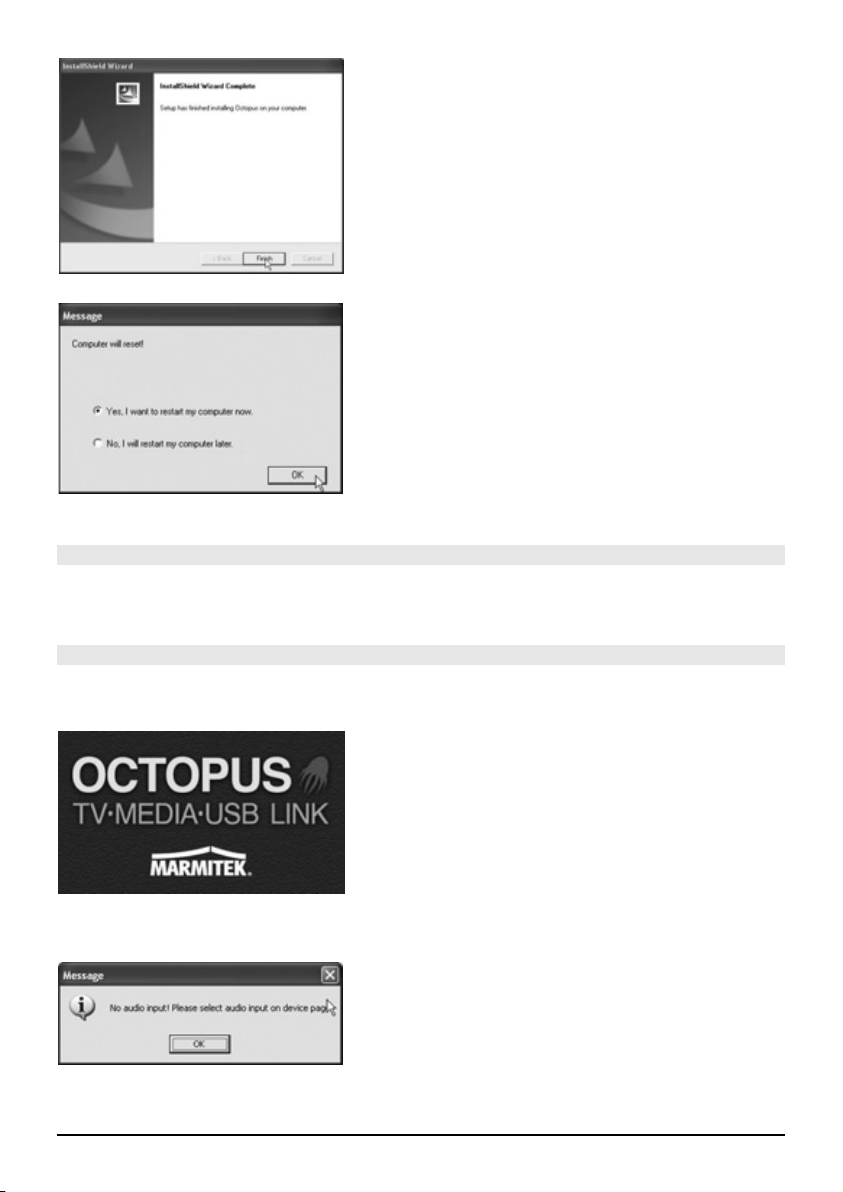
Click “Finish”.
Click “OK” to restart the computer.
Now connect the USB cable to the PC and follow the on-screen instructions.
You now see a window called “Add Hardware Wizard”.
Select “No, not this time” and click “Next” to start the installation.
Select "Install the software automatically (Recommended)” and click “Next”.

7OCTOPUS
Click “Continue anyway”.
Click “Finish”.
8. In order for the Octopus TV Media USB Link to communicate with the video card on your
laptop or PC, you must install the DirectX program. Follow these steps:
Insert the CD in the CD ROM drive, open Windows Explorer and select DirectX in the Autorun
menu.
ENGLISH

8MARMITEK
Select "I accept the agreement” and then click “Next”
Click “Next”.
Click “Finish”. The DirextX software is now installed.
Restart the PC if requested.`

9OCTOPUS
9. You can now install the Octopus software on your laptop or PC. Follow these steps:
Place the installation CD in the CD ROM drive and and click "OCTOPUS Software" in the
Autorun menu to start the installation.
Click “Next”.
Click “Yes”.
Click “Next” to install in the recommended folder.
ENGLISH
10 MARMITEK
Click “Finish”.
Click “OK” to finish the installation and to restart the computer.
3. Using the Octopus programme
Use the Octopus Software to watch the connected source (TV, Video, video recorder), record
images and make photos from the images.
3.1 Starting the Octopus Software for the first time
1. Click “Start” in the task bar and go to All Programs\OctoPus\Octopus. Or double click
the icon on the desktop.
2. You now see the Octopus Iogo
3. You see the following text:
Autres manuels pour Octopus
1
Table des matières
Langues :
Autres manuels Marmitek Récepteur TV


