MAG Design PocketVJ Instructions de montage
Page 1
We don‘t take any responsibilities for errors caused by the user!
MAG Design PocketVJ - Manual
First of all
1. Connecting
2. Loading files
3. SSH on mac
3. SSH on win
4. Samba
5. Loading from USB
6. Slide Show
7. Sync
8. Other things
9. Control Panel Upgrade
10. Screen Sharing
Create h264 movies with After Effects®
Create h264 movies with Vimeo®
Convert h264 movies with FFmpegX
Convert h264 movies with winFF
Convert h264 movies with YAG
Convert movies online
Technical Data / Specification
Troubleshooting
Create own boot.txt
2
3
4
5
6
7
8
9
10
11
19
20
Rev.: D
© 2015

Page 2
We don‘t take any responsibilities for errors caused by the user!
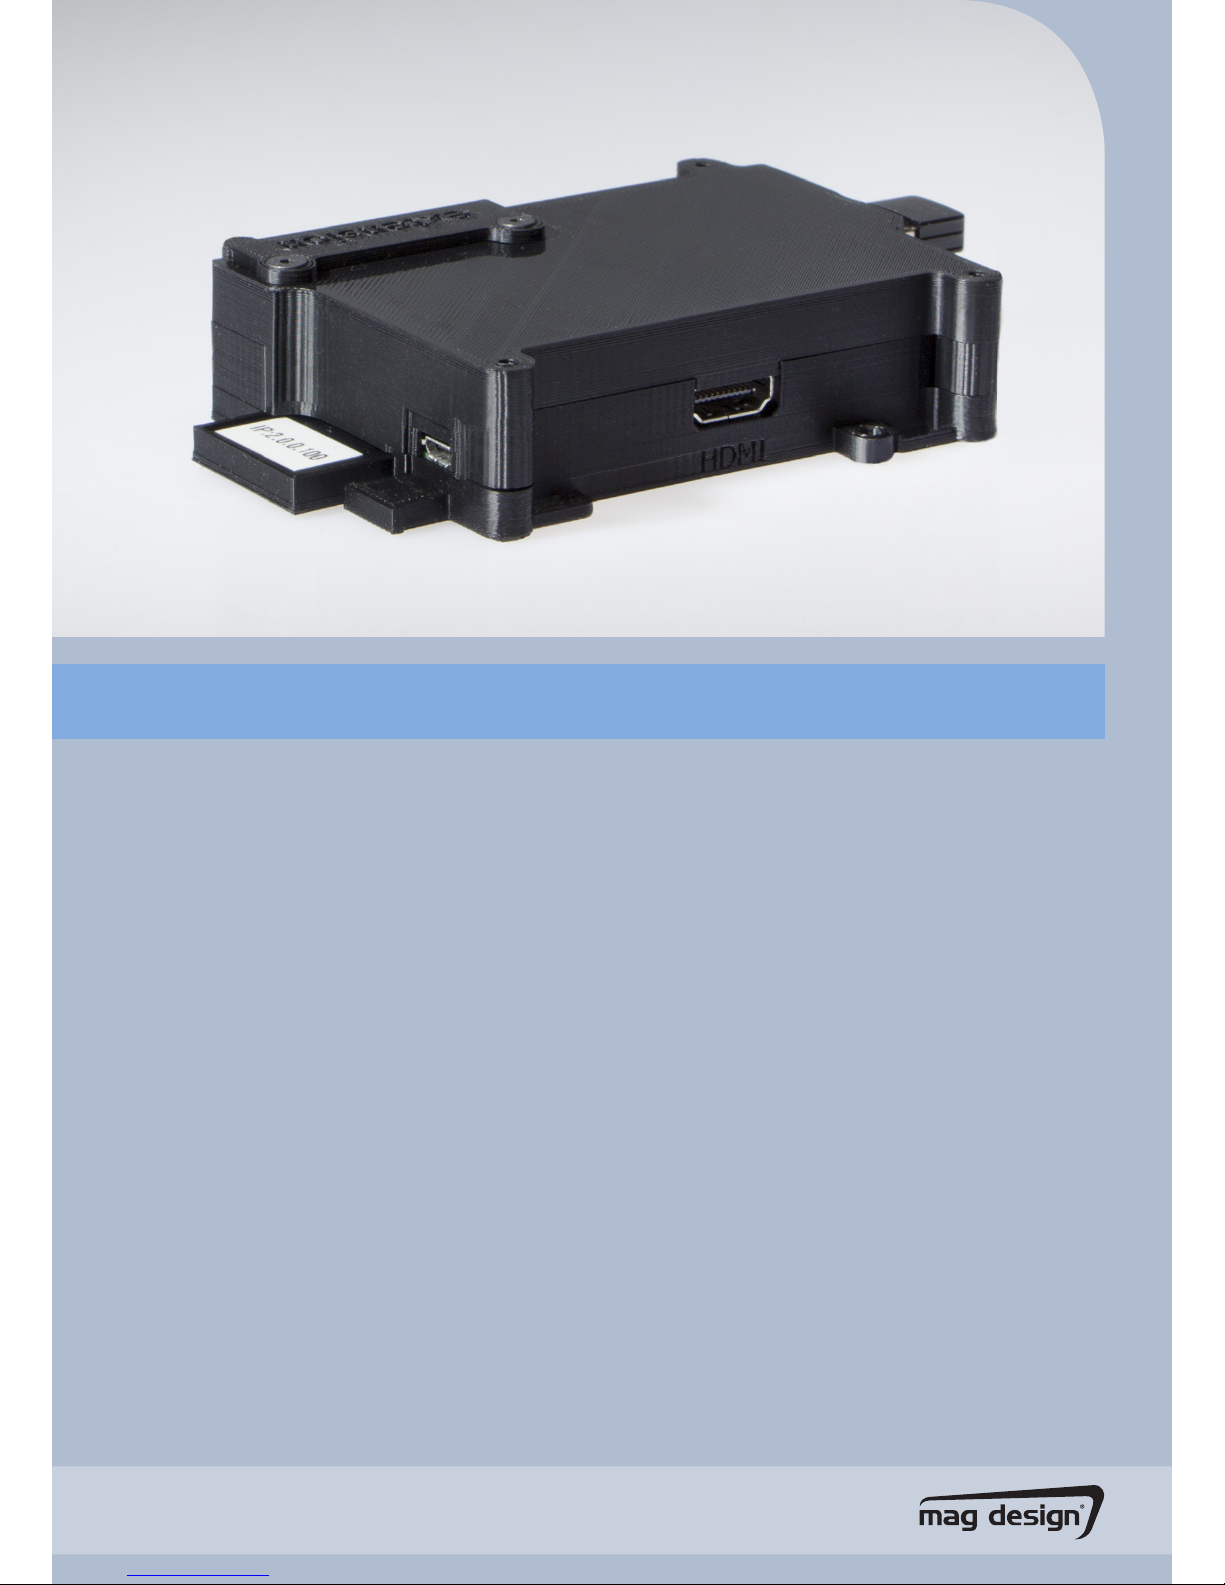
Thank you for buying the PocketVJ!
Before you power up the device with the provided power supply, make sure that:
- Wifi dongle is plugged in
- HDMI cable or display adaptor is connected
- Screen, TV or Projector is powered on*
Now you can plugin the power cord and wait until the device has booted up and the testvideo is running.
Make sure to use the original power supply, if you want to use another one, it must provide 5V and minimum 2A.
*the PocketVJ is gathering the perfect resolution for the connected screen while booting, its important that the connected screen is powered
up, otherwise you will get a standard VGA resolution (there is the possibility to change the standard resolution in the configuration panel).
If you powered up the connected screen after boot and it goes to power safe, simply go to the control panel of the PocketVJ and click ‘Screen
power on’.
The simplest way to manage your files on the PocketVJ, is by connecting through a webbrowser.
For this you need a Wifi compatible device such as a computer, smart phone, tablet or whatever else you have in
your toy box.
Keep in mind that your movie file must be encoded with the h.264 codec, otherwise it might not run smoothly.
If you want to upload big files (300mb and more), we recommend to copy the files to a USB-stick, mount the stick
on the PocketVJ and copy the files with the webinterface from USB to the internal storage.
If you have several PocketVJ’s synced in a network, you can upload large files with SSH directly from your com-
puter connect to the same network (RJ45) (network IP’s are: 192.168.2.***).
There are many great features, if you miss something, tell us for further development.
MAG Design PocketVJ
First of all
Never disconnect the power while uploading content!
it can destroy your PocketVJ
Naming your files:
Make sure that you don’t have spaces in your filename!
for example: my video file.mp4 is not working, while: my_video_file.mp4 is working

Page 3
We don‘t take any responsibilities for errors caused by the user!
MAG Design PocketVJ
1. Connecting to the Control Panel
1. Make sure your PocketVJ is running with the WiFi dongle plugged in.
2. On your computer, phone or tablet, choose the WiFi connection of your PocketVJ
(named vj100, or vj109, or vj***)
3. Enter the Password for the WiFi connection (you should have it, if not, ask us).
4. Open your favourite Webbrowser (we recommend Chrome) and enter:
2.0.0.*** (replace the *** with the number of your PocketVJ WiFi name e.g. VJ100 = 2.0.0.100)
into the address bar.
5. Hit Enter and you see the control panel:
(If you load it for the first time, it may take a minute to be fully accessible)

Page 4
We don‘t take any responsibilities for errors caused by the user!
MAG Design PocketVJ
2. Loading Files
1. Hit ‘STOP all players’ in the configuration panel.
2. Click ‘OPEN filebrowser’.
3. There opens up a new tab with an Extplorer.
4. Upload and manage your files in the ‘internal’ folder, be patient while uploading!
If you use Google Chrome® you will see the upload progress in the lower left corner.
For uploading large files (more than 500MB) we recommend using SSH or to copy from USB.
Note:
Make sure that you don’t have spaces and special characters
in your filename!
for example: my video file “2014”.mp4 is not working,
while: my_video_file2014.mp4 is working

Page 5
We don‘t take any responsibilities for errors caused by the user!
MAG Design PocketVJ
3. SSH
(with Fugu® on OSX)
1. Make sure your PocketVJ is running with the WiFi dongle plugged in.
2. On your Mac Computer, choose the WiFi connection of your PocketVJ (its named vj112, or vj109, or vj***)
3. Enter the Password for the WiFi connection (you should have it, if not, ask us).
4. Open Fugu (you can download it here: http://sourceforge.net/projects/fugussh/ )
5. In the Server Address Bar Type : 2.0.0.*** (replace the *** with the number of your PocketVJ WiFi name)
Username: pi
Password: *********
6. Navigate to the /internal directory (double click the ‘internal’ arrow) and load or edit your files there
(drag’n’drop), be sure not to modify any other directories.
Note: For speeding up the transfer, stop the player in the control panel before uploading and managing content
Note:
Make sure that you don’t have spaces in your filename!
for example: my video file.mp4 is not working,
while: my_video_file.mp4 is working

Page 6
We don‘t take any responsibilities for errors caused by the user!
MAG Design PocketVJ
3. SSH
(with FileZilla® on Win)
1. Make sure your PocketVJ is running with the WiFi dongle plugged in.
2. On your Win Computer, choose the WiFi connection of your PocketVJ (its named vj113, or vj109, or vj***)
3. Enter the Password for the WiFi connection (you should have it, if not, ask us)
4. Open Filezilla, under Server enter the IP: 2.0.0.*** (replace the *** with the number of your PocketVJ WiFi
name), Username: pi, Password: ******** (you should have it, otherwise ask us!)
5. Hit Enter and you should be able to navigate to the /media/internal/ folder and load or edit your files, be sure
not to modify any other directories.
Note: For speeding up the transfer, stop the player in the control panel before uploading and managing content

Page 7
We don‘t take any responsibilities for errors caused by the user!
MAG Design PocketVJ
4. Samba
This is the easyway for mac/OSX users to upload content!
1. Make sure your PocketVJ is running with the WiFi dongle plugged in.
2. On your Mac Computer, choose the WiFi connection of your PocketVJ (named vj112, or vj109, or vj***).
3. Enter the Password for the WiFi connection (you should have it, if not, ask us).
4. In Finder go to: GO > Connect to Server
5. In the Server address bar type : smb://2.0.0.*** (replace the *** with the number of your PocketVJ WiFi name).
6. Connect, in the Password Prompt select Guest
7. Your Finder mounts a Network device named: media
Load and edit your files with finder.
Note:
If you move large files, finder may tell you: copy zero bytes
of.... Estimating time remaining... and it looks like finder
hangs showing turning colorball, then just go and grab a
coffee, it is copying in the background :-)
608MB may take around 16 minutes

Page 8
We don‘t take any responsibilities for errors caused by the user!
MAG Design PocketVJ
5a. Loading from USB to internal
MAG Design PocketVJ
5b. Playing from USB
1. Connect to your PocketVJ as described in 1. Connecting
2. Hit ‘STOP player’
3. If you plugged in the USB stick before booting it will be automatically be mounted and you can open up the
filebrowser where you see the internal and the usb drive.
If you plugged in the stick later or it is not visible, click ‘MOUNT USB’
4. Move the files with the mouse from usb to internal.
There might show up an error message: ‘failed to connect to server’ click ok.
5. It is very important that you wait until copying files is finished! Otherwise you can destroy the storage and the
usb stick. If you have a stick with a built in LED, you have to wait until the LED does not blink anymore. Best the
see if copying is finished, is when you try to open the ‘internal’ folder, as long as you are not able to do this, it is
still copying. (1.5GB might take 10min, depends on the speed of your usb stick).
6. After you are finished with moving files from USB, click ‘EJECT USB’
7. Now you can safely remove the USB stick.
Notes:
- If you plugged in the USB after boot, make sure to click ‘MOUNT usb’ on the control panel.
- Make sure to unmount the USB stick before unplugging, otherwise you can’t use it on your computer again, if
this happens, just plug it in back to the PocketVJ and ‘UNMOUNT’ it properly.
- Don’t plug in Harddisks or USB stick which uses high amount of power!
- If you want to connect a Harddisk, you have to use a powered USB hub to provide enough power.
- If after plugging in an USB stick you are not able to connect over WIFI, wait a few minutes, if its still not working
you are using an USB stick which sucks too much power, use another one.
- If you used your USB for booting or install an operation system, it will not be visible. Thats because there is a
hidden EFI partition on your stick, get a new one or ask Google: How to remove EFI partition from USB Stick
http://www.mede8erforum.com/index.php/topic,14019.0.html or this:
http://knowit.net/2013/03/delete-the-efi-partition-from-a-drive-in-os-x-127
- Supported file systems are: vFAT, FAT32, exFAT, HFS, NTFS, EXT4
1. Connect to your PocketVJ as described in 1. Connecting
2. Hit ‘STOP player’
3a. If you plugged in the USB stick before booting it will be automatically be mounted and you can click in the
Control panel: ‘START in USB mode’
3b. If you always want to play files from USB, you can configure this under Autostart in the Control Panel, click:
‘SET to USB’

Page 9
We don‘t take any responsibilities for errors caused by the user!
MAG Design PocketVJ
6. Slideshow
MAG Design PocketVJ
6.1 Conform images for Slideshow
1. Connect to your PocketVJ as described in 1. Connecting.
2. Click ‘STOP player’.
3. If not already done, copy some *.jpg images to the the hard drive.
4. Click ‘START image player’.
5. Your slideshow is running until next reboot.
If you want to bootup always with the slideshow click ‘SET to imageplayer’ and reboot.
To set the time for slideshow duration, go to
Since the slideshow function only supports *.jpg files, we made a function to convert other image formats to *.jpg
and resize all images to a maximum resolution of 1920 x 1080.
(This can also be helpful if your *.jpg files have a huge resolution and will not be displayed on a HD screen)
1. Upload your images (.jpg, .bmp, .gif, .tif) to internal storage.
2. Make sure all players are stopped to have all resources for conforming the images.
3. Go to ‘File Handling’ and click Conform all Images.
4. WAIT! (Depending on amount, format and size of your images, it may take a while)
5. When you see the message: “FINISHED! all images converted to jpg and resized to HD”
the task is done and you may start your slideshow.

Page 10
We don‘t take any responsibilities for errors caused by the user!
MAG Design PocketVJ
7. Sync
Make sure that the movie file on the PocketVJ has the same name on all slaves.
1. Connect to your PocketVJ as described in 1. Connecting.
2. Set only one PocketVJ to master, set all others to slave (otherwise it will not work!)
3. Connect them directly with a RJ45 cable if there is only one slave,
use a switch to connect more players, if you use a router, make sure its configured to 192.168.2.1
Notes:
- We recommend to make the first 10s of the movie black, so there will be no visible syncs for the observer.
- Remove all other files from the internal storage, for example images may cause syncing errors.
- For syncing you must have same conditions for every Pocket VJ, that means:
same output resolutions, movie files with same length, framerate and bitrate and also if there is audio same
output and bitrate (if you use different conditions, you might have to adjust the sync window by hand).
- Sync has an accuracy of ±6 fps (regular its between 0 and1 fps),
if there is always the same offset of synced files you can manually change the sync window and tolerance to fit
your needs. Its depending on the bitrate (check: https://github.com/turingmachine/omxplayer-sync)
- Make sure your files are at least 60s in duration to increase the stability of seamless looping.
- For Syncing with high bitrates (1080p with 10MB/s) you may set the SYNC_WINDOW to ( -0.65, -0.6)
- If the slave always starts again after 5 seconds of playing, make sure it gets signal from master, and make sure
it has the same conditions as the master.
- It is known that when you use a router, it sometimes blocks the traffic, because the PocketVJ has a static Ip
address, restart router and all PocketVJs.
Autres manuels pour PocketVJ
1
Table des matières


