
LED Strip Studio LEC3 Manuel utilisateur
1
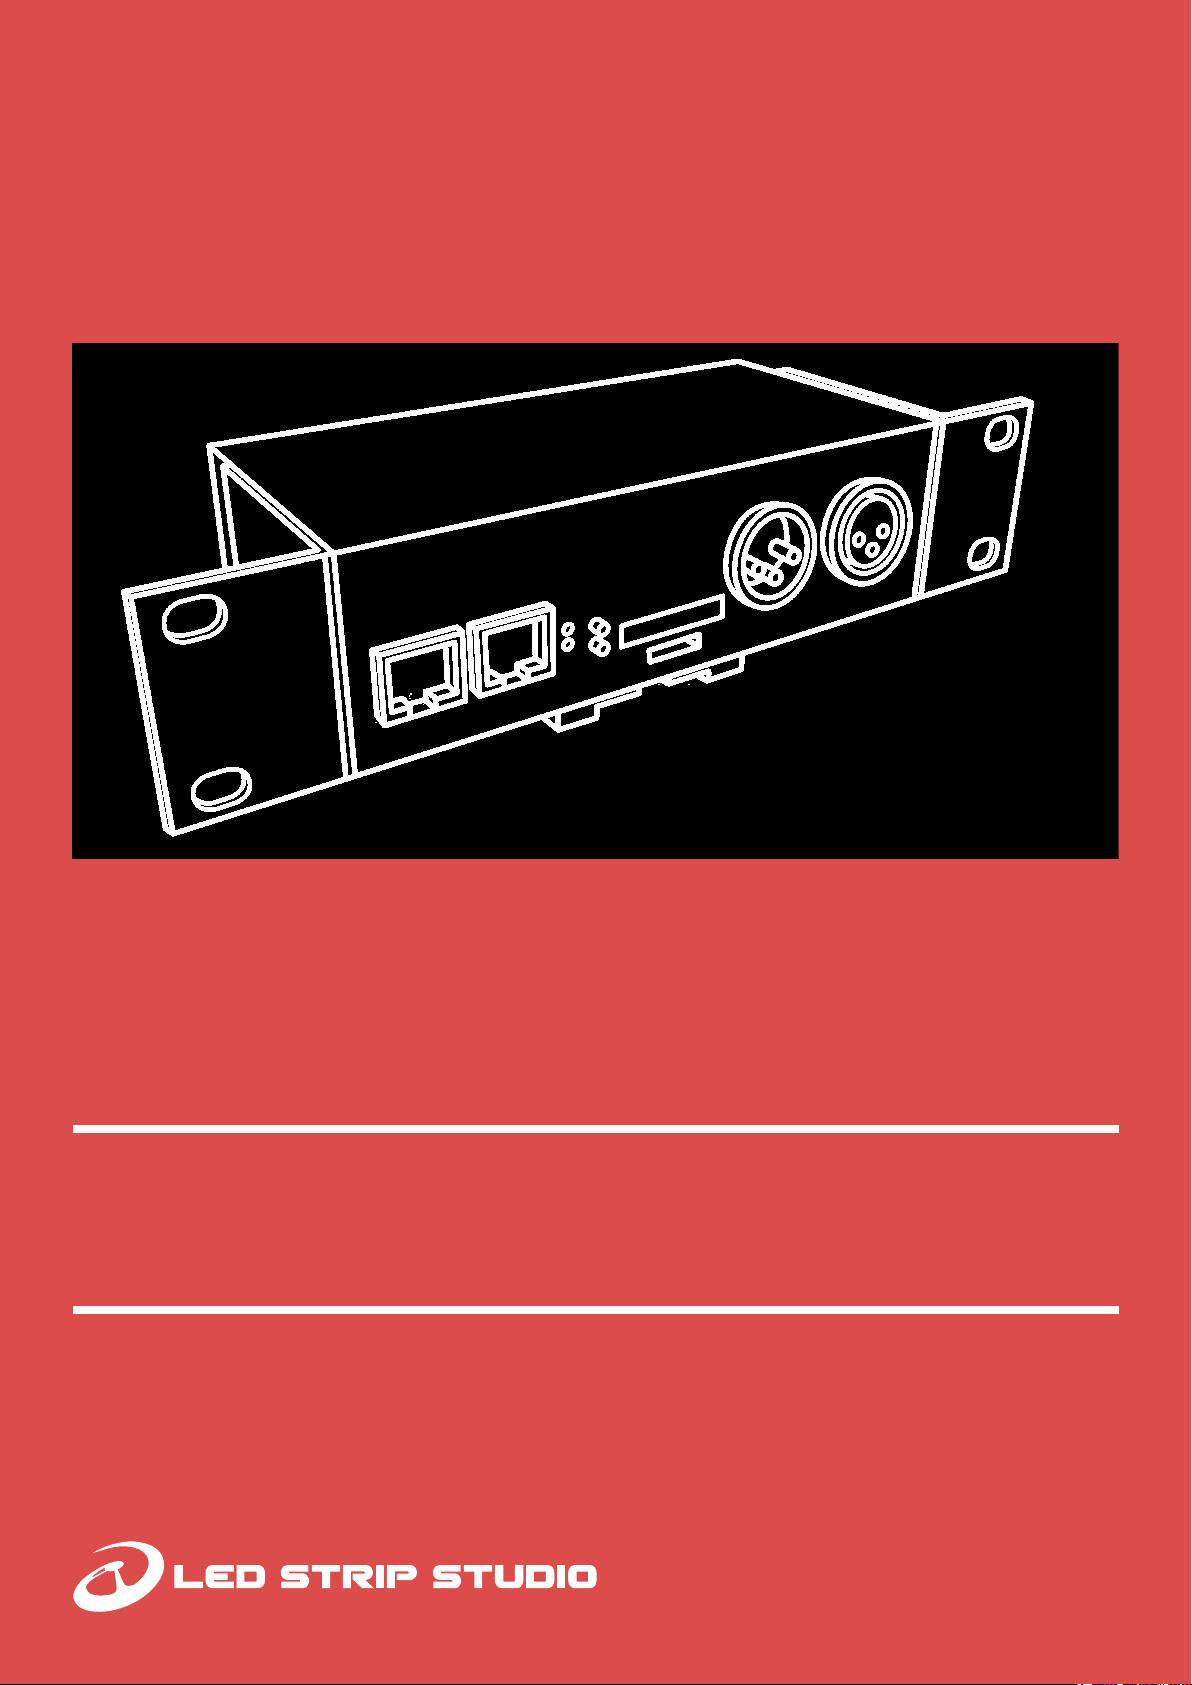
LEC 3
LED Ethernet Controller 3
SPI MATRIX
Art-Net LED Controller
POWERED LEC
Powered LED Ethernet Controller
www.ledstripstudio.com

2
Contents
General information
Package content
Safety instructions
Disposal of your old device
Trademark credits
Copyright
Technical details
LEC3, SPI-Matrix and Powered LED Ethernet Controller difference
What can you control using the devices?
LSS LED Strips, Hardware Specication
LED Strip Studio Software
LED Ethernet Controller 3 (LEC 3) device
LEC 3 Front connectors
LEC 3 Rear connectors
LEC 3 dimensions
SPI Matrix
Powered LED Ethernet Controller
LEC 3 Ethernet board DMX control
Software DMX control
Table of contents
2
5
5
5
6
6
6
7
7
8
9
10
11
12
13
14
15
16
17
17

3
LED Strip Studio
-Ethernet and signal connection scheme when using LEC3
Connecting TM, WS, APA or SK family LED Strips with LEC3
Direct connection
Separate power supplies (more than 5A per LEC 3 output)
Connecting LEC3 with WS2801, WS2803 LED Pixels
Detailed cable-connection for LED strips
Recommended wire types
Signal cables
Power cables 110-230V
Power cables 5V DC
LEC3 control modes
Ethernet mode
ArtNet mode
ArtNet Pixel Mode
ArtNet SD-card mode
DMX Mode
Auto-play mode
Testing mode
DMX Out
18
19
19
20
21
23
24
24
24
24
25
25
25
26
26
26
27
27
27


5
This manual contains important instructions for the safe operation and installation of
the unit. Read and follow the safety instructions and all other instructions.
Keep this manual handy as a reference for operating procedures and safety information.
Specications in this manual and design are subject to possible modications
without notice due to improvements.
The LEC3 package consists of:
• LEC3 controller
• L-shape mount brackets set including screws
• DIN rail mount including screws
• 5x suitable 4-pin 5mm pitch cable side pluggable terminal block
• micro SD card
• micro SD card to SD card adapter
• micro SD card USB reader
Installation should be performed only by a competent person or professional electrician.
Make sure that the installation complies with the standards and rules that apply in your
country.
Do not use the device if it seems to be damaged.
Use the device only as described in this user manual. Any other use or use under other
operating conditions is improper and may result in personal injury or property damage.
No liability will be assumed for damages resulting from improper use.
Never open the controller and do not attempt repairs yourself.
Do not place the device close to heat sources and always ensure enough ventilation.
Do not place the unit on surfaces that are heat sensitive.
General information
Package content
Safety instructions

6
This device has been designed for indoor use only. Do not expose the unit to direct
sunlight. Do not allow this product to meet liquids. Electrical shock could result. Also,
damage to the product, smoke, and overheating could result from contact with liquids.
Clean the device components that are accessible from the outside regularly. The clean-
ing frequency depends on the operating environment: damp, smoky or particularly dirty
environ ments can cause greater accumulation of dirt on the device components. Clean
with a dry soft cloth. Stubborn dirt can be removed with a slightly dampened cloth.
Never use solvents or alcohol for cleaning.
Establish all connections when the unit is switched off. Use the shortest possible
high-quality cables for all connections. Make sure that cables cannot cause a trip hazard.
Never touch the plug contacts with sharp or metal objects.
Ensure that plastic bags, packaging, etc. are disposed of properly and are not within
reach of babies and young children. Choking hazard!
Ensure that children do not detach any small parts (e.g. screws, connectors or the like)
from the unit. They could swallow the pieces and choke!
Never let children unattended use electrical devices.
Dispose of this device through an approved waste disposal rm or through your local
waste facility. When discarding the device, comply with the rules and regulations that
apply in yourcountry. If in doubt, consult your local waste disposal facility.
Windows® is the registered trademarks of Microsoft® Corporation.
Art-Net™ – Designed by and Copyright Artistic License Holdings Ltd.
Madrix™ –registered trademarks of inoage GmbH
All other products mentioned herein may be trademarks of their respective companies.
Showtacle Ltd. © 2018 All rights reserved.
Reproduction, adaptation, or translation without prior written permission is prohibited.
Specications in this manual and design are subject to change without notice.
Disposal of your old device
Trademark Credits
Copyright

7
This document will introduce you to correct hardware connection of LED strips and will
provide the most important technical details about LED Strip Studio (LSS) software and
LED Ethernet Controller 3 (LEC3), SPI-Matrix and Powered LED Ethernet Controller devices.
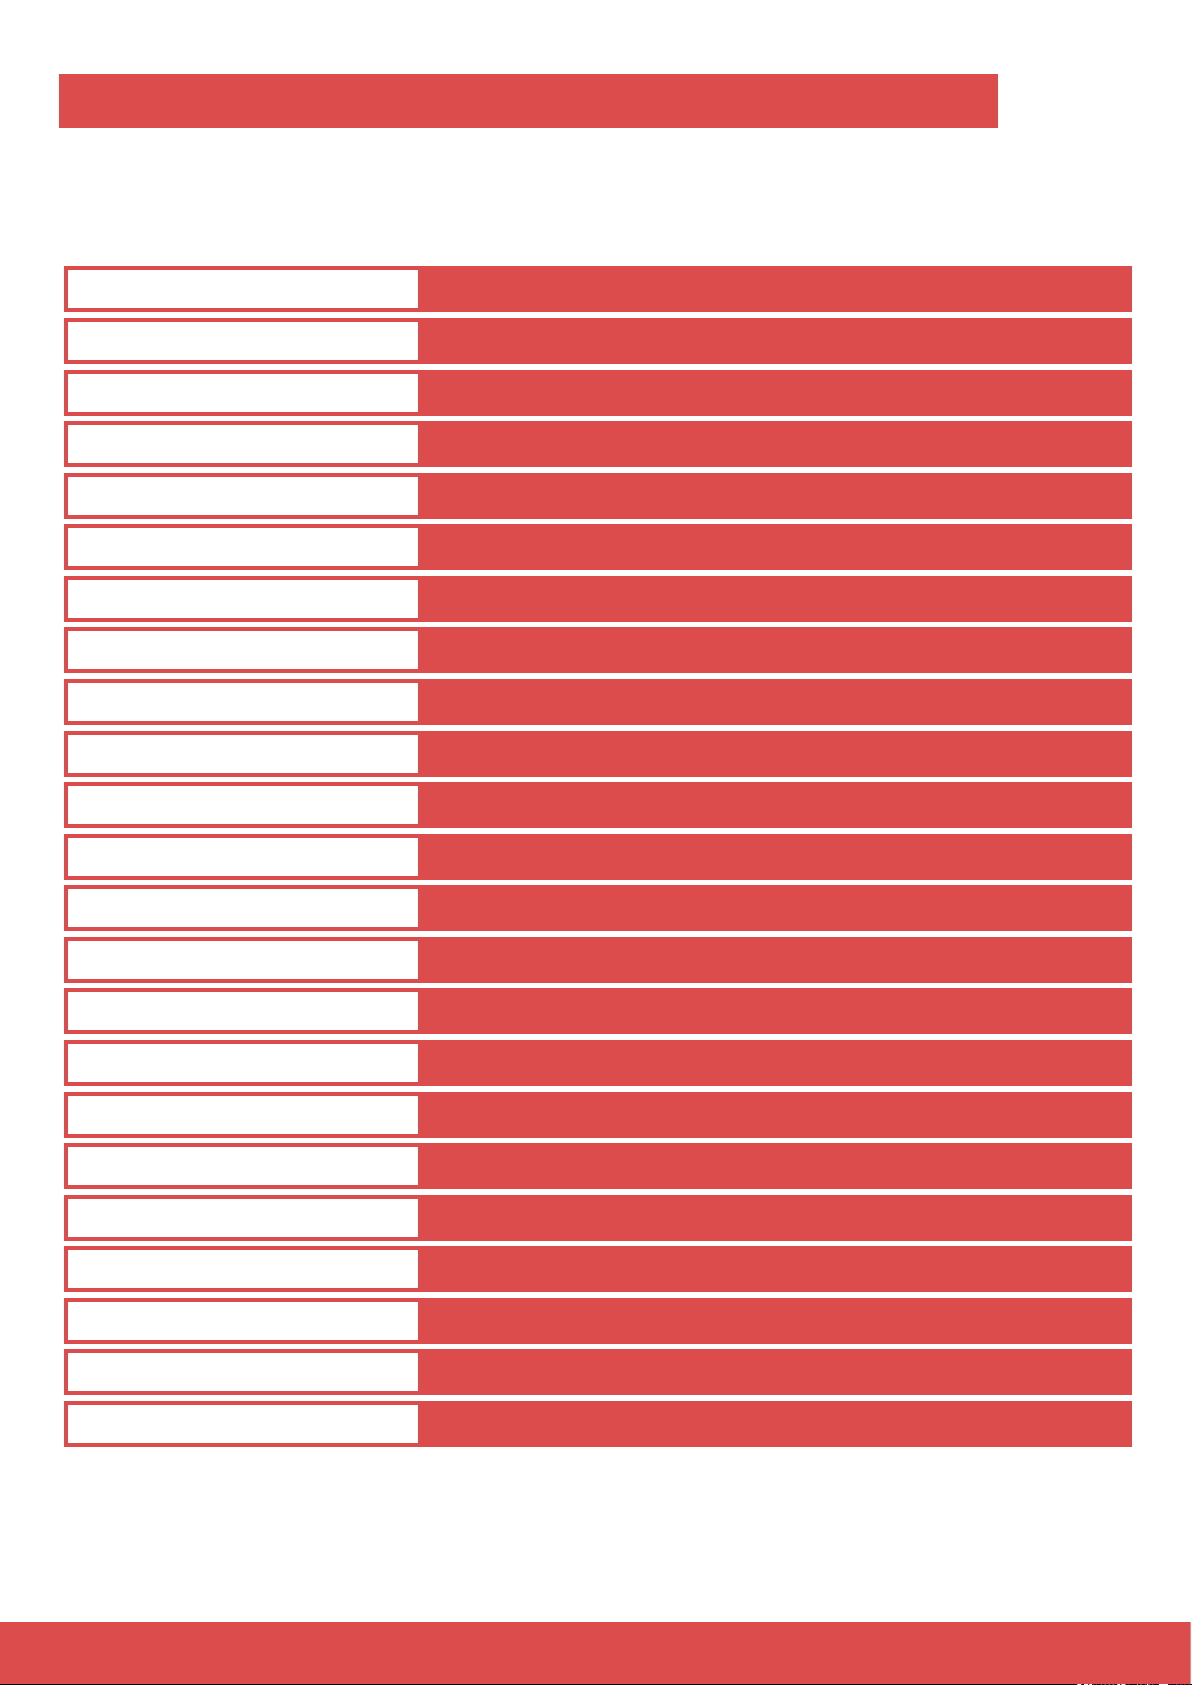
In the following table you can see the basic differences between all 3 devices.
(*) SPI-Matrix can be upgraded to LEC3 to support LED Strip Studio software.
Contact us for more details at info@ledstripstudio.com.
Generally, SPI-Matrix is the same as LEC3, but without the support of LED Strip Studio
software – you can’t use it as LED Strip Studio software output device.
Powered LEC Ethernet Controller (Powered LEC) is the same as LEC3, but with integrated
power source (320W, 5V, 60A by default, 12 or 24V version on request).
Technical details
Art-Net
(4096 individual LED
pixels over ArtNet)
LED Strip Studio
software
Integrated power
source
LED Ethernet Controller 3
(LEC 3) SPI Matrix Powered LED Ethernet
Controller
*

8
There are many kinds of digital LED lights you can control using LEC3.
You can control digital LED strips, digital LED pixels or any other special digital lights.
They are also sometimes called dream or individual addressable LED lights.
We use “digital LEDs” or “digital pixels” in the text to address all kind of digital lights
(like LED strips, pixels, digital bulbs, …). Digital LEDs can use different kind of chip and
output protocol to control RGB LED color.
LEC3 is now able to use LED strips with SK, TM, WS or APA chips (and many more), but
we update the rmware to work with all latest control protocols.
You can use LEC3 in 4 different modes:
• Ethernet (software)
• ArtNet
• DMX
• Stand-alone (SD-card mode)
ArtNet and DMX mode can work in two different ways: Pixel or SD-card player.
In Pixel mode the DMX channels are converted directly to pixels (3 channels for every
pixel, maximum is 170 pixels per ArtNet Universe). In SD-card player you can only trigger
animation LED les stored on SD-card (so you don’t have to use complicated ArtNet or
DMX solution with tons of cables).
What can you control using the devices?
9
LSS LED Strips hardware specication
Dimensions
Strip type
Number of LEDs
IC
LED pitch
LED type
Shortest working segment
Colors
Color channels
Grayscale
Voltage
Maximal current
LED Size [mm]
LED Viewing angle
LED Luminous intensity [mcd]
LED Wavelength [nm]
Color temperature
Expected lifetime
Reel weight (5m LED strip)
Storage temperature
Operating temperature range
Waterproof
Warranty
width: 14.5mm, thickness: 4mm, length: 5020mm
STCL LED Strip 42
42 LEDs/meter
SK6812 (TM1809 and WS2812B compatible)
23.8 mm
5050, ROHS compliant lead-free soldering compatible
1 LED, 23.8 mm
Full color, 24 bits, 16.7 million colors
3 channels: Red, Green, Blue
8 bit, 256 levels for every channel
5V
1.5A/meter at full white
5.0*5.0*1.6
120°
R: 700-1000, G: 1500-2200, B: 700-1000
R: 620-625, G: 522.5-525, B:467.5-470
Variable, set by RGB channels
30000+ hours
230 g
-40° ~ +80°
-20° ~ +50°
Yes, IP65, protected by silicon tube
1 year
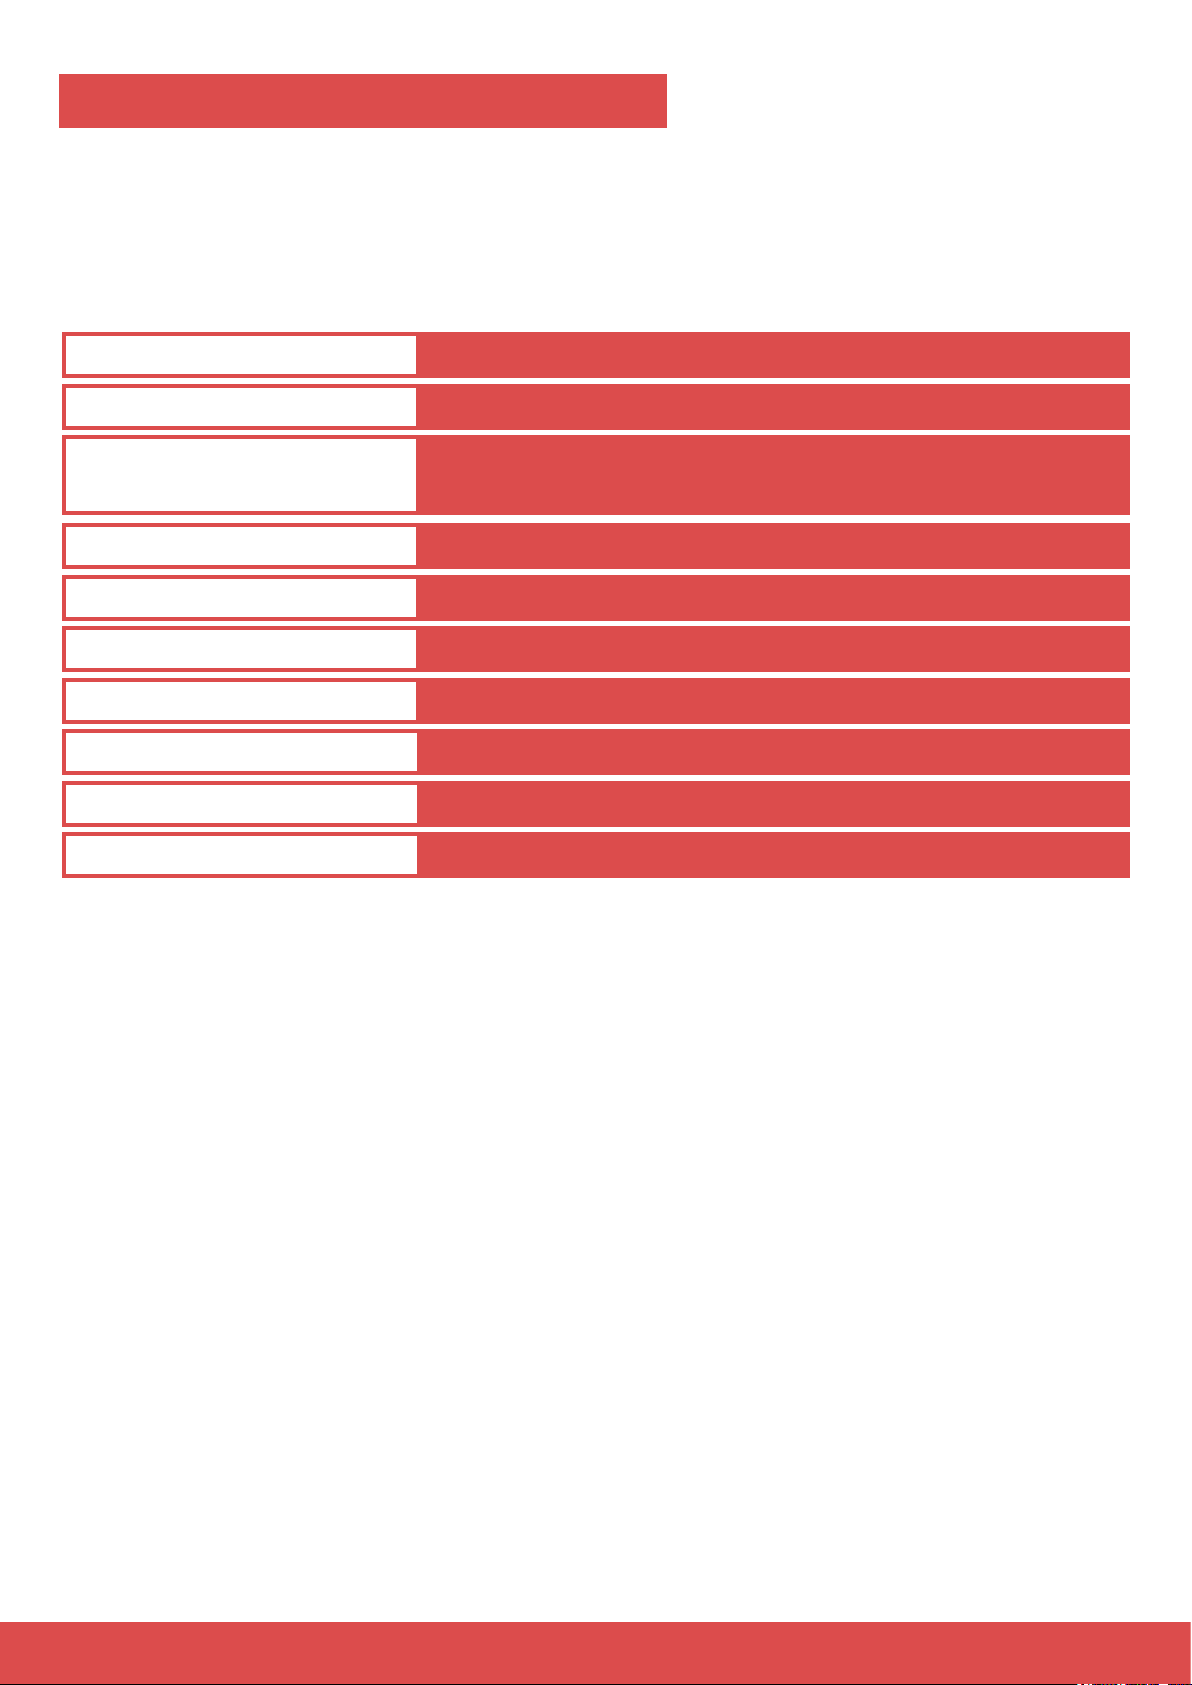
LED strips produced for LED Strip Studio are high quality LED strips developed complete-
ly by LED Strip Studio company. Here you can nd basic technical details for the strips:
10
LED Strip Studio Software
LED Strip Studio software is the “main brain” of LED Strip Studio system.
It can be used to play video, picture or even live stream on video LED strips
(or LED pixels). This is recommended PC conguration for LED Strip Studio system.
Of course, if the conguration is better, the software will work smoother.
Operating system
Processor
Graphic card
RAM
Hard disk
Required software
Grabber card for live streamrange
MIDI control
OSC control
Touch screen
Windows 7, 8, 10
Dual Core (Intel Core2Duo and better)
Dedicated - nVidia or ATI/AMD
(but new Intel HD cards are also ne)
4 GB
200 MB
DirectX 9.0c, Apple QuickTime
Yes, HDMI – BlackMagic Intensity PRO
supported
supported
supported
Ce manuel convient aux modèles suivants
2
Table des matières
Manuels Équipement d'éclairage populaires d'autres marques


Qazqa
Qazqa Suplux SL 3 Black 103062 Manuel utilisateur

Commercial Electric
Commercial Electric 54568141 Manuel utilisateur

CREE LIGHTING
CREE LIGHTING 304 Series Manuel utilisateur

Goobay
Goobay 49867 Manuel utilisateur

ECOMAN ITALIA
ECOMAN ITALIA LED T8 Manuel utilisateur

Alkalite
Alkalite Krypton KT-81 Manuel utilisateur


