Konig SEC-IPCAM100B(W) Manuel utilisateur

2013-11-15
SEC-IPCAM100B(W)
SEC-IPCAM105B(W)
MANUAL (p. 2)
IP camera
ANLEITUNG (S. 13)
IP-Kamera
MODE D’EMPLOI (p. 24)
Caméra IP
GEBRUIKSAANWIJZING (p. 35)
IP-camera
MANUALE (p. 46)
Telecamera IP
MANUAL DE USO (p. 57)
Cámara IP
MANUAL (p. 68)
Câmara IP
HASZNÁLATI ÚTMUTATÓ (o. 79.)
IP kamera
KÄYTTÖOHJE (s. 90)
IP-kamera
BRUKSANVISNING (s. 101)
IP-kamera
NÁVOD K POUŽITÍ (s. 112)
IP kamera
MANUAL DE UTILIZARE (p. 123)
Camerăde supraveghere IP
ΕΓΧΕΙΡΙΔΙΟ XPHΣHΣ(σελ. 134)
Κάμερα IP
BRUGERVEJLEDNING (s. 146)
IP-kamera
VEILEDNING (s. 157)
IP-kamera
ИНСТРУКЦИЯ (стр. 168)
IP-камера
KILAVUZ (s. 180)
IP kamera

2
ENGLISH
IP camera
Introduction:
• Watch over your properties with this genuine Plug & Play IP camera. Easy and simple to install,
works without the need for any form of configuration. The free uCare Cam app allows you to watch
and listen to live footage on your Smartphone or other mobile devices, anytime and anywhere. The
free uCare Cam app is available on Google Play and the Apple App Store. Advanced features
provide you e-mail or app notification when motion is detected. Photo and/or video footage can be
played back at any moment. Also suitable for use as a baby monitor due to the 2-way audio
function.
• We recommend that you read this manual before installing/using this product.
• Keep this manual in a safe place for future reference.
System requirements:
• Device running Android 4.0 and up or iOS 5.0 and up.
• Router with Wi-Fi.
Download the “uCare Cam” app from Google Play or the Apple app store
Android Device
Google Play Store “uCare Cam” Download Link
iOS Device
App Store “uCare Cam” Download Link
After the software installation is complete,
click the icon to run the app.
Default “uCare Cam” password: 0000
Manager's Name: admin
Manager's Password: 0000
2
1
Installation of the App on your mobile device

3
Figure 1
“Camera List Window”
There are two options to continue the easy set up of your IP camera.
Power On
Plug the power adapter DC connector into the DC input port of the IP camera and then plug
the power adapter into a wall outlet. The status LED on the IP camera will turn green for
about 15 seconds.
Programme Loading
The status LED will flash red for about 15 seconds.
Router Link Mode
Wait until the status LED colour alternates between red and green.
Note:
If the LED does not turn red and green, then press the WPS/Reset button for more than
10 seconds to restart the IP camera.
When the green status LED lights up and holds, and then the red status LED flashes twice,
after which it changes into green, the IP camera has entered the RESET state. At this
moment you can release the button and then wait until the status LED alternates between
red and green.
ANDROID (for Apple go to: Step 8)
Set the IP camera to connect to the Wi-Fi Router
Open the “uCare Cam” App and select:
Click here to install the new Wi-Fi Camera
In the screen of the Camera List Window (see figure 1).
4
3
2
1
Install your IP camera by ROUTER MODE

4
In the following screen select the tab:
then select the tab:
to enter the next step (see Figure 2).
Follow the instructions in the Camera List window step by step (see Figure 3 and Figure 4).
Please enter a personal camera name and password (default 0000).
You are encouraged to change the default password after setup for security purposes.
Click the tab
(see Figure 5). The uCare Cam will automatically enter the viewing window (see Figure 6)
and the IP camera status LED will turn orange.
7
6
5
Figure3
Figure2 Figure4
Figure5 Figure6

5
APPLE
Set the IP camera to connect to the Wi-Fi router
Open up “Settings” on your iOS device and select “Wi-Fi” and let it search for a network.
The network will be “Wi-Fi-cam-p2p”. Select “Wi-Fi-cam-p2p” to connect.
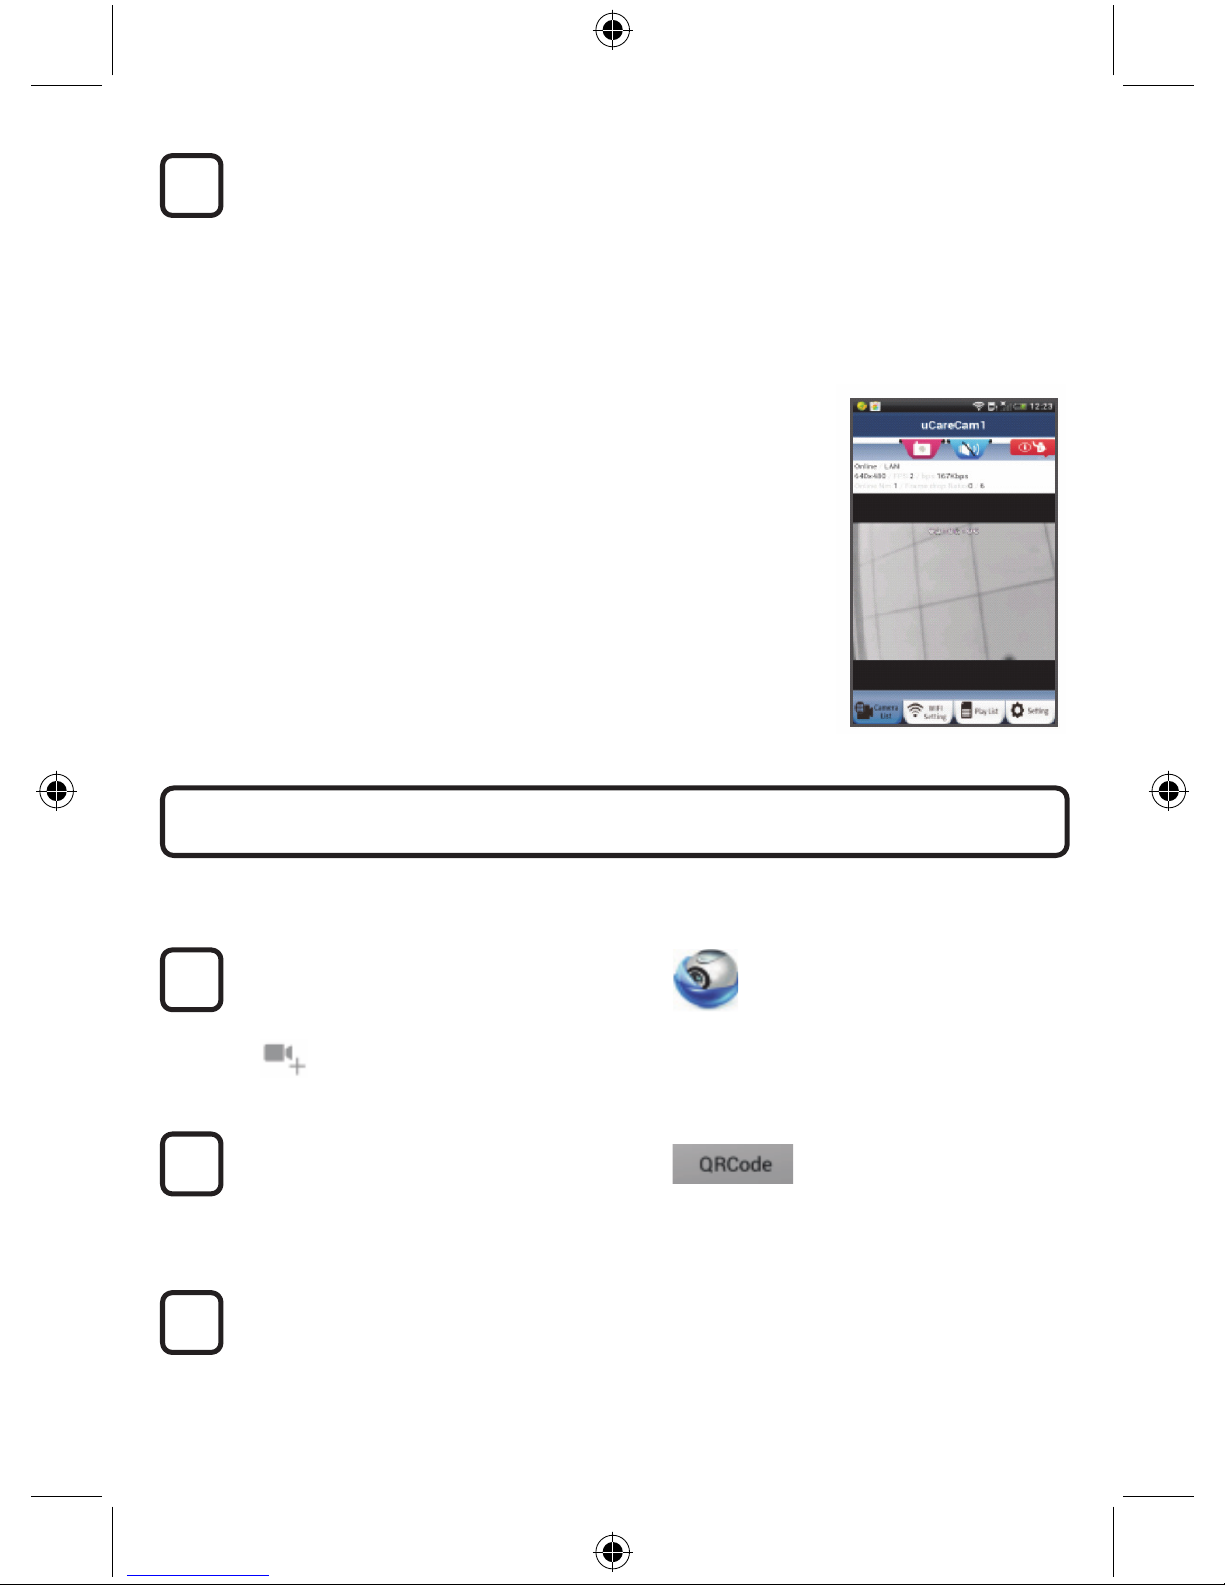
Now, open the “uCare Cam” app and select the tab at the bottom of the screen that says
“Wi-Fi Connect”.
Select “Router mode”, then “Next”. Enter here the Wi-Fi network name (SSID) and
password of your home router.
After the IP camera receives this information, it will restart. Please wait for it to start up and
connect to your Wi-Fi router. When it successfully connects, the status LED colour will turn
orange. It may take up to 5 minutes.
Then select the camera name in the “uCare Cam” app to connect.
Note: If the status LED colour does not turn orange, please check your Wi-Fi router and
make sure the IP camera is within the signal area of your Wi-Fi router. Then try this setup
again.
If your Wi-Fi router has a WPS (Wi-Fi Protected Setup) button, you can use it to set up the IP camera.
(Must enable WPA/WPA2 encryption in Router). On the Wi-Fi router, you will see a button labelled
“WPS”. It may also be called “QSS” or “AOSS”
Setup Wi-Fi - WPS mode
Open the “uCare Cam” app
and select “Wi-Fi Setting” or “Wi-Fi Connect” at the bottom of the screen.
Select the tab:
then select the tab:
to enter Step 2 (see Figure 8).
Enter WPS mode
Power on your IP camera. The status LED on the IP camera will be green for about 15
seconds.
Programme Loading
The status LED will flash red for about 15 seconds.
2
3
1
Install your IP camera by WPS connection mode
12
11
10
9
8

6
Press the WPS button on your IP camera
Wait until the status LED flashes between red and green, then press and hold the
WPS/RESET button on your IP camera for about 2 seconds to enter WPS mode. The
status LED will be flashing green.
Enter WPS mode on the Wi-Fi router
Press the WPS button on the Wi-Fi router
Selecting the Wi-Fi router
Select the Wi-Fi router of your choice in the screen (see Figure 9).
Then select the tab:
to enter next step (see Figure 10).
IP camera connects with Wi-Fi router
Wait about 1-2 minutes. If the IP camera is successfully connected to the Wi-Fi router, the
status LED will become orange.
Otherwise the status LED will become a flashing red light. If the setup is not successful,
please go back to Step 1 and try again.
If successful, select the tab:
(see Figure 11), and follow the instructions.
Please enter a camera name and password for security and
select the Tab: (see Figure 13).
The IP camera will automatically enter the viewing screen (see Figure 14).
8
6
5
4
9
7
Figure9 Figure10Figure8

7
Power On
Plug the power adapter DC connector into the DC input port of the IP camera and then plug
the power adapter into a wall outlet. The status LED on the IP camera will turn green for
about 15 seconds.
Programme Loading
The status LED will flash red for about 15 seconds.
2
1
Start up the IP camera after the Wi-Fi connection has been
completed
Figure11 Figure12
Figure13 Figure14

8
Searching Wi-Fi Router
The status LED will flash green until the Wi-Fi router is found (up to 5 minutes).
Once the router is found, the status LED will become orange.
If the IP camera cannot connect to the Wi-Fi router, please check the Wi-Fi router status or
re-install.
In the app, select the camera name that is shown in the Camera List, and the viewing
window will open(see Figure 15).
ANDROID (for Apple go to: Step 5)
Open the “uCare Cam” app and select:
Click here to import installed Wi-Fi Camera
In the Camera List Window screen (see figure 16) for adding an IP camera.
Select the tab:
Your device will now enter the QR code mode.
Note: you need to have a QR code scanner installed on your device.
Locate the QR code on the backside of the IP camera and scan the QR code.
After scanning the QR code, the UID (Unique ID code) appears in the screen of your
device (see Figure 17).
3
2
1
Add already installed IP camera to the app
3

9
Enter a personal camera name and password and
select the tab:
(see Figure 17).
The new camera will be added to the list
(see Figure 18).
Figure16 Figure 17 Figure 18
APPLE
Open the App “uCare Cam”.
Select, in the camera list window, the “+” sign on the right top of the screen.
Select option “Scan camera QR code”.
Note: you need to have a QR code scanner installed on your device.
Locate the QR code on the backside of the IP camera and scan the QR code.
The UID (Unique ID code) will show up after scanning the QR code.
Enter a personal camera name and select “DONE” on the top right side of the screen.
4
For further explanation of the app, the IP camera and the FAQ, please check the FULL
manual (English only) on the CD supplied with this product.
9
8
7
6
5

10
Product description:
SEC-IPCAM100B (W)
1. Wi-Fi antenna
2. Light intensity sensor
3. IR LED
4. No function
5. Microphone
6. LED indicator
7. WPS/Reset button
8. Micro SD card slot
9. Loudspeaker
10.Connection for camera mount
11. 5V DC input
Ce manuel convient aux modèles suivants
1
Table des matières
Langues :
Autres manuels Konig Caméra IP

Konig
Konig SAS-IPCAM180W1 Manuel utilisateur

Konig
Konig SAS-IPCAM200 Manuel utilisateur

Konig
Konig SEC-CAMIP40 Manuel utilisateur

Konig
Konig SAS-SETIPC011W Manuel utilisateur

Konig
Konig SEC-CAMIP20 Manuel utilisateur

Konig
Konig SEC-CAMIP30 Manuel utilisateur

Konig
Konig CMP-NWIPCAM20 Manuel utilisateur

Konig
Konig CMP-NWIPCAM22 Manuel utilisateur


