Kino Flo CEL-200C-120U Manuel utilisateur

Operation Manual
Celeb 200 DMX LED
Part No. 3100065 Rev A 09-25-2013
®

2
Celeb 200 DMX LED System
Included w/ all Celeb 200 Models
CEL-200C-120U
Celeb 200 DMX Center Mount, Univ 120U
CEL-200C-230U
Celeb 200 DMX Center Mount, Univ 230U
CEL-200Y-120U
Celeb 200 DMX Yoke Mount, Univ 120U
CEL-200Y-230U
Celeb 200 DMX Yoke Mount, Univ 230U
CEL-200P-120U
Celeb 200 DMX Pole-Op, Univ 120U
CEL-200P-230U
Celeb 200 DMX Pole-Op, Univ 230U
LVR-CE290-P
Celeb 200 Louver/HP 90° (Included)
GFR-CE2
Celeb 200 Gel Frame (Included)
Celeb 200 Center Mount
Celeb 200 Yoke Mount
Celeb 200 Pole-Op
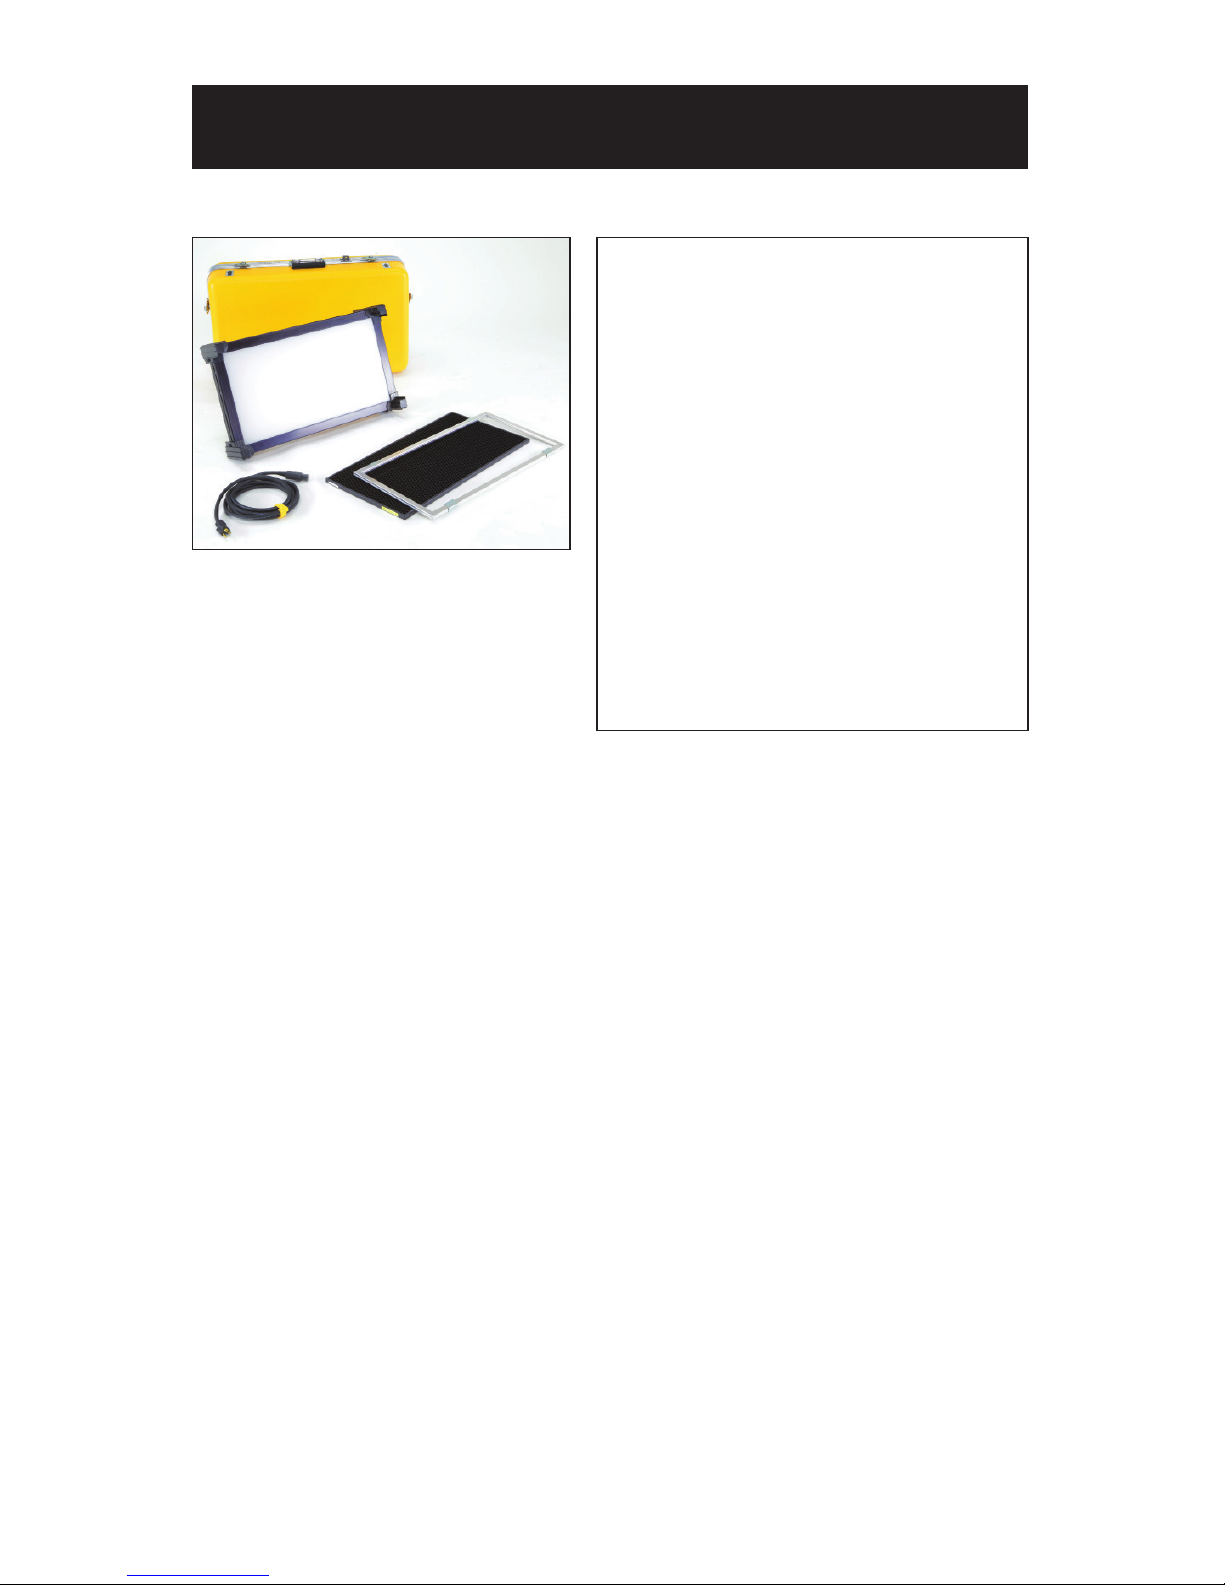
Celeb 200 DMX LED Kit
KIT-C2-120U
Celeb 200 DMX Center Mount Kit,
Univ 120U
KIT-C2-230U
Celeb 200 DMX Center Mount Kit,
Univ 230U
Kit Contents:
1 Celeb 200 DMX Center Mount
1 Flight Case
Weight: 31 lb (14kg)
Dimensions: 29 x 10.5 x 17”
(74 x 27 x 43cm)
3

Celeb 200 DMX Control Panel
A) Kelvin Preset Buttons: Kelvin buttons come preset at the factory.
Factory defaults left to right are: 2700K, 3200K, 4000K, 5000K, 5500K.
User can also use these preset buttons to store custom Kelvin settings.
B) DMX ADDRESS – Use to set DMX address. The Celeb 200 automatically
assigns 2 channels. First Channel controls Dimming; Second Channel
controls Kelvin.
C) KELVIN / DIM: In KELVIN mode, an amber light appears to the left of
the button and Kelvin is displayed. Press the button again to change to
DIM mode. In DIM mode, a green light will appear to the left of the button
and Dim level is displayed.
D) Display: Provides Kelvin, Dim level and software revision data.
E) LOCK / RESET: In LOCK mode, an amber light is displayed to the left
of the button. In RESET mode, the indicator light is green. To reset to
factory presets, hold the LOCK / RESET button for 5 seconds.
F) On / Off: On = Green light displayed. Off = Amber light displayed.
G) Data: To update Software Revisions.
H) Kelvin / Dimmer Knob: Manually adjusts Kelvin or Dim levels.
Press the knob to toggle between ne and coarse adjustments.
Note: Each Celeb 200 DMX xture has an “AUTO TERMINATE” feature.
The last xture that does not have an XLR cable attached to the
DMX “Out” port will automatically terminate.
AGB C D E F H
4

5
Ballast Power
DC Input
The Celeb can also be operated on 24VDC (input range 18-28VDC) through
a 3-Pin XLR. The Celeb will run approximately 2 hours on a 320W/24V/13A
battery belt. A low voltage warning will display “LPWR” when the battery is
running low.
The pin polarity is:
Pin #1 – Ground
Pin #2 + 18-28VDC
Pin #3 not used
AC Input
The Celeb is powered AC with the built-in power supply with universal input
from 100-240VAC.
Note: When operating AC, attach the Velcro strap around the baby receiver
lollipop as a strain relief. The handles also provide an attachment point for a
safety chain if xture is hung from a grid.
Ambient Operating Temperature
The Celeb is designed to operate at temperatures from 14°F to 104°F
(-10°C to 40°C).

6
Start Up
Kelvin Selection
When power is rst applied to
the xture, the alphanumeric
display shows the current
software version.
Press the On/Off button
to turn on the xture.
The display will default to a
Kelvin setting of 5000.
There are 5 Kelvin factory
preset buttons. Left to right
they display 2700K, 3200K,
4000K, 5000K and 5500K.
A green indicator will light to
the left of the active button.
Rotating the adjustment knob
will change the Kelvin.
Press the rotating knob once
to shift the Kelvin prole from
Coarse to Fine increments.
In the Coarse mode,
the xture can be adjusted in
one rotation of the knob.
In Fine mode, it will require
8 rotations for full range of
adjustment.

7
In KELVIN mode, the Kelvin
can be ne tuned with the
adjustment knob to custom
settings between 2700K to
5500K.
The setting can be assigned
to any preset button by
holding down the desired
button for 5 seconds.
The Kelvin display will ash
once the setting is registered.
Note: When the power is
turned off or removed,
the xture will remember
its last setting.
Press the KELVIN / DIM
button. The indicator light to
the left of the button will turn
green.
Rotating the adjustment knob
will dim the light of the xture.
Press the rotating knob once
to shift the Dim prole from
Coarse to Fine increments.
In the Coarse mode, the
xture can be adjusted in
one rotation of the knob.
In Fine mode, it will require
8 rotations for full range of
adjustment.
Kelvin Custom Settings
Dimming

Press the LOCK / RESET
button to lock the Kelvin
and Dim settings. An amber
indicator will display in
LOCK mode.
In LOCK mode, controls
are disabled and LOCK
will appear in the display.
To unlock, press the
LOCK / RESET button again.
The indicator light will turn
green.
In LOCK mode, you can
toggle back and forth on
the KELVIN / DIM button
and review your Kelvin and
Dim settings.
Note: When the power is
removed, the xture will
reset to unlock.
To reset factory settings,
press and hold the LOCK /
RESET button for 5 seconds.
The indicator light will turn
green and the display will
ash 5000 and light output
will be at 100%.
Lock Mode
Reset Factory Settings
8

The Celeb 200 DMX operates
on two DMX channels using
DMX512. The rst channel
operates dimming; the 2nd
channel operates Kelvin color
temperature control.
Once an address is selected,
the xture automatically
assigns 2 channels.
Press and hold the DMX
ADDRESS button to select a
DMX address. The displayed
number will ash while in edit
mode.
Turn the dimming knob to
select a valid address from
1-512. (Note: 0 or 513-999
are invalid addresses.)
Press the rotating knob once
to shift between Fine (single
digits) and Coarse (in 10th’s)
address selection.
DMX Operation
9
To save the DMX channel,
press the DMX ADDRESS
button again. When set,
the displayed number will stop
ashing.

10
AUTO TERMINATE FEATURE
The Celeb 200 DMX xtures have an AUTO
TERMINATE feature. The last xture that
does not have an XLR cable attached to the
DMX “Out” port will automatically terminate.
Any theatrical lighting board with DMX512
protocol can be used to control the Celeb 200
DMX xture. The xtures can be jumpered
using the IN and OUT ports. As many as 100
xtures can be jumpered on one chain as long
as the DMX cable run remains under 1000 feet
or 40 x 25ft DMX cables.
Note: When operating xtures at
great distances from the dimmer
board, it is recommended to use
Opto-Isolators to provide DMX
signal amplication.
Kelvin Color Temperature – Dimmer level
When DMX is applied, the DMX signal will override the manual settings and the
Celeb Kelvin temperature will default to 5500K and dim setting will be at 100%.
Sliding the fader on the 1st channel will lower the light level. Sliding the fader on the
2nd channel will lower the Kelvin from 5500K to 2700K. (See chart on the following
page for approximate Kelvin dimmer levels.). The xture may respond ± 4 slider
channels, depending on the dimmer board.
All manual controls are disabled once the
DMX cable is applied and DMX is turned on.
Note: To regain manual control with the DMX
cable plugged in, set the DMX address to “0”.
DMX Kelvin Dimmer Control
Note: All Kelvin indicator lights will turn green if a valid DMX signal is present.
If a xture loses its DMX signal, it will hold its last DMX command.
For this reason, it is important to turn a xture off using the DMX commands.
For example, if you try to turn off the lights by turning off the dimmer board, the lights
will remember their last DMX command and stay on. The xtures require a DMX “Off”
or “Black-Out” command in order to turn off.
Ce manuel convient aux modèles suivants
6
Table des matières
Autres manuels Kino Flo Projecteur

Manuels Projecteur populaires d'autres marques

VIZULO
VIZULO Micro Martin Guide de l'utilisateur

EuroLite
EuroLite LED IP FL-100 SMD Manuel utilisateur

Cooper Wheelock
Cooper Wheelock XB12 Manuel utilisateur

Allen + Roth
Allen + Roth 17624-000 Manuel utilisateur

ADJ
ADJ 4 STAGE PAK Manuel utilisateur

Cooper Lighting
Cooper Lighting EGL91SW233 Manuel utilisateur


