Kicker 19434227 Manuel utilisateur
1
19434227
Designed for 2023 and newer GMC
Canyon and Chevrolet Colorado
©2022 Stillwater Designs
19434227-20221208
ToolsNeeded:
*TorxT30driver
*3/16inch(5mm)AllenWrench
*10mmSocket
*Ratchet
*PhillipsScrewdriver
*PryTool
*Drill
*1/2inchDrillBitorStepBit
*WireCutters
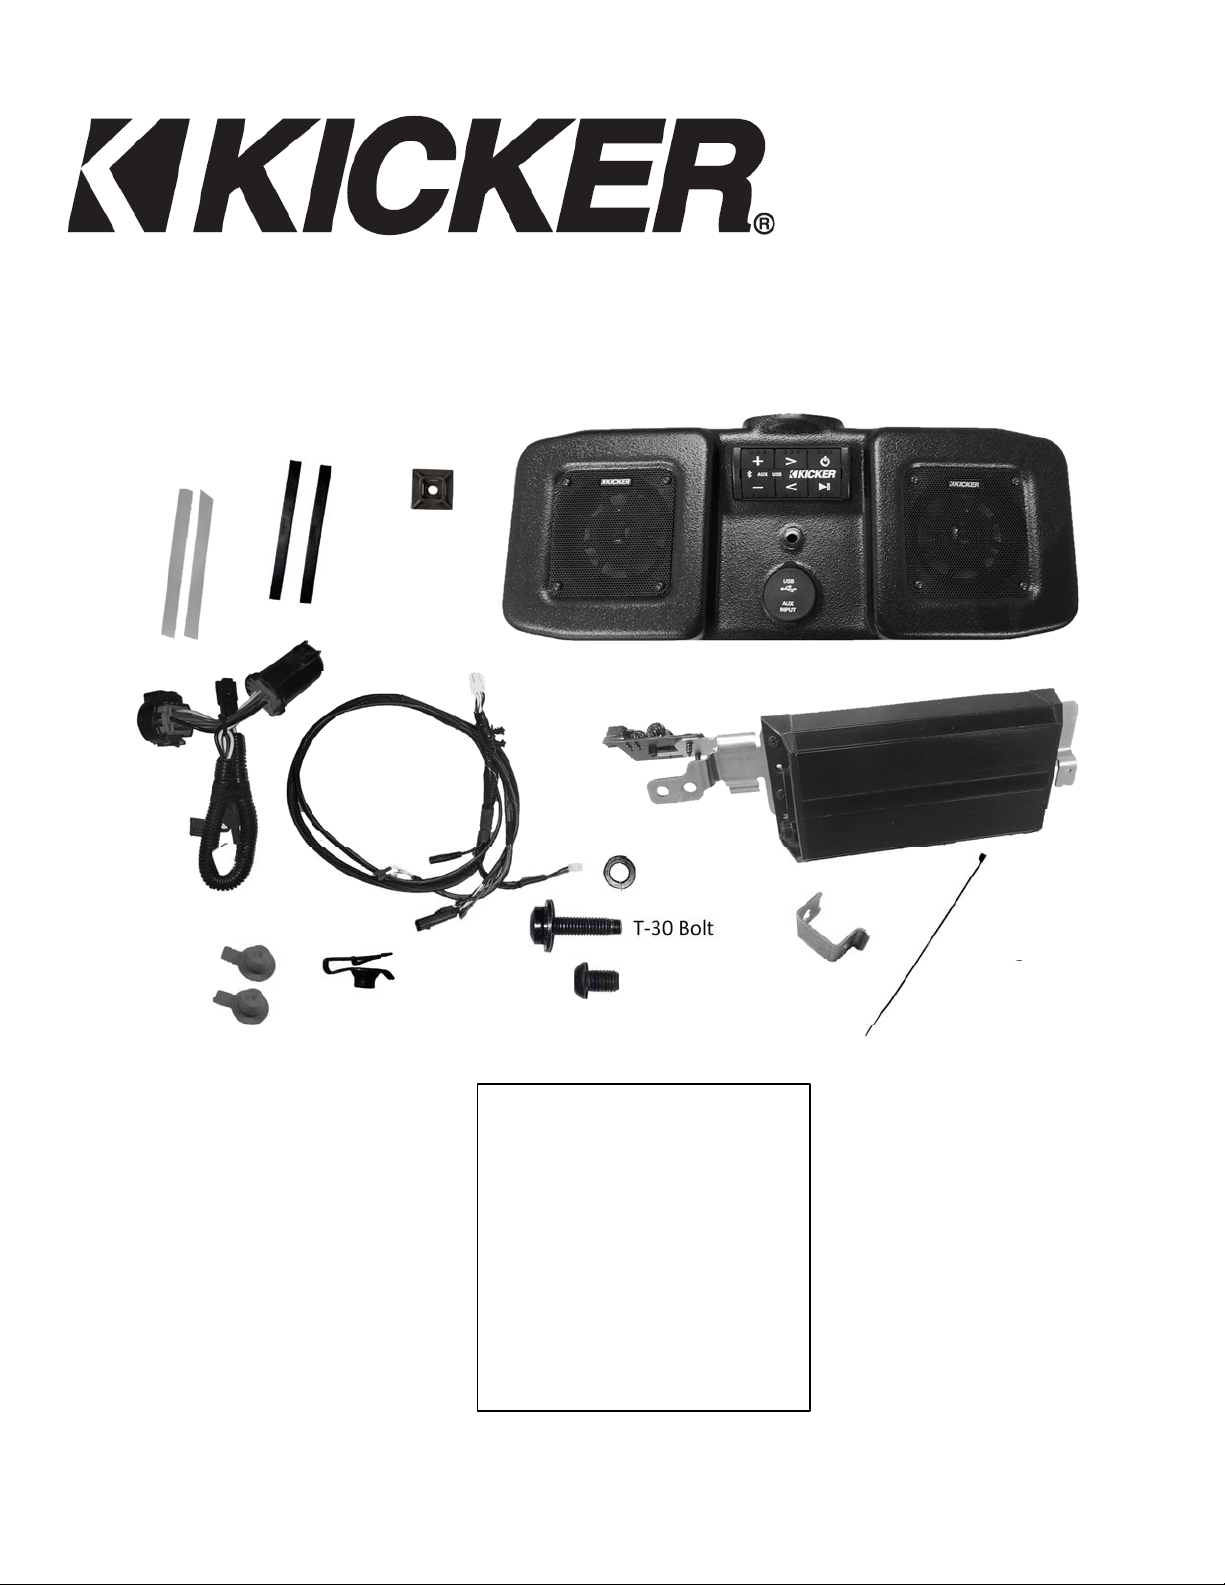
Double‐Sided
Tape
Adhesive‐
BackedWire
Retainer
T‐30Bolt
WireTies
x20
Rubber
Plugsx2 Threaded
Clip
Amplifier
Bracketand
TiltSwitch
Assembly
LockWasher
AllenHead
Screw
Amplifier
Harness
T‐Harness
SpeakerAssembly
SpeakerAssembly
MountingBracket
FoamTape

2
Open tailgate and remove the 8 screws securing the tailgate cover. Remove tailgate cover from tailgate.
Loosen the two nuts securing the tailgate latch mechanism and pull loose the wire retainer indicated.
wireretainer

3
Install two supplied strips of foam tape to the back of the amplifier bracket as shown.
Install the amplifier bracket into position by first inserting the end with the tilt switch and then the opposite
end.
Note: Scan QR Code for bracket installation video.
Slide the slotted holes in the amplifier bracket under the two nuts that were loosened earlier. Re-tighten
the nuts to 11.5Nm (100in-lb). Install the wire retainer removed earlier into the provide hole in the amplifier
bracket.
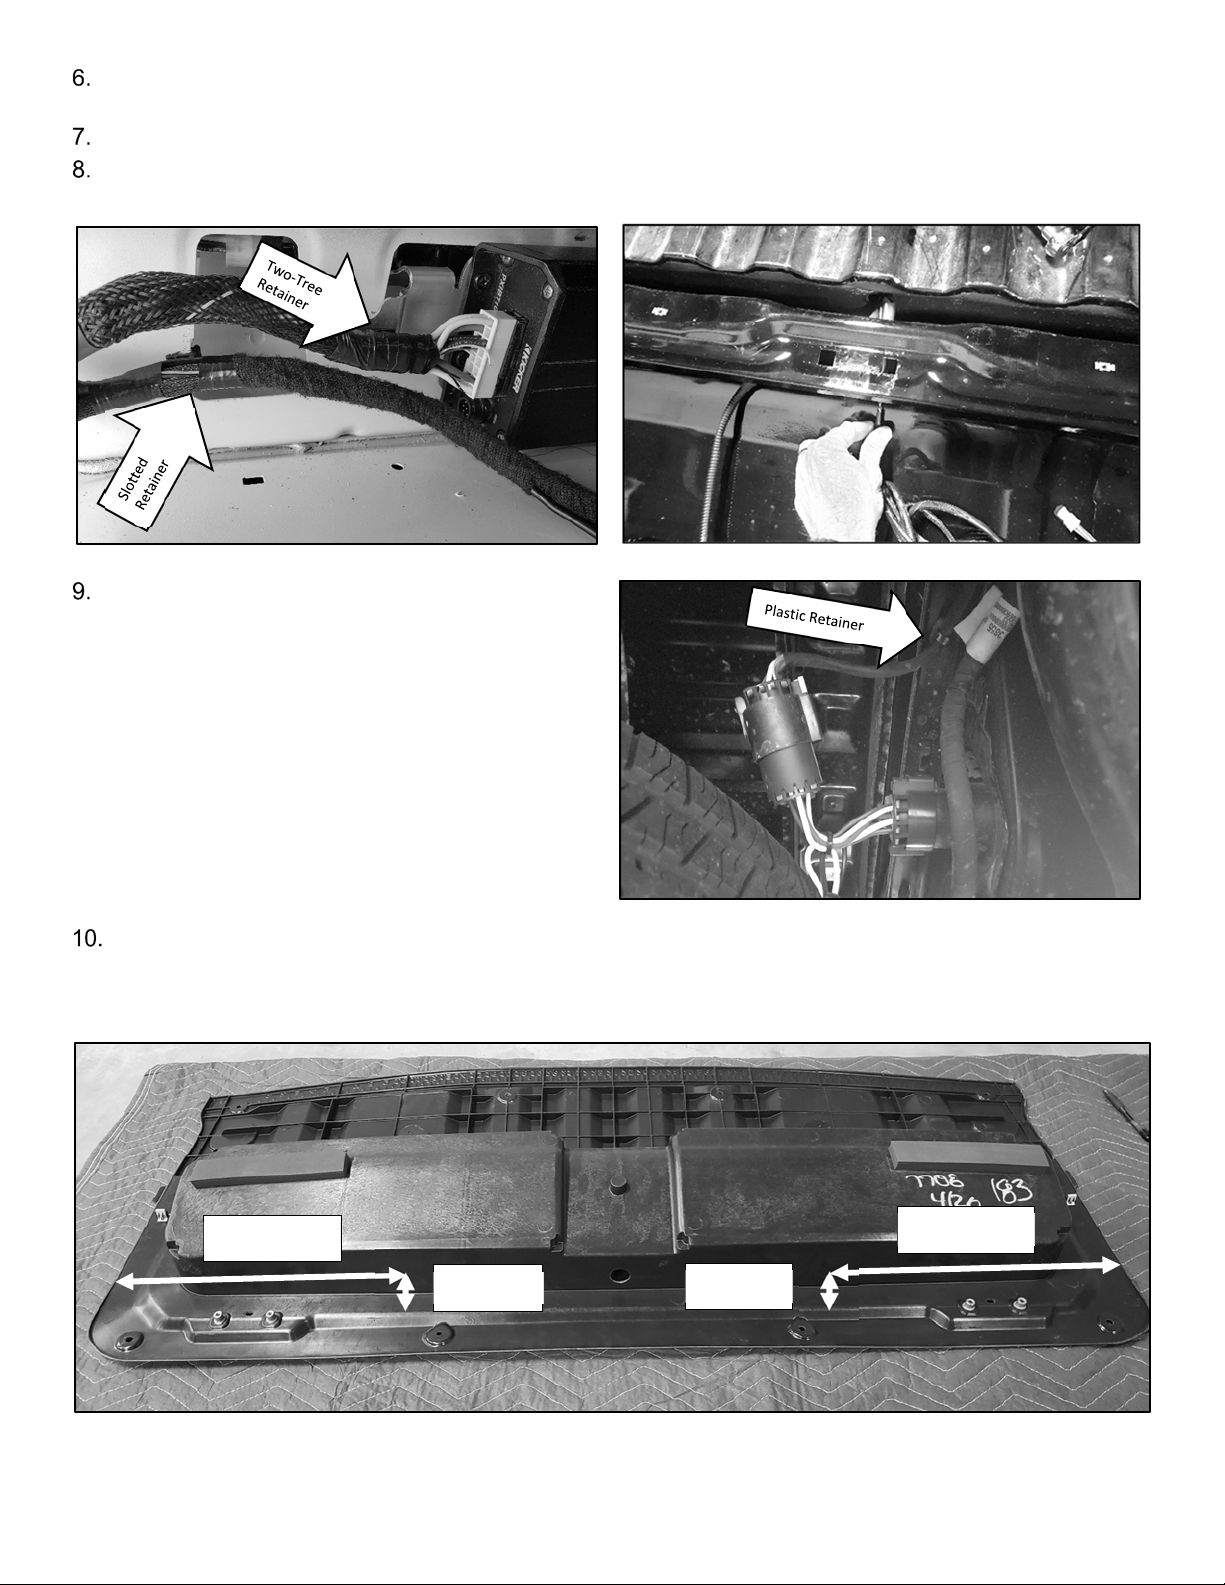
4
Connect the amplifier harness to the amplifier. Secure the harness to the amplifier bracket using the two-
tree plastic retainer. Secure the harness to the sheet metal as shown using the slotted retainer.
Connect the white four-pin connector to the tilt switch attached to the amplifier bracket.
Route the black two-pin connector through the hole in the center of the tailgate and then though the hole in
the back of the truck bed.
Disconnect the trailer connector and install the T-
harness between the trailer connector and the
factory harness. Connect the two-pin connector of
the T-harness to the amplifier harness. Use
supplied wire ties to secure extra wire to factory
wire harness.
Note: The plastic wire retainer can be
temporarily removed and reattached
to gain more slack in the truck
harness and make connections
easier.
With the tailgate cover laying face down on a soft surface, measure 16 inches over from each edge and 2
inches up from the back and make a mark. Drill a ½ inch hole at each mark and debur the holes.
Note: A Step Bit will produce the best results, but a regular drill bit can be used.
16inches 16inches
2inches
2inches

5
Turn tailgate cover over and open lid. Make a cross-shaped cut in the rubber grommet. Install the two
supplied auxiliary rubber plugs into the holes drilled earlier.
Route the controller wire (round multi-pin), the USB, and the AUX input (1/8 stereo jack) wires through the
grommet and place the speaker assembly into the tub and close and latch the lid.
Rotate the tailgate cover up and let it rest against the edge of the bed rails. A soft cloth can be placed
between the cover and the bed rails to prevent scratches.
Connect the USB cable to the amplfier and secure by installing a wire tie through the hole in bracket.
Connect the 1/8” AUX input cable to the amplifier harness. Secure the 1/8 cable to the amplifier harness
with a wire tie.
Connect the controller cable round multi-pin connector to the amplifier
Note: The controller cable round multi-pin
connector is clocked at the 3 o’clock
position on the amplifer (looking at
amp on a flat surface). Carefully
rotate the multi-pin connector while
applying minimal pressure until the
connector slides into place. Tighten
the locking ring by spinning
clockwise. Do not overtighten.
Cut
Round
Multi‐pin
connector
1/8”AUX

6
Wipe the area with one of the supplied alcohol wipes and let it air dry. Install the supplied adhesive-
backed wire retainer about two inches right of the centerline of the tailgate.
Feed the speaker wires through the rubber grommet.
Gather all the wires together without and secure them with wire ties. The center wire tie pictured should
be placed through the adhesive backed wire retainer and then around the wires.
Note: Trim wire tie ends. Make certain there are no loose ends of wire ties or wires
that can contact the plastic housing or the tailgate in order to prevent buzzes or
rattles from vibration.
2inches
centerline

7
Carefully lay the tailgate cover back into position making sure that no wires are pinched in the process.
Open the lid and tilt the speaker assembly up to connect the speaker wires.
Note: There are two different size connectors. Make sure the large connector is
connected to the large speaker terminal and the small connector is connected
to the small speaker terminal.
Note: Make sure the speaker terminals are properly inserted into connectors. It is
possible for the speaker terminal to be inadvertently inserted between the
metal connector and the plastic insulator.
Wipe the mounting surface of the speaker assembly and the tailgate cover with one of the supplied alcohol
wipes. Apply the supplied double-sided tape to the speaker assembly and peel back about 1/3 of the
double-sided tape backing as shown. Fold the backing out to the side and crease it to get it to stay.
Install the supplied bracket with supplied bolt and washer. Make sure the bracket is oriented correctly as
shown. Next, install the threaded clip with the threaded portion facing down as shown.
Lay the speaker assembly into position making sure no wires are pinched. Thread the suppled torx bolt
into the center hole and the threaded clip until finger tight.
While making sure the speaker assembly is correctly located to the tailgate cover, and while applying a
small amount of downward pressure, pull the double-sided tape backing off the tape on both sides.
Tighten the torx bolt but do not overtighten.

8
Troubleshooting the Kicker Tailgate System
TailgateSpeakerSystemwillnotpoweron.
CheckfuseattrailerconnectorT‐Harness.
Checkvehiclebatteryvoltage.
Checktraileraccessoryfuseinfusebox.
Checkharnessconnectionatamplifier.
CheckBluetoothcontrollerconnectionatamplifier.
Checkfour‐pinconnectoratblackmoduleattached
toamplifierbracket.
TailgateSpeakerSystempowerson,butnosound.
Checkthatpropermodeisselected,e.g.Bluetooth,
Aux,USB.RefertoBluetoothControllerUser
Manual.
TailgateSpeakerSystemhasbuzzorrattle Makesureallwiresarewire‐tiedsecurelyandnot
touchingthespeakerassemblyortailgate.
TailgateSpeakerSystemshutsoffwhentailgateis
raised.
Thereisnoissue.TailgateSpeakerSystemis
designedtoonlyoperatewhenbothinnerandouter
tailgatesarefoldedfullydown.
PoorBluetoothRangeortroubleconnecting.
Incertainareasthesystemmaybeaffectedby
interferencefromotherRFdevices.Thisproblem
shouldcorrectitselfonceoutofrangeof
interference.
If you continue to experience problems after troubleshooting, please contact KICKER Technical Support at
P.O. Box 459 • Stillwater, Oklahoma 74076 • USA • (405) 624–8510

1
19434227
Diseñado para GMC Canyon y Chevrolet
Colorado 2023 y posteriores
©2022 Stillwater Designs
19434227-20221208
Herramientasnecesarias:
*DestornilladorTorxT30
*LlaveAllende3/16pulgadas(5mm)
*Conectorde10mm
*Trinquete
*DestornilladorPhillips
*Herramientadepalanca
*Broca
*Brocaobrocaescalonadade1/2pulgada
*Alicates
Cintade
doblecara
Retenedorde
cableconreverso
adhesivo
PernoT‐30
Amarras
x20
Tapones
degoma Cliproscado
Montajedel
soportedel
amplificadory
delinterruptor
basculante
Arandeladefijación
Tornillode
cabezaAllen
Arnésdel
amplificador
ArnéstipoT
Montajedelaltavoz
Montajedelaltavoz
Soportedemontaje
Cintadeespuma

2
Abra la compuerta trasera y retire los 8 tornillos que fijan la cubierta. Retire la cubierta de la compuerta trasera.
Afloje las dos tuercas que aseguran el mecanismo de cierre de la compuerta trasera y desconecte el retenedor
del cable indicado.
retenedordecable
Table des matières
Langues :
Autres manuels Kicker Accessoires automobiles


