JAPANNEXT JN-IPS320UHD Manuel utilisateur

JN
-
IPS320UHD 3840x2160
UHD (4K)
32” LED MONITOR
ENG
User Manual
Take a few minutes to read carefully this brief manual before switching your new JAPANNEXT monitor on.
Keep this manual in a safe place for future reference.
FR Manuel d'utilisation
Ce manuel de l’utilisateur contient les informations nécessaires à l’utilisation de votre moniteur, prenez le temps de
le lire, avant d’utiliser votre moniteur JAPANNEXT. Veuillez conserver ce manuel dans un endroit sûr pour toute
référence ultérieure.
Product ID /Référence produit : JN-IPS320UHD
EUROPE www.japannext.eu
JAPAN www.japannext.net
1

TABLE OF CONTENTS / TABLE DES MATIERES
ENGLISH
P3. WARNING / IMPORTANT SAFETY PRECAUTIONS
P4. MAINTENANCE
P5. NOTES ABOUT LCD PANELS
P6. QUICK START GUIDE
P7. CONTENTS OF THE PACKAGE / CONNECTORS
P8. CONTROL BUTTONS
P9. OSD MENU
P12. REMOTE
P13. FAQ & TROUBLE SHOOTING
FRENCH
P14. ATTENTION / CONSIGNES DE SECURITE
P15. MAINTENANCE
P16. INFORMATION A PROPOS DES ECRANS A CRISTAUX LIQUIDES
P17. GUIDE DE DEMARRAGE RAPIDE
P18. CONTENU DE l’EMBALLAGE / CONNECTEURS
P19. BOUTONS DE REGLAGES
P20. MENUS DE REGLAGE (OSD)
P23. TELECOMMANDE
P24. DEPANNAGE / FAQ
INTERNATIONAL
P25. TECHNICAL SPECIFICATION
P26. COMPLIANT TIMMING / DIMENSIONS
ENG For quality improvement we reserve the right to change this manual content or product specifications without
notice. JAPANNEXT Corp. owns trademarks of this manual.
FR Nous nous réservons le droit de modifier le contenu de ce manuel, ou les caractéristiques de nos produits sans
préavis à des fins d'amélioration de la qualité. JAPANNEXT Corp. détient les droits d'auteur de ce manuel.
2

WARNING
Take time to read this user's manual before using your monitor. This manual is intended for a safe and proper use of
your monitor. It contains very important information regarding the operation of your new monitor. Further use can be
dangerous for yourself and people surrounding the monitor.
The JAPANNEXT guarantee applies only if the monitor is handled properly for its original intended use, in accordance
with its operating instructions. You should also present original invoice or cash receipt, indicating the date of
purchase, the dealer’s name and model number / serial number.
Attention – Important safety precautions
Read these manual instructions fully and follow them when setting up and using your monitor. Use of control buttons,
or different procedures than these specified may result in exposure to electrical and mechanicals hazards, electrical
shocks and may damage your monitor and/or put yourself in danger.
• If any sign of spark, smoke, noise or vibrations, disconnect your monitor from power supply and contact JAPANNEXT
CUSTOMER SERVICE. Continuing using the monitor is dangerous and may result in exposure to electrical and/or
mechanicals hazards, electrical shocks and damage your monitor or putting yourself in danger.
• DO NOT open your monitor. It contains high voltage components. Opening of monitor should be done by a service
technician only. Opening monitor may cause electrical shocks and damage your monitor or putting yourself in danger.
• DO NOT introduce water or foreign substance in the monitor, keep a safe distance (at least 10cm) from other
furniture or electrical device and ensure that ventilation holes aren’t covered or obstructed. Keep out any object
that could fall into ventilation holes or on the monitor.
3

• Do not subject the monitor to:
- a heat source ( ex. : a heater) , fire (ex. : a candle).
- a water source, rain or humidity (+80%), dust or smoke.
- to direct sunlight or any direct strong bright light source.
- to high temperature variations
- to a temperature less than - 5°c or higher than +40°c when using.
- to a temperature less than - 5°c or higher than +50°c during storage.
- to vibrations or impact.
This could cause electrical or mechanical shocks, and also cause damage to the monitor and surroundings and also
possible bodily harm.
• Do not leave the monitor in a car or truck.
• Do not drop the monitor, or subject it to shock, or vibration, during transportation, installation and use.
• Do not install the monitor directly opposite to air-conditioner.
• Install the monitor on a stable and smooth surface, be careful not to topple / toggle / tumble it.
• For wall mounting, ask a professional to do it (In case Monitor as no VESA compatibility)).
Improper installation might result in accident.
• Do not touch the monitor or the power outlet and the cables and adapter with wet hands as it may cause electrical
shock.
• Position the monitor in a place where the power plug and outlet are easily accessible.
• This monitor is not designed for a 24/7 use.
• Always use power cord provided with the monitor. If the power cord is missing or damage please contact
JAPANNEXT customer service or a technician.
• Unplug the monitor if you are not going to use it for an extensive period of time.
• When positioning the monitor, make sure the power plug and outlet are easily accessible.
Maintenance
• To protect your monitor from any damage, do not put excessive pressure on the LCD panel. When moving the
monitor, grasping the frame is better..
• If you need to clean the monitor unplug it first. Then with a slightly damp cloth, wipe it carefully and be careful not
making it topples during the process. It can also be wiped with a dry cloth (using special cloth made for screen
cleaning is better). However, never use organic solvent, ammonia-based liquids, gasoline or alcohol etc… to clean your
monitor. Using specific product for monitor cleaning (can be bye in stores selling computer related goods) is safer.
• If you are not going to use the monitor for an extensive period of time unplug it.
• If the monitor gets wet, unplug it and then wipe it with dry cloth as soon as possible.
• To maintain the best performance of the monitor and use it for a longer time, use the monitor in a location that falls
within the following humidity and temperature ranges:
Temperature: 0-40°C 32-105°F Humidity: 20-80% HR
4
NOTES ABOUT LCD PANELS
•Displaying still or static images over an extended period of time it may cause “afterimage” (also known as “burn in”
or “ghost imaging”) on your screen. Make sure to activate a moving screen saver program when you leave your
monitor unattended or to make it goes to stand-by mode (no image displayed). In case your monitor displays
unchanging static content, please activate a periodic screen refresh application.
• “Afterimage”, “burn in”, “ghost imaging” is a well-known phenomenon in LCD panel technology. In most cases it will
disappear after turning off the power for a few hours.
WARNING: Failure to activate such a screen refresh application / screen saver, may unfortunately result in severe
“Afterimage”, “burn in”, “ghost imaging” symptoms that might not disappear and cannot be repaired. This kind of
damage isn’t covered under our warranty
Recommendation
• For a better comfort in use and an optimum vision, do not use the monitor against backlight.
• For your health we recommend you not to use the monitor in a dark room. Also we recommend positioning the
screen below eye level at a distance of about 40 to 60 cm. With prolonged use it is recommended to take a 10 minute
break per hour of use.
Customer service / assistance / maintenance
• Please contact a technician or JAPANNEXT customer service if the monitor does not operate normally or if you are
not sure (e) the procedure after reading the manual.
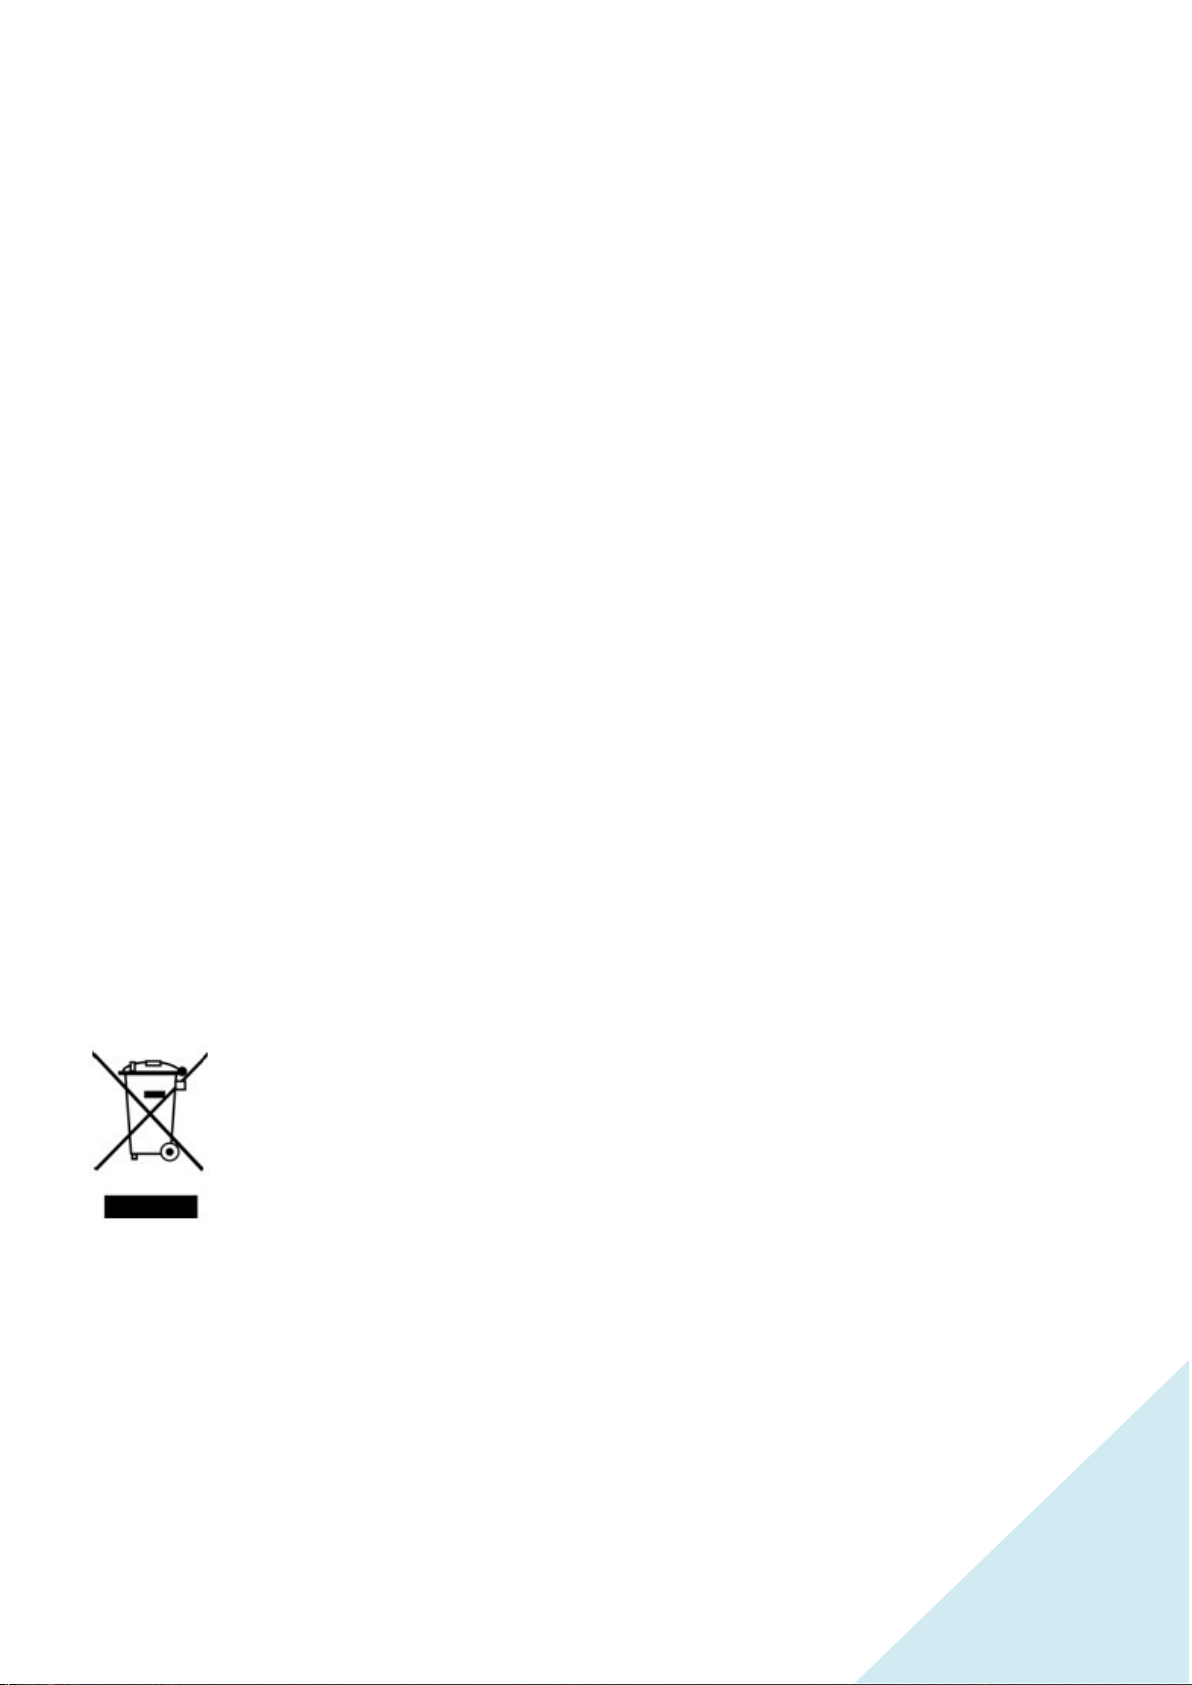
Disposal of product and his packing materials
Waste Electrical and Electronic Equipment / WEEE
This mark on the product and/or on the packaging illustrates that, under European
Directive 2012/19/EU governing used electronic and electrical appliances, this product may not be
disposed of with other normal household waste. The buyer/user is responsible for the disposal of
this electronic equipment through a designated waste electrical and electronic equipment collection
organization. In order to determine the locations for dropping off, please contact your local
government or the waste disposal organization that serves your area. Your JAPANNEXT monitor contains many
materials and parts that can be recycled and reused (LCD panel, Metallic and plastic parts and much more!).
Specialized companies can recycle your monitor and minimize the amount to be disposed of.
5

QUICK START GUIDE
Put the monitor face down on a stable and smooth surface, pay attention not to damage or scratch the front glass /
screen. It’s better putting a soft piece of cloth on the table beforehand to protect the monitor. Make sure the monitor
is unplugged before starting installation.
SETTING UP THE MONITOR
1. Put the monitor face down on a stable and smooth surface.
2. Position one foot against the underside of the monitor by placing the longest part backwards and use 2 supplied
screws to fix it. Screw without force.
3. Position the second foot against the underside of the monitor by placing the longest part backwards and use the
2 remaining screws to fix it. Screw without force.
4. Make sure the stand and base are firmly attached.
5. Make sure both monitor and computer are unplugged.
6. Plug power cord and signal cable (HDMI or VGA or DP etc..) to the monitor.
7. Plug the computer and monitor power cord to the power supply.
8. Turn on the monitor and computer.
NOTE / CAUTION
After turning on computer and monitor if no image is displaying make sure you have chosen the right signal cable.
Please fasten signal cable finger screws at each end of cable (only VGA).
Please make sure to earth the power cord.
6

CONTENTS OF THE PACKAGE
Manual | DC Adaptor | Power cord | DP cable | VGA cable | HDMI cable
*Warranty card might be separate or include inside user manual.
*Power cord is EU type (Germany, France etc...) for other countries such as Italy or UK please use shape adaptor.
*Power
Plug
Shape
CONNECTORS
1・HDMI 1.4 Connectors: (30Hz) Can be use with both monitor and a large variety of AV products such as:
game console or HDD recorders, net TV box etc.
2・HDMI 1.4 Connectors: (30Hz) MHL compatible. Can be use with both monitor and a large variety of AV products
such as: game console or HDD recorders, net TV box etc.
3・HDMI 2.0 Connectors: (60Hz) Can be use with both monitor and a large variety of AV products such as:
game console or HDD recorders, net TV box etc.
4・DP (Display port 1.2) Connector: When removing cable, make sure you press the ▲ button.
5・VGA Connector: No audio compatibility. Analog technology, less good image quality than other signal (cables).
Use cable side screw to fix the cable to the monitor and PC. VGA does not support UHD but only 1920*1080.
6・AUDIO OUT: Audio input from an external audio source.
7・AUDIO OUT: To be use when using HDMI or DP/Mini-DP signal cables to get audio on earphone or speakers
cannot be used when using VGA cable as VGA do not support audio output.
8・DC Power Plug: 12V/5A Please use only the power DC adaptor and power cord included in Package.
7

CONTROL BUTTONS
MENU Open the OSD Menu. Once in the OSD menu you can select the
function and confirm the setting.
RETURN In the OSD menu you can return to the previous menu or exit the
menu.
UP Navigate the menu upwards.
* Shortcut
key: automatic VGA adjustment
DOWN Navigate the menu down.
* Shortcut key: Adjust the brightness.
VOLUME + Increase the volume
* Shortcut key: Picture mode
VOLUME
-
Decrease the volume
POWER
Po
w
er on or off
8

OSD MENU (monitor function control menu)
MAIN MENU SUB-MENU FUNCTION COMMENT
INPUT
Auto
Select input signal source
DP
HDMI 1 (60Hz)
HDMI 2 (30Hz MHL)
HDMI 3 (30Hz)
VGA
CONTRAST
BRIGTHNESS
Brightness 0-100 Adjust brightness from 0 to 100
Contrast 0-100 Adjust contrast from 0 to 100
DCR On ON: Increased contrast ratio
OFF: Normal contrast ratio
Off
HDMI Computer If connecting to a computer
Video If connecting to DVD or box TV
COLOR
Gamma
1,8
Adjust the ganma
2
2,2
2,4
2,6
Picture Mode
Standard
Select picture mode
Photo
Movie
Games 1
Games 2
Games 3
Eco
Color Temperature
Warm
Select color temperature
Normal
Cool
USER
User
Red 0-100
Green 0-100
Blue 0-100
Low Blue Light
OFF
Reduces blue light
BLUE LIGHT CUT 1
BLUE LIGHT CUT 2
BLUE LIGHT CUT 3
Hue/Saturation Hue 0-100
Saturation 0-100
9

MAIN MENU SUB-MENU FUNCTION COMMENT
PICTURE
QUALITY
SETTING
Bypass On Set bypass function on and off
Off
Sharpness 0-100 Adjust sharpness from 0 (soft) to 100 (sharp)
Response Time
Off Set up response time .
Higher level will improve gray level response
time.
High
Middle
Low
Noise Reduction
Off
Set the level of "Noise reduction"
High
Middle
Low
Uniformity
Compensation
On Turn on/off
Off
Super Resolution
Off Set the level of "super resolution"
(Super resolution helps making low resolution
images look better on a high resolution
screen).
High
Middle
Low
Dynamic Luminous
Control
On Dynamic Luminous Control
ON or OFF
Off
FreeSync On Turn on or off FreeSync
Off
PICTURE
DISPLAY
Aspect Ratio
Wide Screen
Select Aspect ratio.
4:3
1:1
H-Position 0-100 Adjust horizontal position
V-Position 0-100 Adjust vertical position
Clock 0-100 Adjust the pixel clock
Phase 0-100 Adjust the pahse
Auto Adjust 0-100
DP Version DP1.1 Choose DP version
DP1.2
AUDIO
Mute On Turn mute mode on / off
Off
Volume 0-100 Adjust volume from 0 to 100
Audio input
Line-In
Select the audio source
HDMI 1
HDMI 2
HDMI 3
DP
Audio output Headphones Select the audio output
Speaker
10
Table des matières
Langues :
Autres manuels JAPANNEXT Moniteur


