Ismart C1100DN4 Manuel utilisateur

HD IP CAMERA
User manual

2
CONTENT
1 NETWORK SETUP...............................................................................................................................................................4
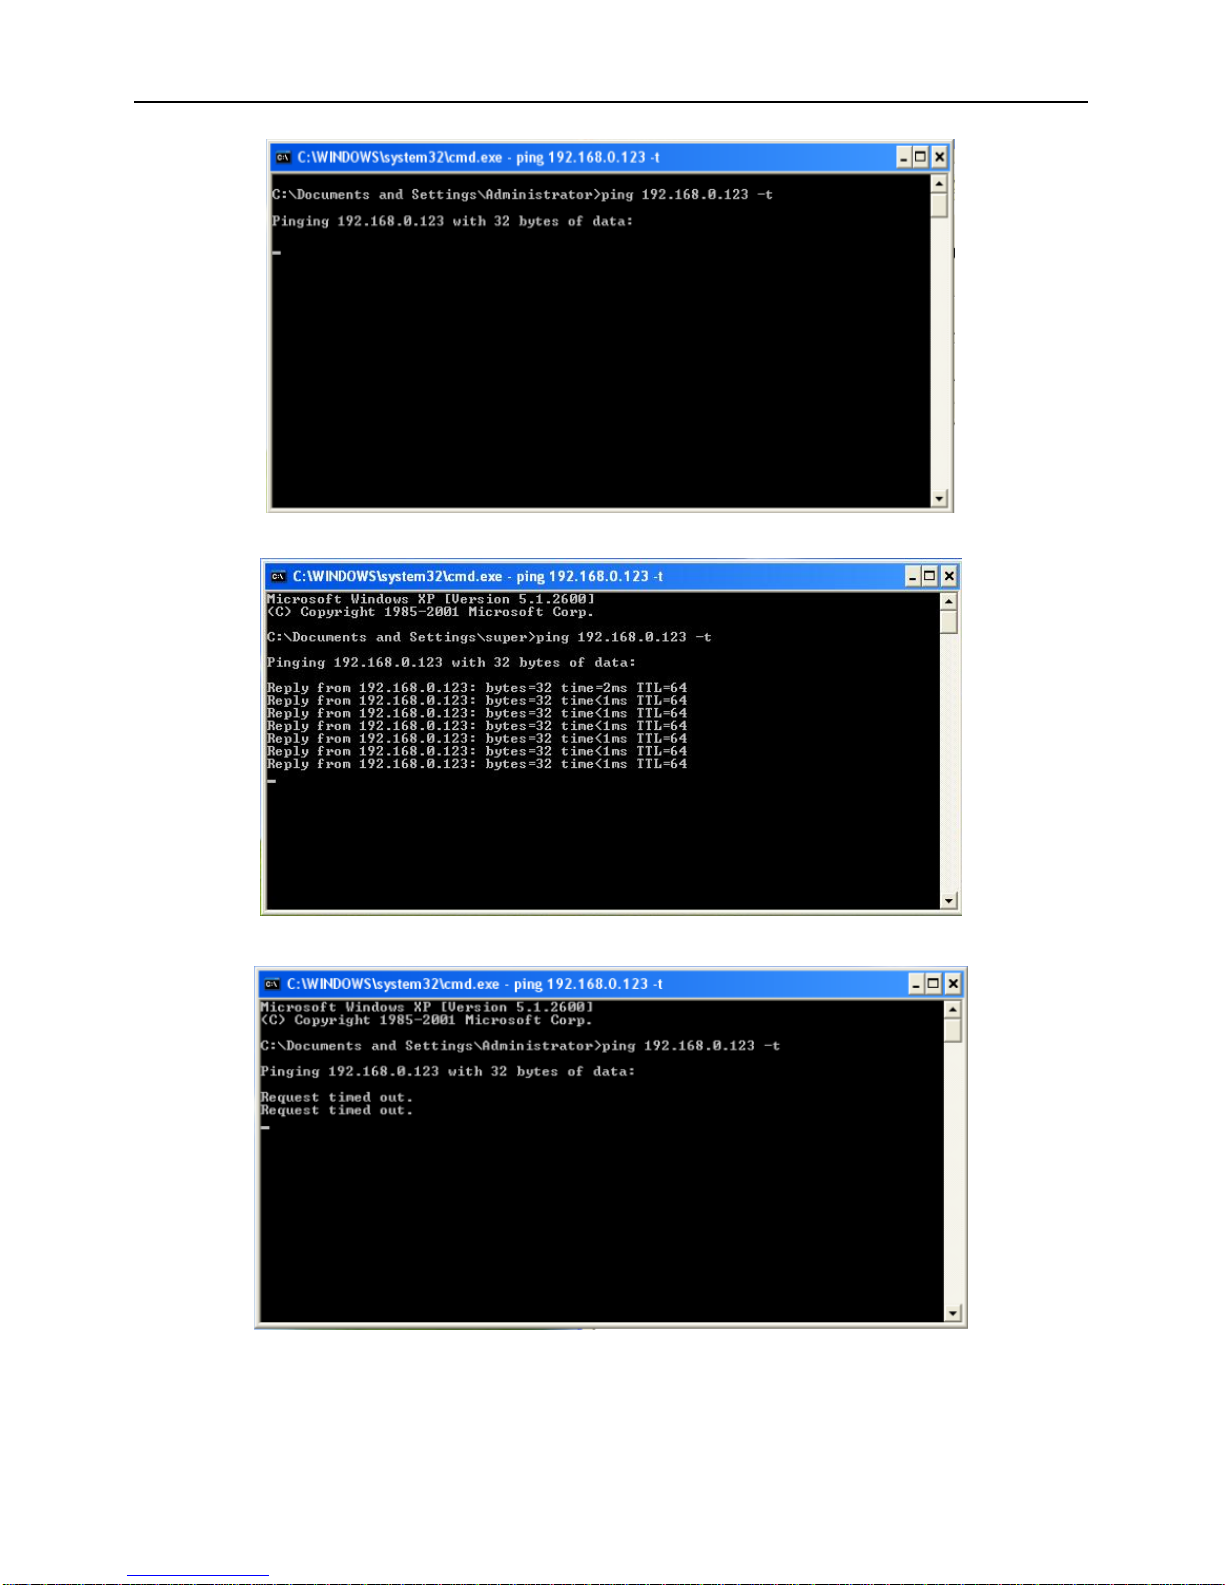
1.1 NETWORK STATUS.............................................................................................................................................................4
1.2 ETHERNET SETUP...............................................................................................................................................................6
1.3 WIFI SETUP .......................................................................................................................................................................7
1.4 ADSL SETUP .....................................................................................................................................................................8
1.5 DDNS SETUP.....................................................................................................................................................................8
1.6 UPNP SETUP...................................................................................................................................................................... 9
1.7 FTP ACCOUNT ...................................................................................................................................................................9
1.8 SMTP ACCOUNT SETUP.....................................................................................................................................................9
1.9 STREAM SETUP ................................................................................................................................................................ 10
1.10 PLATFORM SETUP .......................................................................................................................................................... 10
2 MEDIA SETUP .................................................................................................................................................................... 11
2.1 PLAY VIDEO..................................................................................................................................................................... 11
2.2 VIDEO CAPTURE ..............................................................................................................................................................13
2.3 TIME AND TITLE SETUP....................................................................................................................................................14
2.4 VIDEO ENCODE ................................................................................................................................................................ 15
2.5 PICTURE CAPTURE ...........................................................................................................................................................15
2.6 PRIVACY MASK................................................................................................................................................................ 16
2.7 MEDIA STATUS ................................................................................................................................................................ 17
3 STORAGE SETTINGS........................................................................................................................................................17
3.1 STORAGE MANAGE ..........................................................................................................................................................17
4.2 PLAY BACK...................................................................................................................................................................... 17
3.3 RECORD SETUP ................................................................................................................................................................ 20
3.3.1 Basic Setup............................................................................................................................................................... 20
3.3.2 Motion Detect Alarm Record ................................................................................................................................... 20
3.3.3 Motion Detect Alarm Capture..................................................................................................................................21
4.3.4 IO Alarm Record......................................................................................................................................................21
3.3.5 IO Alarm Picture Capture........................................................................................................................................22
3.3.6 Schedule Record....................................................................................................................................................... 22
3.4 STORAGE MANAGE .......................................................................................................................................................... 23
4.4.1 Unmount................................................................................................................................................................... 23
4.4.2 Format ..................................................................................................................................................................... 24
4 ALARM SETUP...................................................................................................................................................................25
4.1 MOTION DETECT ALARM SETUP......................................................................................................................................25
4.2 VIDEO LOST ALARM ........................................................................................................................................................26
4.3 STORAGE FULL ALARM.................................................................................................................................................... 27

3
5 SYSTEM SETUP.................................................................................................................................................................. 27
5.1 SERIAL NUMBER AND KERNEL VERSION.......................................................................................................................... 27
5.2 ACCOUNT MANAGE .........................................................................................................................................................27
5.2.1 Add, Delete............................................................................................................................................................... 27
5.2.2 User Group ..............................................................................................................................................................29
5.3 TIME SETUP...................................................................................................................................................................... 30
5.4 LOG SETUP.......................................................................................................................................................................30
5.5 LOG VIEW........................................................................................................................................................................31
5.6 CONFIG MANAGE.............................................................................................................................................................32
5.6.1
Configuration file management....................................................................................................................32
5.6.2 System Update .........................................................................................................................................................32
5.6.3 Restore Config ......................................................................................................................................................... 33
5.6.4 Reboot...................................................................................................................................................................... 33
5.7 REGULAR MAINTENANCE ................................................................................................................................................ 34
5.8 LANGUAGE....................................................................................................................................................................... 34
6 FREQUENTLYASKED QUESTIONS.............................................................................................................................. 34
6.1 WHY CAN NOT ACCESS THE HD IP CAMERA BY IE?...................................................................................................... 34
6.2 WHY THE PTZ CAN NOT CONTROL? ................................................................................................................................. 35
6.3 WHY CAN NOT SWITCH THE DATA? ..................................................................................................................................35
6.4 WHY CAN NOT ACCESS THE HD IP CAMERA AFTER UPDATE? ....................................................................................... 35
6.5 NO SOUND AFTER CLICK “VOICE TALK”........................................................................................................................... 35

1 Network Setup
1.1 Network Status
The connection schematic diagram for the entire system frame of HD IP CAMERA as figure 1.1.
Connect PC and HD IP CAMERA directly and set network parameter as follow: 1.the default IP address
is 192.168.0.123, net mask is 255.255.255.0, so you must add a IP address make the PC can access the
device (such as 192.168.0.88). 2. The net mask of the PC and the HD IP CAMERA must be same. Make
sure the direct network is through, as follow: “Start”-“Run”-enter “cmd”then enter “ping
192.168.0.123”and press “enter”on the keyboard. As figure 1.3, 1.4, and1.5. While the network is not
through, please check it.
Figure1.1 connecting schematic diagram
Figure1.2 enter “cmd”

5
Fiure1.3 enter “ping 192.168.0.123 –t”
Figure1.4 network is through
Figure 1.5 networks is not through
After then, power on. Enter the IP address in IE browser and press “enter”. Then it will display the

6
following interface as figure1.6, and then enter user name (admin) and password (123456) and click
“Login”.
Figure 1.6 Login interface
After enter system select and click “Network Setup”, it will display interface as figure 1.7, displaying
the IP address, gateway, net mask and DNS and so on. The detail information please refers to the actual
configuration.
Figure 1.7 Network status
1.2 Ethernet Setup
Ethernet setup as figure 1.8, all the parameter in the interface is needed to be reset. Also you can modify
the IP address by IP search (carried with UC2) or other tools. Make sure the IP address to be modified
and IP address of your PC are in the same network segment, and the IP address to be modified can not
be the same as the IP address of the PC in the network segment. After reset IP address the device will
reboot, then use the new IP address to access the HD IP CAMERA.
Net mask match with IP address to distinguish network address with local address, as 255.255.255.0. the
correct net mask is the premise for saving it.
Gate way is point between two networks such as router. So you can enter the router IP address.
DNS server address is host IP address running the domain server, which provide by network operators.
If enable the DHCP then it will obtain dynamic IP.

7
Figure 1.8 Ethernet setup
1.3 WIFI Setup
WIFI setup as figure 1.9. First you need to set wireless router called AP for short. All parameters in this
interface must be the same with the router setting. This interface only display with WIFI firmware of
HD IP CAMERA.
Figure 1.9 WIFI Setup
Note: only HD IP CAMERA with WIFI support function is the set item.

8
1.4 ADSL Setup
ADSL setup as figure 1.10
The username and password of the ADSL are provided by network operators, enter the correct username
and password, enable ADSL and save it.
It can run correctly on premise that the username, password and the confirm password is correct.
It will prompt error while the password and confirm password is incorrect. In order to verify the ADSL
is run correctly, you can enable DDNS and access the device by domain name. enable DDNS as figure
1.11 DDNS Setup)
Figure 1.10 ADSL Setup
1.5 DDNS Setup
DDNS setup as figure 1.11
First you must have a domain name. www.3322.org is recommended; please remember the username,
password and domain name.
Then enable DDNS, select the DDNS Server as “3322.org”. if your domain name is “test.3322.org”,
please enter “test”in the DDNS Domain, and the User Name and Password is the username and
password that applied in the www.3322.org. set the Refresh Time as 1 minute, then DDNS will work
after 1 minute.
Last you can access the device by domain name.
Figure 1.11 DDNS Setup

9
1.6 UPNP Setup
UPNP setup as Figure1.12.
UPNP run by external address and port.
Figure1.12 UPNP Setup
1.7 FTP Account
FTP account setup as Figure1.13.
First a FTP server is indeed. Then apply a FTP account from the FTP server (username and password).
And you must create four directory as “alarm”, “log”, “set”, “update”or other directory name, also you
can enter “./”then the entire document will be save in the root of the FTP server.
The default port of FTP is 21. The information of the interface must be correct to make sure the FTP
function run correct.
Alarm upload, log backup, configure backup and update can be uploaded by FTP.
Figure1.13 FTP Setup
1.8 SMTP Account Setup
SMTP account setup as figure1.14.
The SMTP function can run correctly on premise that the entire information in the interface is correct.
SMTP Server Address is the IP address of the SMIP server, the default port is 25, the authentication is
enabling.
The public network mail is no available. The show account can be anything.
The user mail address can not be empty and must be efficacy.
The CC mail address can be empty or other information. But only the correct address can receive mail.

10
Figure1.14 SMTP Account Setup
1.9 Stream Setup
Stream Setup as figure 1.15.
Access Protocol: while the device is in public network, TCP is a better choose, while the device and the
user are the same network then UDP is a better choose.
The default WEB port is 80. You can change it at will. But if you change it as 8080, then you enter
192.168.0.123:8080 for accessing the device.
All the port in the interface can change at will but can not be the same. The unavailable port is a bad
choose.
Figure1.15 Stream Setup
1.10 Platform Setup
Platform Setup as figure1.16.
Table des matières
Autres manuels Ismart Caméra IP


