
iDect X2 Manuel utilisateur
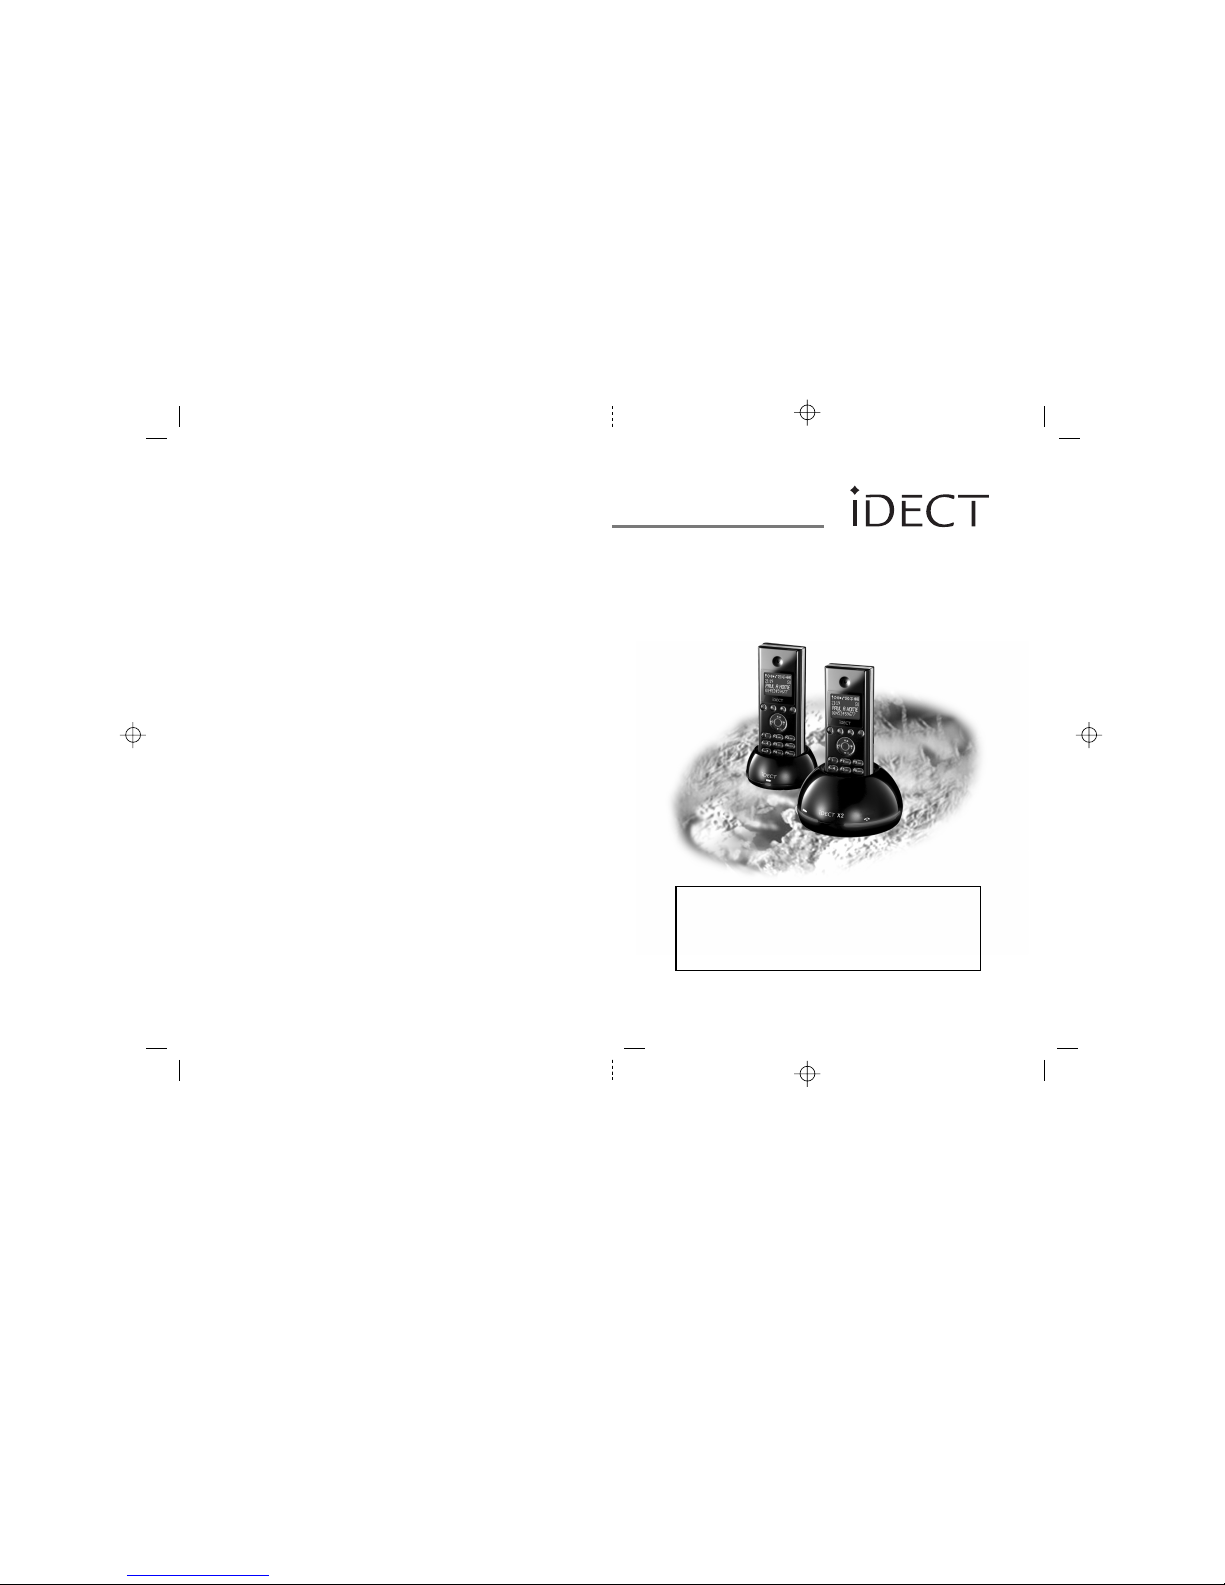
BINATONE “ iDECT X2 System ”
User Guide - Front Page
1)White background and black letters
2)Material: 60lb Book Paper
3) Size: 105mm(w) x 148mm(H) A6
BINATONE “ iDECT X2 System ”
User Guide - Back Page
Ver. 1, Jul 06 (BTP)
USER GUIDE
THIS EQUIPMENT IS NOT DESIGNED FOR
MAKING EMERGENCY TELEPHONE CALLS
WHEN THE POWER FAILS. ALTERNATIVE
ARRANGEMENTS SHOULD BE MADE FOR
ACCESS TO DIAL EMERGENCY SERVICES.
Before operating this set,
please read these instructions carefully.
DIGITAL CORDLESS
TELEPHONE
iDECT X2 System

Important note — emergency calls
The iDECT X2isnotdesigned formaking emergency
calls if the mains power fails. So you should make
alternative arrangements for access to Emergency
Services.
(This means that you should also have a basic
phone, that does not need mains power, connected
to your line so that you can make calls during a
power failure.)
Unpacking your iDECT X2 system
In the box are:
■
the cordless handset (up to four, depending on
which iDECT X2 system you’ve bought)
■the base unit
■two batteries and a battery compartment
cover for each handset
■atelephone line cable for the base unit
■amains power lead and adapter for the base
unit
■
up to three charger pods, each with a separate
mains power lead and adapter, for multi-handset
systems
Keep the packaging materials in a safe place in
case you later need to transport the unit. Keep
your sales (till) receipt, which is your guarantee.
Before you can use the handset to make calls
you’ll need to fit and fully charge the batteries,
as described on pages 5 and 6. Please read the
notes on page 4 before you install the base unit.

MENU/OK button
Press to start using Menu functions
Press while reviewing Phonebook, Redial or Caller
Display records, to start editing.
When editing or using Menu functions, press to
confirm your selection.
Phone On/R (Recall) button
Press to begin or answer a call, or to use the Recall
function
You may need the Recall function during a call if
your iDECT X2is connected to aPBX, or if you use
BT’s Select Services.
HANDSET LOCATOR (PAGE)
button
Press to make all registered handsets ring
(this is useful if you've forgotten where you
put a handset).
UP/Caller Display (CID) button
Press during a call to increase the volume in the
earpiece or . Press while using Menu
Press to show the list of Caller Display records.
Where to find it
IN USE light
This comes on when you have a connection to the
telephone line, and flashes when coming a new VMW1.
HANDSET CHARGING light
MUTE button
Press during a call to mute the mouthpiece so the
person on the other end can’t hear you.
/ X (Cancel)
Press while editing or using Menu functions, to
cancel what you’re doing and return the display to
Standby mode.
HANG UP /ON–OFF button
Press to end a call.
Press and hold for 2 seconds to turn the handset on and off.
Last Number Redial / /Pause button
Press to open a list of the last 5 phone numbers you called.
Press and hold while dialling to insert a pause (you might need this on a PBX).
#/INT (Intercom) button
Press and hold for 2 second to make an intercom call (if you have
more than one handset).
SPEAKERPHONE button
Press to switch the speakerphone on and off.
KEYPAD LOCK button
Press and hold to lock the keypad.
/Phone Book button
Press during a call to turn down the volume in the earpiece or SPK.
Press while using Menu functions to move through the options.
Press to open the Phone Book.
To subscribe to network features like Caller Display
and Call Waiting, simply call your network service
provider (the company that supplies your line). You
don’t need to do anything special on your iDECT X2
phone to set these features up.
functions to move up through the options.
SPK

1
18:44 12/08
JANE 1
02:21
When this shows ‘nearly empty’ ( ), put the handset on
the base unit or charger pod to charge the batteries.
While the batteries are being charged, the symbol blinks.
Appears when you have a connection to the outside line.
Flashes when there’s an incoming call to be answered
(even if the ringer is turned off).
Appears when the speakerphone is turned on.
Appears when a new VMW1 is received.
Appears when you are using last number redial
Appears when the keypad is locked.
Appears when the ringer volume is set to zero.
Symbols on the display
The handset’s number (if you
have more than one handset on
your iDECT X2system)
The handset’s name
(the default is )
HANDSET
The time and date
Intercom
call
Memory/
store
Flashes while your handset is ringing for an intercom call, and
comes on steadily when the call’s connected.
Comes on when you’re storing numbers in memory, and when
you’re making calls to stored numbers.
Signal
level
This lashes while the handset is trying to establish a link
.
.
ft
othe
base unit If flashes while you’re on a call, move closer to the
base unit
Battery
charge
Phone
Speakerphone
TAM
Redial
Keypad Lock
Ringer
Silenced
New call Appears when you have missed incoming calls (if you
subscribe to Caller Display).
What the symbols mean
Call Duration.

Contents
Read these notes first 4
Choosing a site for the base unit and
charger pod 4
Radio signals between handset and
base unit 4
Mains power connection 4
Installation and set-up 5
Before you start 8
Electrical safety 8
Interference 8
‘Out of range’ warning 8
Switching on and off 9
To lock the keypad 9
Your handset’s name 10
Time and day 11
Ringer volume and melody 12
Making and answering calls 14
Using the speakerphone 14
To make a call 14
To answer a call 14
To end a call 14
Earpiece volume 15
To mute the mouthpiece 15
Last Number Redial (LNR) 15
To delete redial numbers 16
To store a Redial number in the
Phone Book 17
Using the Phone Book 18
To store a new number 18
To call a stored number 19
To delete all Phone Book entries 21
Caller Display 22
To check Caller Display records 23
To return a call 23
To store a Caller Display number in
the Phone Book 23
To delete a caller display record 24
To delete all caller display records 24
Using a multi-handset system 25
To make an intercom call 25
To end an intercom call 25
To answer an intercom call 26
To transfer a call 26
To shuttle between two calls 27
To set up a three-way conference 27
To end the conference 27
New Call tone 28
To page all handsets from the
base unit 28
2
Color profile: Disabled
Composite Default screen
Custom settings 29
Ringer volume and melody 29
Earpiece volume 29
Registration 32
To reset all handset settings to their
defaults: 34
To change the PIN: 35
Setting the Alarm 36
To set the alarm: 36
To use a direct memory 19
To add or delete the direct memory 19

Contents
3
Troubleshooting 38
Cleaning and care 43
Guarantee and service 44
Technical details 45
Registering new handsets 46
To register a new handset 46
To de-register a handset 47
Connection and conditions for use
You can connect your iDECT X2 to a direct exchange line (DEL) — a line
connected to a local exchange, with its own phone number; to an
extension socket connected to a DEL; or to an extension on an approved
compatible PBX. Do not connect the iDECT X2 as an extension to a
payphone.
The ringer equivalence numbers (RENs) of all instruments (phones,
fax machines, etc.) connected to an exchange line must not add up to
more than 4 — otherwise, one or more of them may not ring and/or
answer calls correctly. The iDECT X2 has a REN of 1, and most other
telephones have a REN of 1 unless marked otherwise.
Color profile: Disabled
Composite Default screen
Default setting 48

Read these notes first
Choosing a site
for the base
unit and
charger pod
The base unit and charger pod(s) should be placed on a
level surface, in a position where:
■the mains adapter plug will reach an easily accessible
230-V AC switched mains supply socket — never try
to lengthen the mains power cable
■the base unit’s telephone line cable will reach your
telephone line socket or extension socket (the charger
pod does not have a telephone line connection)
■it is not close to another telephone — this can cause
radio interference
■it is not close to a sink, bath or shower, or anywhere
else where it might get wet
■it is not close to other electrical equipment — fridges,
washing machines, microwave ovens, fluorescent
lights, TVs etc.
Radio signals
between
handset and
base unit
To use your handset and base unit together, you must
be able to establish a radio link between them. Be
aware that:
■Any large metal object — like a refrigerator, a mirror
or a filing cabinet — between the handset and the
base unit may block the radio signal.
■Other solid structures, like walls, may reduce the
signal strength.
Mains power
connection
IMPORTANT — The iDECT X2 base unit and charger
pod must be used with the mains adapter supplied with
the unit. Using any other adapter will result in non-
compliance with EN60950, and will invalidate any
approval given to this apparatus.
!Make sure mains powerto the base unit stays switched
on. The iDECT X2 needs electrical power for normal
operation; not just for charging the batteries.
4
Color profile: Disabled
Composite Default screen

Installation and set-up
5
1
3
5
4
Choose a suitable
site for the base
unit
See page 4
Plug the mains adapter into
a 230 V AC, 50 Hz mains
socket, with the switch on
the socket set to OFF
Plug the mains adapter into a 230 V AC,
50 Hz mains socket, with the switch on
the socket set to OFF
Switch on at the mains socket(s)
If you have one or more charger pods …
2
Use the telephone line
supplied with your
iDECT X2 —
do not use any other
telephone line cord
cord
Connect the
mains power
lead and the
telephone line
cord into the
underside of
the base unit
See the note
on page 4
Color profile: Disabled
Composite Default screen

Installation and set-up
6
6
B.Plug the battery connector
into the socket at the top of
the battery compartment.
C.Place the battery in the
compartment
Always use the battery
pack supplied — never
use any other kind of
batteries in the handset.
D.Fit the battery compartment
cover, sliding it into place and
pressing firmly to make sure it is
secure
A.Remove the battery compartment cover.
Fit a battery pack in each handset
+
+ +
RED
BLACK
Color profile: Disabled
Composite Default screen

Installation and set-up
7
7Charge the batteries for 15 hours
Before you use the handset for the
first time, it’s important to charge the
batteries fully.
The handset ‘beeps’ when it’s correctly
in position on the charging cradle.
Leave the handset on the charging
cradle for 15 hours.
Make sure the mains socket is
switched on if you want to use
the phone — it will not work
without electrical power
Connect the base unit to the telephone line
Switch off power at the mains socket
Insert the telephone line plug into
the socket as shown
Switch mains power back on
8
The ‘battery
charge level’
symbol blinks
The navigation buttons
In the instructions, these buttons are
represented by arrows, as shown here.
UP
DOWN
P
Color profile: Disabled
Composite Default screen
Autres manuels pour X2
1
Ce manuel convient aux modèles suivants
1
Table des matières
Autres manuels iDect Téléphone sans fil

iDect
iDect Z1 Series Manuel utilisateur

iDect
iDect Link Plus Single Manuel utilisateur

iDect
iDect Eclipse Plus Manuel utilisateur

iDect
iDect Z10 Conference series Manuel utilisateur

iDect
iDect Z1 Series Manuel utilisateur

iDect
iDect Solo Single Manuel utilisateur

iDect
iDect iDECT V2i System Manuel utilisateur

iDect
iDect X2i System Manuel utilisateur

iDect
iDect X2i System Manuel utilisateur

iDect
iDect K1 Manuel utilisateur


