HIK VISION Hik IP Receiver Pro Manuel utilisateur

Hik IP Receiver Pro
User Manual

Legal Informaon and Symbol Convenons
Legal Informaon
©2023 Hangzhou Hikvision Digital Technology Co., Ltd. All rights reserved.
About this Manual
The Manual includes instrucons for using and managing the Product. Pictures, charts, images and
all other informaon hereinaer are for descripon and explanaon only. The informaon
contained in the Manual is subject to change, without noce, due to rmware updates or other
reasons. Please nd the latest version of this Manual at the Hikvision website ( hps://
www.hikvision.com/ ).
Please use this Manual with the guidance and assistance of professionals trained in supporng the
Product.
Trademarks
and other Hikvision's trademarks and logos are the properes of
Hikvision in various jurisdicons.
Other trademarks and logos menoned are the properes of their respecve owners.
Disclaimer
TO THE MAXIMUM EXTENT PERMITTED BY APPLICABLE LAW, THIS MANUAL AND THE PRODUCT
DESCRIBED, WITH ITS HARDWARE, SOFTWARE AND FIRMWARE, ARE PROVIDED "AS IS" AND "WITH
ALL FAULTS AND ERRORS". HIKVISION MAKES NO WARRANTIES, EXPRESS OR IMPLIED, INCLUDING
WITHOUT LIMITATION, MERCHANTABILITY, SATISFACTORY QUALITY, OR FITNESS FOR A PARTICULAR
PURPOSE. THE USE OF THE PRODUCT BY YOU IS AT YOUR OWN RISK. IN NO EVENT WILL HIKVISION
BE LIABLE TO YOU FOR ANY SPECIAL, CONSEQUENTIAL, INCIDENTAL, OR INDIRECT DAMAGES,
INCLUDING, AMONG OTHERS, DAMAGES FOR LOSS OF BUSINESS PROFITS, BUSINESS
INTERRUPTION, OR LOSS OF DATA, CORRUPTION OF SYSTEMS, OR LOSS OF DOCUMENTATION,
WHETHER BASED ON BREACH OF CONTRACT, TORT (INCLUDING NEGLIGENCE), PRODUCT LIABILITY,
OR OTHERWISE, IN CONNECTION WITH THE USE OF THE PRODUCT, EVEN IF HIKVISION HAS BEEN
ADVISED OF THE POSSIBILITY OF SUCH DAMAGES OR LOSS.
YOU ACKNOWLEDGE THAT THE NATURE OF THE INTERNET PROVIDES FOR INHERENT SECURITY
RISKS, AND HIKVISION SHALL NOT TAKE ANY RESPONSIBILITIES FOR ABNORMAL OPERATION,
PRIVACY LEAKAGE OR OTHER DAMAGES RESULTING FROM CYBER-ATTACK, HACKER ATTACK, VIRUS
INFECTION, OR OTHER INTERNET SECURITY RISKS; HOWEVER, HIKVISION WILL PROVIDE TIMELY
TECHNICAL SUPPORT IF REQUIRED.
YOU AGREE TO USE THIS PRODUCT IN COMPLIANCE WITH ALL APPLICABLE LAWS, AND YOU ARE
SOLELY RESPONSIBLE FOR ENSURING THAT YOUR USE CONFORMS TO THE APPLICABLE LAW.
ESPECIALLY, YOU ARE RESPONSIBLE, FOR USING THIS PRODUCT IN A MANNER THAT DOES NOT
INFRINGE ON THE RIGHTS OF THIRD PARTIES, INCLUDING WITHOUT LIMITATION, RIGHTS OF
Hik IP Receiver Pro User Manual
i
PUBLICITY, INTELLECTUAL PROPERTY RIGHTS, OR DATA PROTECTION AND OTHER PRIVACY RIGHTS.
YOU SHALL NOT USE THIS PRODUCT FOR ANY PROHIBITED END-USES, INCLUDING THE
DEVELOPMENT OR PRODUCTION OF WEAPONS OF MASS DESTRUCTION, THE DEVELOPMENT OR
PRODUCTION OF CHEMICAL OR BIOLOGICAL WEAPONS, ANY ACTIVITIES IN THE CONTEXT RELATED
TO ANY NUCLEAR EXPLOSIVE OR UNSAFE NUCLEAR FUEL-CYCLE, OR IN SUPPORT OF HUMAN
RIGHTS ABUSES.
IN THE EVENT OF ANY CONFLICTS BETWEEN THIS MANUAL AND THE APPLICABLE LAW, THE LATTER
PREVAILS.
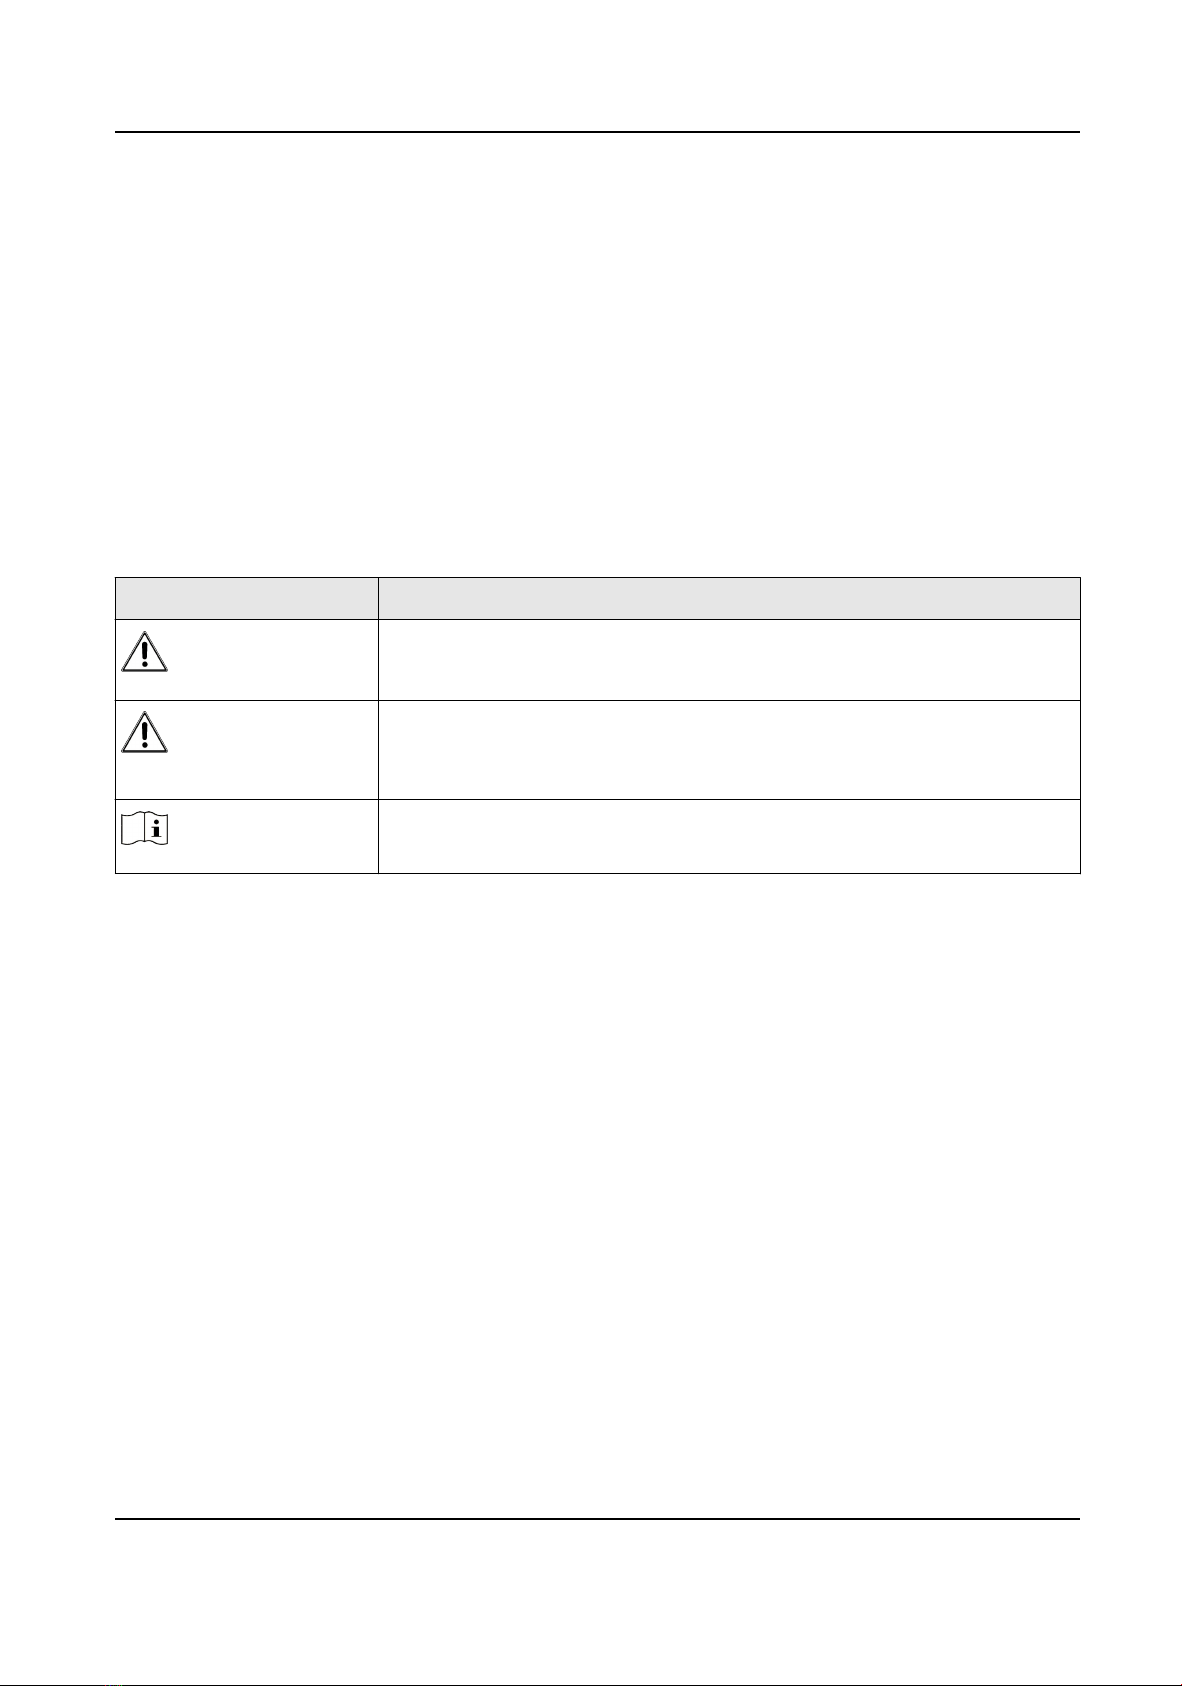
Symbol Convenons
The symbols that may be found in this document are dened as follows.
Symbol Descripon
Danger
Indicates a hazardous situaon which, if not avoided, will or could
result in death or serious injury.
Cauon
Indicates a potenally hazardous situaon which, if not avoided, could
result in equipment damage, data loss, performance degradaon, or
unexpected results.
Note Provides addional informaon to emphasize or supplement
important points of the main text.
Hik IP Receiver Pro User Manual
ii

Contents
Chapter 1 Overview .................................................................................................................... 1
1.1 Introducon ........................................................................................................................... 1
1.2 Running Environment ............................................................................................................ 1
1.3 What's New ............................................................................................................................ 2
Chapter 2 Installaon ................................................................................................................. 3
2.1 Port Instrucon ...................................................................................................................... 3
2.2 Install Hik IP Receiver Pro on Windows .................................................................................. 3
2.3 Acvate Hik IP Receiver Pro ................................................................................................... 4
Chapter 3 Device Management ................................................................................................... 5
3.1 Add Hikvision Device(s) Managed on Hik-Partner Pro ........................................................... 6
3.2 Add Single ISUP5.0 Device ..................................................................................................... 8
3.3 Add ISUP5.0 Devices in a Batch ............................................................................................ 10
3.4 Add Single Third-Party Device .............................................................................................. 11
3.5 Add Third-Party Devices in a Batch ...................................................................................... 13
3.6 Enable Receiving Alarm and Set Paron (Area) ................................................................. 14
3.7 Set Zone ............................................................................................................................... 15
Chapter 4 Basic Conguraon ................................................................................................... 18
4.1 Access Hik-Partner Pro ......................................................................................................... 18
4.1.1 Congure Hik-Partner Pro Parameters ........................................................................ 18
4.1.2 Congure Hot Spare Sengs ...................................................................................... 19
4.2 System Sengs .................................................................................................................... 20
4.2.1 Change Password for Admin User ............................................................................... 20
4.2.2 Manage Operators ...................................................................................................... 21
4.2.3 View and Edit Managed Devices of Operators ............................................................ 22
4.2.4 Congure Hik IP Receiver Pro Name ........................................................................... 23
4.2.5 Congure Time ............................................................................................................ 23
Hik IP Receiver Pro User Manual
iii

4.2.6 Enable Alarm Monitor and Check Device's Alarms ..................................................... 23
4.2.7 Congure Illegal Login Lock ......................................................................................... 25
4.3 System Maintenance ............................................................................................................ 26
4.3.1 Manage Logs ............................................................................................................... 26
4.3.2 Export and Import Conguraon File ......................................................................... 26
4.3.3 View Operaon Logs ................................................................................................... 27
4.4 Network Sengs .................................................................................................................. 27
4.4.1 Edit Port ...................................................................................................................... 27
4.4.2 Set Port Mapping ........................................................................................................ 28
4.4.3 Set HTTPS .................................................................................................................... 29
4.4.4 Set Email ..................................................................................................................... 30
Chapter 5 Storage Sengs ........................................................................................................ 33
5.1 Select Storage Disk ............................................................................................................... 33
5.2 Set Recording Server for Second Video Vericaon ............................................................ 33
5.3 Set Alarm-Related Video ...................................................................................................... 34
Chapter 6 Automaon Output Management ............................................................................ 36
6.1 Congure Protocol Parameters ............................................................................................ 36
6.2 Search History Event ............................................................................................................ 42
6.2.1 Start Video Vericaon ............................................................................................... 44
6.2.2 Start Intercom Vericaon .......................................................................................... 45
6.3 Check Event Monitor Logs ................................................................................................... 47
6.4 Add Event Code of Security Control Device ......................................................................... 48
6.5 Edit Encoding / Access Control Device Events and Device Status Events ............................. 49
Appendix A. Event Code List ..................................................................................................... 50
A.1 Event Codes of Security Control Device ............................................................................... 50
A.2 Event Codes of Encoding Device .......................................................................................... 59
A.3 Event Codes of Access Control Device ................................................................................. 60
A.4 Event Codes of Device Status ............................................................................................... 60
Hik IP Receiver Pro User Manual
iv

Chapter 1 Overview
1.1 Introducon
As a protocol converter, Hik IP Receiver Pro connects devices and ARC (alarm receiving center) for
data transmission, through LAN or WAN.
There are three methods of adding devices to Hik IP Receiver Pro.
●You can add devices (including AX Pro/AX Hub security control panel, network camera, NVR, and
DVR.) managed on Hik-Partner Pro to Hik IP Receiver Pro to integrate them to the ARC through
protocols.
●You can add single or mulple security control panels and encoding devices to Hik IP Receiver
Pro through ISUP5.0.
●You can add single or mulple third-party devices to Hik IP Receiver Pro with device name and
account ID.
Aer correct conguraons on Hik IP Receiver Pro and the ARC, Hik IP Receiver Pro can receive and
transmit alarms and alarm-related videos or images from devices on Hik IP Receiver Pro to the ARC
for nocaon and video or image vericaon.
This manual guides you to congure Hik IP Receiver Pro. To ensure a proper usage and stability of
Hik IP Receiver Pro, refer to the contents below and read the manual carefully before installaon
and operaon.
1.2 Running Environment
The following is recommended system requirement for running the Hik IP Receiver Pro.
Operang System
Microso Windows 10 (64-bit) / Windows Server 2012 R2 (64-bit) / Windows Server 2016 (64-
bit)
Note
For Windows Server 2012 R2 (64-bit), the patch KB2999226 is required to be installed.
CPU
Intel Core i5-7500 @ 3.0 GHz, four-core or above
RAM
8 GB or above
NIC
Gigabit-NIC with latest driver
Hik IP Receiver Pro User Manual
1

Note
If the computer with Hik IP Receiver Pro installed goes into sleep mode, an excepon will occur to
Hik IP Receiver Pro. It is required to disable the sleep mode of your PC to ensure that Hik IP
Receiver Pro works properly.
1.3 What's New
The following shows the changes in Hik IP Receiver Pro V1.7.0.
1. For ISUP5.0 encoding devices:
-Supports adding encoding devices via ISUP5.0. For details, refer to Add Single ISUP5.0
Device .
-For ISUP5.0 encoding devices, supports conguring parons (areas), zones, and channels.
-For ISUP5.0 and HPP encoding devices, supports seng video vericaon mode. The Plug-In
mode means to verify alarm-related videos via plug-in; The Auto-Download Video mode
means that alarm-related videos will be automacally downloaded for you to verify them. For
details, refer to Enable Receiving Alarm and Set Paron (Area) .
2. For the device list page, the updates are as follows. For details, refer to Device Management .
-Added Not Authencated status to the Alarm Service column. If there are devices with
unauthencated status in the device list, the table header will give an unauthencated ag
indicaon. The Not Authencated status means that the device on Hik-Partner Pro is not
congured with ARC (unbind from ARC), and IP Receiver Pro will connue to forward alarms
from the devices connected by ISUP.
-Supports sorng serial numbers and ltering devices by connecng mode on the Device List
page. Also, supports displaying 100 and 200 devices on one page.
3. Adds Auto Export. If you enable it, conguraon les will be exported regularly. For details, refer
to Export and Import Conguraon File .
4. This version opmizes the UI of adding Hik-Partner Pro devices. For details, refer to Add
Hikvision Device(s) Managed on Hik-Partner Pro .
-When you add Hik-Partner Pro devices and Hik-Partner Pro is not congured or connected,
there will be redirect link to Hik-Partner Pro Conguraon page.
-This version adds a p that devices should be registered to Hik-Connect and congured with
the ARC service on Hik-Partner Pro.
Hik IP Receiver Pro User Manual
2

Chapter 2 Installaon
You can install the Hik IP Receiver Pro service to your server or PC, and acvate the service. Then
you can use the service remotely.
2.1 Port Instrucon
Before installing Hik IP Receiver Pro service, ensure the default ports of Hik IP Receiver Pro are not
used by other services, otherwise the Hik IP Receiver Pro service will be unavailable.
2.2 Install Hik IP Receiver Pro on Windows
You can install the Hik IP Receiver Pro service on a computer or server. Aer that, you can start the
service, stop the service or exit the service by watchdog.
Steps
1. Right-click the program le and run as the administrator to enter the welcome panel.
2. Click Next.
3. Oponal: Click Browse... to select the path of legacy conguraon les and click Next.
Note
●If you have kept the conguraon les of an uninstalled Hik IP Receiver Pro, the Hik IP
Receiver Pro will reuse the les saved in the selected path when you install a new version.
●If the conguraon le path of previous version is detected, it is selected by default.
4. Click Browse... and select a proper directory as required to install the service.
5. Click Next to connue.
6. Oponal: Edit the HTTP port if the port number is conict, otherwise the installaon cannot be
connued.
7. Click Install to begin the installaon.
8. Read the post-install informaon and click Finish to complete the installaon.
Result
Aer successful installaon, the Watchdog service will get started and hide in the nocaon area
of the desktop. Right-click and select the opon to stop the service and start the Hik IP Receiver
Pro service, or exit the Watchdog service.
Hik IP Receiver Pro User Manual
3

Note
●If you install Hik IP Receiver Pro remotely, you need to log into the local computer to show the
Watchdog service.
●A window will pop up asking whether to keep the conguraon le when you re-install the Hik IP
Receiver Pro. You can choose to keep it or not.
2.3 Acvate Hik IP Receiver Pro
By default, Hik IP Receiver Pro predened the administrator user named admin. When you log in to
Hik IP Receiver Pro for the rst me, you are required to create a password for the admin user to
acvate Hik IP Receiver Pro before you can properly congure and operate.
Before You Start
Make sure you have installed the Hik IP Receiver Pro service.
Steps
1. Enter the address of the computer or server running with Hik IP Receiver Pro service and port
number in the address bar of the web browser, and press Enter key.
Note
The default port is 80. For conguring the port number, see Edit Port for details.
Example
If the IP address of the computer running Hik IP Receiver Pro service is 172.6.21.96, and the port
number is 80, and you should enter hp://172.6.21.96:80 in the address bar.
2. Enter the password and conrm password for the admin user in the pop-up Acvate Hik IP
Receiver Pro window.
Note
We highly recommend you change the password of your own choosing (using a minimum of 8
characters, including at least three kinds of following categories: upper case leers, lower case
leers, numbers, and special characters) in order to increase the security of your product.
3. Click Acvate.
Hik IP Receiver Pro User Manual
4

Chapter 3 Device Management
Hik IP Receiver Pro can manage mulple device types, e.g. network camera, DVR, NVR, and AX Pro
security control panel. Aer adding devices to the Hik IP Receiver Pro and conguring the alarm
service and zone, Hik IP Receiver Pro can transmit alarms and images/videos from these devices to
the ARC.
Figure 3-1 Device List
Add Device
You can add Hikvision devices managed in Hik-Partner Pro to Hik IP Receiver Pro, add security
control panels by ISUP5.0, and add third-party devices to the Hik IP Receiver Pro.
Connecon Mode
ISUP
If the device only supports direct connecon, the connecon mode will be displayed as ISUP.
Dual-Connecon
If the device added by Hik-Partner Pro supports direct connecon, the connecon mode will
be displayed as Dual-Connecon. In this mode, Hik IP Receiver Pro receives alarms by
ISUP5.0 in priority, and the Device Status of online device will be displayed as Online(ISUP).
If an excepon occurs when receiving alarm by ISUP5.0 protocol, Hik IP Receiver Pro receives
alarms through Hik-Partner Pro, and the Device Status of online device will be displayed as or
Online(HPP).
Online(ISUP)
The device is connected to the Hik IP Receiver Pro by direct connecon.
Online(HPP)
The device is connected to Hik IP Receiver Pro by Hik-Partner Pro.
HPP
Hik IP Receiver Pro User Manual
5
Autres manuels pour Hik IP Receiver Pro
2
Table des matières
Autres manuels HIK VISION Récepteur


